
Live sports can look washed-out and blurry on your home television screen, especially right out of the box. It’s hard to achieve that just-like-real-life effect, but the right tweaks can get you there. Your smart TV’s built-in audio and display settings can help you improve the way your screen handles motion, clarity, and atmosphere—so you can feel like you’re right in the middle of all the action.
Get your TV ready for game day viewing, whether you’re watching football, hockey, or another big sporting event. Shop watch party essential at Best Buy.

Turn on sports mode
If you want to feel like you’re at the big game, your first step is always to turn on your TV’s Sports Mode. This picture mode is made for at-home sports viewing, and it does a great job of it. Sports Mode gives you a great foundation for watching the big game right out of the box, or for creating your own custom viewing setup. It’s designed for fast-paced live action, like you’d see in a sports game. It’s a bright, crisp, clear picture setting available on most TVs. (I’ve actually never seen a TV without it! Not since the 90s, at least.)
The Sports Mode TV setting dials everything up a notch from real life to help your eyes follow the action. It’s a great picture mode to try out, even on smaller TV screens. It’s a bright, saturated mode with motion smoothing technology. You’ll notice that it makes movies and people look a bit odd (like they’re artificial, or often too red), but it’s a great choice for following a big game.
If Sports Mode looks a little too much for your preferences, you have other options. Try switching to your TV’s Movie Mode or Cinema Mode instead. They’ll also emphasize the scene’s crispness to help you follow the action, but they’ll look more natural. This is a great choice for people who love to watch mid-game and post-game interviews and commentary.
The best TV settings for watching your favourite sports
Once you’ve chosen the right picture mode, you can then further tweak the custom settings of your TV. While your picture mode dictates the overall look of your TV and sets you up with ready-to-view presets, individual settings allow you to fine-tune for an experience that’s all your own. They’ll help you get a custom-made TV experience that’s just right for you and your space.
Motion smoothing: Reduce blur
Your TV’s motion smoothing setting is designed to help you reduce and smooth blur. It’s often referred to by the TV’s unique name, like TruMotion (LG), Auto Motion Plus (Samsung), Action Smoothing (Fire TV), or MotionFlow (Sony).
Motion smoothing is designed to create a more cinematic effect and reduce blurring from limited frame rate. It’s great at smoothing the action on a screen, so your eyes more easily track things like a hockey puck or a ball. However, some users (myself included) find it distracting. I personally always turn my motion smoothing off, even when watching sports—the additional blur is a small price to pay, in my eyes, for the game to not look like it’s part of a soap opera.
I recommend watching clips of a game with and without motion smoothing to see how it interacts with your TV and your preferences. Each TV is different, and frame rate plays a crucial role in whether motion smoothing will help or hinder your viewing experience. For many, it’s a technology that makes it much, much easier to follow fast-paced parts of a sporting event. Try watching a period or a quarter of your game with motion smoothing, then one without—there’s no right answer on using or not using it.
Brightness and contrast: Watch both daytime and nighttime games
If you have a picture mode set up that you’re enjoying, fine-tuning your brightness and contrast may be all you need to do to enjoy both daytime and nighttime games. Use your TV’s built-in brightness and contrast settings to adjust for daytime and evening viewing, toning down searing images in the night or evening out your screen in the daytime so you don’t notice as much glare from nearby windows.
Sharpness and clarity: Improve live action viewing
Adjusting your TV’s built-in sharpness and clarity settings can also really help improve your live action viewing experience. Sharp is good—but it can also be too much. When your sharpness is turned up too high, lines that were crisp will start to go “crunchy” and jagged. Adjust these settings both up and down so that lines, jersey numbers, pucks, and balls look as sharp and clear as possible.
The best TV settings for football
Football is a game that’s typically filmed from quite far away. From a practical standpoint, it involves a lot of smooth motion from wide camera pans and plenty of colour. Sports Mode will enhance the field’s natural grass colour so the football stands out more, and you can tweak your TV’s sharpness settings to help make sure you catch every fast play and jersey number. You can also try using your TV’s motion smoothing settings to help reduce compression and blur.
The best TV settings for hockey
As most Canadians already know, watching hockey on the TV is a uniquely challenging experience. The puck is tiny and it moves so quickly across the screen. Many sports move fast, but few things compete with hockey’s regular 145 km/h speeds. You’re watching a minuscule puck move at breakneck speeds across bright white ice, and the action is non-stop.
I recommend calibrating your TV’s sports settings with a hockey game, if you can. (Even if you have to TiVo the game or stream pre-recorded highlight clips!) Once you figure out a setting that can track a hockey puck well on your TV screen, you can watch virtually any sport and be confident that you’re keeping up to speed.
Hockey is one sport that I’ll always turn on motion tracking for if it’s available. The smoothing of the puck’s motion makes it longer, bolder, and easier to track—which is especially critical during playoff season.
Read my guide on how to watch the biggest sports games without cable TV.
Audio settings that improve your sports-watching experience
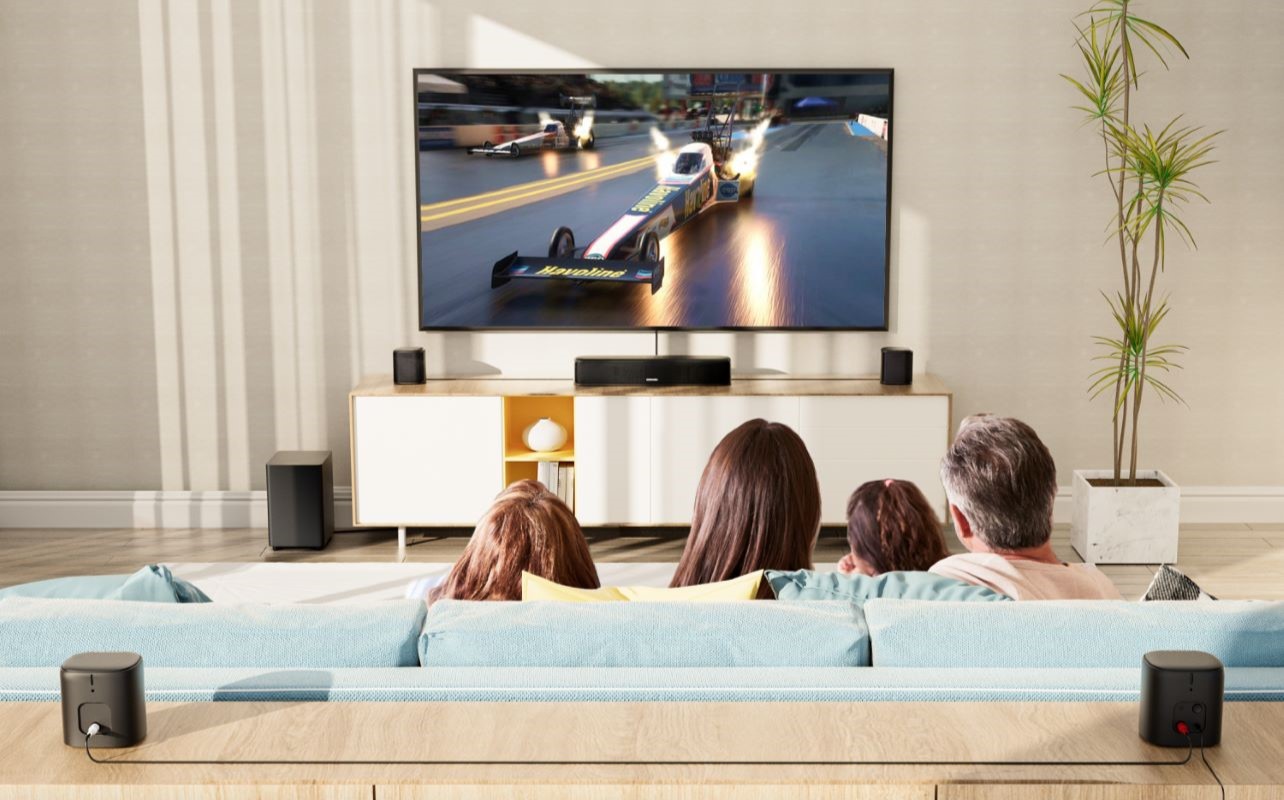
Just like your TV’s display settings, your audio settings play a big role in your sports-watching experience. While your TV visuals show you all of the gameplay, it’s the audio that makes most people really feel like they’re at the game. Here’s how to set up your home speakers and sound bar so you can feel like you’re right in the action.
TV speaker settings for sports commentary and crowd noise
Just like your TV screen, most TV speakers and sound bars come with a Sports Mode option as well. Sports Mode will help the arena or stadium noise sound like it’s surrounding you. It’ll also focus commentator audio at the centre of your screen, so it’s easier to hear clearly. Using Sports Mode is a great way to optimize your dialogue enhancement for watching any big game.
Every event is mixed differently, however, and everyone has their own unique preferences. If you’re not enjoying the sound on Sports Mode, try using your speaker’s Movie Mode or Game Mode as well. From there, you can customize your listening experience to suit your room and your needs. Use settings like audio equalizing, Bass Boost, and Clear Voice so you can hear every detail as it’s being shared.
Sound bar vs surround sound for sports viewing
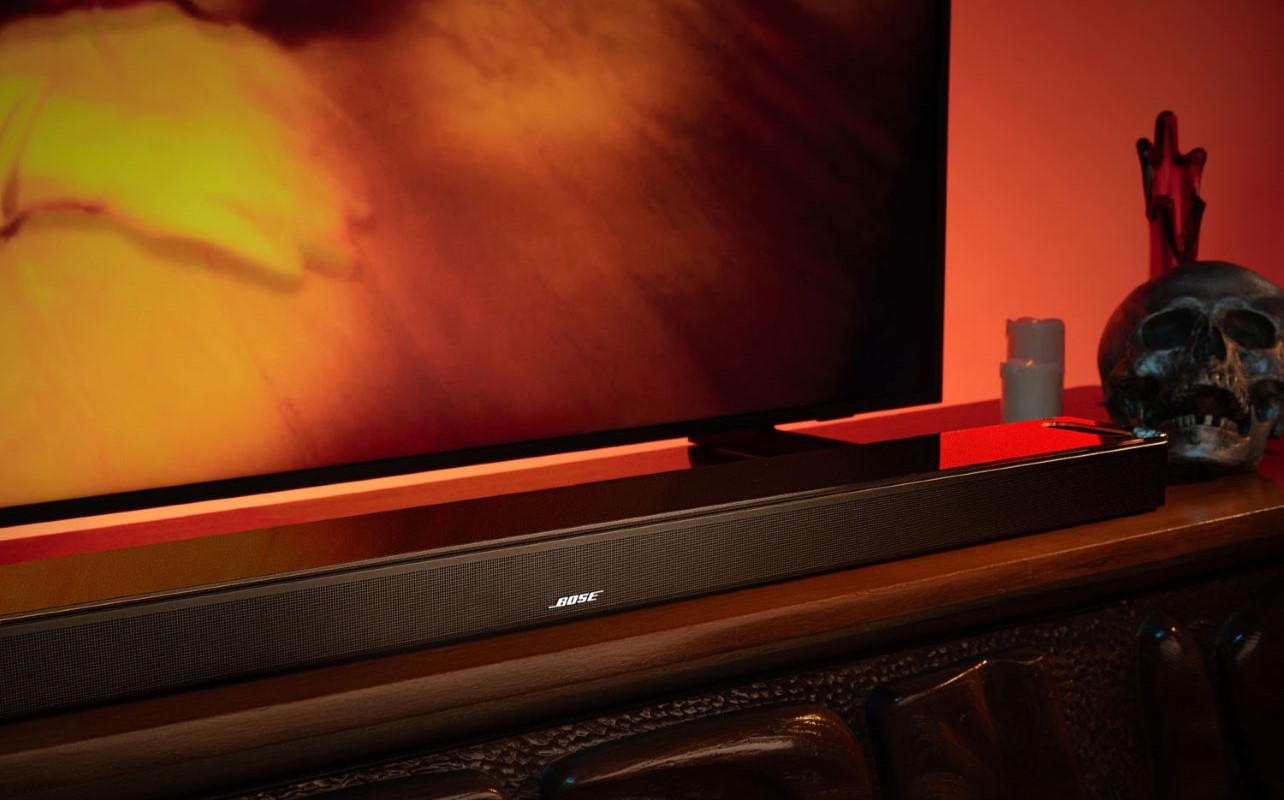
When it comes to immersive audio, surround sound is the cream of the crop. It’s the only true way to set up your speakers so the sound literally wraps around you like it would if you were watching a sports game or match in person. Surround sound requires a bit of setup, but it delivers a clear, crisp, immersive experience.
However, surround sound isn’t the right fit for everyone. Sound bars do a great job of offering a similar audio effect with a lot less work—and, in some cases, a lot less cost. They’re a simple plug-and-play system that’ll be a noticeable upgrade from your TV’s built-in audio system, but they’re easier to work with than surround sound.
Sound bars are a great option for smaller spaces, like a home den or apartment space. They’re also much easier to move and set up than a surround sound system, making them a popular choice for renters or frequent relocators.
If you’re still undecided, here’s a full guide on how to choose between sound bars and surround sound.
Room setup tips that make a bigger difference than settings
Your home viewing setup is just as important for watching sports as your TV settings. Important tricks like adding drapes to the room or painting your walls a darker colour can help manage glare, while your furniture layout can make viewing more comfortable and audio more crisp. Try to make sure you’re centred in front of your TV and speakers when you view. Most importantly, keep your TV at eye level when seated for comfortable viewing.
Your TV’s optimal viewing distance depends on your screen size and the TV’s resolution. In general, you can sit a little closer to a 4K TV than an HD one without noticing individual pixels. You want your TV to fit roughly a 30- to 40-degree field of vision when you’re seated right in front of it. Most people will set up their media rooms to match, which looks like:
- 55″ TV: Sit 4.5 to 7 feet away
- 65″ TV: Sit 5.5 to 8 feet away
- 75″ TV: Sit 6.5 to 9.5 feet away
- 85″ TV: Sit 7 to 10.5 feet away
Read our guide on the best TV viewing distance for every room.
Common sports viewing setup mistakes to avoid
Because sport viewing is so different from cinematic viewing, users can sometimes go overboard on their settings. For the best experience possible, make sure to use everything in moderation. Settings like motion smoothing and sharpness can often be turned on and lowered to your preference level. Focus on creating an experience that’s clear and crisp, but make sure the game looks good to you, too.
Still having trouble seeing the action? Look at your room setup. Make sure your TV is the right size for your space (bigger isn’t always better), and check for things like glare and contrast. They might be impacting your viewing experience in ways you weren’t expecting.
Finally, make sure to change your TV’s settings regularly. Turn off Sports Mode when you turn off the game, and tweak as necessary. Your settings may need to change between sports and TV, but they also might need to change from one game to another. (I know for hockey, there can be a big difference in the way the game looks depending on what company shot it and where. Camera placement varies so much area by area that the best settings for one arena are totally different from the ones for another.)
Conclusion
Try experimenting with a range of settings before a big game day so you’re already set up when it starts. You want to catch every second of the action, and your TV and home speaker setup can help you do that!
Game day watch party coming up? Shop watch party essentials and take your viewing experience from good to great.


