
Just got a new Wi-Fi 7 router? In this guide, we’ll walk you through everything you need to know about Wi-Fi and networking setup, from unboxing and connecting the hardware to fine-tuning settings for better coverage and performance. By the end, you’ll know how to set up a Wi-Fi 7 router, how to optimize it for your home, and when it might make sense to step up to a mesh Wi-Fi 7 system.

What you’ll need before you start
Before diving into the actual Wi-Fi 7 installation, it helps to make sure you have everything ready:
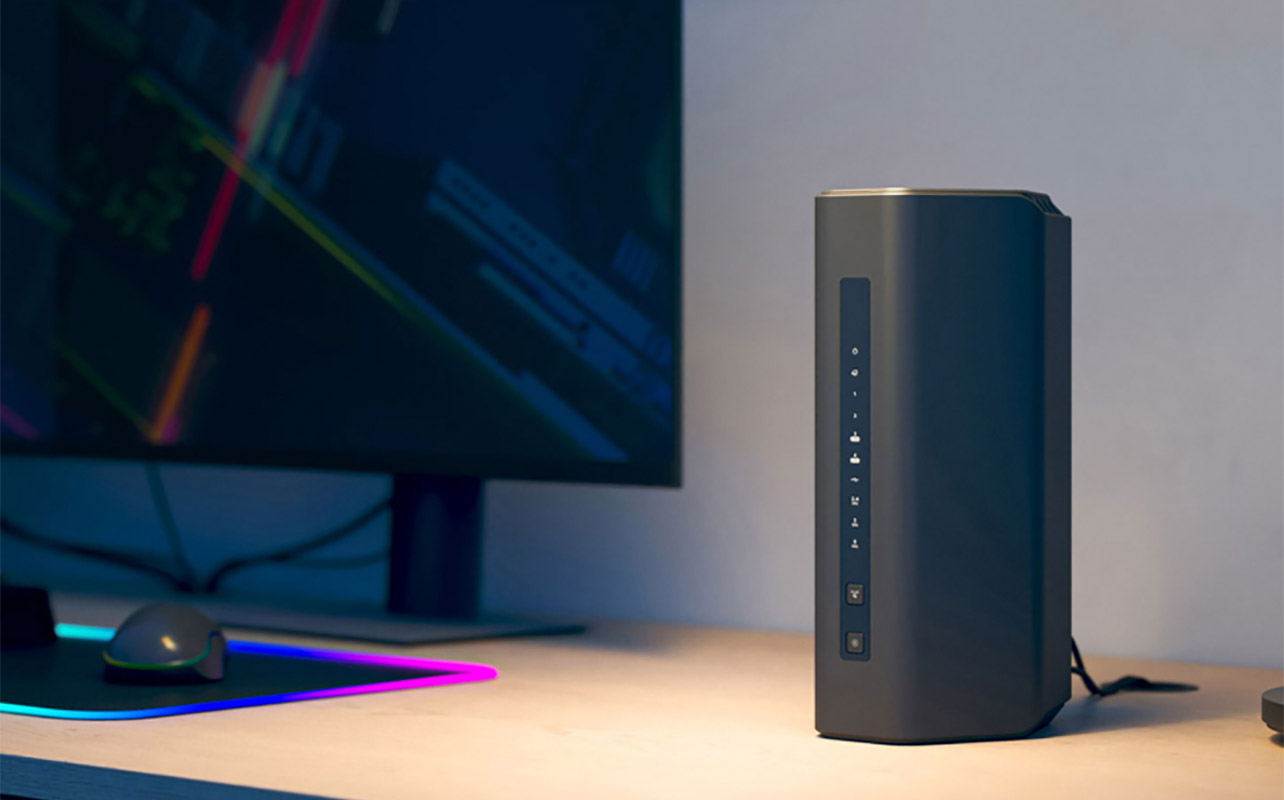
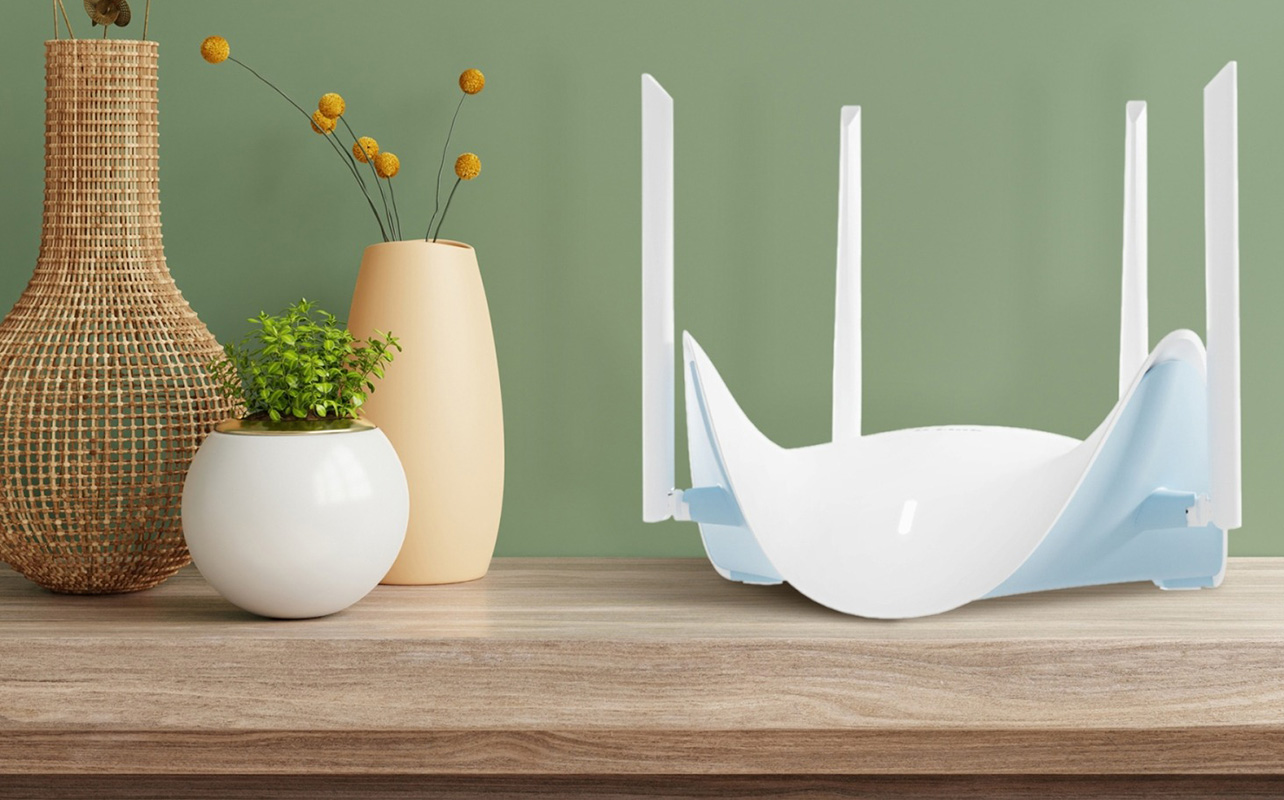
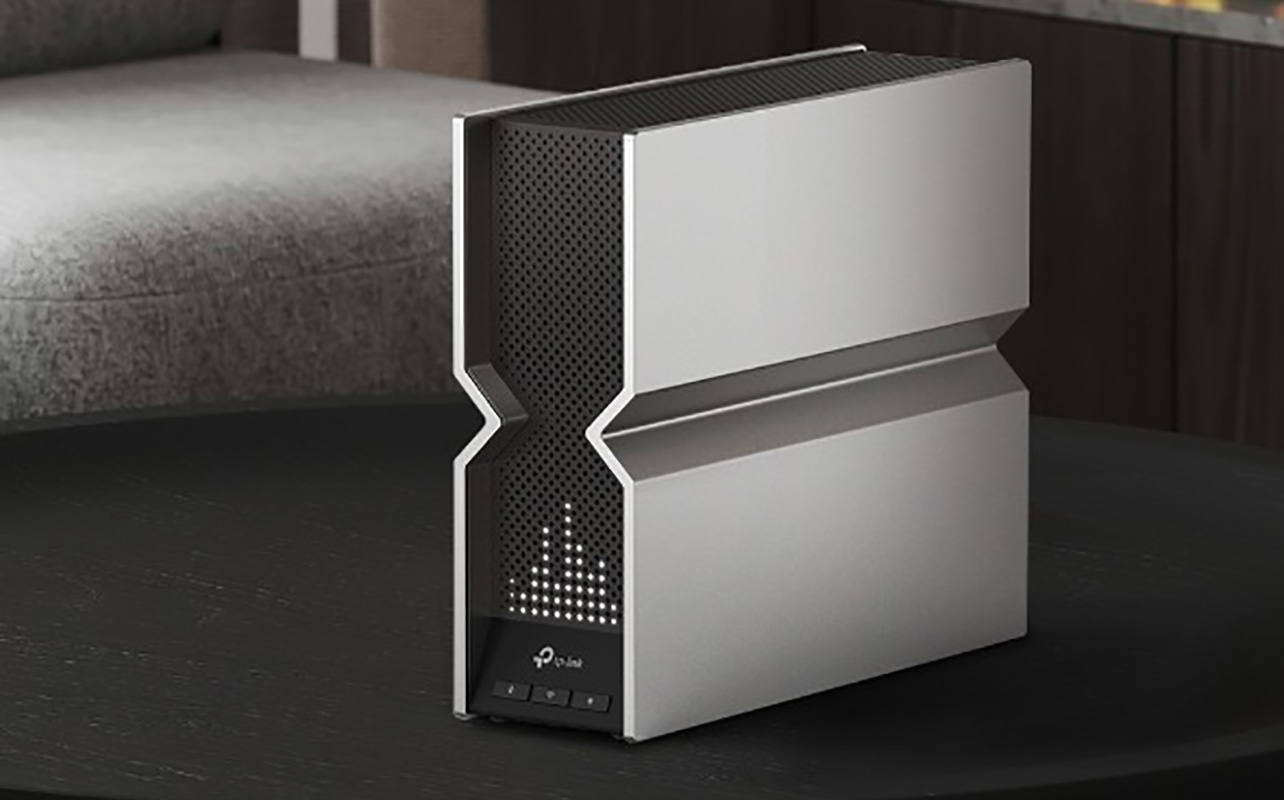
- Wi-Fi 7 router: Whether you’ve picked up a high-performance gaming router or a sleek, modern model designed for busy households, the setup steps are broadly similar across brands.
- Modem with active internet service: This will come from your internet service provider (ISP) like Rogers, Bell, Telus, or smaller local providers. Your modem brings internet into your home while the router spreads it around wirelessly.
- Power outlet and an Ethernet cable: Most routers include at least one Ethernet cable in the box, which you’ll use to connect the router to the modem.
- Wi-Fi 7-compatible device: You’ll need at least one device to test the Wi-Fi connectivity, like a laptop, phone, desktop, or mesh satellites. You do not need a Wi-Fi 7-compatible device to test connectivity—any Wi-Fi device will work. Wi-Fi 7 devices are only required to test Wi-Fi 7-specific features.
- Mobile app for your router brand: The latest routers make it easy to set up right from your phone through robust smartphone apps. Popular examples include TP-Link Tether, ASUS Router, and Netgear Nighthawk. These apps make the setup process much more straightforward, especially for first-time users.
Step 1: Unbox and connect the hardware
Start by placing your wireless router near your modem. Using the Ethernet cable, connect one end to the modem and the other end to the router’s WAN or Internet port. This port is usually colour-coded or labelled to make it easy to spot.
Next, plug the router into a power outlet and turn it on. Within a minute or two, the router’s LED lights will start blinking and then settle into a steady pattern. Different brands use different colours, but steady blue or green lights typically mean things are working as expected.
Take a moment to flip the router over or check the included card in the box. You’ll usually find the default network name (SSID) and temporary Wi-Fi password printed there. Even if you plan to change them later (you should do so immediately after as part of the process), you’ll need these details to connect during the initial setup.
Step 2: Download the companion app or access the admin panel

As mentioned, most new routers are designed to be set up through a companion app. Download the app for your router brand from the Apple App Store or Google Play Store. If you’d rather use a computer, you can also open a web browser and type in the router’s IP address, commonly 192.168.1.1 or 192.168.0.1. This brings up the router’s web-based admin panel. Once connected, the setup wizard will usually launch automatically. This wizard is the heart of your Wi-Fi 7 setup instructions, guiding you step by step.
One of the first things you’ll be asked to do is to create an admin password. This is different from your Wi-Fi password. The admin password protects access to your router’s settings, so make it strong and unique. Think of it as the key to your network’s control room. Make sure to store it somewhere safe, like in a secure password app.
Step 3: Create your Wi-Fi network
Now comes the fun part: creating your actual Wi-Fi network. You’ll start by naming your network, also known as the SSID. This is the name you’ll see when connecting your phone, laptop, or smart TV. Many people personalize it, but it’s best to avoid anything that reveals personal information like your address or full name. Anyone within proximity will see the name of your network pop up, including neighbours!
Next, set a secure Wi-Fi password. If your router supports it, which most Wi-Fi 7 models do, choose WPA3 encryption. WPA3 is the latest security standard and offers better protection against hacking attempts than older options.
One of the advantages of Wi-Fi 7 routers is that you can choose among three frequency bands: 2.4GHz, 5GHz, and 6GHz. You may see an option to combine them under one network name or keep them separate. Combining them is usually the easiest choice for beginners, as the router automatically assigns devices to the best band. Later on, however, you may be able to assign different devices to different bands manually, or can switch to a different band if you find that one is too congested.
You’ll also have the option to enable a guest network. This is handy if you want visitors to have internet access without giving them access to your main network and connected devices. It’s still a good idea, however, to keep the guest network password-protected as well.
At this point, the core Wi-Fi 7 router setup guide steps are complete, and your network is officially live.
Step 4: Place your router for best coverage
Where you put your router matters more than most people realize. Even the most powerful Wi-Fi 7 router can’t overcome poor placement.
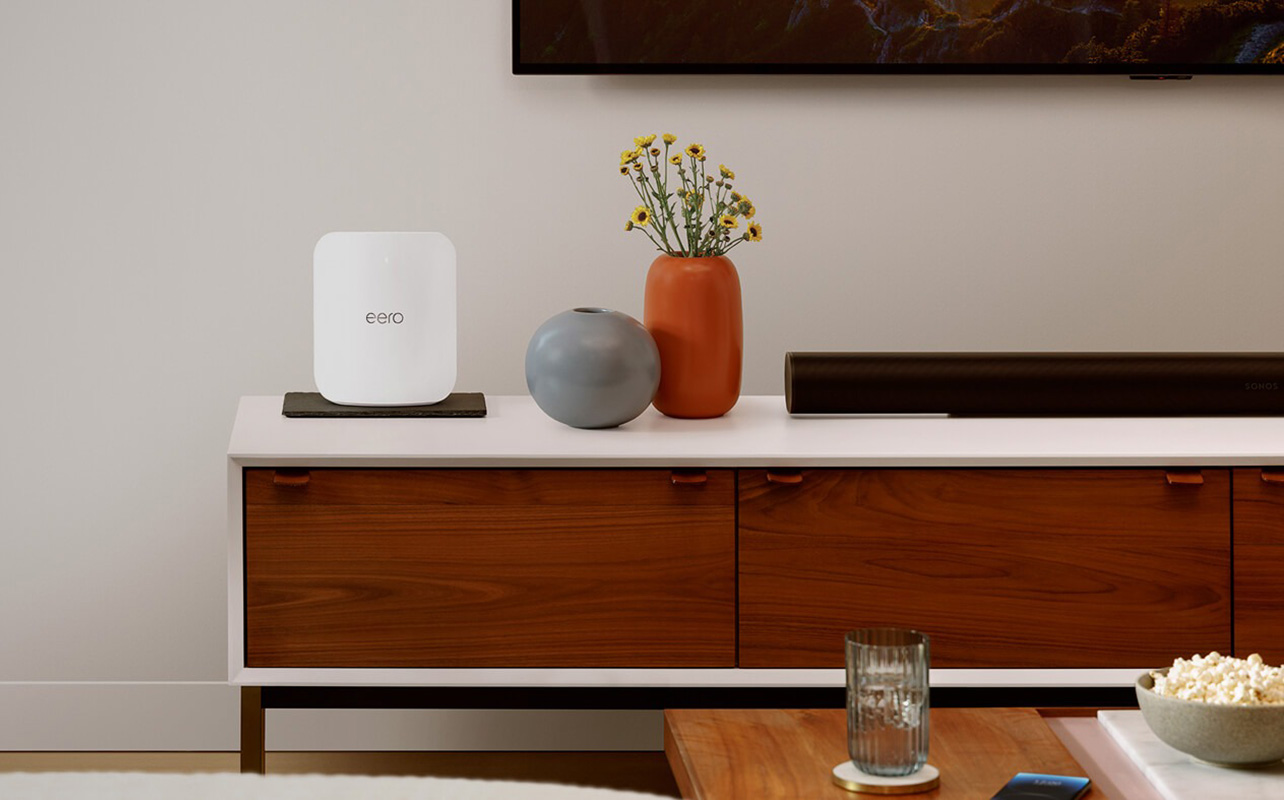
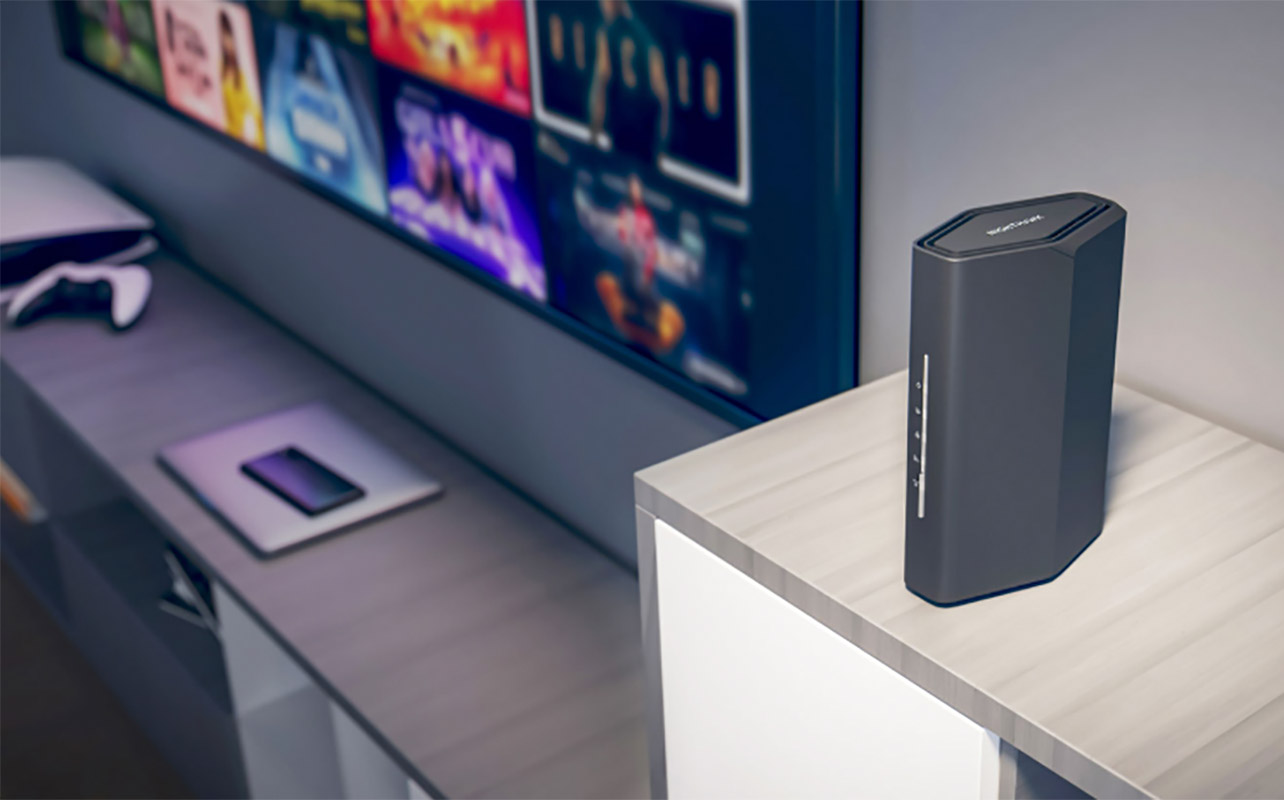
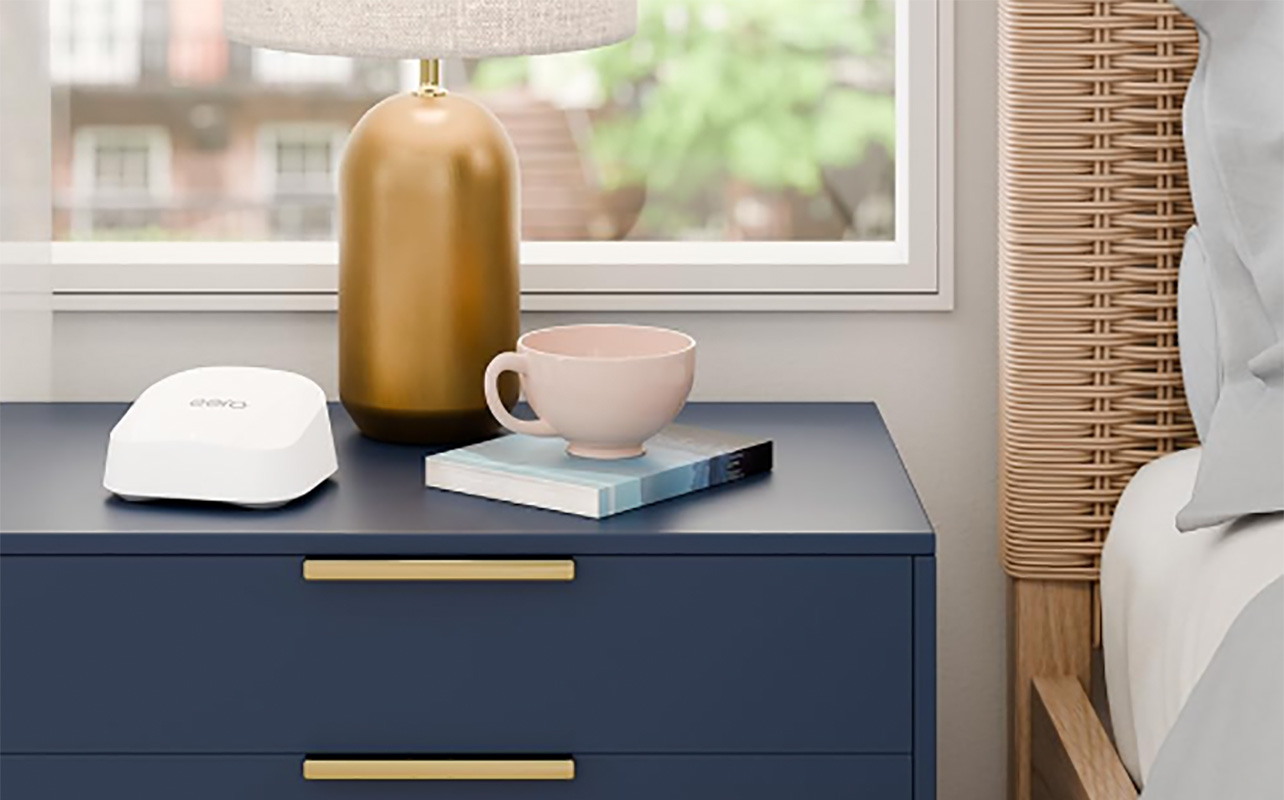
Aim for a central location in your home so the signal can spread evenly in all directions. Avoid placing it in a basement corner or behind large furniture. Many of the latest Wi-Fi 7 routers are designed to be elegant, decorative pieces so you don’t need to hide them away anymore like you did the old, boring black boxes of yesteryear.
Elevation helps too. A shelf or table is better than the floor, as Wi-Fi signals tend to travel outward and slightly downward. Try to keep the router away from thick walls, microwaves, and cordless phones, which can interfere with wireless signals. In many Canadian homes, concrete walls or metal ductwork can also weaken Wi-Fi performance.
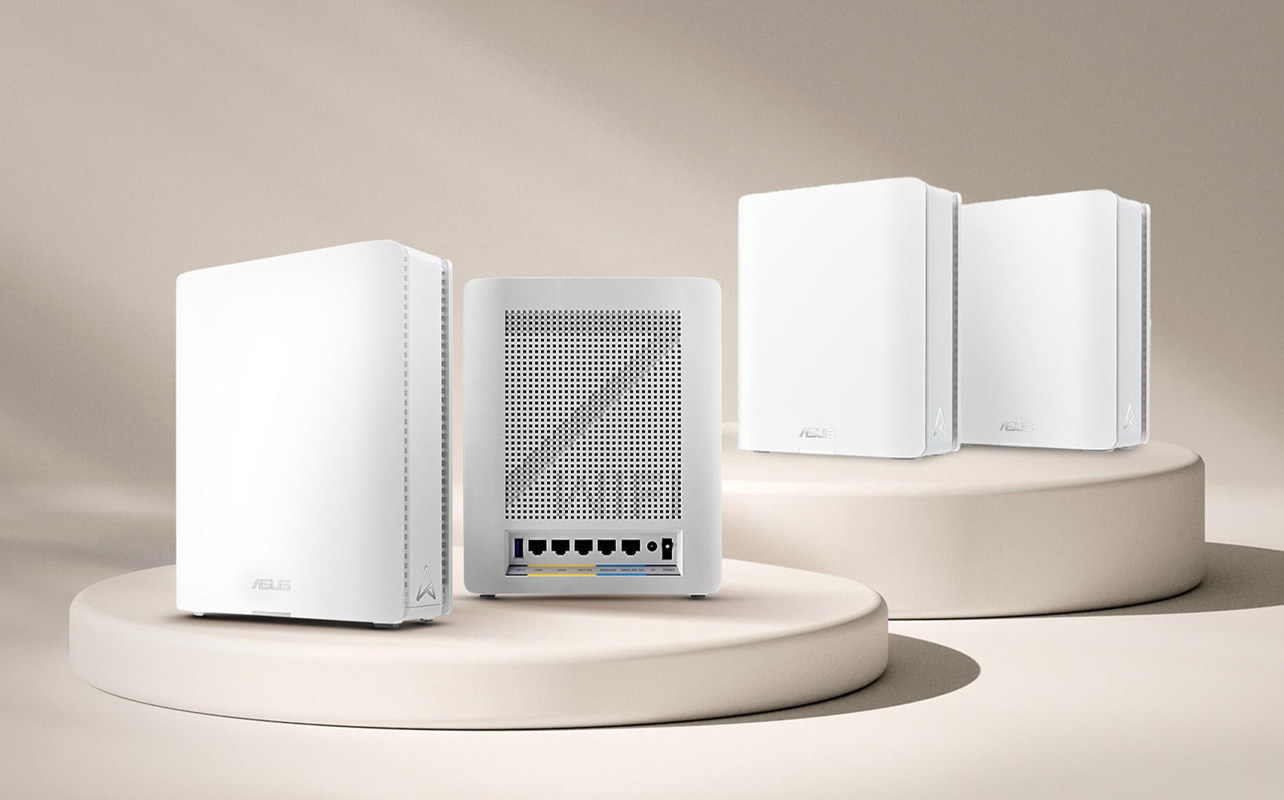
If your placement options are limited, you also have the option to set up a mesh Wi-Fi 7 system. This consists of satellites or nodes placed throughout the home, or in historically “dead” zones, to help boost the signal. Place the satellites within good range of the main router. They should be close enough to receive a strong signal, but far enough apart to extend coverage.
Step 5: Connect your devices
With the network live and the router in place, it’s time to connect your devices. Start with essentials like smartphones, laptops, tablets, and smart TVs. Enter your new Wi-Fi name and password, and confirm that everything connects smoothly. For smart home devices like cameras, doorbells, or smart speakers, check compatibility. Most will work just fine, but older devices may only support 2.4GHz networks. If you run into trouble, temporarily enabling a dedicated 2.4GHz network can help.
Many Wi-Fi 7 routers include Quality of Service (QoS) settings. These allow you to prioritize certain devices or activities, such as gaming consoles or work laptops, to ensure smooth performance even when the network is busy. Some of the latest Wi-Fi 7 routers have built-in AI that can handle this process for you.
Step 6: Customize advanced settings (optional)
If you’re comfortable digging a little deeper, this is where you can tailor the network to your lifestyle.
- Parental controls are a popular feature for families. You can set schedules, block certain websites, or pause internet access for specific devices.
- Security-focused users may want to enable the built-in firewall or explore VPN options, if supported. Some routers let you connect directly to a VPN service for added privacy.
- Gamers and streamers can use device prioritization tools to ensure low latency during online play or uninterrupted video streams.
- Finally, check for firmware updates. Manufacturers regularly release updates that improve performance, security, and stability. Keeping your router up to date is one of the easiest ways to get the best long-term experience.
Step 7: Test and optimize your connection
With everything set up, it’s time to see how your network performs in the real world. Use a speed test service like Ookla or Fast.com on a few different devices. Compare the results to the speeds promised by your internet plan. It’s normal if Wi-Fi speeds are lower than wired speeds, and if the real-world speeds don’t meet the maximum threshold that your ISP indicates.
Walk around your home with your phone or laptop to check signal strength in different rooms. Pay attention to areas where the signal drops or speeds slow down. If you notice weak spots, try adjusting the router’s placement slightly. Sometimes even moving it a metre can make a noticeable difference. If coverage is still an issue, adding mesh nodes may be the best solution.
When to consider a mesh Wi-Fi 7 system

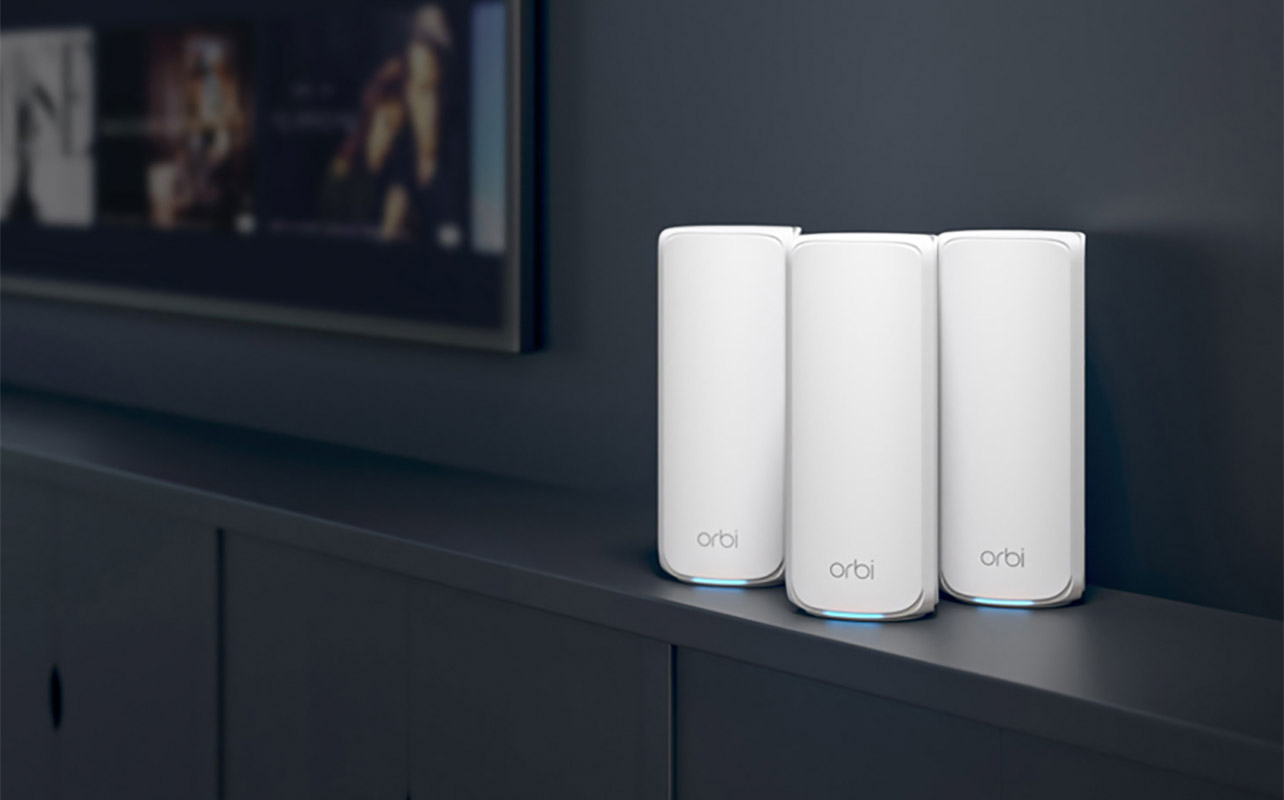
A single Wi-Fi 7 router is powerful, but it’s not always enough for larger or more complex homes. If you live in a multi-floor house, have a large floor plan, or struggle with dead zones, a mesh Wi-Fi 7 setup is worth considering. Mesh systems use multiple units that work together to blanket your home in consistent Wi-Fi coverage.
Compared to traditional extenders or signal boosters, mesh systems are easier to manage and offer seamless roaming. Your device automatically connects to the strongest node as you move around, without manual switching. For many households, especially those with home offices, smart homes, and multiple users, mesh Wi-Fi 7 systems provide a noticeable upgrade in reliability and performance.
Can AI help enhance speed, stability, and security of your router? Read about how AI technology can improve your home network.
Wi-Fi 7 router setup FAQ

Can I use a Wi-Fi 7 router with older devices?
Yes. Wi-Fi 7 routers are backward compatible with Wi-Fi 6, Wi-Fi 5, and even Wi-Fi 4 devices. Your older devices will still connect; they just won’t take advantage of Wi-Fi 7’s newest features and faster speeds through additional bands.
Do I need a new modem for Wi-Fi 7?
Not always. As long as your modem supports your internet plan’s speed and technology, it should work fine with a Wi-Fi 7 router. The router and modem handle different jobs.
Do I need a smartphone to set up my router?
No, but it helps. Most brands offer both app-based and browser-based setup options. A smartphone makes the process faster and more intuitive, but a computer works just as well.
How do I know if the router is working properly?
Check the LED lights on the router; they should be solid green or blue, depending on the brand. You should also be able to browse the internet once connected to the network.
Can I use a mesh system with a Wi-Fi 7 router?
Yes. Many Wi-Fi 7 routers support mesh functionality with compatible satellite units, often from the same brand. This is a flexible way to expand coverage over time.
Start your journey to fast and reliable internet at home
With the right preparation and this step-by-step Wi-Fi 7 router setup guide, you can go from unboxing a Wi-Fi networking router to blazing-fast internet in under an hour. Whether you’re upgrading for work, gaming, streaming, or a fully connected smart home, a properly installed Wi-Fi 7 network sets the stage for everything you do online next.

This article was drafted using AI technology and then reviewed, fact-checked, and revised by a member of our editorial team.


