
Building a PC today is about designing a setup that fits you. Whether you’re a gamer chasing ultra-smooth performance, a creator working with 4K footage, or a student experimenting with AI tools, your PC case is what brings it all together. Think of the case as your system’s foundation. It’s where all your components live, breathe, and stay cool. A well-chosen case ensures every part fits comfortably, air flows freely, and upgrades stay easy in the years ahead.
This PC case compatibility guide is designed for first-time builders, DIY gamers, and content creators who want to avoid surprises. I’ll walk you through everything from matching your motherboard size and GPU clearance to choosing the right cooling setup so you can build confidently and make your PC look as good as it runs.

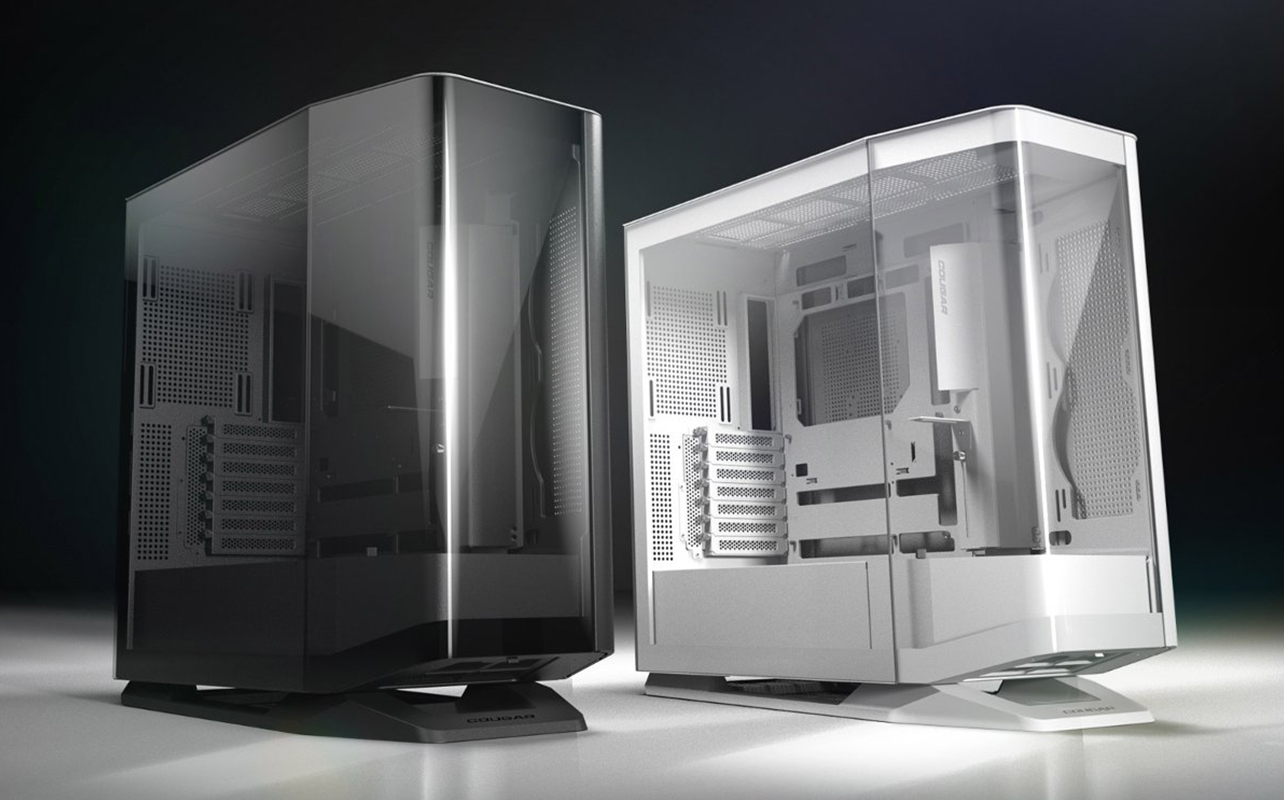
Understanding PC case compatibility
Before buying a case, it’s important to make sure every major part of your build fits and functions properly inside it. Compatibility isn’t just about space it’s also about airflow, cable routing, and upgrade flexibility. A well-matched case makes your build easier to assemble, cooler to run, and cleaner to maintain.
Here are the key factors that define compatibility in 2025:
| Component | What to check | Tips |
| Motherboard | Form factor (ATX, mATX, ITX, E-ATX) | Make sure your case lists support for your board’s size, not all mid-towers handle E-ATX comfortably |
| GPU | Maximum length & thickness (slots) | Modern cards like RTX 50 Series or RX 9000 Series can exceed 300mm and 4 slots thick, leave 10mm–20mm of buffer for airflow |
| CPU cooler | Height or radiator space | Check cooler height for air coolers and radiator mount support for AIOs (240mm– 420mm) |
| PSU | ATX vs SFX format + cable clearance | ATX 3.0 PSUs use 12VHPWR connectors plan extra space for safe cable bends |
| Storage | 2.5″ & 3.5″ drive bays + M.2 slots | Fewer cases have large HDD bays, confirm mounts if you still use them |
| Fans / airflow | Number and size supported (120mm, 140mm) | Mesh-front designs offer better cooling than solid panels |
| Extras | Tempered glass, RGB support, front I/O layout | Balance looks and function, USB-C ports and clean cable channels add everyday convenience. |
Once you’ve confirmed these basics, you’ll know which cases fit your components comfortably and leave room for upgrades down the road. If you’d like a deeper look at specific models and categories, check out our PC cases buying guide for more details.
1. Motherboard compatibility
Your motherboard is the heart of your PC. It connects every major component and decides what kind of case you’ll need. Cases are designed to support specific form factors of motherboards:
- Mini-ITX (17cm × 17cm): Because it’s perfect for ultra-compact, minimalist builds, you’ll need a case that specifically lists ITX support.
- Micro-ATX (24cm × 24cm): A space-saving, budget-friendly option with fewer expansion slots, it fits in most mini- or mid-tower cases.
- ATX (30cm × 24cm): The most popular size, ideal for gaming or productivity, it works best in mid- and full-tower cases.
- E-ATX (up to 33cm × 33cm): It’s extra-large for advanced builds or workstation setups, so it’s most comfortable in full-tower cases.
Modern motherboards, such as Intel Z790 or AMD B650/B650E, include DDR5 RAM, PCIe 5.0 slots, and heavy heatsinks around the CPU and M.2 areas. These design changes make accurate fit more important than ever: not every mid-tower can truly handle an E-ATX board without blocking cable grommets or top-mounted radiators.
Pro tip: Always verify your case’s supported form factors and check user photos or spec sheets before buying. If you’re building your first PC, an ATX motherboard in a mid-tower case gives you the best balance of space, airflow, and easy cable routing. Full-tower cases, meanwhile, remain the top choice for high-end gaming or creative rigs. They offer generous clearance for larger boards, multiple GPUs, or 360/420 mm radiators and plenty of airflow for future upgrades.
For a deeper breakdown of form factors, ports, and chipset compatibility, check out our motherboard compatibility guide.
2. GPU compatibility
Your graphics card or GPU is the powerhouse behind gaming, creative workloads, and AI tasks—and often the largest part of your build. Choosing a case that fits your GPU comfortably is critical for both cooling and aesthetics.
What’s changed in 2025
- Next-gen sizes: GPUs from NVIDIA’s GeForce RTX 50 Series (Blackwell) and AMD’s Radeon RX 9000 Series (RDNA 4) are physically larger than previous generations. Many models exceed 300mm–320mm in length and occupy three to four slots in thickness.
- Connector space: These cards use the 12VHPWR (16-pin) connector or PCIe 5.0 variant, which requires at least 35mm of clearance from the side panel to avoid bending the cable.
- Airflow buffer: Always leave a 10mm–20mm gap between the GPU and the front fans or case wall so air can move freely.
- Vertical mounting: Now common, vertical GPU mounts let you display the card through tempered glass. Check that your case includes (or supports) a vertical bracket and that the card won’t sit flush against the glass it still needs breathing room.
Quick checklist for GPU fitment
- Check your case’s maximum GPU length (listed in mm) and compare it to your card’s specs.
- Confirm slot clearance. Most high-end cards are triple-slot or thicker.
- Plan power-cable routing and ensure cables plug in cleanly without stressing connectors.
- If using a vertical mount, confirm riser-cable compatibility and ventilation clearance.
- Verify front-fan or radiator spacing. Long GPUs can conflict with front-mounted coolers.
Pro tip: Dual-GPU setups are mostly obsolete in 2025. One powerful GPU and good airflow will outperform two crammed cards in nearly every scenario.
3. Cooling system compatibility
Keeping your PC cool is essential for performance and longevity, especially as today’s CPUs and GPUs run hotter than ever. The good news? Cases in 2025 support a wide range of PC cooling options, from traditional air setups to advanced liquid cooling systems with RGB-synced fans.
Air cooling
- Ideal for most everyday or gaming builds
- Check your case’s maximum CPU-cooler height (usually between 155mm–170mm)
- Choose a case with front and top fan mounts for balanced intake/exhaust airflow
- Mesh-front panels or side vents dramatically improve cooling efficiency
Liquid cooling (AIO or custom loop)
- Great for high-performance or overclocked systems
- Verify that your case supports your radiator size. Common options now include 240mm, 280mm, 360mm, and 420mm
- Many 2025 mid-towers allow push-pull configurations (two sets of fans for better pressure and heat removal)
- Newer AIOs often use daisy-chained RGB fans for cleaner cabling and have dedicated pump-header supporting motherboards.
- Always confirm top/front mounting compatibility; a 420mm radiator won’t fit in every mid-tower.
Pro tip: Larger cases don’t just offer more room, they also make routing tubes, cables, and fans easier, leading to quieter and more efficient operation. For first-time builders, an air-cooled mid-tower is the simplest starting point. But if you plan to upgrade later, choose a case that can accommodate at least a 360mm radiator for future liquid cooling.
4. PSU compatibility
The power supply unit (PSU) keeps your PC’s heart beating delivering stable power to every component. While most PSUs share common dimensions, modern systems now have new standards that affect case fit and cable routing. Here are some of the key updates to be aware of:
- ATX 3.0 & PCIe 5.0-ready PSUs are the norm, featuring 12VHPWR (16-pin) connectors that power high-end GPUs like the RTX 50 Series
- High-power 12VHPWR connectors need extra room behind the side panel, so look for cases that offer 20mm–35mm of cable-management depth and proper grommets near the GPU
- Compact builds using micro-ATX or mini-ITX boards may require SFX or SFX-L power supplies smaller but just as efficient
Choosing the right PSU for your case
- Match the form factor (ATX vs SFX) listed in your case specs
- Check the maximum PSU length smaller cases sometimes cap it around 160mm
- Prioritize a modular PSU to minimize clutter and improve airflow by using only the cables you need
- Confirm your PSU’s wattage and efficiency rating meet your GPU and CPU requirements (look for 80 Plus Gold or higher for most modern systems)
Pro tip: If you plan to upgrade to a high-power GPU later, choose a case that can handle a full-size ATX 3.0 PSU with room to spare—it will save you from redoing your cable layout down the line.
Practical tips for selecting the right PC case
Picking the perfect case is easy when you follow a simple flow. Here’s a quick six-step checklist to guide you through the process:
- Start with your motherboard size: Confirm whether you need an ITX, micro-ATX, ATX, or E-ATX case. This choice determines your overall case category (mini, mid, or full tower).
- Check GPU clearance: Compare your case’s maximum GPU length (in mm) with your card’s specs. Remember to leave 10mm–20mm of extra room for airflow and cable bends.
- Plan your cooling layout: Decide between air and liquid cooling. If you prefer liquid, make sure your case supports at least a 360mm radiator for future upgrades.
- Choose the right PSU format: Match ATX or SFX type to your case, and look for ATX 3.0/PCIe 5.0 support for newer GPUs. Modular PSUs keep airflow clean.
- Balance looks and airflow: Mesh panels cool better and tempered glass adds style while trapping heat. Find a balance that fits your setup.
- Check quality-of-life features: Front USB-C ports, dust filters, hook and loop fasteners, and pre-routed channels make building and maintenance a lot easier.
Pro tip: If you’re ever unsure, pick a well-ventilated mid-tower that supports ATX motherboards and 360mm radiators, it’s the most flexible option for first-time builders.
Installation and cable management tips
Building your PC is the most rewarding part and good cable management can make the difference between a clean, efficient build and a messy one. Here are some helpful tips:
Before you start
- Work on a clean, static-free surface with good lighting.
- Install motherboard standoffs before seating the board. Skipping them is a common beginner mistake that can short the board.
- Don’t over-tighten screws; snug is enough, especially for tempered-glass panels.
Routing and managing cables
- Use hook and loop straps or your case’s built-in cable channels instead of one-time zip ties for easier adjustments later.
- Keep power cables flat against the back panel to improve airflow and make side-panel closing easier.
- Leave at least 30mm–35mm behind the motherboard tray for 12VHPWR GPU cables to bend safely without stress.
- Plug in front-panel and fan connectors before installing your GPU it saves time and space.
Final checks
- Boot-test the system before closing panels to confirm all fans and lights power on.
- Monitor temperatures on first startup; if airflow seems restricted, re-evaluate fan orientation.
- Keep a few spare hook and loop straps handy for future upgrades.
Pro tip: A tidy cable layout helps fans move air freely, reduces heat build-up, and makes future maintenance far easier.
Bringing your build together
Building your own PC in 2025 is more exciting than ever, whether you’re chasing top-tier gaming performance, exploring AI workloads, or designing a clean, creative workspace. Your PC case plays a bigger role than just holding the parts together: it defines how cool, quiet, and future-ready your setup will be.
Take the time to plan your build, double-check your component fit, and pick a case that balances performance with personality. From airflow to aesthetics, every choice contributes to how your system performs and feels.
For a deeper look at styles, features, and top models, check out our full range of PC cases at Best Buy to find the one that fits your vision perfectly.


