
The Nintendo Switch is one of the most versatile gaming consoles available today, and I’ve got a few tips to help you get even more out of your console. With the Nintendo Switch’s ability to shift seamlessly between handheld and TV modes, it delivers a gaming experience that adapts to your lifestyle on the go or at home.
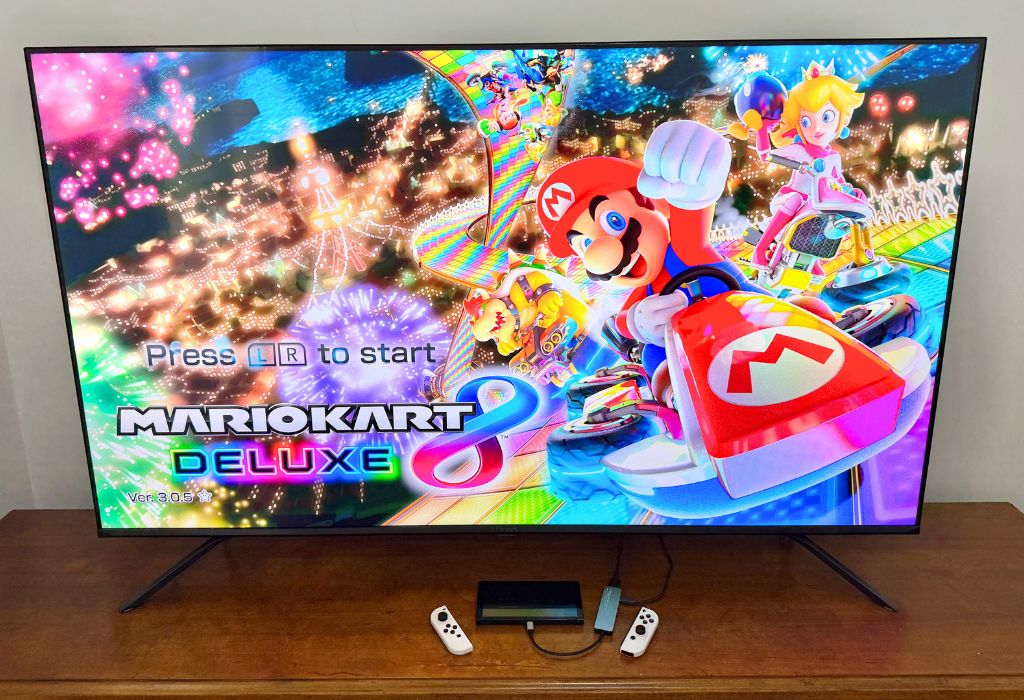
The handheld experience is great when travelling, but nothing beats the thrill of playing on a big screen, whether you’re exploring Hyrule in The Legend of Zelda: Breath of the Wild or racing through Mario Kart 8 Deluxe tracks with friends. Playing on a larger screen isn’t just about better visuals—it’s about enhancing the action experience. If you’re into high-resolution adventures or local multiplayer battles, connecting your Nintendo Switch to a TV takes the experience to the next level.
If you’re wondering how to connect the Nintendo Switch to a TV using the official dock or how to hook up directly to your TV with different accessories, you’re in the right place. This guide will walk you through the processes step-by-step, whether you’re using the official dock or an alternative method. Let’s dive into the setup process and level up your Nintendo Switch experience!
Nintendo Switch dock set-up: what you’ll need
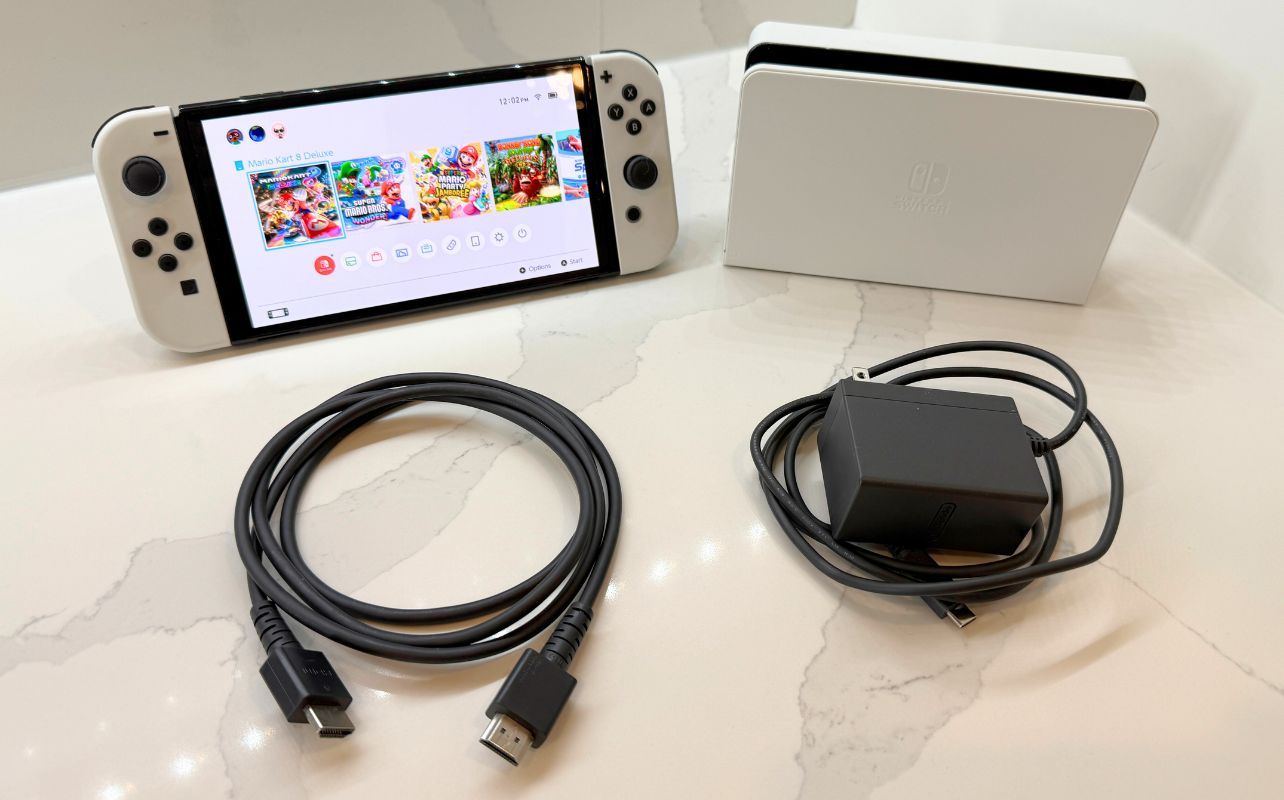
Before you get started, make sure you have the following:
- Nintendo Switch or Nintendo Switch OLED Model. (Please keep in mind that the Nintendo Switch Lite is not compatible with TV mode and will not work with this process.)
- Nintendo Switch Dock – This hardware seats your Nintendo Switch while allowing it to charge and output a video signal to your TV via HDMI cables.
- Official Nintendo AC Adapter (Model No. HAC-002) The official Nintendo AC Adapter provides the proper voltage and amperage to charge your Nintendo Switch safely. While third-party adapters are available, using Nintendo-licensed accessories helps prevent potential damage.
- HDMI cable
- TV with HDMI input
Connecting Nintendo Switch to a TV with the dock
The easiest and most common way to connect your Nintendo Switch to your TV is by using the official Nintendo Switch Dock, which comes included with most Nintendo Switch models. Here’s a step-by-step guide on how to achieve this:
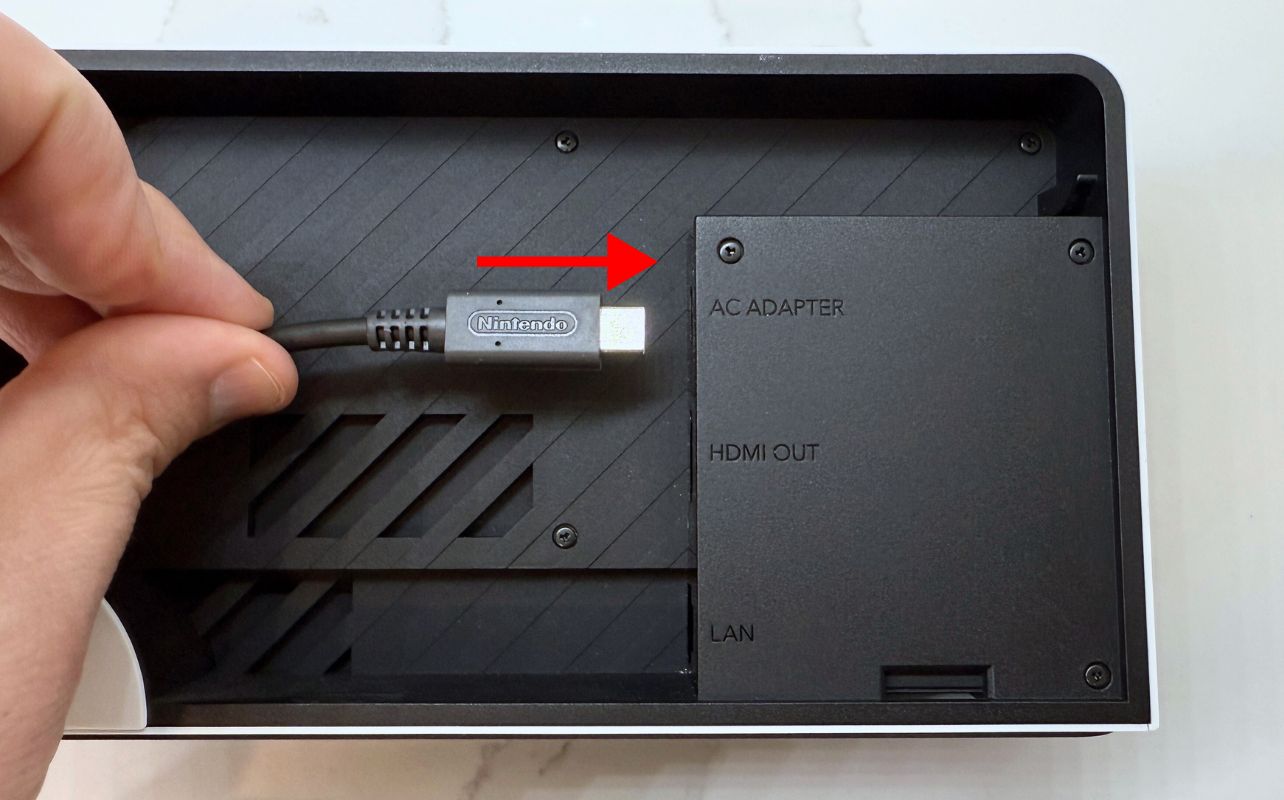
- Open the back cover of the Nintendo Switch Dock to access the ports:
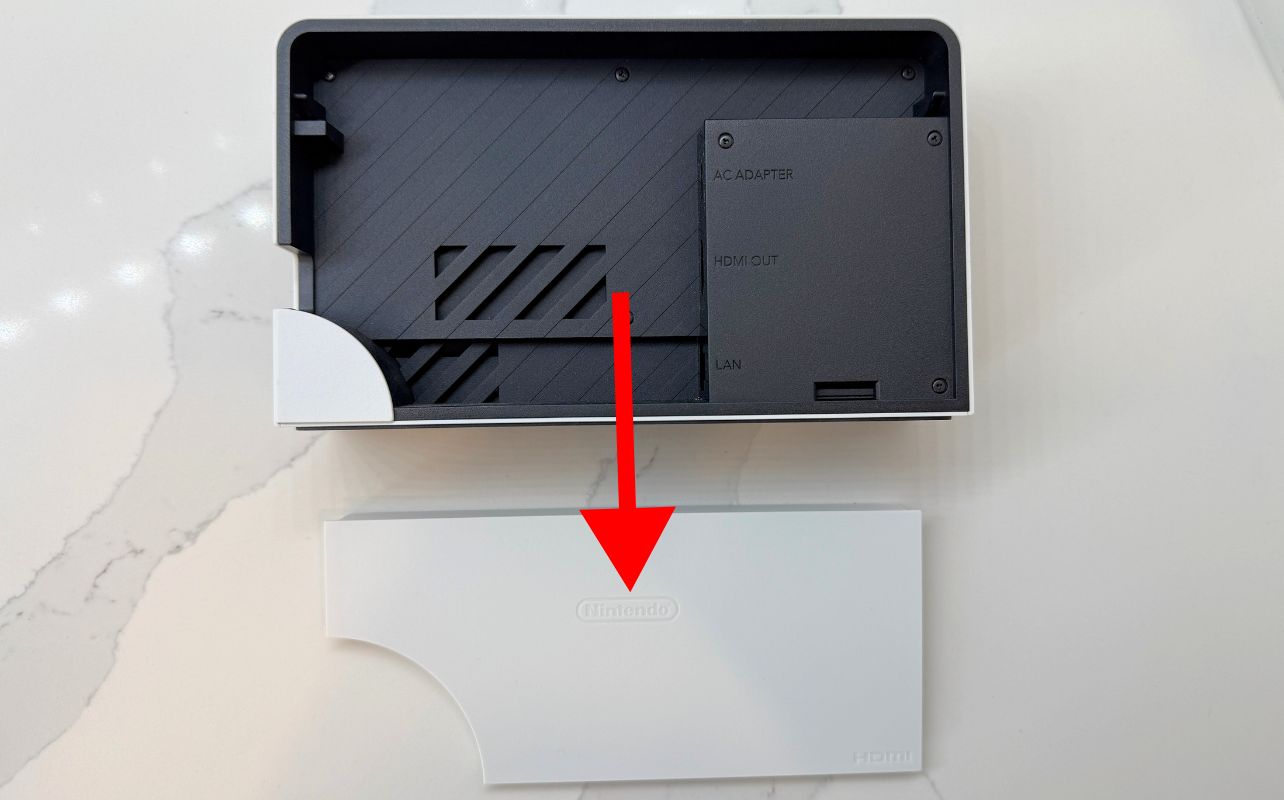
2. Connect the AC Adapter to the port labelled “AC ADAPTER,” and plug it into a wall outlet:
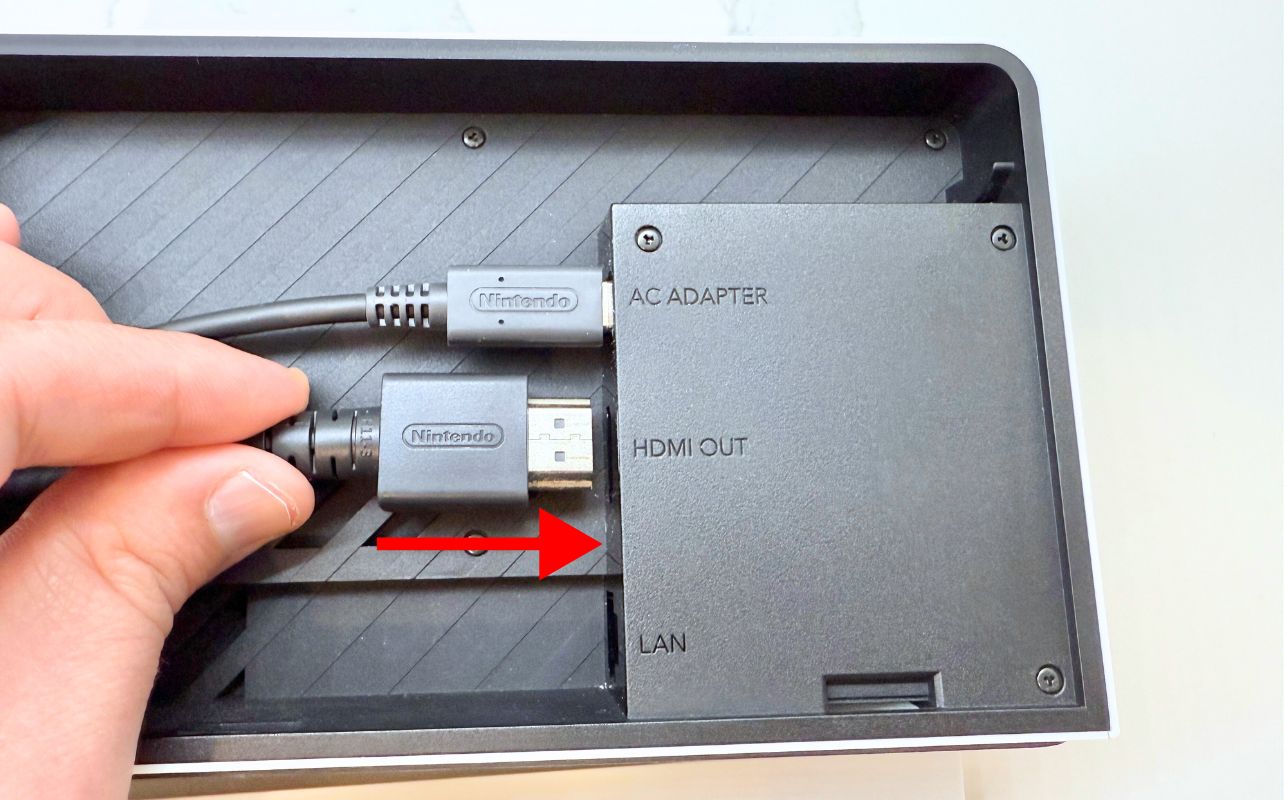
3. Insert the HDMI cable into the “HDMI OUT” port on the dock and the other end into an available HDMI port on your TV.
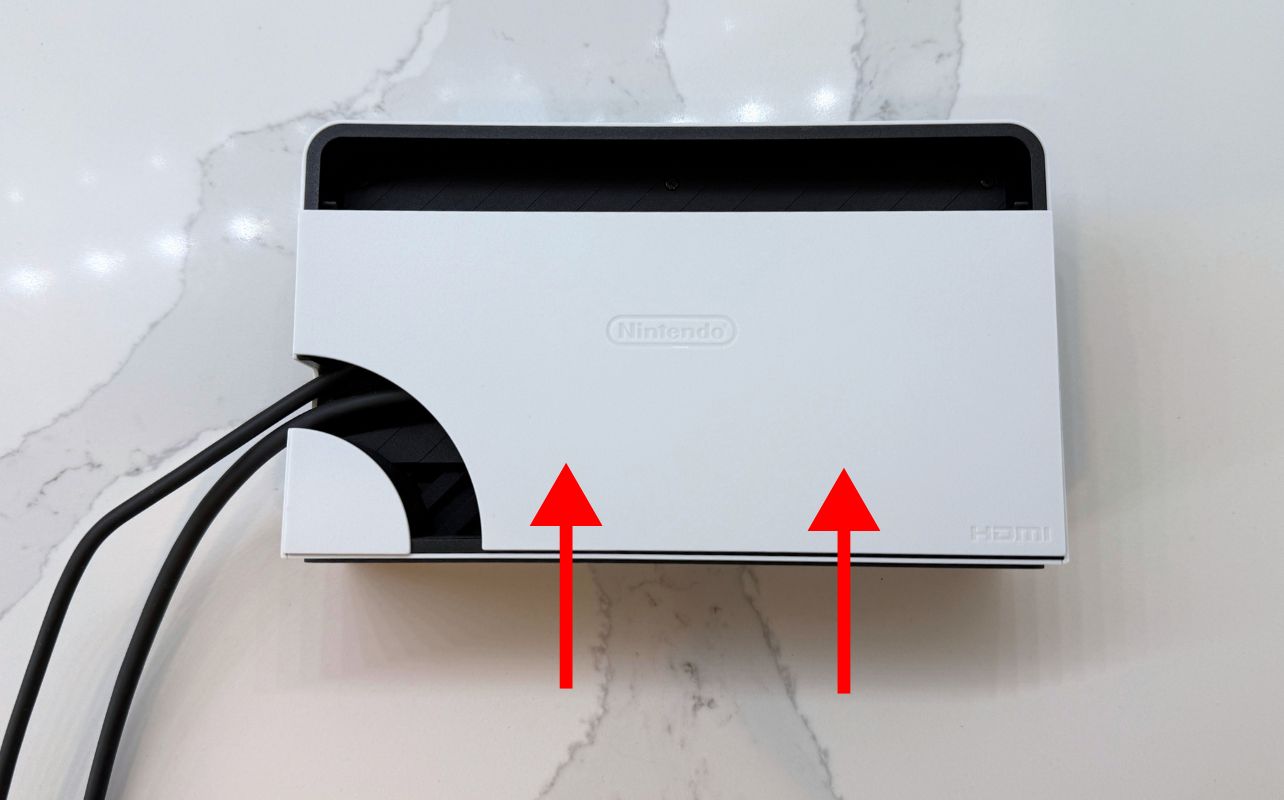
4. Close the dock’s back cover to keep cables tidy:
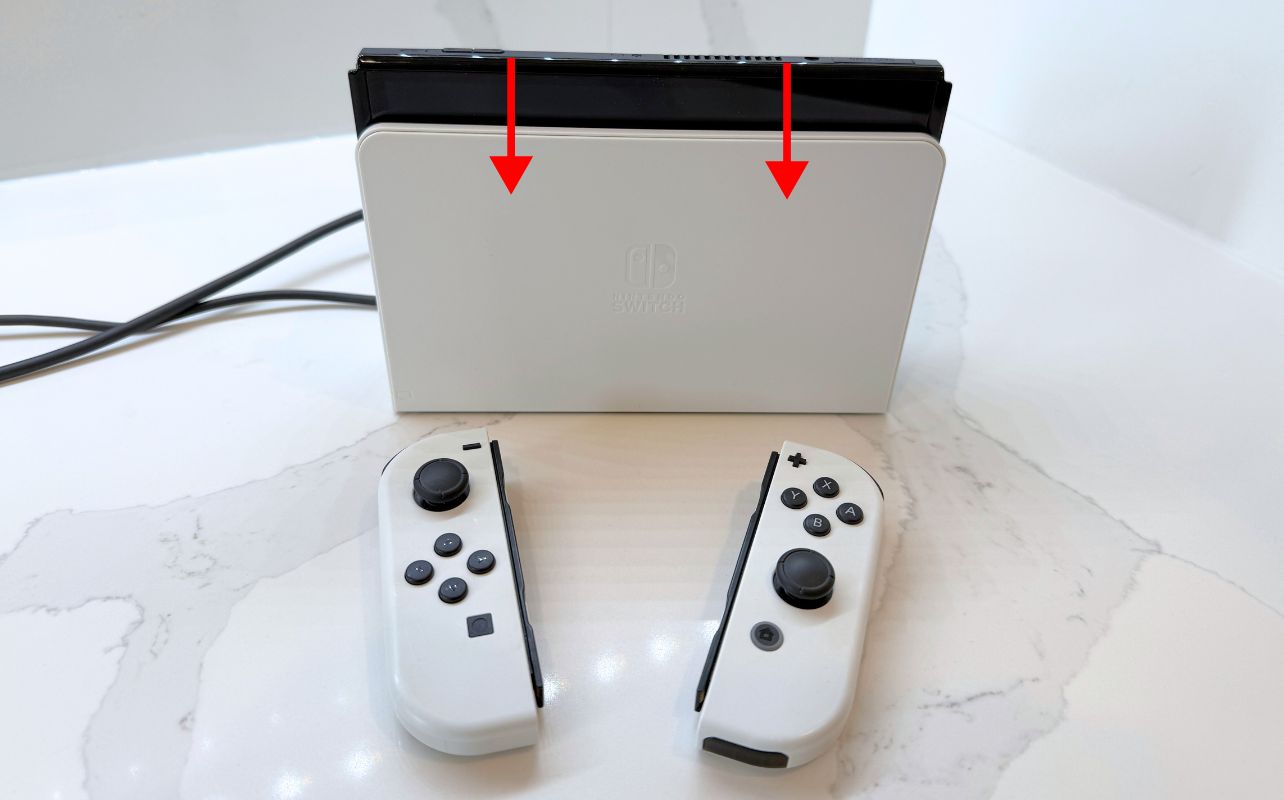
5. Detach the Joy-Con controllers from the sides of the Nintendo Switch console:
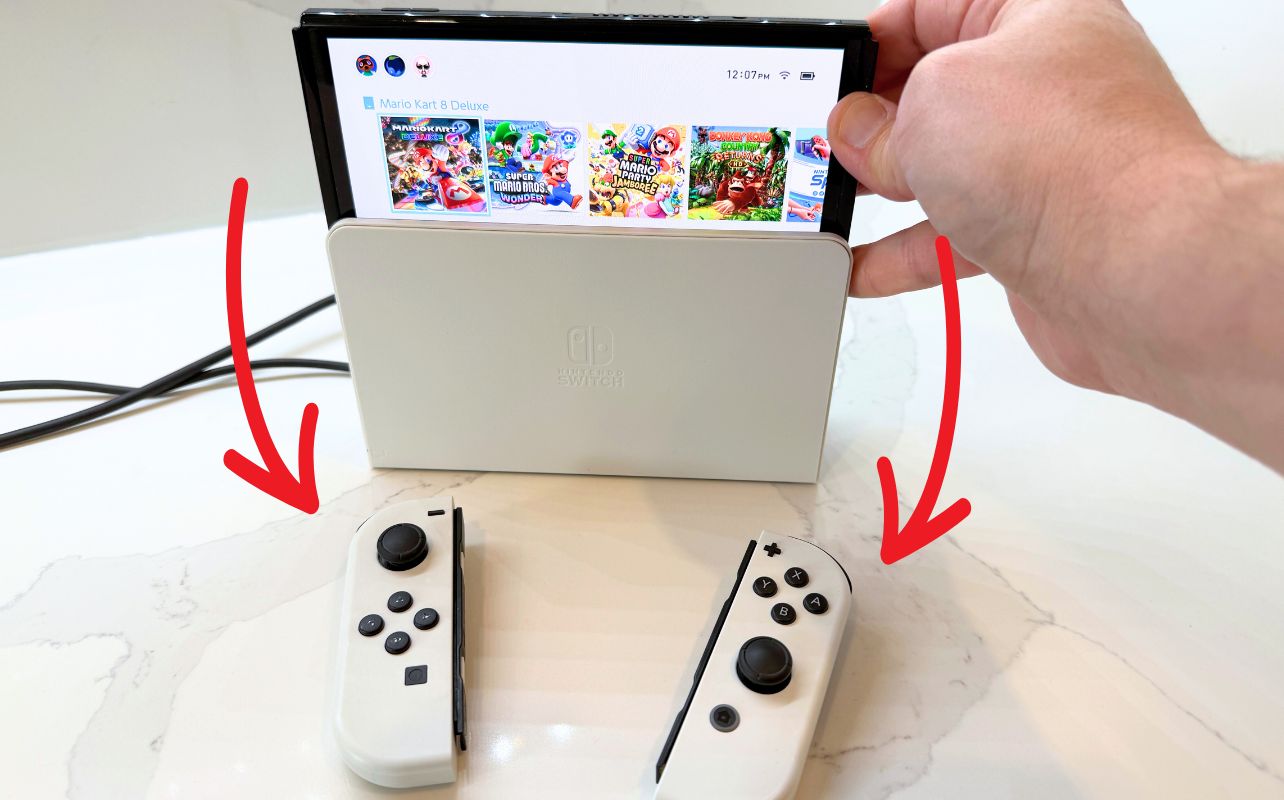
6.Place the console into the dock, ensuring the screen faces the front panel.
7. Turn on your TV and switch to the correct HDMI input.
8. Power on the Nintendo Switch, and you should now see the home screen displayed on your TV.
Quick Tip: If the image doesn’t appear, double-check that the Nintendo Switch is seated correctly in the dock.
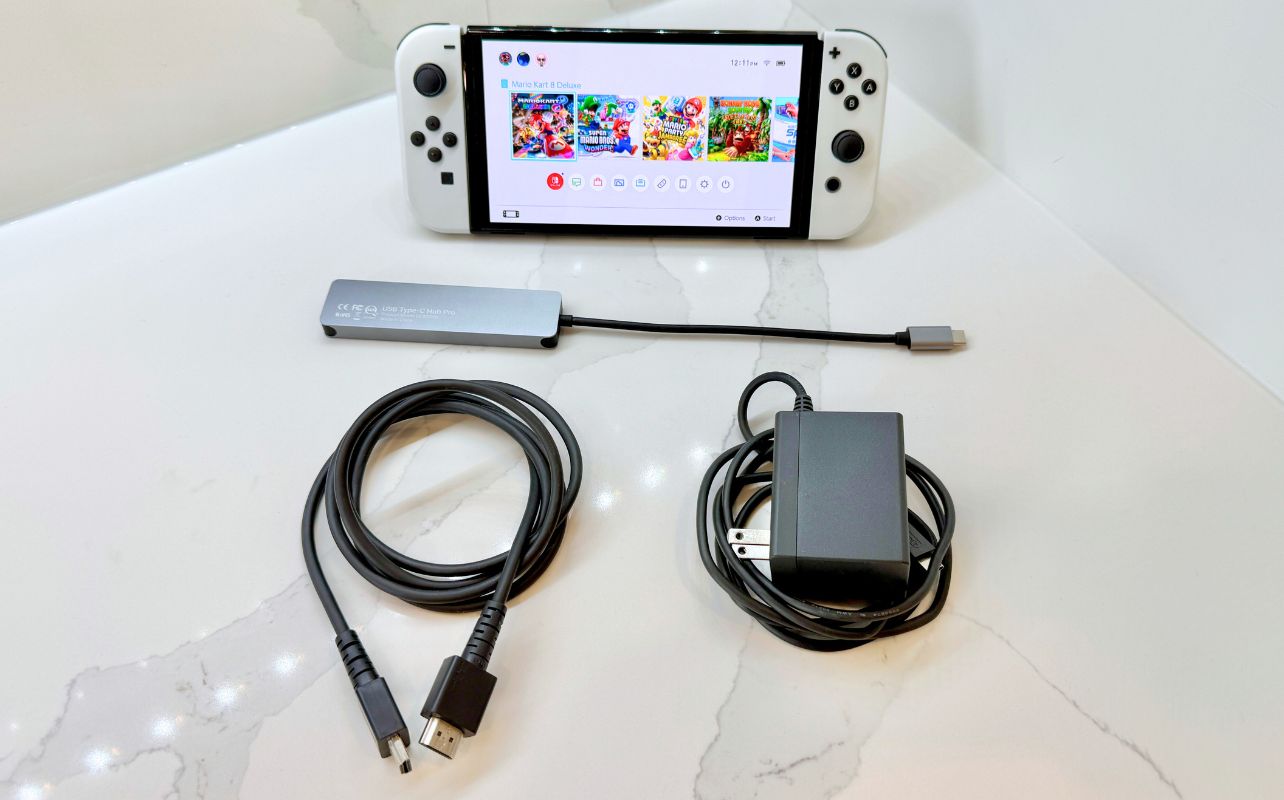
Dockless setup: what you’ll need
Don’t have the official dock? You can still connect your Nintendo Switch to a TV using third-party accessories. Just be sure they adhere to the manufacturer’s specifications to avoid damaging your Nintendo Switch. Once you’ve verified that, here’s what you’ll need to set it up:
- Nintendo Switch / Nintendo Switch OLED Model (The Nintendo Switch Lite doesn’t support this configuration)
- USB-C to HDMI connection hub (must support video output and have USB-C and HDMI inputs). When choosing a USB-C to HDMI hub, look for models that support video output and Power Delivery (PD). Trusted accessory brands like Anker often produce hubs compatible with Nintendo Switch. Be cautious with unlicensed adapters, as some may not support video output even if they physically fit.
- HDMI cable
- AC Adapter (Model No. HAC-002)
- TV with HDMI input
Steps to connect the Nintendo Switch to a TV without the Dock
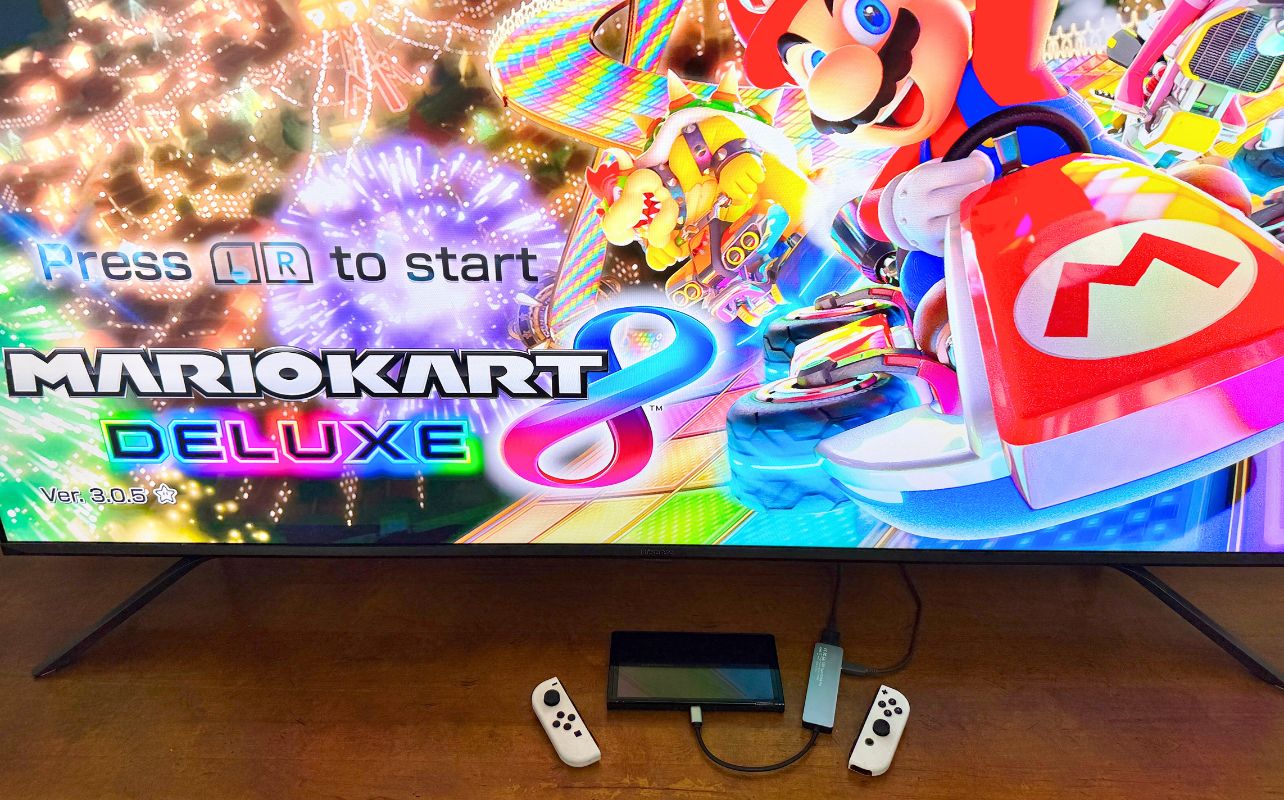
No dock? No problem. You can still connect your Nintendo Switch to your TV using a USB-C to HDMI hub. This is great to reduce clutter or help if you are travelling with your Nintendo Switch and don’t want to bring the dock to save space. Follow these steps to get step up on the big screen:
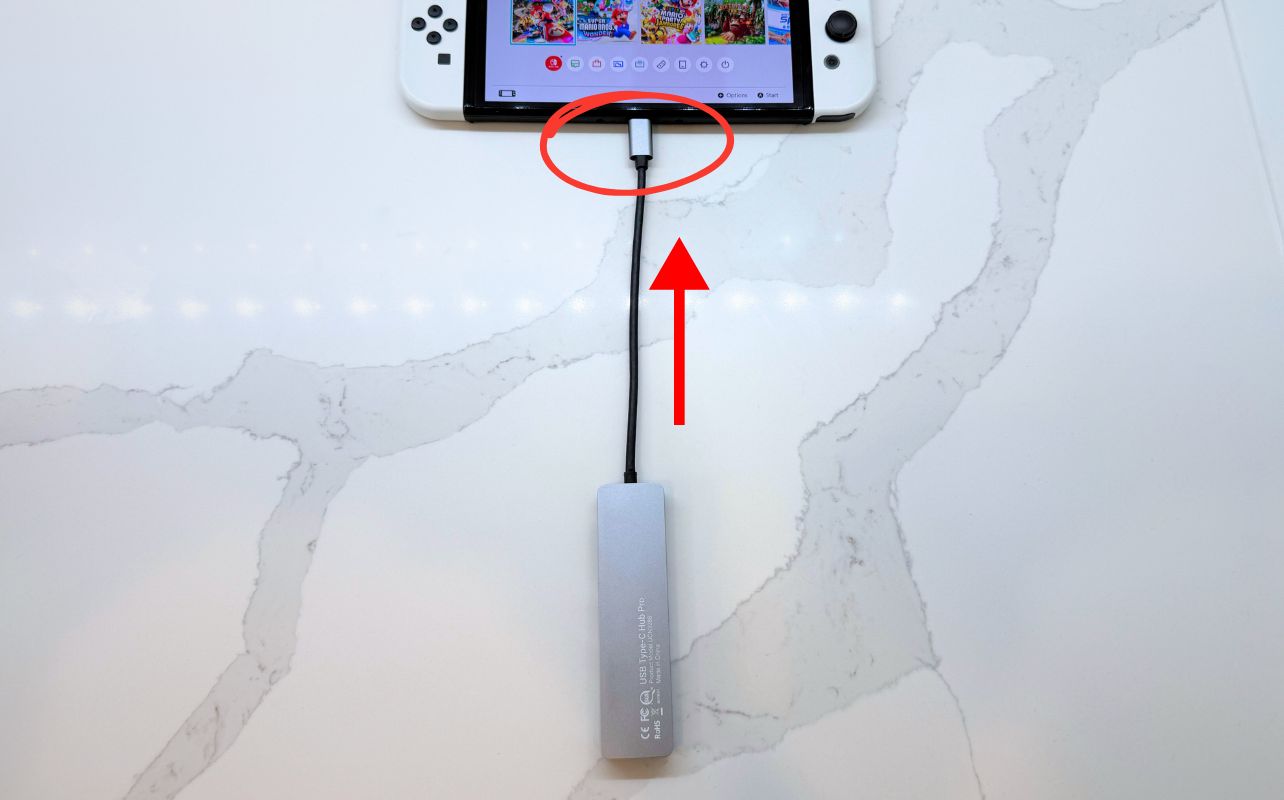
1. Connect the USB-C/HDMI hub to the Nintendo Switch’s USB-C port at the base of the console:
2. Plug one end of the HDMI cable into the hub and the other end into the HDMI port on your TV:

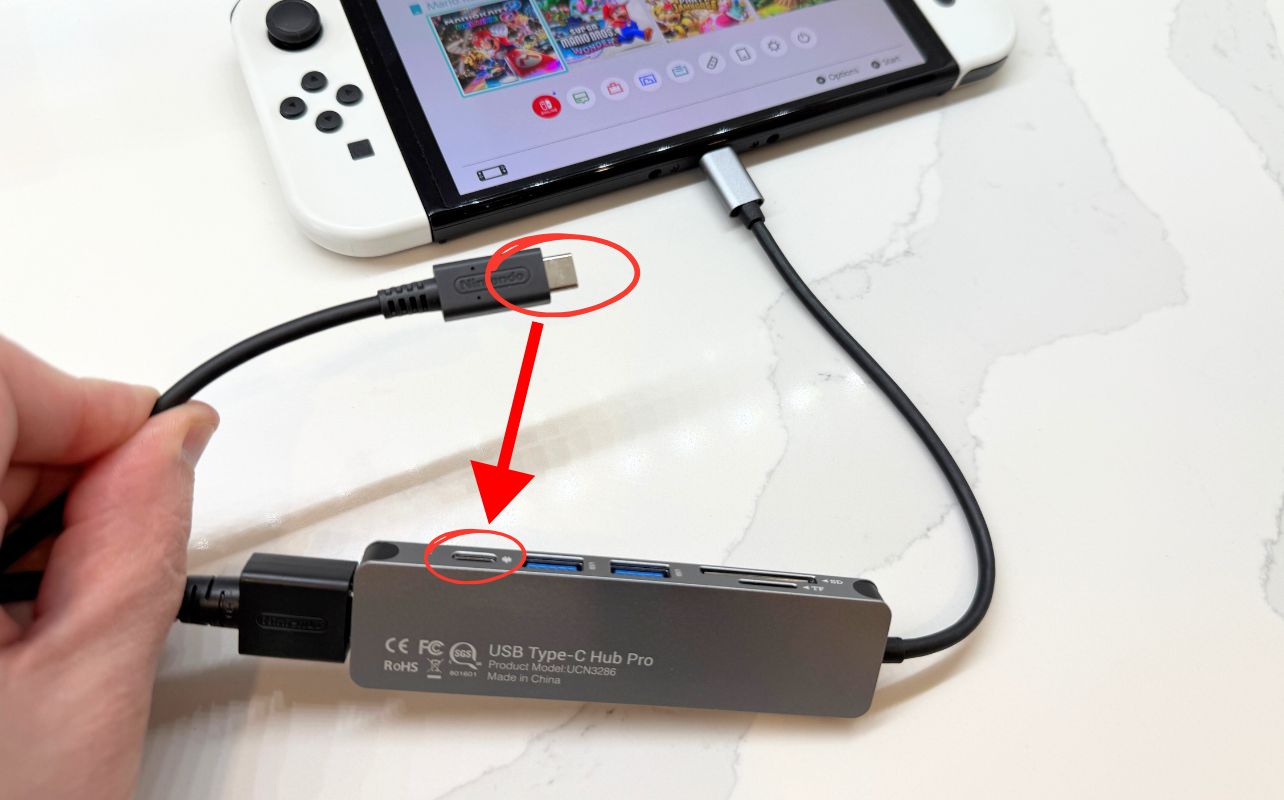
3. Connect the AC adapter to the hub’s USB-C input and plug it into a wall outlet:
4. Turn on your TV and switch to the correct HDMI input.
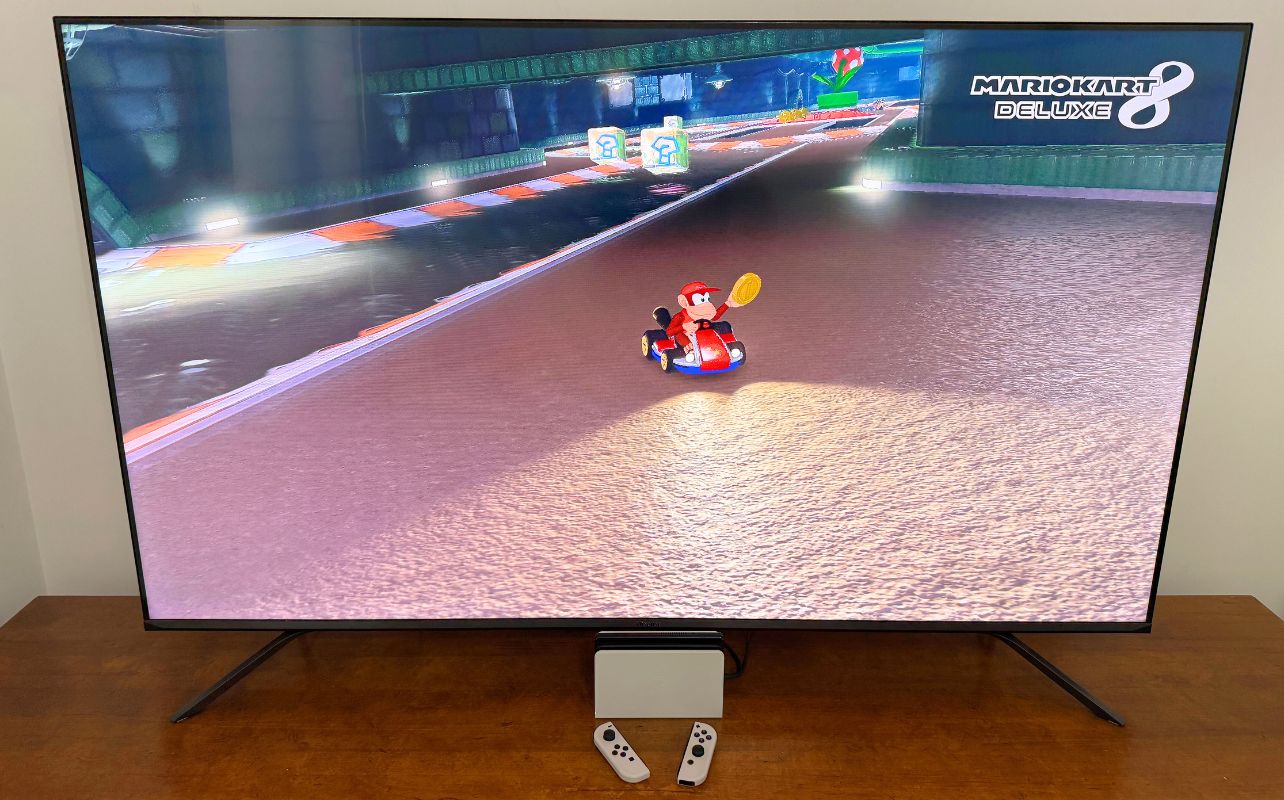
5. Power on the Nintendo Switch:
Please note: This method may not work with all USB-C/HDMI adapters, so make sure your adapter is compatible with video output and is rated for the appropriate wattage for the Nintendo Switch.
Connection troubleshooting tips
If your Nintendo Switch isn’t displaying on the TV with either of these methods, I recommend going through the steps above again. Along with that, try the following:
- Ensure all cables are securely connected.
- Double-check the TV is set to the correct HDMI input.
- Inspect your HDMI and power cables for any damage.
- Try different HDMI cables or TV ports if the problem persists.
- Ensure the console is securely seated in the dock.
The bottom line: connecting your Nintendo Switch to a TV is easier than you think
Whether you’re using the official dock or a third-party adapter, connecting your Nintendo Switch to a TV is a straightforward process. By following the steps outlined in this guide, you can enjoy your favourite games on the big screen in no time. Whether you are travelling, looking to cut down on clutter or just change up your set-up, there are options available.
Now that you are all set up, grab your Joy-Con controllers, kick back on the couch, and get ready for the full Nintendo Switch experience. If you’re looking for more great games, accessories, or the latest Nintendo gear to level up your play, shop online at BestBuy.ca and find everything you need to power your next adventure.


bestbuy.ca
Comments are closed.