
The stylus, often called the needle, on a turntable is the tiny but mighty component that makes vinyl playback possible. A dull, damaged, or incorrect stylus can scrape away at your vinyl like a tiny chisel, permanently degrading sound quality and shortening the lifespan of your favourite albums. That’s why knowing how to replace a needle on a record player, and when to do it, is one of the most important skills in basic turntable maintenance.
In this guide, you’ll learn everything you need to keep your setup healthy and sounding great. You’ll understand how to spot the signs of a worn needle, how to find the right replacement, how to change a needle on a turntable step-by-step, and how to take care of it for years of smooth listening.

Signs it’s time to change the needle
Before you learn how to replace a needle on a record player, you need to know when it’s necessary.
Audible signs
Most listeners first notice something “off” with the sound. This can be distortion or fuzziness, especially in high frequencies. It might be sibilance characterized by harsh “S” sounds or skips or jumps on records that previously played fine. Another sign is loss of clarity or volume, where music feels dull or muddy. These symptoms can also be caused by dirty records, poor alignment, or incorrect tracking force. But if you’ve ruled those out, the stylus is a prime suspect.
Visual or physical signs
If you’re willing to take a close look, a few physical signs can confirm the issue. A bent cantilever (the small rod holding the stylus) means the stylus can’t sit correctly in the groove. A chipped or visibly flattened stylus tip is a clear sign of wear. Loose mounting where the stylus doesn’t sit flush in the cartridge means it likely isn’t making proper contact. Because stylus wear happens gradually, it’s easy to miss until damage becomes more noticeable.
General lifespan guidelines
Stylus life varies based on material quality, tracking force, record cleanliness, and usage habits. Leading turntable brands recommend replacing an elliptical stylus every 300–500 hours and a conical stylus every 150–300 hours. Line-contact styli may last longer (600–1,000 hours), but they require more precise alignment. If you’re unsure how many hours you’ve logged, just keep an eye out for the condition of the needle of any of the above anomalies to know when it should be replaced.
Step-by-step guide to replacing your turntable needle
The process is easier than you might expect, as long as you follow the correct steps.
1. Identify your cartridge and stylus model
Before touching a screwdriver, you need to figure out what kind of stylus you currently have. Stylus compatibility isn’t universal. Some cartridges accept user-replaceable styli; others must be replaced entirely. Most consumer turntables use moving magnet (MM) cartridges. These are beginner-friendly, widely compatible, and designed so the stylus can be replaced without swapping the entire cartridge. Some higher-end or audiophile turntables use moving coil (MC) cartridges. These offer excellent sound quality but typically do not have user-replaceable styli. Rather, you replace the entire cartridge instead. If you’re unsure, check your model number. You’ll find the printed branding at the side or top of the cartridge (e.g., AT-VM95E, Ortofon 2M Red). The turntable’s manual or online listings likely also note compatible stylus replacements.
Once you know your model, order the correct replacement from a reputable source. Avoid knock-offs, as they may not track properly, can wear out quickly, and in the worst cases scenario, may damage your records.
2. Gather your tools and prepare your workspace
Before starting, have the following handy:
- The replacement stylus (still in its protective case)
- A small screwdriver (usually Phillips)
- Tweezers for delicate adjustments
- A microfibre cloth to keep dust away
- A soft surface like a towel to avoid accidental scratching
To prep, turn off and unplug your turntable. Remove the record currently on the platter. Protect the tonearm, especially the cantilever and wiring since they’re delicate. Clean the workspace so loose debris doesn’t end up in your cartridge or stylus assembly.
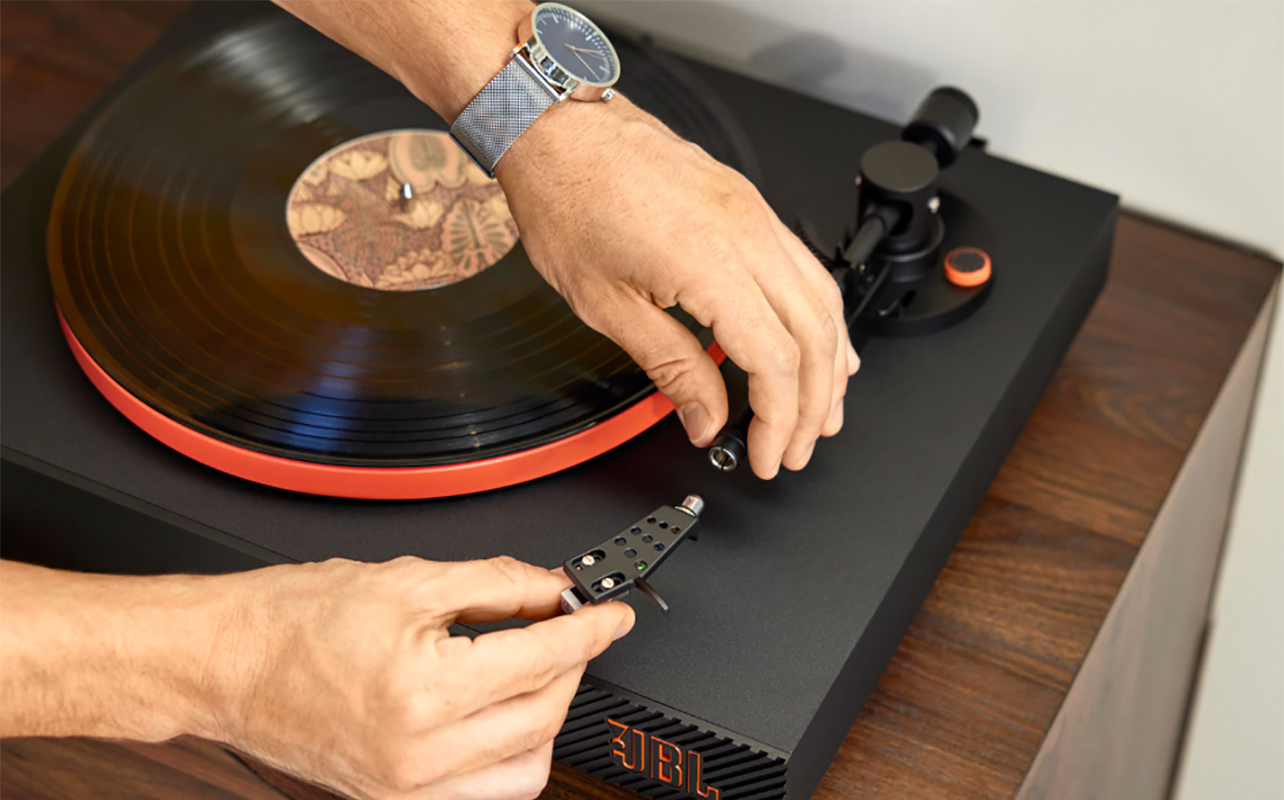
3. Remove the old needle
This is the part that makes beginners nervous, but don’t worry, you’re not dismantling a spaceship. In most cases, removing a stylus is as simple as sliding or unclipping it from the cartridge. Your turntable may have a clip to lock the tonearm in place. If not, hold it gently or rest it on its cradle. You want it immobilized while you work. Some turntables, especially Technics-style models, allow you to unscrew the entire headshell. This makes stylus replacement easier because you can work with the assembly in your hand. If yours doesn’t detach, just move a little slower.
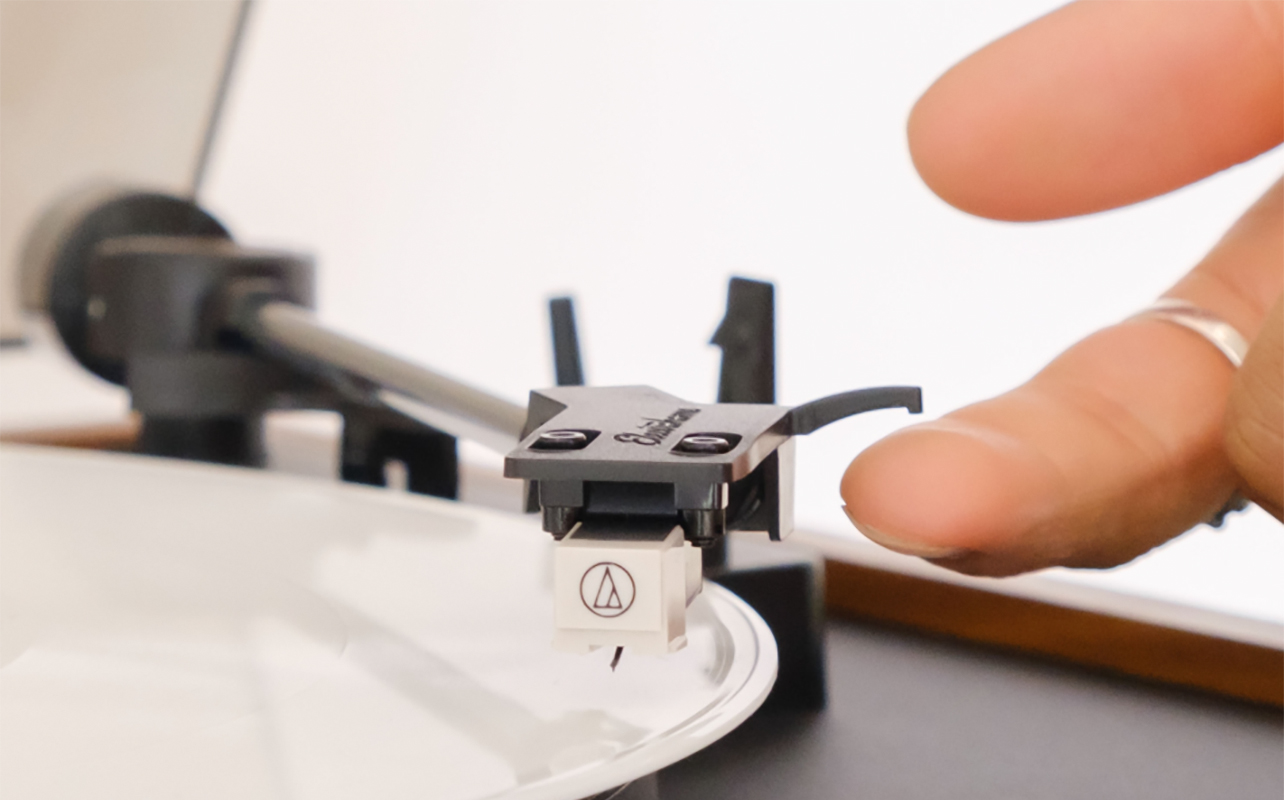
Detaching the stylus
Most MM cartridges use one of these mechanisms:
- Front slide-out (common on Audio-Technica VM95 and AT91 series): The stylus assembly slides forward and out from the cartridge body. A gentle pull, never a yank, is usually all it takes.
- Downward snap-off (typical of Ortofon 2M series): These hinge downwards. Apply light pressure at the bottom front edge, and the stylus pops off with a controlled downward motion.
- Clip-release mechanism: Some cartridges use small side tabs or a built-in clip that must be pressed or squeezed to release the stylus. It’s slightly fiddlier, but still a tool-free process when handled carefully.
Always pull from the stylus housing, not the cantilever. If you pull on the tiny needle itself, the stylus may break. If you feel resistance, double-check the manufacturer’s instructions.
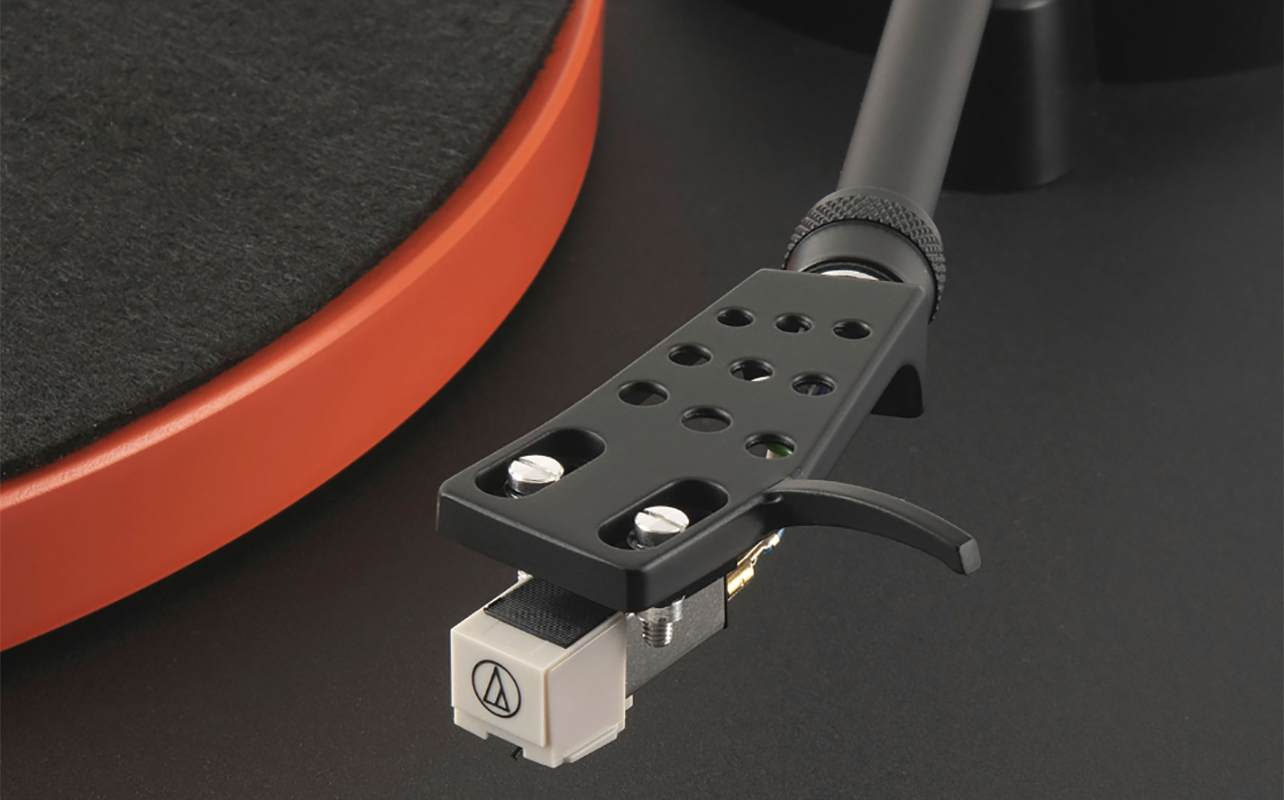
4. Install the new needle
Align the stylus correctly and basically, reverse the removal process. Slide it into the cartridge by lining up the guide rails and pushing it in until it feels smooth and seated. For snap-on types, position the stylus at the correct angle and apply gentle pressure until it clicks securely into the cartridge body. With clip-based mechanisms, they usually give a small tactile “click” that tells you the stylus has engaged correctly. Make sure the stylus sits flush and secure. Any wobbling is a sign that it’s not attached properly. Don’t forget to re-attach the headshell if it was removed, screwing it back on and ensure it’s snug. Loose headshell connections can cause hum, distortion, or channel imbalance. Now, inspect. Look at your cartridge from the front. The stylus should be straight, not leaning to one side. If it looks crooked, remove and reinstall it.
5. Perform post-installation testing
Now it’s time to make sure your tonearm and stylus are tracking properly.
Balance the tonearm by setting the anti-skate to 0. Move the tonearm weight until the arm floats level. Set the counterweight dial to 0, then turn the entire weight to the recommended tracking force (usually 1.5–2.5 grams, depending on the cartridge). If you’re unsure, check the cartridge manufacturer’s specs. Tracking force is critical: too light causes skipping, and too heavy can cause premature wear. Finally, match the anti-skate setting to your tracking force. This helps the stylus stay centred in the groove and reduces distortion. Once ready, test with a non-valuable record and listen for smooth tracking without skipping, balanced sound, and no distortion. If playback sounds normal, you’re good to go.
Troubleshooting common problems

Even after you’ve learned how to change a turntable needle, you might run into a few issues.
Distortion or skipping
Check that the stylus is seated properly, the tracking force is correct, and the tonearm balanced. Make sure the cartridge is also oriented properly on the headshell. If all these are check, check, and check, the record itself could be dirty or warped. If everything checks out and issues persist, the new stylus may be defective, which is rare, but possible.
Low volume or no sound
This usually means you installed a stylus that’s incompatible with your cartridge, the cartridge wiring became loose during installation, the stylus isn’t fully locked in place, or your preamp settings are incorrect (PHONO vs LINE). Remember: an MM stylus won’t work on an MC cartridge, and vice versa.
Severe distortion on one channel
This often indicates a misaligned cartridge, defective stylus, or dirty contacts on the headshell. A tiny bit of contact cleaner can work wonders. Just be gentle.
Maintenance tips to extend the life of your record player’s stylus
Learning how to change a needle on a turntable is great. But the real secret to saving money and protecting your vinyl is proper maintenance.
- Clean records regularly using a carbon fibre record brush, and record cleaning solution for deeper cleans.
- Clean your stylus with a soft stylus brush, brushing from back to front never side to side. You can also use gel stylus cleaners.
- Store your turntable properly in a stable, clean location away from direct sunlight, heat, and vibrations; and use a dust cover.
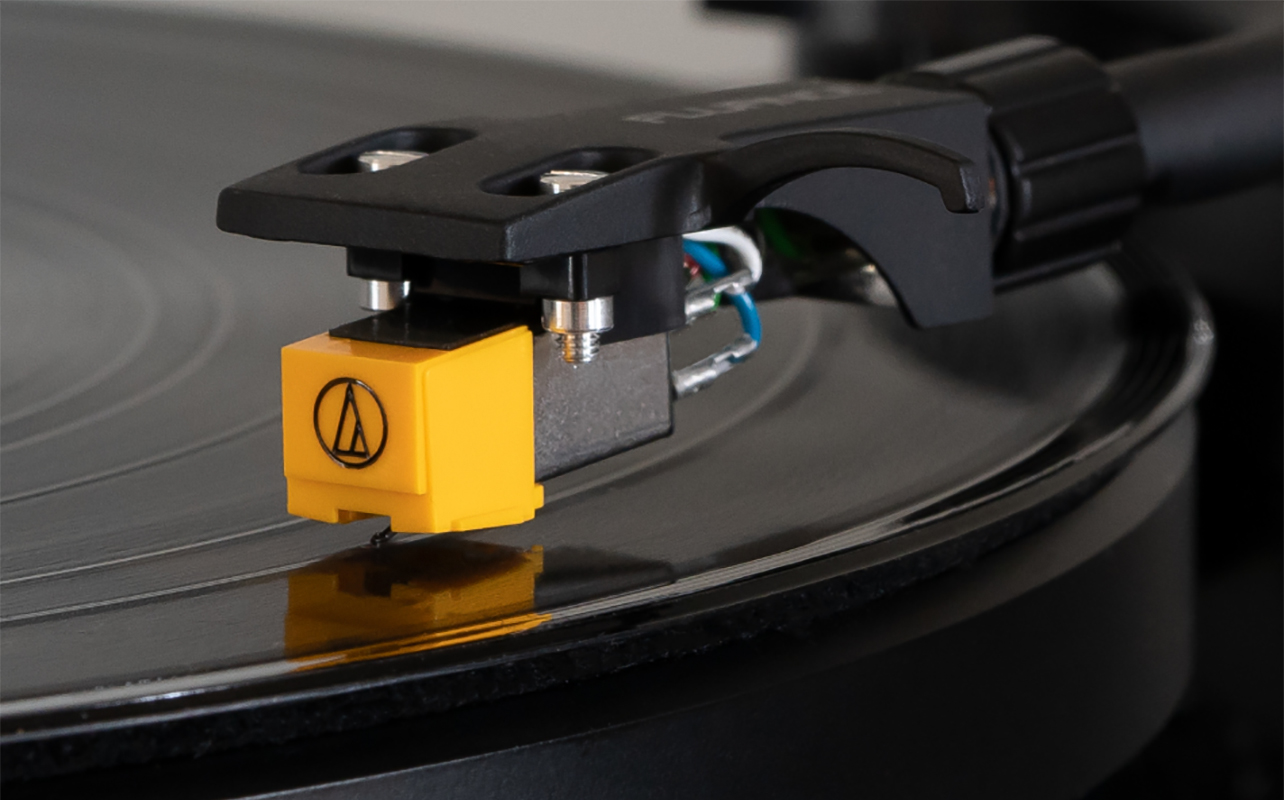
Upgrade thoughtfully
If you’re replacing your stylus every few months due to wear, it might be time to upgrade to a more durable stylus or a better cartridge. Modern models like the Audio-Technica VM95 series or Ortofon 2M line offer excellent performance and long-term value.
See a wide range of turntables at Best Buy Canada.


