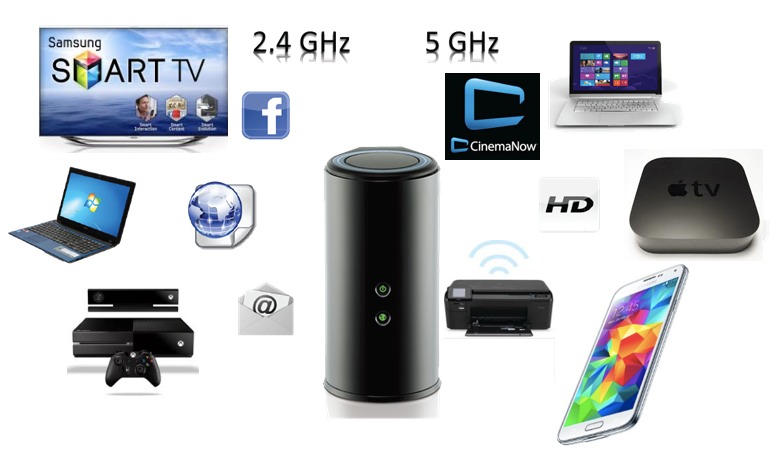
When your Wi-Fi network is set up properly and everything’s humming, life is good. But what happens when it’s time for a new router, or when you move out of your parents’ house to go to college or university and need to start from scratch with your own Wi-Fi network? Building a new wireless network —complete with printer access and storage— used to be a challenge, but these days you don’t need to be a systems administrator to do it. In fact, most router companies offer plug and play options that make setup and configuration a matter of minutes.
Take Stock of Requirements
The first step to setting up a new Wi-Fi network is the boring one: figuring out your requirements. How many devices will be accessing the Wi-Fi and what kind of bandwidth will they be using? All those connected devices like smartphones, tablets and game consoles add up. Digital video —especially when you start streaming HD— can eat up an enormous amount of bandwidth.
You don’t want to be doing a Skype video call home and having frames drop, or suffer through a laggy Call of Duty multiplayer session.
You also need to know what input ports you’ll need. For example, if you want to share a printer or a hard drive over the network, you’ll need a router that has ports (usually USB 2.0 or USB 3.0) where you can plug them in.
Pick a Wireless Router
Once you have a handle on the kind of demand your Wi-Fi network will be under, you’ll be better armed to choose a router. If you’re still not sure, most router manufacturers offer an online tool to help you figure it out. Best Buy’s Networking Buying Guide may be worth checking out as well.
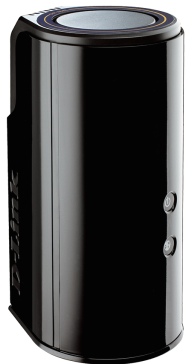 Generally speaking, you’ll want a router that supports the latest technologies including 802.11ac, MIMO and dual band broadcasting. And I always suggest going with a model that appears to offer more than you need. As I mentioned earlier, all those connected devices tend to add up quicker than you might think and when you throw in friends with their smartphones or laptops connecting to your network, Wi-Fi performance can take a hit.
There are hundreds of wireless routers to choose from, but I have two suggestions.
For basic needs, the D-Link Wireless AC1600 Dual-Band Gigabit Router should serve well. It supports the latest Wi-Fi standards, its software includes firewall configuration, guest access and built-in DLNA media server capability. It has a USB 2.0 port for plugging in a printer or hard drive. D-Link also offers app-based network tools so you can do the configuration and monitoring using your smartphone.
For ultimate Wi-Fi performance and bandwidth to spare, the Linksys WRT1900AC Smart Wi-Fi Router is tough to beat. With a high power amplifier and four adjustable antennas, it blasts Wi-Fi and it’s loaded with ports for high speed wireless sharing of peripherals. Plus it looks pretty cool…
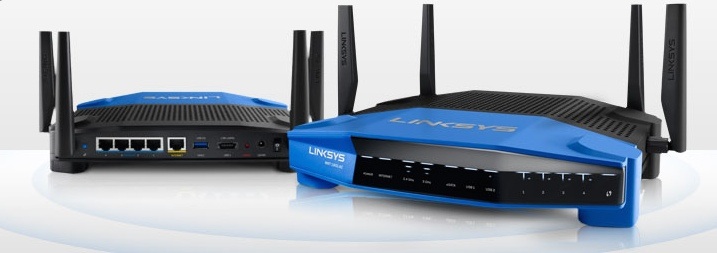
I reviewed one of these a few months ago and it did wonders for my Wi-Fi network performance and was a breeze to set up.
Place it Strategically
Location can have a big influence on the performance of your Wi-Fi network. Signal strength (and network speed) decrease with distance, while walls and obstacles can degrade performance. So try to locate the router in a spot that’s roughly the middle of your space. Make sure there’s some room for airflow (they can get hot) and plug it into a power bar equipped with a surge protector —after setting it up, the last thing you want is for a lightning storm to fry the electronics.
Configure
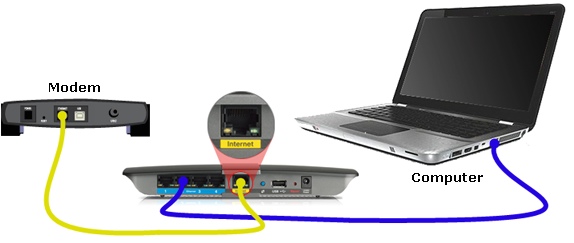
You’ll need to connect your router to your cable modem using an ethernet cable —there will be multiple RJ-45 jacks on your router, but the one that connects to your cable modem will be marked. And for configuration itself, you may have to use another ethernet cable to connect the router to a computer (if you use an app, this will be done wirelessly).
Most wireless routers offer set-up wizards that step you through the process. This typically involves confirmation that the router is connected to the internet, naming your network, setting a security password and verifying the network is live.
Make sure you use a secure password!
Note: if you’re living in high density housing, like an apartment building, interference from other Wi-Fi routers can be a problem. If your network seems to be under performing, try configuring the router to use a specific channel until you find one that’s less congested.
 Plug in Your Peripherals
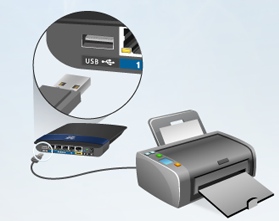
Sharing a printer or hard drive over your Wi-Fi network is a lot more convenient than room mates constantly borrowing your computer to print or using a thumb drive to move files from machine to machine. Wi-Fi access means connected devices like smartphones can also access them.
Thanks to the plug and play simplicity offered by most wireless routers, sharing these peripherals is a breeze. Plug the device into the corresponding port on your router (this will likely be a USB 2.0 or USB 3.0 port) and power it on.
Next, launch your router’s configuration software and you’ll find an option to give the device a name and the option to share it. From that point on, the printer and/or hard drive will show up on your Wi-Fi network.
Wi-Fi Dead Zones?
Sometimes no matter where you locate your wireless router, you end up with dead zones where the Wi-Fi signal is virtually non-existent. Basements, attics and back yards are notorious for this, but it can happen anywhere the Wi-Fi signal gets blocked or runs into interference.
The good news is you don’t have to live with Wi-Fi dead zones and the fix is simple. Network range extenders are an inexpensive and quick solution.
For example, the D-Link DAP-1320 is a tiny extender that plugs into a wall socket, connects to your existing Wi-Fi network, then extends and boosts the signal. Locate it roughly at the halfway point between your wireless router and the dead zone and you should see an immediate Wi-Fi improvement.
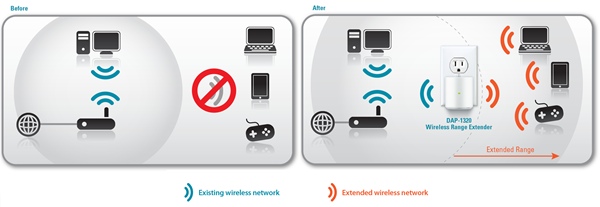
In extreme cases, Wi-Fi signals may not be able to pass through a barrier at all. In this case, there is still a remedy.
A Powerline kit like this one from D-Link piggybacks on the building’s electrical wiring to transmit Wi-Fi.
An adapter connects to your Wi-Fi router and plugs into a nearby electrical outlet. Plug the second adapter into an electrical outlet in the trouble area and voila —Wi-Fi!
There you have it. Wi-Fi router manufacturers have made great strides in making their equipment plug and play and adopting technology their customers are comfortable with —like configuration apps for smartphones. Setting up your new Wi-Fi network and adding peripherals like a printer or hard drive should be as easy as finding your new place on a GPS, cost a lot less those textbooks and be quicker than pizza delivery.


