
3D printing at home is no longer something reserved for engineers or specialty labs. Today, anyone can design and create real, physical objects right from their desk, a custom phone stand, a replacement part for something around the house, a personalised gift, or something entirely unique that you couldn’t find in any store. The barrier to entry has dropped significantly, and what used to require expensive equipment and technical knowledge is now genuinely accessible to everyday people.
If you’re completely new to this, you don’t need to feel overwhelmed. This guide walks you through everything you need to get started, from choosing your first printer and understanding materials to setting things up at home and knowing what to expect from your early prints. You can explore the full range of 3D printers available at Best Buy Canada when you’re ready to take that first step.

Table of contents:
- What is 3D printing, and why is it so popular?
- What do you need to start 3D printing at home?
- Is 3D printing safe for home use?
- Setting up your 3D printer at home
- Getting started with 3D printing
- FAQs
What is 3D printing, and why is it so popular?
3D printing is a process called additive manufacturing. Unlike traditional manufacturing, which cuts or carves material away to create a shape, a 3D printer builds objects from the ground up, one thin layer at a time, based on a digital design.
To picture how it works, imagine printing a phone stand. The printer starts at the very base of the object and gradually adds layer after layer of melted material until the full shape is complete. What starts as a file on your computer becomes a real, holdable object in a matter of hours. It’s a surprisingly straightforward process once you’ve seen it happen.
So why has 3D printing caught on the way it has? A few reasons stand out:
- Creative freedom means you’re not limited to what’s available in stores. If you can imagine it and model it, you can print it, from practical household tools to decorative items and everything in between.
- Customisation is one of the biggest draws. You can design objects that are made exactly for your needs, your dimensions, and your preferences. That’s something mass-produced products simply can’t offer.
- Affordability has changed the game. Entry-level printers now start around $200, which means home 3D printing is a realistic option for hobbyists, families, students, and DIY enthusiasts, not just professionals with large budgets.
- Learning and hands-on exploration make it appealing beyond just the end result. 3D printing sits at the intersection of design, engineering, and making things with your hands. It’s genuinely fun to experiment with, and the learning curve is much gentler than most people expect.
What do you need to start 3D printing at home?
Getting started is simpler than it looks. At its core, a 3D printing setup comes down to three essential components: a printer, material, and the software. Each one plays a specific role, and together they form a complete system that takes a digital idea and turns it into something physical.
Here’s how the three pieces fit together:
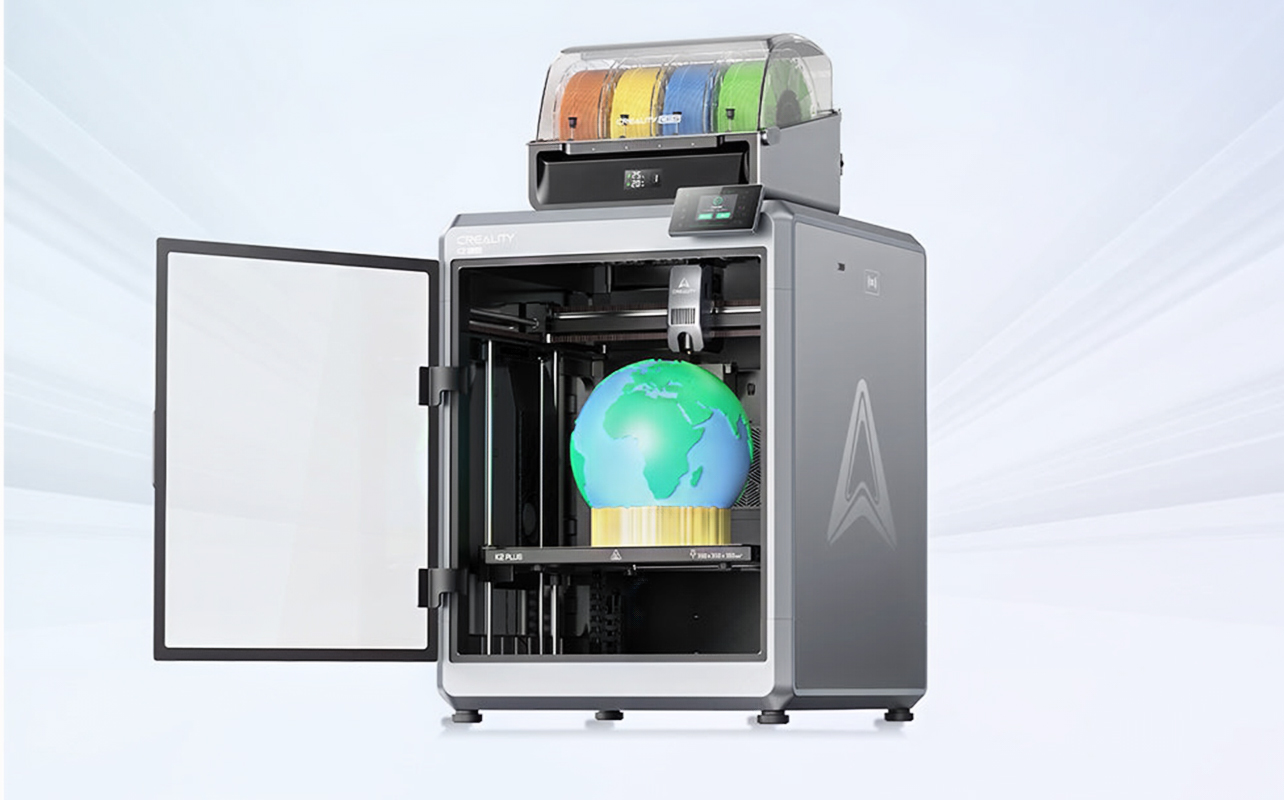
- The 3D printer is the hardware, the machine that physically builds your object by heating material and depositing it layer by layer in a precise pattern.
- Filament is the material your printer uses. It comes on a spool, gets fed into the printer, melts at the nozzle, and is shaped into your object as it cools. Think of it as the ink in a regular printer, except it builds volume instead of leaving marks on paper.
- Slicing software is the bridge between your digital design and your printer. It takes a 3D model file (typically an STL file) and converts it into a set of instructions your printer can actually follow, telling it exactly where to move, how fast, and at what temperature.
In simple terms, the software prepares the design, the printer executes the instructions, and the filament becomes the object. Once you’re printing regularly, a few small tools can make the experience smoother: a scraper to safely remove finished prints from the build plate, a soft brush for maintenance, and spare nozzles for when you want to swap materials or replace a worn part. These aren’t essential from day one, but they’re worth knowing about as you get more comfortable.
1. Choosing your first 3D printer
One of the first real decisions you’ll face is choosing which type of 3D printer to buy. Most beginners will come across two main technologies: FDM printers and resin printers. Understanding the difference between them will help you choose the right starting point.
FDM vs resin: what’s the difference?
FDM (Fused Deposition Modelling) printers work by melting plastic filament and building objects layer by layer. They’re the most common type of home printer, and the one most beginner guides, communities, and tutorials are built around.
Resin printers work differently. Instead of melted plastic, they use liquid photopolymer resin that hardens when exposed to UV light. The results can be incredibly detailed, with sharp edges, fine textures, and smooth surfaces, but the process involves handling liquid resin, which requires more care, better ventilation, and more thorough cleanup after each print.
For most beginners, FDM is the right starting point. It’s more affordable, easier to maintain, more forgiving of early mistakes, and supported by a much larger community of users and resources. Resin printers are worth exploring later if you find yourself needing extremely fine detail, like miniatures or jewellery prototypes, and when that time comes, a full breakdown of how FDM and resin printing compare across cost, speed, and workflow can help you decide.
If you’re unsure which one fits your needs, here’s a simple breakdown:
| Feature | FDM printer | Resin printer |
| Ease of use | Very beginner-friendly | Requires more setup and handling |
| Upfront cost | Lower ($200–$500 range) | Higher initial cost |
| Ongoing cost | Filament is affordable | Resin is more expensive per litre |
| Print detail | Good for most everyday uses | Extremely high detail |
| Maintenance | Low | Higher (resin cleaning + disposal) |
| Best for | General home use, learning | Miniatures, detailed models |
What should beginners look for in a 3D printer?
Once you’ve decided on FDM, the next step is knowing what to look for when comparing specific models.
- Auto bed levelling is one of the most valuable features for a first printer. The print bed is the flat surface your object builds on, and it needs to be perfectly level for the first layer to stick properly. Manual levelling requires patience and practice. Auto bed levelling handles this automatically, which removes one of the most common causes of failed prints for beginners.
- Build volume refers to the maximum size of object your printer can create. A larger build volume means you can print bigger objects, but it also means a bigger machine and often a higher price. For most beginners, a standard mid-size build volume is more than enough; you’re unlikely to need to print anything very large when you’re just starting out.
- Ease of setup matters more than you might think. Some printers arrive nearly fully assembled and ready to go within minutes. Others require more involved assembly. For a first printer, leaning toward something that’s easier to set up means less friction between you and your first successful print.
- Reliability over speed is a principle worth following early on. A printer that produces consistent results at a moderate pace is far more valuable than one that prints quickly but requires constant adjustment. Speed becomes relevant once you’ve mastered the basics. In the beginning, consistency is everything.
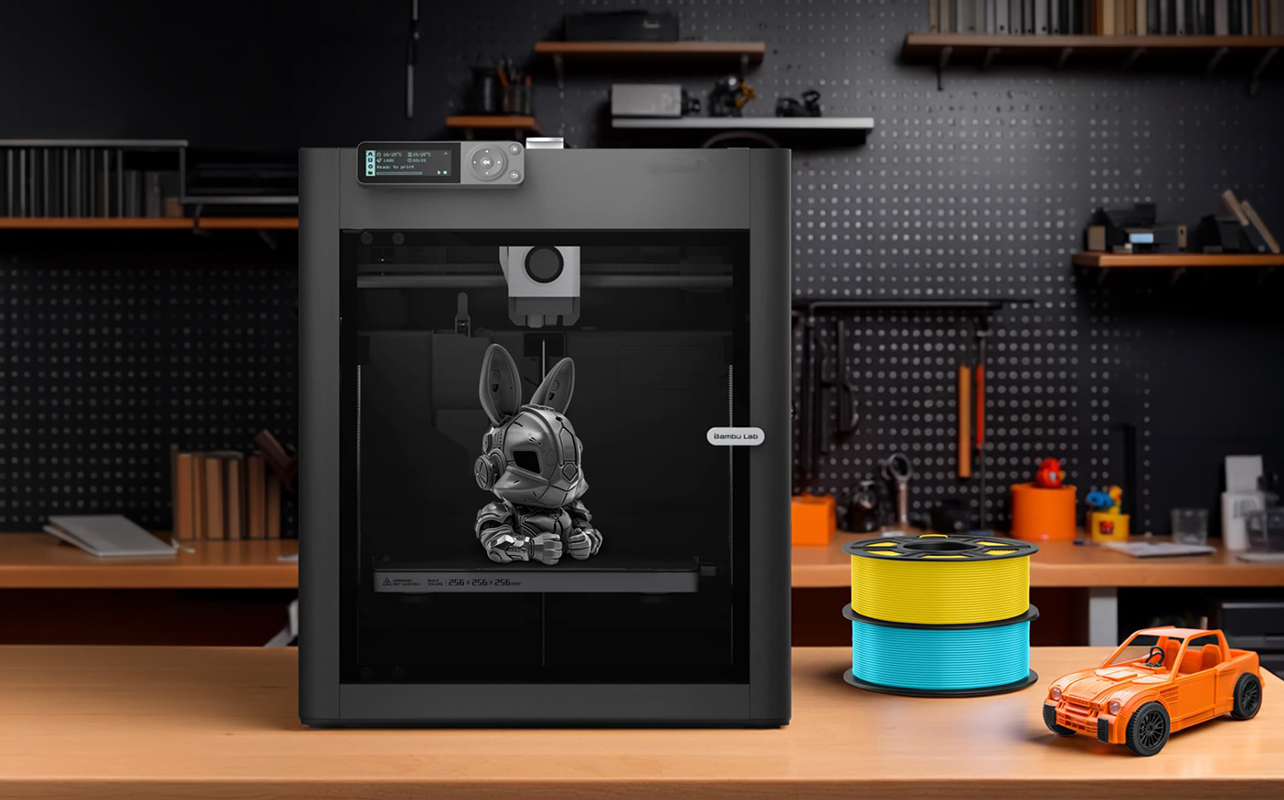
- Price range for beginners typically falls between $200 and $500 for entry-level models, and $500 to $1,000 for mid-range options with more features and build quality. Starting at the lower end is a smart move; you’ll learn a lot from a basic setup, and you’ll have a much clearer sense of what you actually want before investing more. If you’re weighing up specific brands at this stage, a direct comparison of Bambu Lab vs Creality covers the two most popular options for Canadian buyers and breaks down exactly who each one is built for.
2. Understanding 3D printing materials (filaments)
Filament is the material your printer uses to create objects, and the type you choose has a real impact on your experience. It affects how easy the print is, how strong the finished object turns out, how much troubleshooting you’ll face, and what the object can actually be used for. Choosing the right filament, especially as a beginner, can be the difference between a smooth first experience and a frustrating one, and if you want a deeper look at exactly how PLA, ABS, and PETG behave, there’s a full filament guide that walks through each material in detail.
The most common filament types
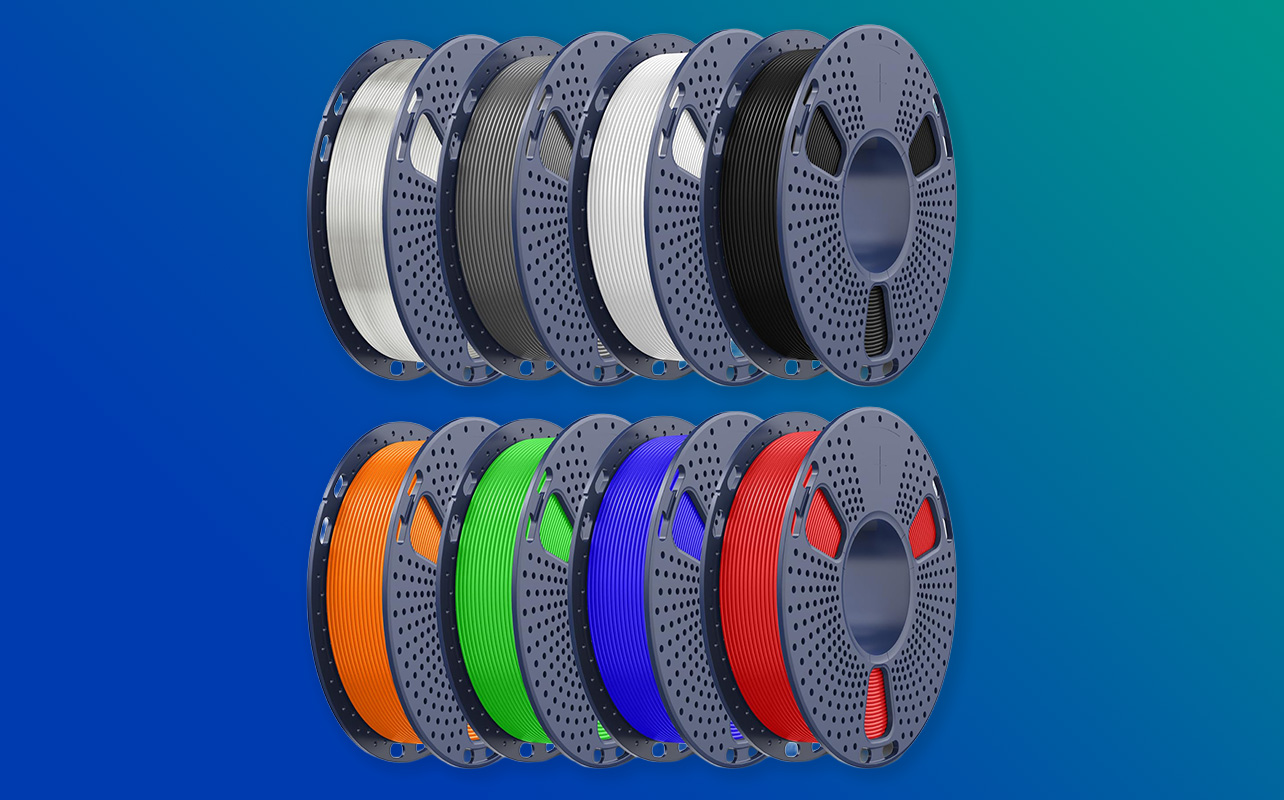
- PLA (Polylactic Acid) is the best starting point for almost every beginner. It prints at relatively low temperatures, doesn’t require a heated enclosure, and has a very high success rate compared to other materials. It’s also made from plant-based materials, which makes it a more environmentally friendly option. PLA works well for decorative items, organisational tools, prototypes, phone accessories, and most everyday projects. The one limitation is heat resistance, PLA can warp if left in a hot car or near a heat source for extended periods.
- ABS (Acrylonitrile Butadiene Styrene) is stronger and more heat-resistant than PLA, making it better suited for functional parts that will be used in tougher conditions. However, it requires higher printing temperatures, is prone to warping as it cools, and produces stronger fumes during printing, which means you need good ventilation. ABS is not recommended for beginners. It’s a material to explore once you’re comfortable with your printer and confident in your settings.
- PETG (Polyethylene Terephthalate Glycol) sits between PLA and ABS in terms of difficulty and performance. It’s stronger and more flexible than PLA, more impact-resistant, and handles moisture better. It’s a natural next step once you’ve built some experience with PLA. The learning curve is slightly steeper, PETG tends to string more between parts of a print and requires some temperature and retraction tuning, but the results are worth it for functional, durable prints.
Quick comparison: PLA vs ABS vs PETG
Each filament behaves differently, so choosing the right one depends on what you’re trying to make:
| Filament | Ease of use | Strength | Heat resistance | Best use case |
| PLA | Very easy | Medium | Low | Beginners, decorative items, home use |
| ABS | Difficult | High | High | Durable parts, heat-resistant functional items |
| PETG | Moderate | High | Medium | Functional prints, flexible parts, outdoors use |
Start with PLA. Once you understand your printer’s behaviour and have a few successful prints behind you, experimenting with PETG is a natural and rewarding next step. You can browse filament options at Best Buy Canada to find the right material for your setup.
Do you need software for 3D printing?
Yes, but it’s far simpler than it sounds. You don’t need to know how to code or design in 3D to get started. Most beginners begin with free software and ready-made designs, and the tools available today are built specifically to be accessible to people with no prior experience.
How the software side of 3D printing works
The process from design to finished print follows a straightforward path:
You start with a 3D model file, most commonly in STL format. This is the digital blueprint of the object you want to print. You don’t need to create one yourself; there are thousands of free, ready-to-print designs available on sites like Thingiverse, which is essentially a large, free library of 3D printable files shared by designers and hobbyists around the world. Everything from phone stands to replacement parts to toys is available to download and print immediately.
Once you have a model, you load it into slicing software. The slicer is the tool that takes your 3D model and breaks it down into the individual layers your printer will build. It also lets you adjust settings like print speed, layer thickness, and support structures. The output is a file called G-code, essentially a long list of precise movement and temperature instructions that your printer reads and follows to build the object.
You don’t need to understand G-code at all. You never look at it directly. The slicer generates it automatically, and your printer reads it. It’s just worth knowing the term exists, so it doesn’t feel mysterious if you come across it.
What slicing software should beginners use?
Two free options are consistently recommended for beginners:
- Cura, made by Ultimaker, is one of the most widely used slicers in the world. It has a clean interface, an extensive profile library that supports hundreds of printer models, and a recommended settings mode that handles most decisions for you automatically. It’s a great first slicer.
- PrusaSlicer, made by Prusa Research, is another excellent free option. It’s slightly more feature-rich and has strong preset profiles. Many users eventually migrate to it as they get more comfortable and want more control over their settings.
Either one is a solid choice. You don’t need to overthink the decision; both are free to download, and switching between them later is always an option.
Do you need to design your own models?
Not at all, and most beginners don’t start here. Designing your own models is a skill you can build over time using tools like Tinkercad (a free, browser-based 3D design tool that’s genuinely beginner-friendly). But for your first prints, downloading and printing existing designs is the fastest way to learn how your printer behaves, understand your settings, and build confidence before you start creating from scratch.
Setting up your 3D printer at home
The first-time setup of a 3D printer might feel slightly technical, but most modern printers are designed with beginners in mind. Once you’ve gone through the process once, it becomes quick and familiar. Here’s what to expect:
Where to place your printer
Location matters more than people often realise. Choose a spot that offers:
- A flat, stable surface to minimise vibration during printing. Even minor wobbling can affect layer accuracy, especially on longer prints.
- Good ventilation, particularly if you plan to print with materials beyond PLA. Even PLA produces some fumes, so a room with airflow or a nearby window is better than a sealed, small space.
- Enough clearance around the machine for the print head to move freely and for you to access the filament, controls, and print bed easily.
The basic setup process
Most FDM printers follow a similar setup sequence:
- Assembly is the first step. Some printers arrive nearly fully assembled and simply need a few components clicked or bolted into place. Others require more involved setup. Your printer’s manual will walk you through this. Take your time and don’t skip steps.
- Bed levelling is arguably the most important part of the setup. The print bed needs to be at a consistent, even distance from the nozzle across its entire surface so that the first layer of your print adheres properly. If the bed isn’t level, your print is likely to fail or detach partway through. If your printer has auto bed levelling, this step is largely handled for you. If it’s manual, follow the instructions carefully and don’t rush it.
- Loading filament involves feeding the filament spool through the printer’s extruder and into the hot end, where it will be melted. Most printers have a guided process for this, often accessible through the printer’s screen menu.
- Running a test print is your first real moment. Most printers come with a pre-loaded test file, a small, simple shape that lets you verify everything is working correctly. Don’t skip this step even if everything looks fine. A successful test print confirms your setup is solid before you invest time in a longer project.
Common beginner issues and how to fix them
It’s completely normal for early prints to have problems, and most of the time the cause is simpler than you’d expect. The table below covers the most common issues beginners run into, what’s likely causing them, and exactly what to do to fix them:
| Issue | Likely cause | Fix |
| Print not sticking to the bed | Bed not level or surface dirty | Re-level the bed and clean the surface with isopropyl alcohol |
| Stringy or messy prints | Temperature too high or retraction too low | Lower the print temperature slightly or increase retraction distance in your slicer |
| Warping (edges lifting) | Poor adhesion or cooling too fast | Use a brim in your slicer, or apply a thin layer of glue stick to the bed |
| Layer shifting | Printer vibrating or moving on surface | Place printer on a more stable surface, check belt tension |
| First layers look rough | Nozzle too far from bed | Re-level the bed, focusing on nozzle height |
If your test print fails, don’t worry, check the bed level first, as that’s the cause of the majority of first-print failures. If you’re dealing with something more specific, like stringing, warping, or layer shifting, a full breakdown of the most common 3D printing problems and how to fix them covers each issue step by step
What can you make with a 3D printer?
Once your printer is set up and your first test print is done, the real value of having a 3D printer starts to become clear. You’re no longer limited to what’s available in stores or online; you can create exactly what you need, in the size, colour, and shape that works for you.
Beginner-friendly projects to start with
For your first real prints, keep things small and practical. These types of projects are quick, manageable, and genuinely useful:
- Phone stands and tablet holders are some of the most popular first prints. They’re simple in structure, quick to print, and immediately functional.
- Cable organisers and desk accessories are another great starting point, small clips, cord holders, and desk tidying tools that you’d otherwise spend money on.
- Small toys and figurines are ideal if you’re printing with younger family members. They don’t require precision and are forgiving on settings.
- Storage hooks, wall mounts, and organisational tools show off one of 3D printing’s best strengths: you can print exactly the right size for exactly the right spot in your home.
- Replacement parts for household items are one of the most practical applications. A broken drawer handle, a cracked cable clip, a missing lid for a container. Instead of searching for a replacement or buying something new, you can often just print one.
What becomes possible as you improve
Once you’re comfortable with your printer and have a handle on settings and materials, the range of what’s possible expands considerably:
Custom-designed tools and jigs for workshop or hobby projects. Functional prototypes, if you’re working on a product idea or engineering project. Personalised gifts, items with names, dates, or designs that simply can’t be bought anywhere. Home decor that fits your exact aesthetic. Even practical items like custom keyboard keycaps, planters, or camera accessories.
Why this becomes more than just a hobby
One of the most useful things about owning a 3D printer is the ability to solve small, everyday problems on your own terms. Instead of waiting for shipping, going to a store, or settling for a product that almost fits what you need, you can design or download exactly what you’re looking for and print it the same day. That shift from consumer to maker is what makes 3D printing genuinely useful for the long term, not just as a novelty.
How much does it cost to start 3D printing?
One of the reasons 3D printing has become so popular among home users is that getting started doesn’t require a large upfront investment. A functional beginner setup is well within reach for most budgets.
What does a basic setup cost?
Most beginners can get everything they need for well under $600. Here’s a realistic breakdown:
| Item | Estimated cost |
| Entry-level FDM printer | $200–$500 |
| PLA filament (one spool) | $20–$40 |
| Basic tools (scraper, etc.) | $10–$30 |
| Slicing software | Free |
| 3D model files | Free (via Thingiverse and similar) |
What are the ongoing costs?
After your initial setup, the main ongoing expense is filament. A standard spool typically lasts a reasonable amount of time depending on how frequently you print and how large your projects are. Occasional maintenance parts, like a replacement nozzle or a new build surface, are inexpensive and don’t come up often for casual users.
Is it worth it?
That depends on how you plan to use it. If you’re someone who enjoys DIY projects, likes solving small practical problems, wants to explore design and making, or is looking for an engaging creative hobby, a 3D printer pays for itself fairly quickly in usefulness and enjoyment.
If you’re unsure, starting at the lower end of the price range is the smart move. A $200–$300 entry-level printer will teach you everything you need to know, and you’ll be in a much better position to decide whether upgrading makes sense once you’ve spent time with the hobby.
Common beginner mistakes to avoid
Most failed prints come down to a handful of avoidable issues. Knowing what they are before you start can save you a lot of frustration early on.
- Poor bed levelling is the single most common cause of failed prints. If the print bed isn’t level and at the right distance from the nozzle, the first layer won’t adhere properly, and the rest of the print will fail along with it. This is the first thing to check whenever something goes wrong.
- Incorrect temperature settings can cause a range of problems. Printing too hot leads to stringing and blobbing; the material oozes where it shouldn’t. Printing too cold results in weak layers that don’t bond well and break easily. Most slicers recommend temperature ranges for common materials, staying within those is a good starting point.
- Using the wrong filament too early is a mistake that catches a lot of beginners. Materials like ABS are significantly harder to manage than PLA. If you start with ABS and run into warping, fumes, and failed prints, it’s easy to think something is wrong with your printer when the issue is just material choice. Start with PLA, build confidence, then experiment.
- Skipping calibration means ignoring the small adjustments that make a big difference in print quality. Bed levelling is the most obvious one, but first layer height, flow rate, and retraction settings all factor in. Taking a bit of time to calibrate properly at the start will save you many reprints later.
- Printing too fast too soon is tempting when you want results quickly, but high print speeds leave less time for each layer to cool and settle properly. This leads to layer shifting, poor adhesion between layers, and reduced detail. Learning at a moderate speed gives you more consistent results and helps you understand what good quality actually looks like before pushing the machine harder.
Is 3D printing safe for home use?
Yes, 3D printing is safe for home use when you follow a few basic precautions. Most beginner-friendly setups, particularly those using PLA filament, are designed to work comfortably in a normal home environment.
Material safety
PLA is the safest and most home-friendly filament option. It’s made from plant-based materials, produces minimal fumes during printing, and doesn’t require any special handling beyond standard caution around a hot nozzle.
ABS and some other materials produce noticeably stronger fumes during printing, which is one of the reasons they’re better suited for users with dedicated, well-ventilated workspaces. If you ever switch to ABS and notice a strong chemical smell, increase ventilation immediately, open a window, add a fan, or consider an air purifier nearby. If you’re printing regularly with ABS, a printer with an enclosed build chamber and a HEPA filtration system is worth considering.
Printer safety
The nozzle and heated print bed reach high temperatures during operation and should be treated with care. Avoid touching either while printing or immediately after. Most modern printers have protective covers or warnings to help with this.
Avoid leaving very long prints completely unattended, especially if you’re new to the printer. Once you trust your setup and understand how your machine behaves, longer unattended prints become more reasonable. Keep the area around the printer clean and free of clutter, and keep flammable materials away from the machine during operation.
Printing with children around
3D printing can be a great activity for families and kids, especially as an introduction to design thinking and making. That said, children should be supervised around the printer while it’s running, particularly to keep them away from the hot nozzle and moving parts. Using PLA keeps the fume concern minimal, making family-friendly printing much more straightforward.
Getting started with 3D printing
Getting started with 3D printing at home comes down to three essentials working together: a reliable printer, the right filament, and simple software to connect the two. Once you understand how these pieces fit together, the process becomes far more approachable than it looks from the outside. Start small, focus on learning through each print, and let your confidence build gradually. You don’t need a perfect setup to begin; you just need a working one.
Key tips to getting started successfully
The most important thing to know going in is that 3D printing is a learning process. Your first print may not be perfect, and that’s completely fine. Every print, successful or not, teaches you something about your setup. Here are a few habits that will help you progress faster:
- Start with simple, small prints. Resist the temptation to print something large and complex right away. Small, simple objects teach you how your printer behaves without requiring hours of time or a full spool of filament if something goes wrong.
- Adjust one setting at a time. When you’re trying to fix a print issue or improve quality, change one variable at a time. Changing multiple settings at once makes it impossible to know what actually made the difference.
- Don’t aim for perfection from the start. Consistency matters more than flawless prints in the early stages. A print that finishes cleanly and holds together is a success, even if it’s not photogenic.
- Use online communities. This is genuinely one of the most underrated aspects of getting into 3D printing. Communities on Reddit (r/3Dprinting is a good starting point), maker forums, and YouTube channels are full of experienced users who answer beginner questions regularly. If you run into an issue, someone else has almost certainly faced the same thing and documented the fix.
- Keep notes on what works. Once you find settings that produce good results for a specific material and print type, write them down. Printer settings can be easy to forget and surprisingly hard to recreate from scratch if you lose track of them.
3D printing starter checklist
Here’s a quick checklist to help you get everything in place before your first print:
| Category | What you need | Why it matters |
| Hardware | FDM 3D printer | The machine that creates your objects layer by layer |
| Materials | PLA filament | Beginner-friendly, reliable, and easy to print with |
| Software | Slicing software (Cura or PrusaSlicer) | Converts 3D models into printable instructions |
| Design files | STL files from Thingiverse or similar | Ready-made designs to start printing immediately |
| Setup | Flat, stable surface with good ventilation | Improves print quality and keeps your workspace safe |
| Optional tools | Scraper, cleaning brush, spare nozzles | Makes maintenance and print removal easier |
Bringing your ideas to life with 3D printing
The first time you watch a print finish, the printer lifting away from the bed and leaving behind something that didn’t exist an hour ago, is a genuinely satisfying moment. That’s usually when it stops feeling like a technical process and starts feeling like a creative tool. You stop thinking about settings and start thinking about what you want to make next.
You don’t need the perfect setup to get there. A beginner-friendly printer, a spool of PLA, and a few downloaded designs are more than enough to take that first step. From there, every print builds on the last. When you’re ready to start, you can browse 3D printers and 3D filament at Best Buy Canada to put together a setup that fits how you want to create.
Frequently asked questions
What is the easiest 3D printer for beginners?
FDM printers with auto bed levelling and beginner-friendly settings are the easiest to start with. They require less maintenance than resin printers, are more forgiving of early mistakes, and are supported by a large community of users and tutorials.
What material should beginners use for 3D printing?
PLA is the best starting material for beginners. It prints at lower temperatures, produces minimal fumes, has a high success rate, and is available in a wide range of colours. Once you’re comfortable, PETG is a natural next step for stronger, more functional prints.
Do I need to design my own 3D models?
No. Thousands of free, ready-to-print designs are available on sites like Thingiverse. Designing your own models is something you can explore over time using beginner-friendly tools like Tinkercad, but it’s not necessary to get started.
How long does a 3D print take?
It depends on the size and complexity of the object. Small, simple prints can take 30 to 60 minutes. Larger or more detailed prints can take several hours. Layer height, print speed, and model complexity all affect print time.
Is 3D printing expensive to start?
Not necessarily. Most beginners can get a complete working setup for under $600, with entry-level printers typically ranging from $200 to $500, and a spool of PLA filament costing $20 to $40. Slicing software and design files are free. Ongoing costs are mainly filament refills and occasional minor replacement parts.
Is 3D printing safe for kids?
Yes, with supervision. PLA is the safest filament for home use and produces minimal fumes. Children should be kept away from the hot nozzle and moving parts while the printer is running. With those precautions in place, 3D printing can be a genuinely engaging and educational activity for families.
Can I use any filament with any printer?
Not always. Most FDM printers support PLA and PETG without any issues. ABS and more specialist materials sometimes require specific hardware features like an enclosed build chamber or an all-metal hot end. Always check your printer’s material compatibility before trying a new filament type.


")