Do you ever wish you had some of that awesome Super 8 film footage from your childhood? I’m sure you’ve seen it in the movies when they do those nostalgic ‘when we were kids’ scenes. Nowadays there’s no reason whatsoever that every child shouldn’t have a ready supply of video footage for those important milestones in life—18th birthdays, weddings, retirement parties—that simply cry out for a great video montage.
If you’re the designated documenter in your family, or you have aspirations of becoming the next Stanley Kubrick, then read on. Today, I’m going to give you my top five tips to help you capture the best possible video footage.
1. Lose the shakes
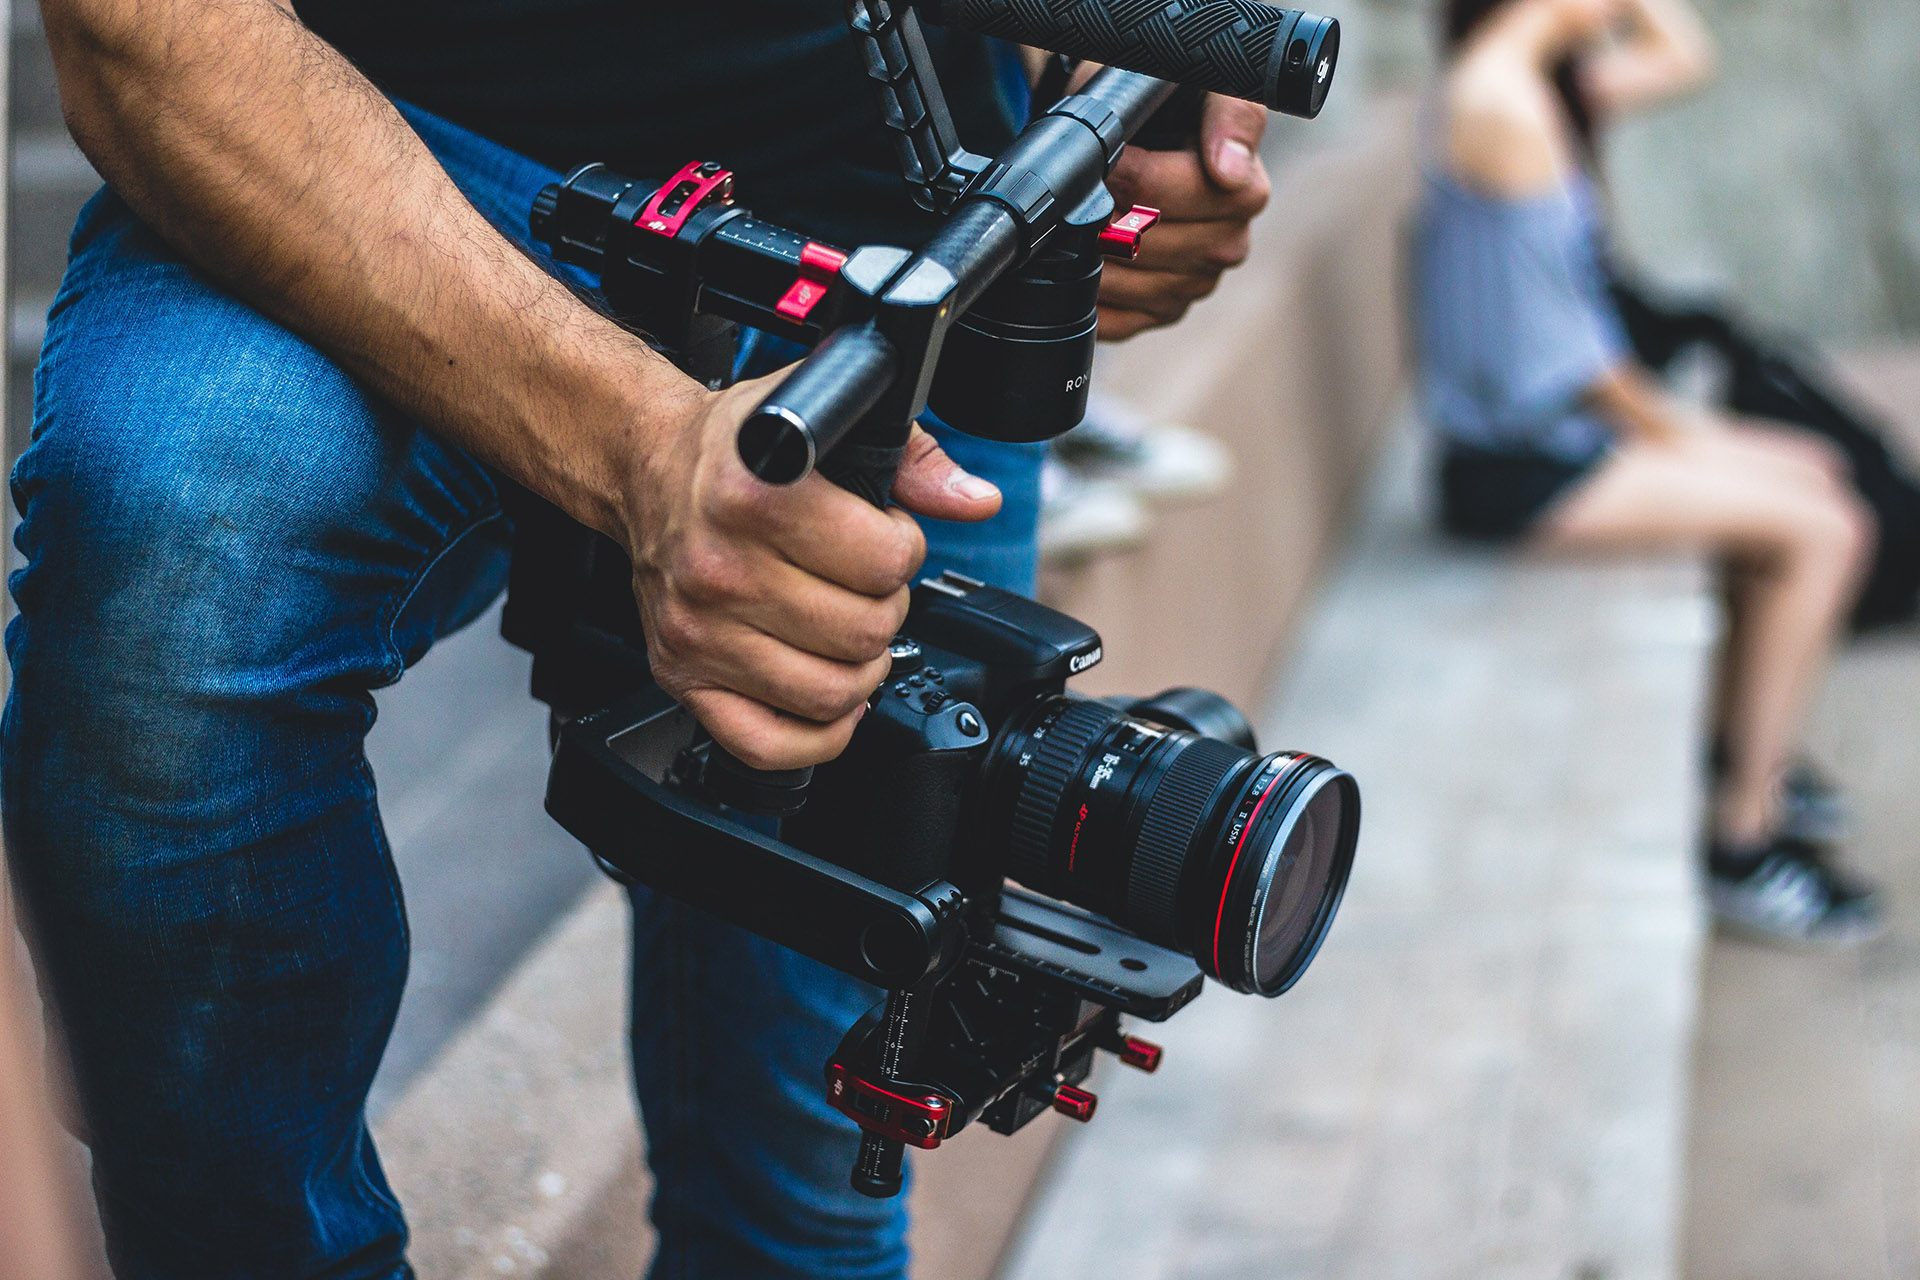
There’s nothing that screams ‘amateur’ more than shaky video footage, and while we don’t always need Hollywood-style production values, this is perhaps one of the easiest problems to fix. One simple solution is to use a monopod. Because they have just one leg instead of three, monopods are much lighter and easier to set up and break down than a tripod. If you already have a tripod however, you can use it like a monopod, simply by extending just one of the legs instead of all three. The best solution to camera shake however is to use a stabilizer, and there are a number of great options available here at BestBuy.ca. I recently bought the DJI OSMO Mobile smartphone stabilizer for a trip to Bali, and I was really impressed with the results—it’s an amazing piece of technology for a great price. (You can read more in my review, here). If you shoot with a mirrorless camera or a DSLR you might want to consider something like the EVO Rage Gen2, or if you really want to look like a pro, the DJI Ronin.
If your budget is exactly zero dollars, I do have one final suggestion for you, a technique that I’ve used myself quite a bit in the past. Simply put your camera’s neck strap in place and push the camera away from you until there’s quite a bit of tension in the strap, and start shooting. You’ll be impressed to see how well this actually works!
2. Think Like A Photographer
Many of the principles of great photography translate very easily to video. Whether we’re thinking about composition, depth of field, or creative use of angles, applying those same principles to our videos will pay plenty of dividends. But nothing will improve your videos more than effective use of lighting, especially if you’re working primarily with your smartphone. One of the key things to remember is that smartphones really struggle in low light situations, and these are best avoided at all costs. Generally speaking, the best light is found outside, around sunrise or sunset. For more ideas on lighting, check out this article I wrote called ‘Only Shoot At Sunset’. If you’re working with a DSLR or mirrorless camera you do have a lot more leeway to work in low-light situations, but better to look for more favourable light if possible.
3. Choose A Subject
Most of the photos and videos that we shoot nowadays are taken with no end goal in mind, other than to retain them as memories. I’ve written before about how important I believe it is that we take the time to print some photos now and then so that we can experience the photographic process in it’s entirety and truly enjoy the results. When it comes to video a similar principle applies, and I’ll talk more about the edit momentarily. But first I want to encourage you to choose a subject that you want to pursue, so that you have a goal in mind to keep you focused. That subject could be your child, or your pet, or the trees in fall, or a place that you’re travelling to. Travel is always a great reason to shoot new work, be it photos or video.

4. Look For Expression
There’s an understanding in photography that “expression trumps all” meaning that no matter the technical flaws of an image, if it captures a great expression then it’s a good photo. Once again this also applies for video, so try to capture something interesting in every shot. The nice thing about video is that a good slo-mo or a cool shot from a stabilizer can elevate something that would otherwise be kind of mediocre.
5. Master The Edit
One of the most challenging aspects of working with video is the editing process. Shooting the footage is the fun part, sitting down to actually sift through it and figure out what to do with it can be a bit of a slog. In 2017 I put a lot of time into learning how to become a better editor, and one of the most important things I learned is that less is more. If you want to entertain your audience, keep your videos short, and within those videos make your shots pretty much as short as possible. One rule of thumb I heard is that it your shot shouldn’t last longer than it takes to describe the shot. So if the shot is a dog running through a field, the cut to the next shot should happen quicker than it takes to say ‘a dog is running though a field’.
In terms of editing tools, I use Adobe Premiere Pro, but for the casual user that might be a little bit feature-rich, and it does take some time to learn. The Photos app in Windows 10 has some decent video editing features which will get you to a finished video in no time. Mac users can use iMovie, which has lots of features and is a great place to start for someone who is a bit more ambitious about what they want to create. But if you really want to get your hands dirty, you could also download DaVinci Resolve 14, which is basically a professional editing program for Mac or Windows that is free to download and use.
There are so many different cameras that can shoot awesome video nowadays, be sure to check out the selection of cameras, camcorders and drones available here at Bestbuy.ca.


