
Nowadays the smartphone is the go-to option for many people when it comes to shooting photos or video, and that’s hardly surprising. We carry them everywhere with us, so they’re super convenient, and the quality has reached a point where it’s hard to quibble with the results—people are creating some really impressive work! That said, if you want to take your videos to the next level, and create pieces that are a little more sophisticated, you’ll need to add something extra to your toolkit—like the DJI OSMO Mobile.
Smooth Cinematic Shots
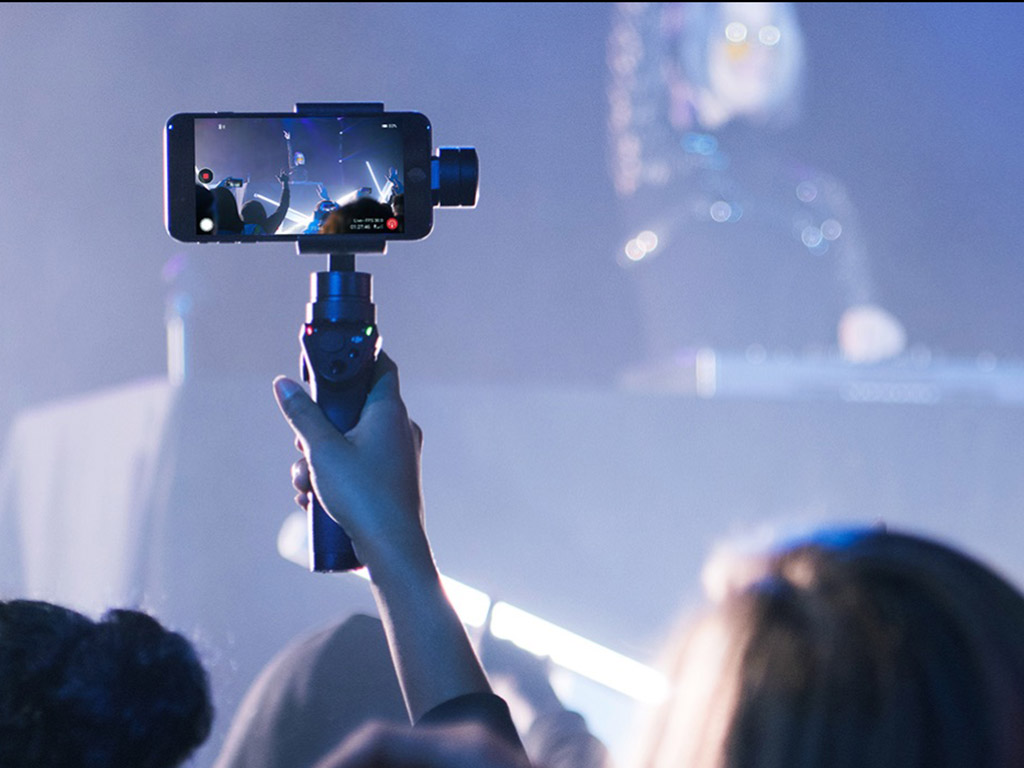
The OSMO Mobile is essentially a handheld stabilizer with a gimbal that works automatically to counteract your movements in order to create super smooth, cinematic looking shots. It has a clamping system that allows you to use basically any smartphone model. Never before has this type of technology been available at this price point, and based on what I was seeing elsewhere online, I was very excited to get my hands on the OSMO mobile and put it through it’s paces.
Soild and Reliable
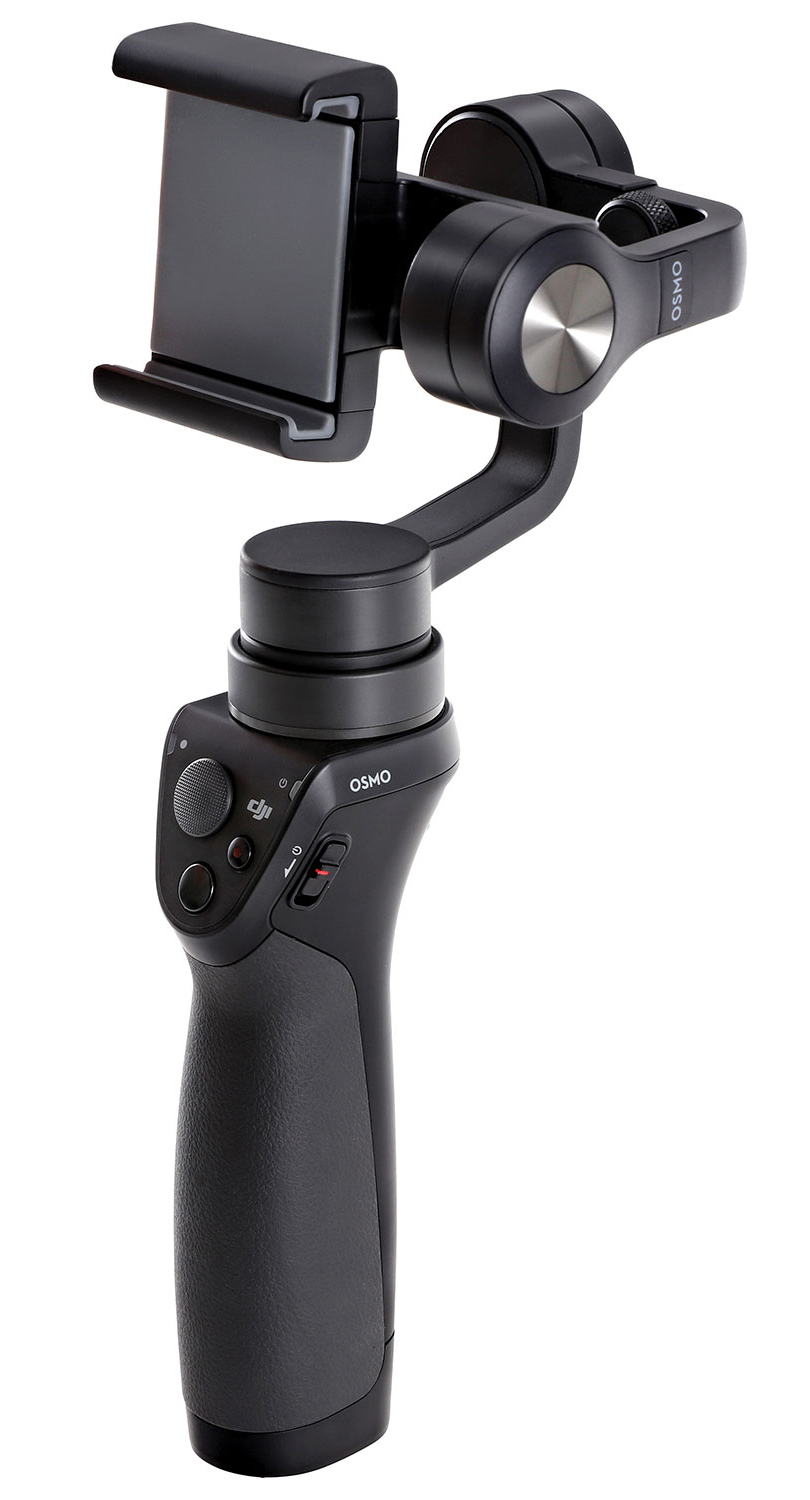 The OSMO Mobile comes with one battery, a charging cord, a carry pouch and a wrist strap. It weighs about 500g with the battery installed, before you add your smartphone. It feels light enough to carry all day, but at the same time it has enough weight to feel solid and reliable. I have to say that right off the bat I was impressed with the build quality, while the handle itself is plastic, the gimbal itself is made of a lightweight, durable metal. The handle has a really nice, ergonomic shape to it and is partially grip coated, although I would prefer if it was fully grip coated myself, not that it caused me any issues. You can easily operate the OSMO Mobile singlehandedly, because all of the controls are accessible either to your thumb or index finger. There’s a record button, a shutter release button, and a panning joystick for the thumb, and a trigger-style button for the index finger. Although you can take advantage of the stabilization functionality simply by powering the unit up, you need to install the DJI GO app and connect via bluetooth in order to enable all the buttons and functionality.
Cool Features
Through the GO app, you can access some really cool features like a panoramic photo mode which allows you to create one big image out of nine smaller images. On the video side there are a couple of really sweet features that I never would’ve expected; a tracking mode which allows you to highlight an object or a face, and a panning timelapse mode that allows you to set a number of points to create a path that the camera will follow as it shoots the timelapse. Impressive stuff!
Game Changer
The OSMO Mobile is an absolute game changer for the vlogger. If you reverse the camera (i.e. to use the front-facing camera) by tapping the trigger three times, you can then highlight your own face, and the OSMO mobile will track your face and keep it in-focus and centered. This is the only tool I’m aware of anywhere that has this function, which can be used for inanimate objects also.
You don’t have to use the Go app however; you can also use Filmic Pro, which isn’t cheap, but is very highly regarded by those in the know. It allows you much finer control over your camera settings, allowing you to choose frame rate and resolution, and also manually control focus and exposure. It’s compatible with the OSMO mobile, but it doesn’t have the tracking or timelapse features of the GO app. I used Filmic Pro quite a bit in the end, because I wanted the most possible control over my shots. And it was easy to switch over to the GO app when I wanted to access the other features.
Great Battery Life
The OSMO Mobile’s battery is rated for about 4.5 hrs of operation time, which is plenty, and will most likely far surpass your phone’s battery life. When I went out shooting, I put my iPhone on airplane mode, not just to prevent any incoming calls or messages from disrupting my shots, but also to reduce the power drain. Plus, I moved to ‘low-power mode’ to further extend shooting time. In the end I found I was able to shoot flat out for about an hour, which may not sound like much but isn’t actually that bad for a device that isn’t a dedicated camera. It is possible to extend the shoot time much further by plugging your phone into a power bank. You might want to use a right angle charge cable though, so that everything still fits nice and snug. Ideally you want the gimbal to stay balanced in a neutral position when the unit is powered off, and you can alter the length of the arm accordingly, but adding the power cord may throw the balance off. That’s not a disaster though, as the gimbal is able to compensate when it’s switched on.
Constant Companion
I have to say I had a wicked time shooting with the OSMO Mobile. I bought it before a big trip to Bali, with stops in Taipei and Hong Kong, and I kept it to hand at all times—it was my constant companion. I kept the wrist strap cinched up pretty tight, and it felt totally secure hanging freely as I walked around. One downside for me was the start-up time; if something interesting was happening in front of me, by the time I powered up the unit, unlocked my phone, started either the GO app or Filmic Pro and made sure the bluetooth connection was working, it was often too late. I ended up disabling the passcode on my phone to make things quicker, which in hindsight I should’ve done much sooner.
In terms of ease-of-use and the quality of the results, it’s very hard to match the OSMO Mobile. For me DJI has absolutely knocked it out of the park here and confirmed there standing as one of the top brands out there. If you like shooting video on your phone, trust me, you won’t be disappointed with the DJI OSMO Mobile.


