
Making great photographs of a group of people is one of the hardest things to do in photography. Not only do you have to arrange your subjects in a pleasing manner, you also have to contend with the unpredictability of human subjects. Every person in your photo is a variable factor that could at any moment become distracted, bored or have a sneeze attack, and the more people the more variables you need to worry about. That said, a well-executed group photo is one of the true joys of photography, something that will give viewers reason to linger on the image and appreciate it more than any other type of photograph. Today I’m going to share with you some of the wisdom I’ve gained from years of trying to get the group portrait just right.
First of all, some basics. If possible, always shoot group portraits using a tripod, and there are a couple of reasons for this. First of all, you’ll want to compose your image as carefully as possible. When we shoot hand held we tend to be a bit more sloppy about our compositions. Secondly, you’ll want to take a number of frames, and if the background of every image is identical, it’s very easy to composite a number of different of shots later on (in Photoshop, or whatever your post-processing tool of choice is), choosing the best expression for each of your subjects. If, for example, there’s a great shot where everyone has a perfect smile, but one person has blinked, you can easily copy and paste their eyes from another shot. This technique has worked in my favour many, many times in the past.
Take Your Time
The thing I most often regret after I take a group photo is that I didn’t take longer arranging my subjects. It takes a bit of fine tuning to get your arrangement just right, and it’s super frustrating to spot the flaws in your image later on and realise how easy it would have been to correct them at the time, if only you had taken just a few more seconds. Personally speaking, I always try to be considerate of my subjects time and energy, and too often this causes me to not take as much time as I should. It’s always worth keeping in mind though that the risk of a little bit of impatience now is worth the reward of a final image that will be admired for years to come.
Be Positive
This is a tip that applies regardless of the number of subjects your working with: only say positive things. If you set something up and realize it’s not working and you need to switch it up, never let on the it hasn’t worked out, because it can make people self-conscious and generally make the situation a little awkward for all involved. So say something like ‘Awesome, that looks great. Now let’s try something else.’ Project positive energy at all times, and you’re more likely to get positive energy back from those you are working with.
Now let’s get into the specifics of how to arrange your subjects, with the help of a few sample images.
Create Triangles
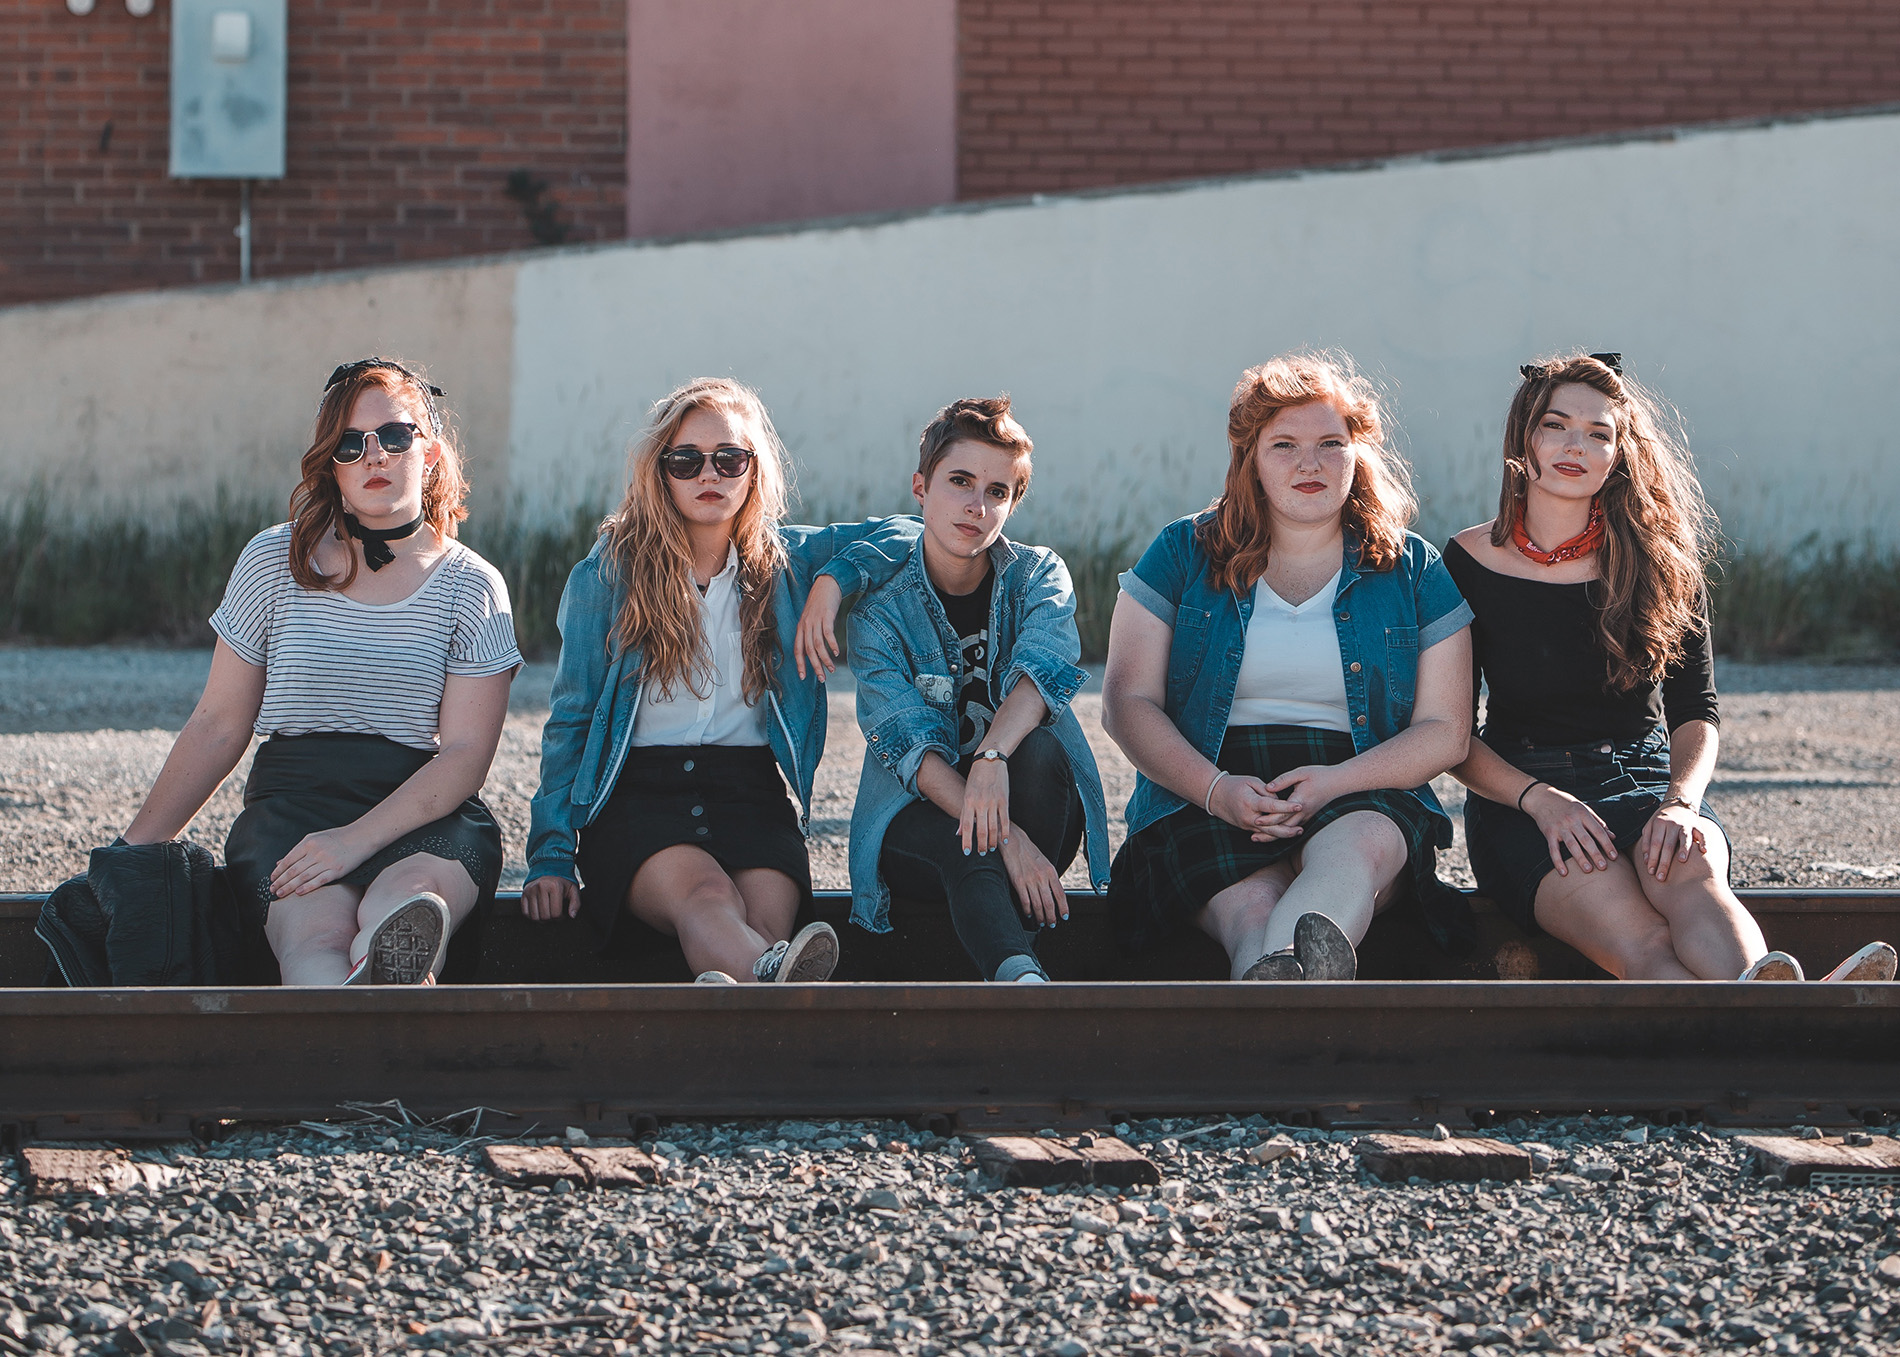
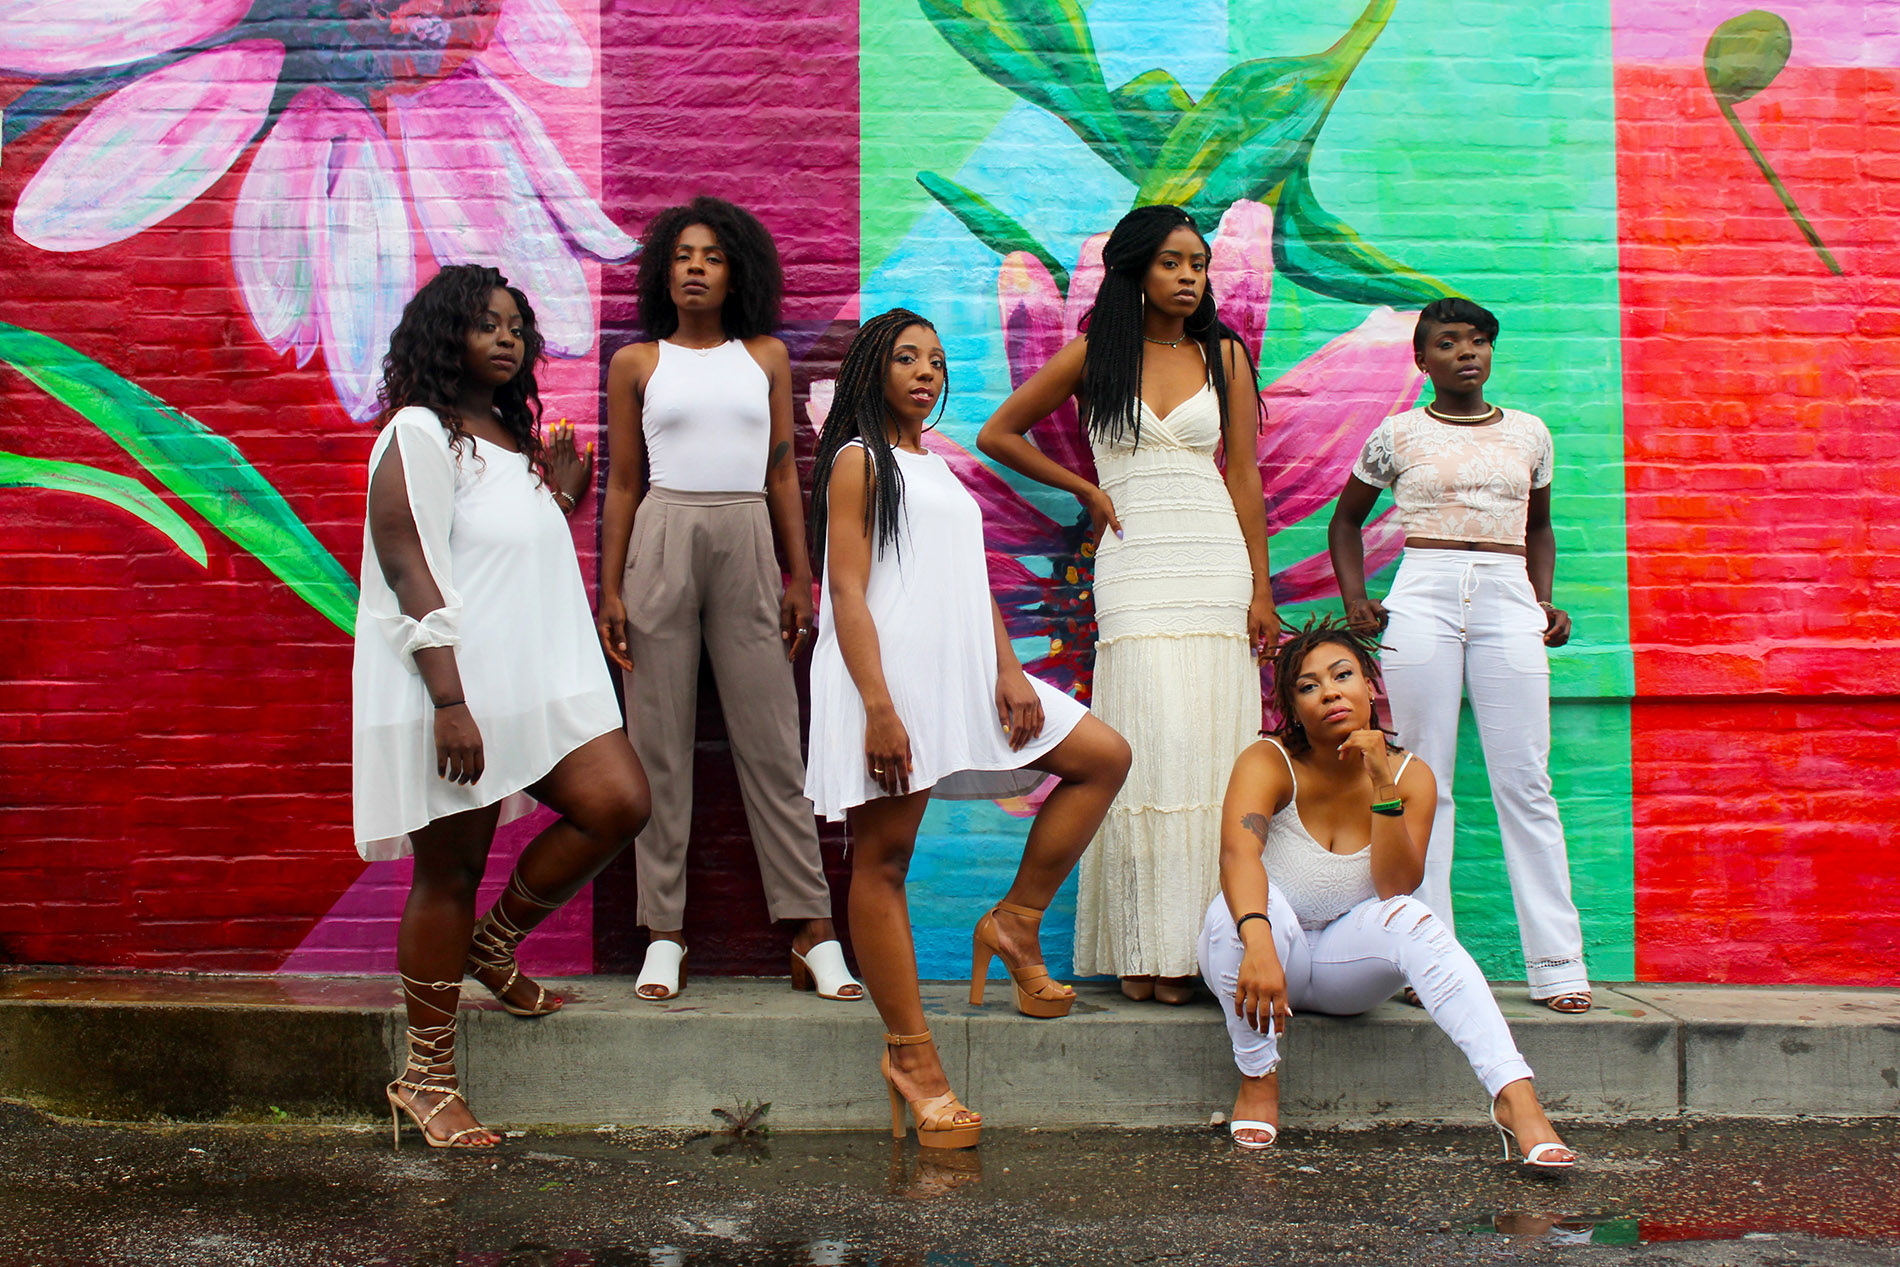
I really like the image below; I like the setting, I like the colours, and I like the moody tone. I also appreciate how the photographer has used the available light, and how the sun creates highlights on the subjects which help them pop off the background. However, the weakness of the image is the fact that the subjects are arranged in a line. Your eye just moves back and forth across the faces in a way that’s not particularly interesting. In the next image however the photographer has done a great job of varying the heights of his subjects to create a really dynamic and interesting composition. One of the most pleasing techniques in photography is the creation of triangles. Our brains love to find triangles in photographs and bounce around the three points. And the more triangles we find the more time we’ll spend engaged with the image. So think about using chairs to allow some of your subjects to sit while others stand. And if you can position one of your subjects seated on the ground, right there you’ve got three different heights and a host of possibilities for creating triangles.
Make It Look Conversational
The weakness of the above image for me is that it looks a bit too rigid. The subjects are very deliberately posed and there’s a certain lack of vitality. If at all possible, I try to make my group portraits look conversational, like everyone was standing around chatting and I showed up with my camera and shouted ‘Hi guys!’ and they all turned towards my in unison. When you approach the challenge of arranging your subjects with this mindset, it gives you an excellent point from which to begin. Just ask yourself ‘Who is talking to whom?’, and if you work in units of three, you’ll also find yourself making awesome triangles.
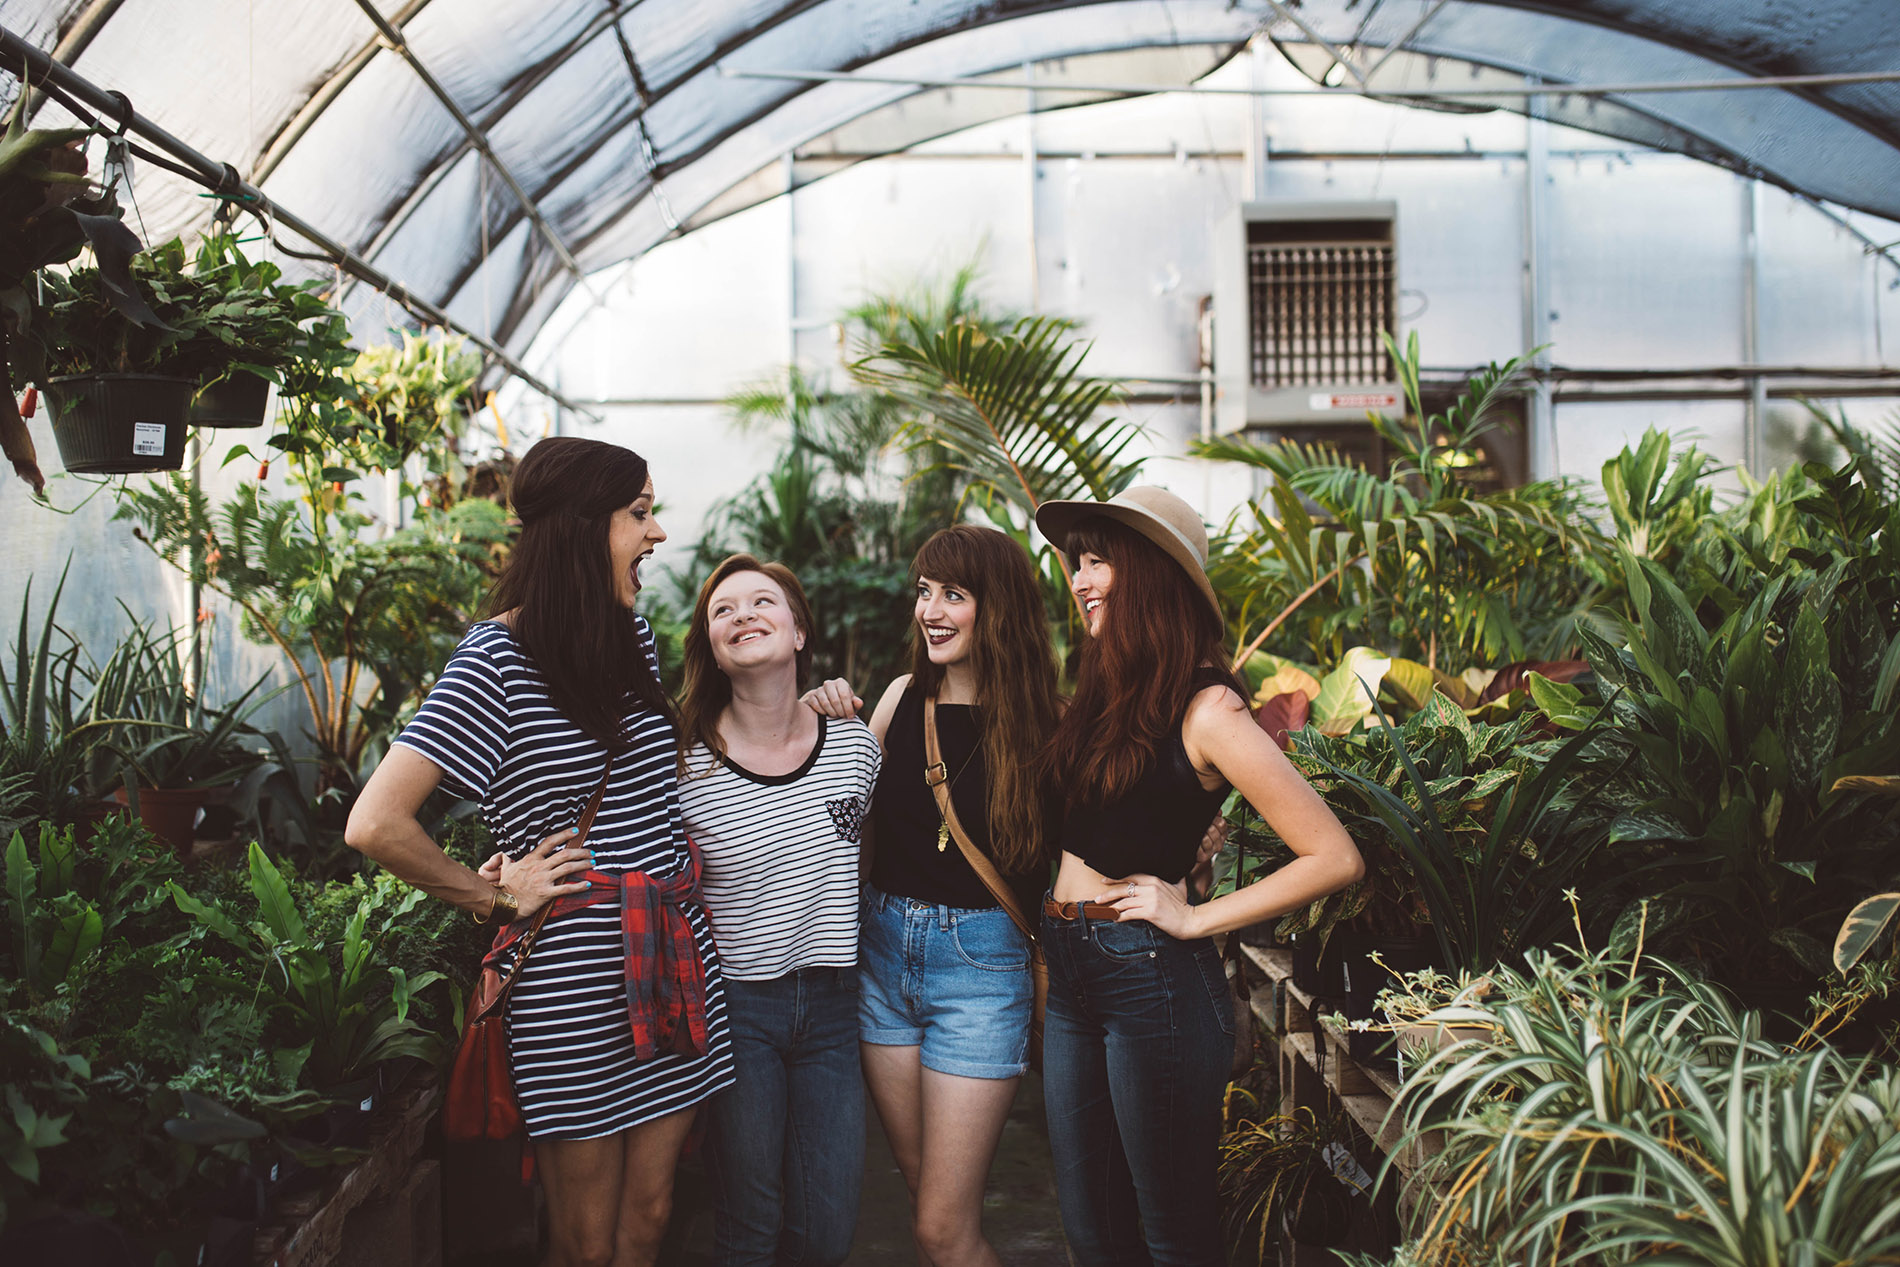
The image below is a really good example of an image that feels truly conversational, where the subjects are wonderfully animated which gives a pleasing vitality to the image. Not great in terms of triangles, but as you’ll realise as you practice group photos, it’s hard to tick all the boxes!
Let Your Subjects Get Distracted
Final piece of advice – try to let your subjects enjoy the process as much as possible. Let them interact with each other freely, because the more positive energy that flows between them, the more of that energy you’ll be able to capture through your lens. If you’re the type of photographer who can act as a entertaining distraction (and still pay attention to everything else you need to get right) then by all means work that charm.
So those are my pearls of wisdom, but I would love to hear your thoughts on getting great group shots in the comments below!


