“Write a blog about moving your electronics and home theatre tech. It should be detailed.” Considering I’m going to be moving my tech pretty soon, I think my editor picked the right guy. Whether you’ve got a TV and a Blu-ray player, or you’re packing up huge swathes of gear, this is the article for you. Let’s get cracking shall we?
Chances are if you’re moving you’re in one of two scenarios: you are moving right into your new place or you aren’t and you have to store your gear for a bit. If you have to store your gear then you only need to focus on the first half of the article for now, and when you finally get to move in come back to the rest of it. You will need some time to sort out what’s going to go where when you finally arrive (this is a regular case for renters out there … believe me, I did it a ton of times).
If you are moving right into your new place, the whole article is for you. Read it over, and commit to the plan!
Getting Ready to Move – Packing Up
Alright, let’s talk about packing up your gear. There are a few things that you need to consider as you get things ready:
 1. Take photos and label things.
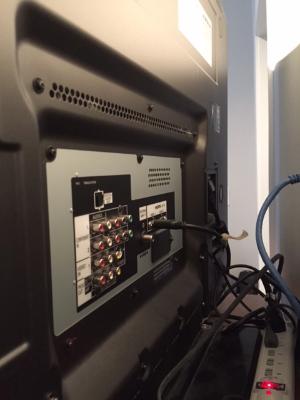
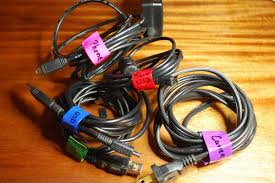
If you’re a tech wizard you can bypass this step, but for everyone else, you’ve probably got things working the way you want right now, right? So why mess with success? Take a picture of the back of your TV or AV Receiver so that you can see where everything plugs in. If you’re fortunate to have different coloured cables for things, great, but if not then you need to LABEL YOUR CABLES. Seriously, get some masking tape and a sharpie, wrap a flag of tape around your cable, label what it connected to and what port it plugged into. Congratulations, you’re halfway to things being a lot less painful when you finally arrive in your new home!
Please note that the super complex wiring picture to the right is because everything is already packed. I’m living and dying on Apple TV right now!
2. Pack the accessories first.
Get a clear tub that’s big enough for your remotes and accessories. Wrap the remotes in kitchen towels, wrap the cables loose and secure them with rubber bands. If you’re not sure how long you’re going to be storing your gear don’t forget to take the batteries out of your remotes. Label the tub clearly and keep it together with your home theatre gear.
 3. Pack it like you mean it – protect your gear!
Smaller home theatre gear can be relatively easy to manage if you think smart about it. I went to the local liquor store and asked if they had any boxes… turns out that they’re a box goldmine. Nice, strong, boxes that are meant to carry heavy bottles full of liquid are perfect for packing away delicate electronics. I recycled the flyers and newspapers from my community circulars to pack the delicate stuff, including but not limited to my game consoles and my projector. Wrapping them in towels and blankets are a good option as well.
I still use some bookshelf speakers for my home theatre audio system, and those cloth grilles are super easy to put a finger through if you’re not careful. I removed the grilles, packed them together, and wrapped newspaper around the firing area of the speaker to help protect the cones.
 4. Dealing with Displays
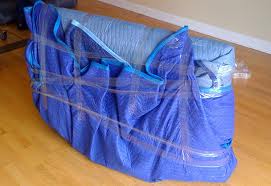
This one’s a tough one. Newer displays are lighter than my beastly plasma, but still need to be protected because they can be easily damaged. I opted to leave this to the last, with the stand on, moving it all in one go but not putting it on the truck. I carefully wrapped it in soft blankets and placed it in my car. For many out there, the thought of moving a display justifies keeping the packaging; I’m sure that makes organization experts out there shudder. There are a few things you can do here: go to a craft store and pick up some foam blocks. Cut the corners to match your display so that they slide over the frame. From here you can use large pieces of cardboard to create your own box – don’t forget to take the stand off!
In some cases, if you’re getting a moving company, they may specialize in moving larger items like your TV. Talk to them about making that move for you.
Alright, if you’re doing the long term storage thing you can stop reading now. It’s been great! Come back and read the rest later when you get settled!
Moving In – Unpacking and Setting Up
1. Develop a SImple Plan
If you’re not doing the storage thing, you’ll want to think about the space beforehand. If you have blueprints those can be great, if not (and you were able to do a walkthrough) an app like MagicPlan on iPhone can help you create a floor plan that you can use to figure out how to populate it with your stuff.
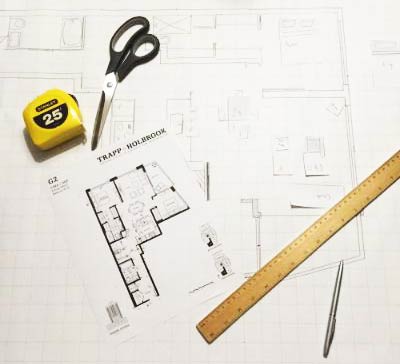
Me, I did it the old fashioned way, drawing everything out on graph paper (see the image at the top of the page!). It might be low tech, but there’s nothing easier than physically moving a piece of paper when you’re laying out where bits and pieces are going to go.
I should note that if you’re building a new home yourself, investigate the option of getting it pre-wired; It’s the type of thing that your local Geek Squad can help with. A pre-wire is where you run wiring before drywall or flooring are finished, letting you tuck the wires away safely either on their own or in conduit. It’s a job for professionals (or the really super-eager) so again, go call the Geek Squadders to help you out.
2. Think about logical upgrades
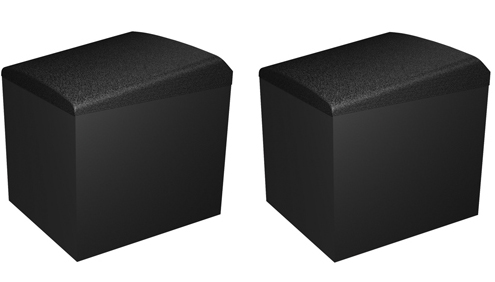
Moving is a great time to really do some basic upgrades because you are having to setup your whole system so why not take advantage of that opportunity? If you’ve had 5.1 in the past, think about adding some extra speakers for 7.1. If you’ve got space, look at upgrading your front speakers with upwards reflecting Atmos® channels and get a new receiver to match. The wonderful thing about moving is that you get to start from scratch.
3. Setup a Clean System
Presuming you took my advice and marked all your cables and took photos, start piecing your system back together. Because you have everything marked it should be a lot easier. I like to start with the receiver and the TV because those two components are the heart of the system and everything feeds into them.
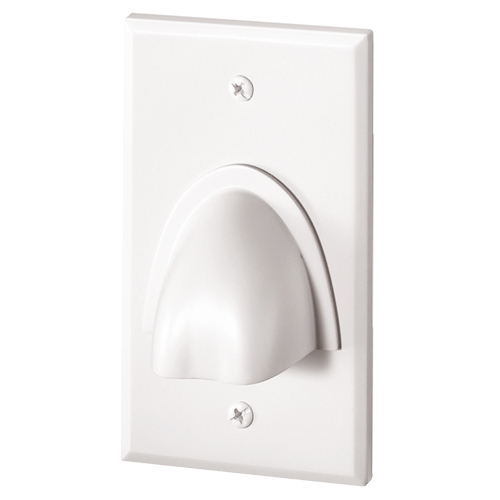
It is likely that your system evolved at your old place so cables may have been added over time in a piecemeal fashion. This is a great opportunity to start in your new place with cable control and a lot less clutter. Cable ties are a great way to keep your cables bound tightly together, removing the rats nest effect that can develop behind your TV. Think about picking up some small hooks from a hardware store, drill then into the wall, and loop your cable bundle around them to keep them out of the way. Another great solution is using a pair of cable pass through wall plates and hide all your cables behind the wall. It is simple to do, especially when doing a new setup.
4. Mount the TV
I realize it is not always possible but if you can mount the TV. Not only is it a safety factor (see this post on why), but mounting that TV will look better, is more secure, will less likely get damaged, and leaves more space for other things in the room! There are some great mounting options from flat mounts to articulating ones so you are sure to get one that will suit your room.
Safeguard Your Tech:
Tips for safely moving your gadgets
Bonus Tip: When is doubt, call the Geek Squad to help set up all of your electronics in your new home! |
Moving doesn’t have to be a scary thing, and it can actually be a great way to make your electronics more organized than ever. Give the above tips a shot and let me know how your move turns out in the comments below.


