

Once you get a sound bar to accompany your TV in the living room or bedroom, you need to find the proper way to mount it. How to do it will really depend on the way the TV is set up. Either way, it’s simple to do with the right equipment and some know-how. In this guide, we’ll break down the options and give you practical advice to get the job done right the first time. We’ll also tackle compatibility concerns and tips your Saturday DIY self will appreciate.

Do you want to mount to the TV or the wall?
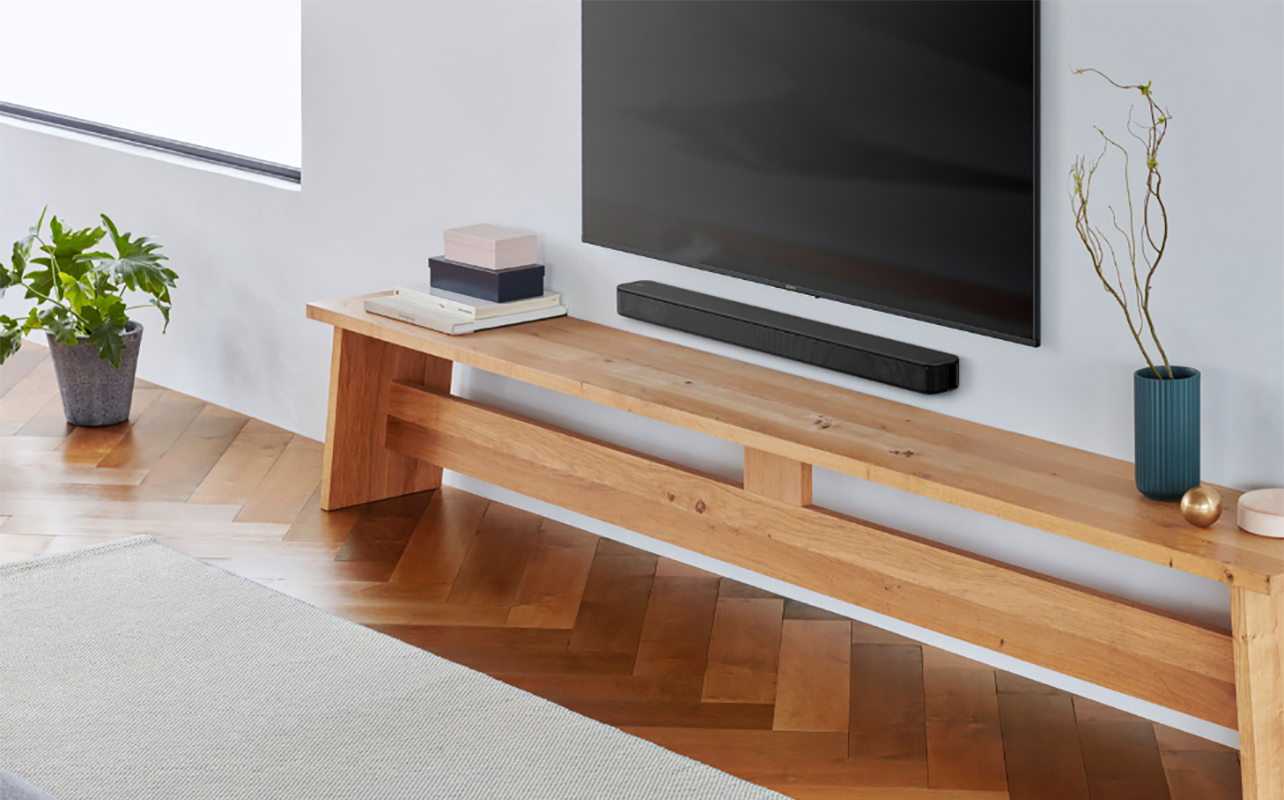
Before grabbing your tools, it’s important to figure out where your sound bar should go. A sound bar is a compact way to improve audio from your TV. There are two main options to mount it: directly to the TV or to the wall beneath it. (Alternatively, if you have a TV stand, you can position the sound bar on top without mounting at all). Both options have their benefits. The right choice might come down to your room layout, your TV and sound bar type, and your personal preferences for style and function.
Mounting your sound bar to the TV creates a seamless, all-in-one unit. It’s an excellent choice if your TV is already wall-mounted and you want to avoid making extra holes in the wall. This method also ensures the sound bar moves in sync with your TV if you’re using an articulating or swivel mount, keeping the audio aligned with your screen. It saves space and is especially helpful when there’s no surface or media console underneath the TV.
On the other hand, wall mounting your sound bar gives you more flexibility. You can fine-tune the height and distance between the TV and sound bar to better suit your space or sound preferences. It’s a fantastic option if your TV is on a stand or if you’re going for that ultra-clean, floating look. Plus, wall mounting can often improve sound clarity by allowing you to position the sound bar at ear level, helping you get the most out of your audio setup.

Mounting a sound bar to your TV
If you’d rather keep your sound bar attached directly to your TV, you’re in luck. This setup can be simple, space-saving, and stylish. In this section, we’ll walk you through everything you need to know, including a step-by-step guide for how to mount a sound bar to your TV. Make sure to read some helpful tips to avoid common issues along the way.
What you’ll need
To get started, here’s what you’ll want to have on hand:
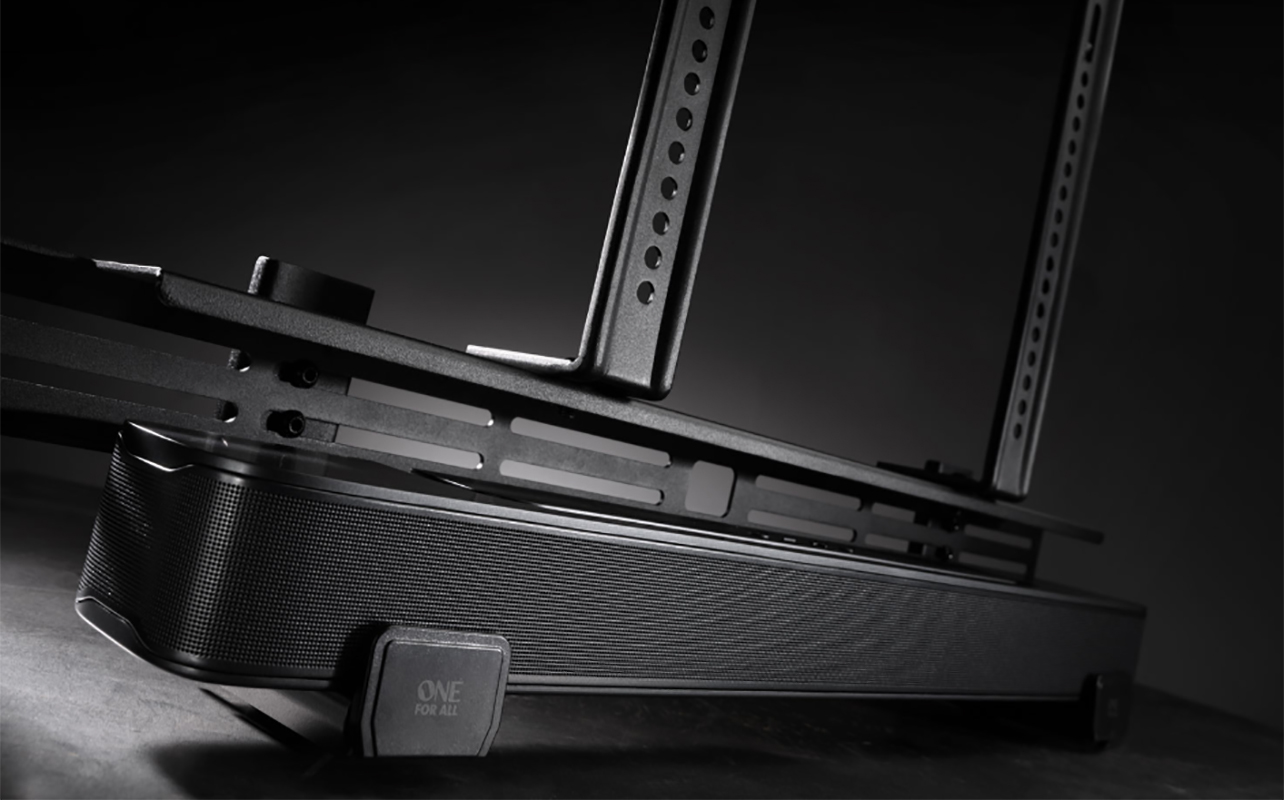
- Universal sound bar mounting bracket: It attaches to the VESA mounting holes on your TV and support your sound bar from underneath or above. Note: Some sound bars, especially ones designed for a specific brand of TV may include brackets that simplify the process.
- VESA pattern compatibility: Make sure the bracket matches the hole spacing on the back of your TV.
- Basic tools: Typically a screwdriver, Allen key set, level, and possibly a socket wrench.
- Optional: Cable routing clips or sleeves for a clean finish.
How to mount a sound bar to a TV: Step by step guide
1. Remove your TV from the wall (if already mounted): First, make sure the power cord is unplugged and your TV is not connected to any devices. Then, carefully take your TV off the mount and lay it face down on a soft surface like a bed or couch. Use a towel or blanket to protect the screen.
2. Attach mounting brackets to TV: Use the VESA mounting holes to secure the bracket arms. These are typically positioned just below the centreline of the TV. Make sure the brackets don’t obstruct any ports, ventilation slots, or power connectors.
3. Attach brackets to the sound bar: Line up the brackets with the connection points on your sound bar. Use the included hardware and follow the instructions in your mounting kit. Be careful not to over-tighten any screws.
4. Re-mount your TV: With the sound bar now attached, carefully lift the TV back onto the wall mount. This is a good moment to call in a second set of hands to help you avoid any accidents.
5. Align and test stability: Use a level to ensure the sound bar is perfectly straight. Give it a light shake to confirm everything is secure.
6. Manage your cables: Route your HDMI, optical, or power cables. Cable ties, clips, or sleeves can help keep things looking clean and professional.
Common issues when mounting a sound bar to the TV
You can run into a few bumps even with a relatively straightforward installation. Here are some common problems and how to deal with them:
- Blocking IR sensors: If your sound bar is covering the TV’s infrared sensor, your remote may stop working properly. Try repositioning the bar or using an IR repeater.
- Covering HDMI ports: Before mounting, double-check that your HDMI or power ports aren’t blocked. You can use angled adapters to make tight spaces work.
- Sound bar too heavy: Most universal mounting kits support sound bars up to a certain weight—usually around 10 to 15 kilograms. If your sound bar is heavier, it’s important to check both your TV mount and bracket specifications. You might need a heavy-duty TV mount or consider wall mounting the sound bar instead, provided you can anchor it securely into wall studs or use weight-rated wall anchors. Always double-check the weight ratings of all components before installation.
- TV curves or protrusions: If your TV isn’t flat, you may need to use spacers (often included in mounting kits) to create an even attachment surface.
Mounting a sound bar to the wall
Not attaching your sound bar directly to the TV? No problem. Wall mounting is just as effective and offers its own set of advantages. In this section, we’ll walk you through the process of how to mount a sound bar to the wall, from the tools you’ll need to step-by-step instructions. We’ll also cover common problems and how to solve them, so you can get it right the first time.
What you’ll need
- Wall mount bracket: Many sound bars include a mounting bracket in the box, but there are also universal options available.
- Stud finder: Essential for locating secure anchor points in your wall.
- Drill and bits: Needed for creating pilot holes before mounting.
- Screwdriver or power drill: Use a screwdriver for fine control or a power drill for faster installation. That’s especially useful if you’re drilling into wood or masonry.
- Level: Crucial for keeping everything straight and even.
- Measuring tape: To centre the sound bar beneath your TV and get the spacing just right.
- Optional: Drywall anchors for non-stud installations, and cable concealers or raceways for hiding wires.
How to wall mount your sound bar: Step by step guide
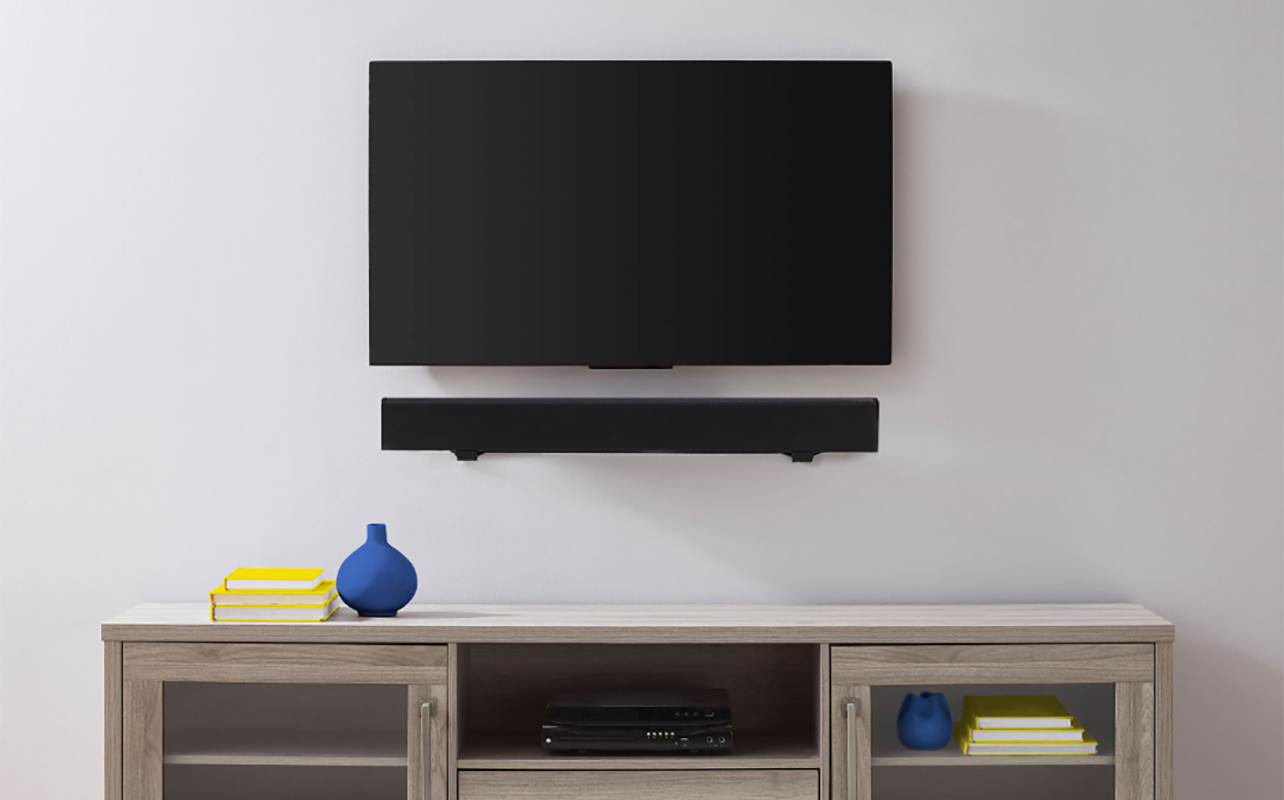
1. Decide how far below the TV to mount sound bar: A good guideline is to place the sound bar 2–3 inches below the TV. This keeps it visually integrated and ensures good audio alignment.
2. Mark the position: Measure and mark your bracket holes. Use a level to double-check that your lines are straight.
3. Locate the studs (or prepare anchors): Use a stud finder to locate wooden studs. If studs aren’t in the right place, use heavy-duty drywall anchors rated for the sound bar’s weight.
4. Drill pilot holes and install brackets: Drill into the studs or insert your anchors, then attach the brackets securely using screws.
5. Mount the sound bar and test stability: Hang your sound bar on the installed brackets. Check with the level again, and gently test to make sure it’s secure.
6. Hide your cables: Use cable concealers, sleeves, or clips to route your wires neatly. If you’re comfortable with it, you can also fish wires through the wall for a totally cable-free appearance. Just be sure to follow Canadian building codes and safety guidelines.
Common wall-mounting challenges
- Masonry or brick walls: These surfaces require masonry bits and appropriate anchors. The process takes more time and the right equipment.
- Uneven walls: Use rubber shims or isolation pads to level your mounting brackets.
- Echo or vibration: Mounting directly to drywall or brick can sometimes create sound reflections. Rubber pads between the bracket and wall can help reduce this.
- Alignment issues: If your TV isn’t centred or if wall studs aren’t in the ideal spot, adjustable brackets can help you fine-tune the final position.
How to choose the right mounting method
When choosing how to attach a sound bar to your TV or how to mount a sound bar to the wall, consider these factors:
Aesthetic
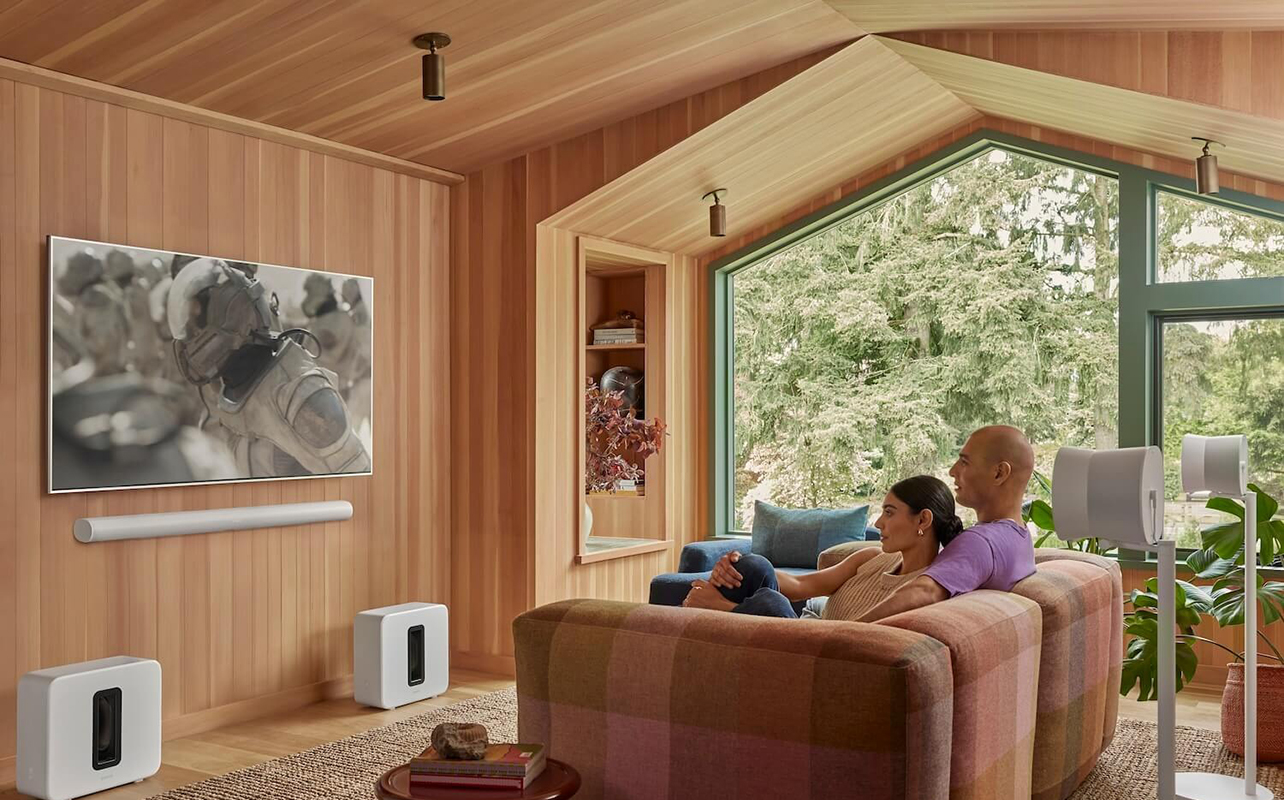
If you’re after a clean, unified look, mounting the sound bar directly to your TV creates a compact, all-in-one setup. That’s perfect for wall-mounted TVs or minimalist spaces. Everything moves as one unit and looks intentionally integrated. Wall mounting your sound bar creates a floating effect that adds visual interest and gives your media setup a designer feel. It’s a great way to make the sound bar stand out or blend into the wall beneath your screen.
Sound direction
Sound bar placement can affect how well audio fills your room. A TV-mounted sound bar moves with the screen if you’re using a swivel mount, which keeps audio directed where you’re facing. But if you want precise control over sound projection, like positioning it closer to ear level, wall mounting may give better results, especially in larger rooms or setups with fixed screens.
Tools needed
Mounting to the TV is typically simpler. You’ll need a compatible bracket, a screwdriver, and maybe some Allen keys. For wall mounting, expect a bit more prep: a drill, stud finder, level, measuring tape, and potentially drywall anchors or cable concealers. The good news? Most of these tools are common in a basic DIY kit.
Ease of installation
If your TV is already off the wall, mounting the sound bar to it is often the quicker route. Everything can be assembled while the TV is face down, and the final result goes back on the wall in one step. Wall mounting, by comparison, takes more measuring, more holes, and more alignment work. But it can be worth it for the added flexibility.
Rental-friendly
Mounting the sound bar to your TV is usually the better option if you’re renting. It avoids putting additional holes in the wall, and you can often use the existing TV mount without extra tools. Wall mounting is more permanent and may not be allowed in some rental agreements. Always check your lease or be ready to patch and paint later.
Quick guide: Here’s a quick side-by-side comparison to help you decide whether TV mounting or wall mounting your sound bar is the better fit for your setup.
| Factor | TV mount | Wall mount |
|---|---|---|
| Aesthetic | Seamless, single unit | Floating look, minimalist |
| Tools needed | Bracket kit, screwdriver | Drill, level, stud finder |
| Ease of install | Easier if TV is unmounted | More flexible placement |
| Rental-friendly | Yes (if using existing TV mount) | Less ideal; requires wall drilling |
| Sound direction | Fixed to TV movement | Adjustable height and angle |
Choose the mounting method that fits your setup
Mounting your sound bar isn’t just about appearances, it’s a smart upgrade that improves audio performance, saves space, and creates a more comfortable viewing experience. Whether you choose to attach it directly to your TV or float it on the wall, the goal is the same: to deliver great sound while keeping your setup tidy and functional. Once it’s all set up, you can connect the sound bar to the TV and you’re off to the races!
A TV-mounted sound bar is ideal for compact setups and renters, while wall mounting offers more control and precision. Both are great choices. It just depends on your room, your TV type, and how hands-on you want to get with tools.
Ready to make your sound bar shine? Check out our selection of mounting kits and sound bars to find the right fit for your home theatre setup.

This article was drafted using AI technology and then reviewed, fact-checked, and revised by a member of our editorial team.


Really helpful and easy-to-follow guide—this makes choosing between TV mounting and wall mounting a soundbar much clearer for anyone setting up their home theatre.
Comments are closed.