
So, you have decided to take a break from streaming and invest in a record player to enjoy the nostalgia of playing vinyl on a turntable. Congratulations! It will be such an inspiring experience. But especially if you’re a new vinyl listener, you are probably unsure of what you might need to get started with your record player setup. Once you have a record player or turntable, it’s time to get it prepped for playback. There are some important considerations to make, and additional items you’ll need, like speakers. Once it’s on a stable surface, you’ll also need to optimize the tonearm, speed, and playback to ensure proper use. Poor setup can impact sound quality. So, you’ll want to make sure you have dotted every “I” and crossed every “T” before dropping the needle on the new record you just bought.
If you have a new turntable, or you’re looking to buy one, bookmark this guide. Here, I’ll walk you through everything you need to know, from unboxing to relaxing with fantastic tunes with confidence that your player is set up exactly as it should be.

Placement is crucial
Once you have unboxed your new turntable or record player, take a moment to sit back and marvel at its beauty. But also check that there are no missing components and no damage. Match each item against the contents listed in the included paper or downloadable online manual.
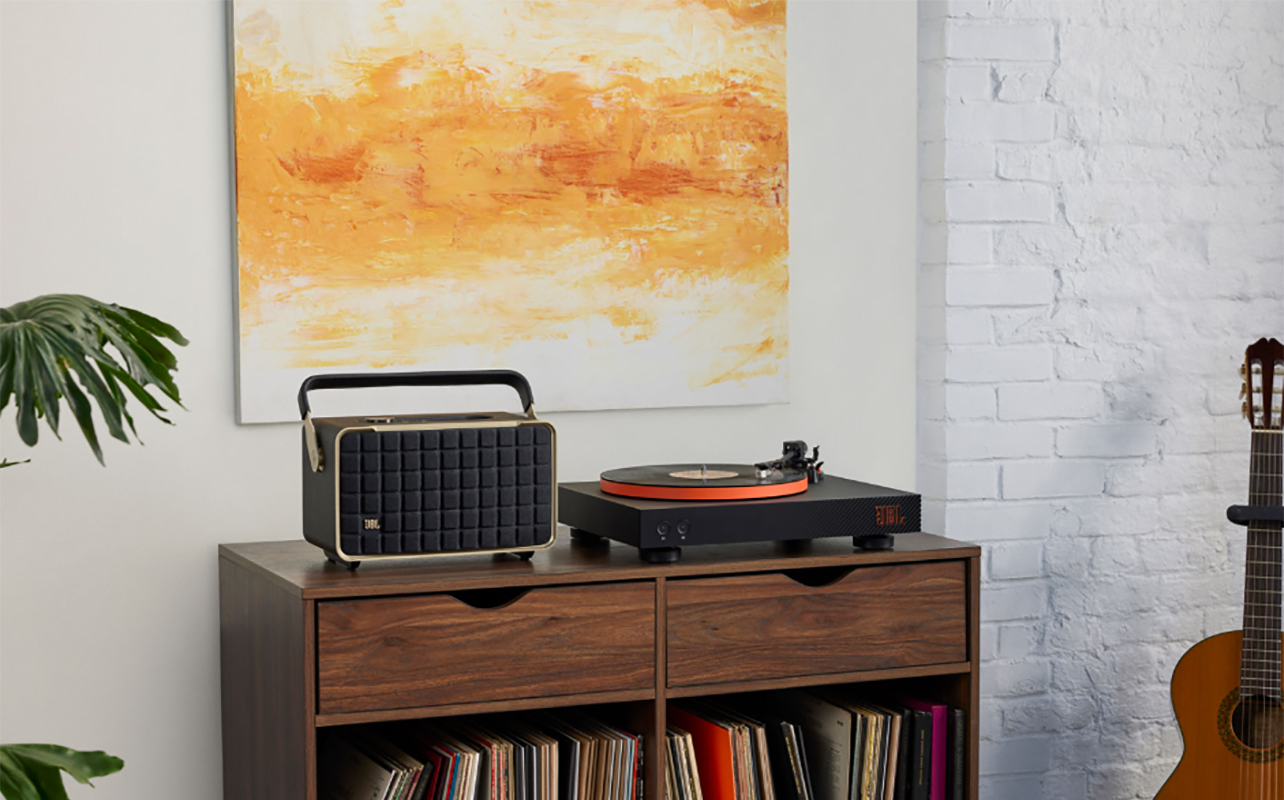
Once you have verified that everything is there and in good order, find a stable, level surface away from sources of vibration. This might be a dining room buffet (that’s where I have a turntable), shelf, or other stable piece of furniture. It’s important that it isn’t in or near a high-traffic area of the home. This will help prevent a record from skipping and ensures that the needle glides smoothly across the record without interruption.
Components and connections
Usually, a turntable or record player comes with the same basic components. It’s important to understand all the key parts of a record player.
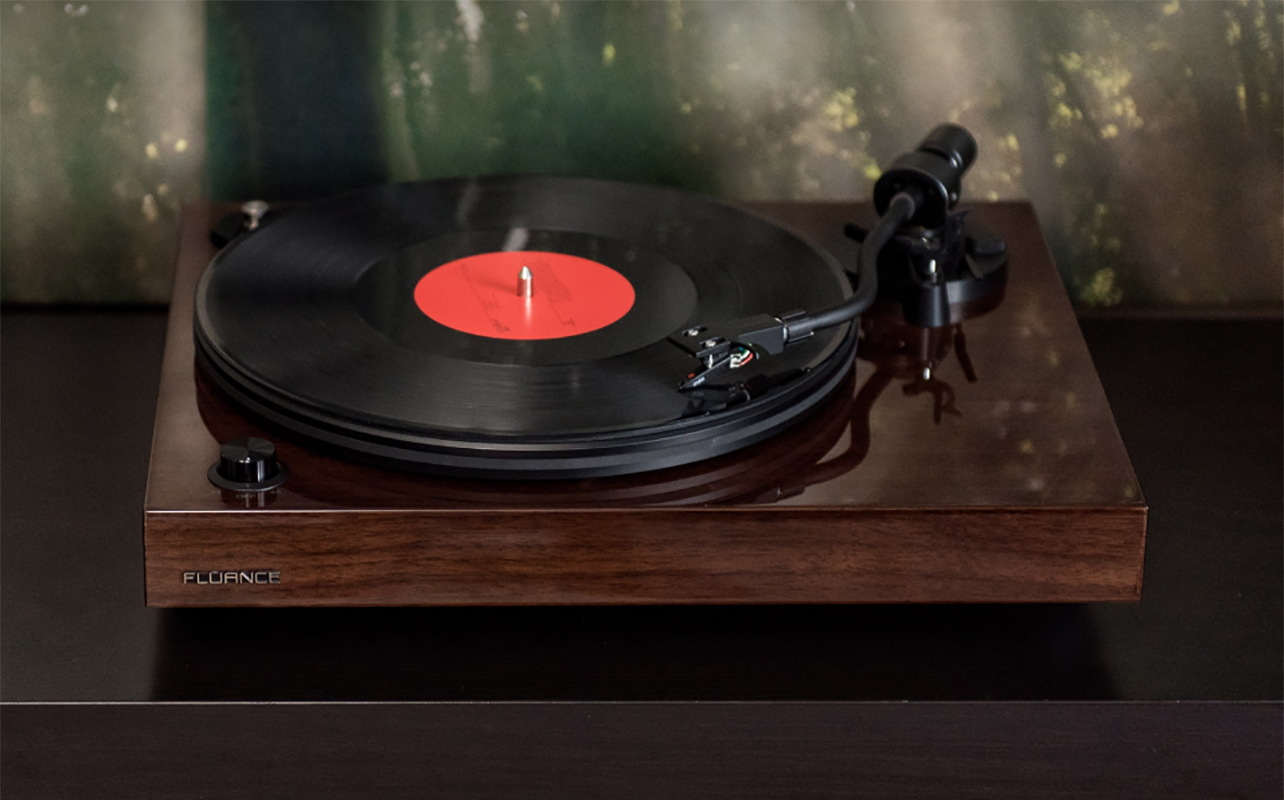
- Platter – This is the flat, rotating platform where you place the vinyl record.
- Tonearm – The arm that swings across the record and holds the cartridge/stylus.
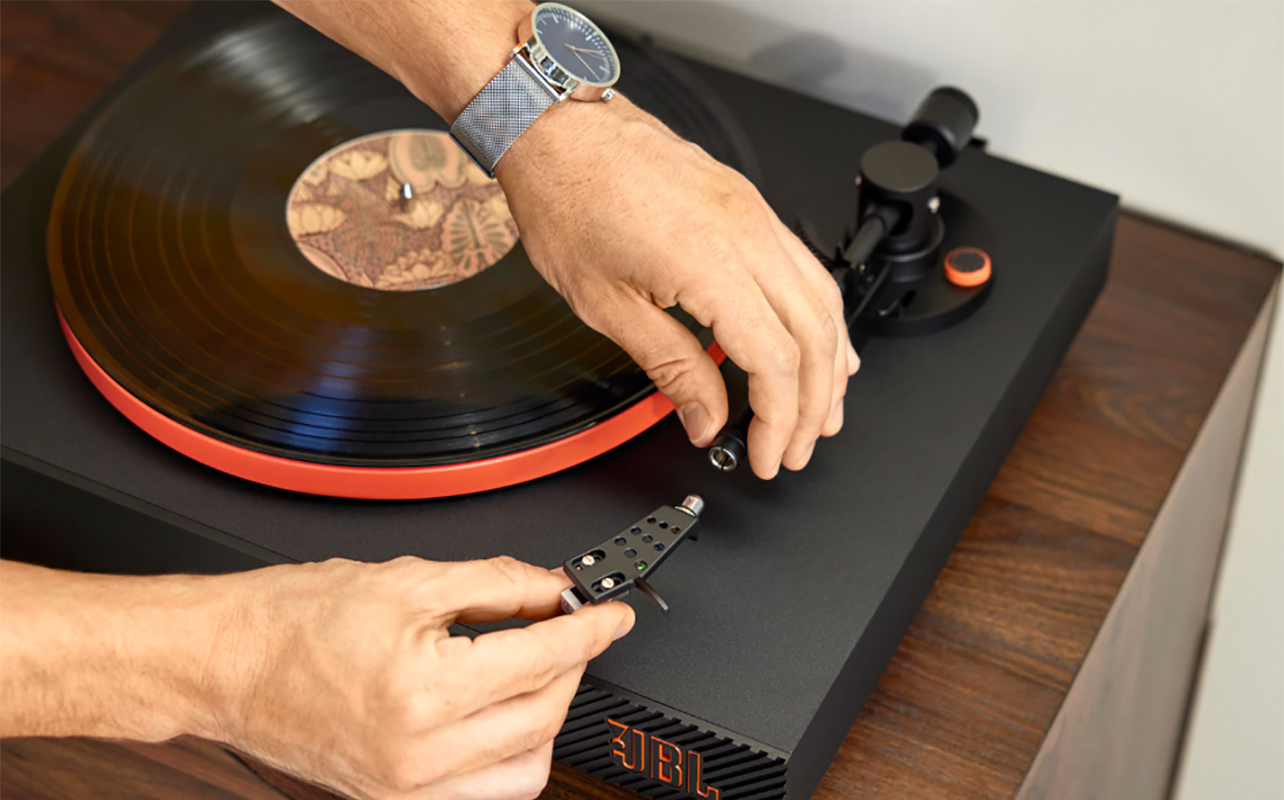
- Cartridge & stylus (needle) – The cartridge converts vibrations into electrical signals while the stylus is the needle that reads the grooves.
- Cueing lever – Raises and lowers the tonearm gently onto the record.
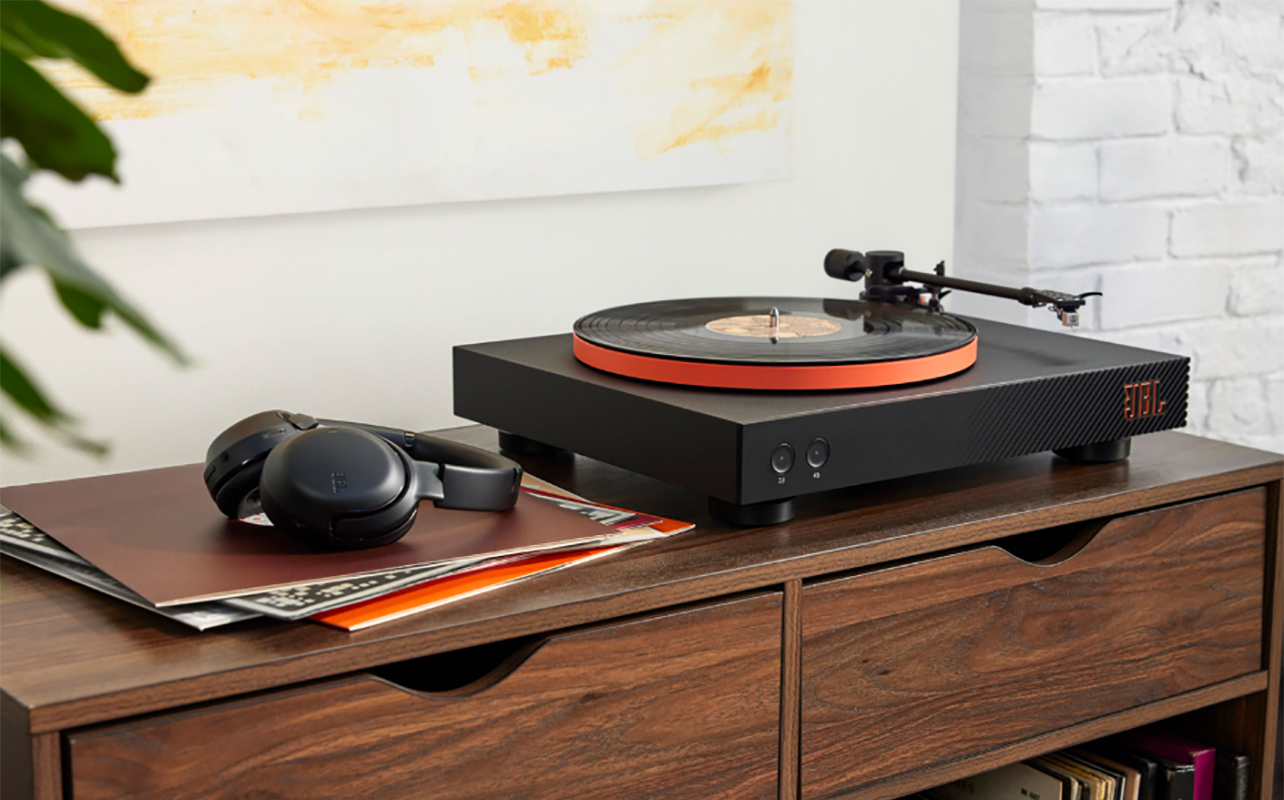
- Speed selector – Switches among playback speeds, which are 33, 45, and sometimes 78 RPM.
- Start/stop button or switch – Engages or disengages the motor/platter.
Other buttons and knobs on the unit vary from one unit to another. Some record player systems, for example, might have a switch for Bluetooth connectivity.
Audio connection options
Turntables and record players have various ports for connecting external speakers and other devices. You might also find things like a 3.5mm port for connecting headphones. There are several ways you might be able to connect speakers.
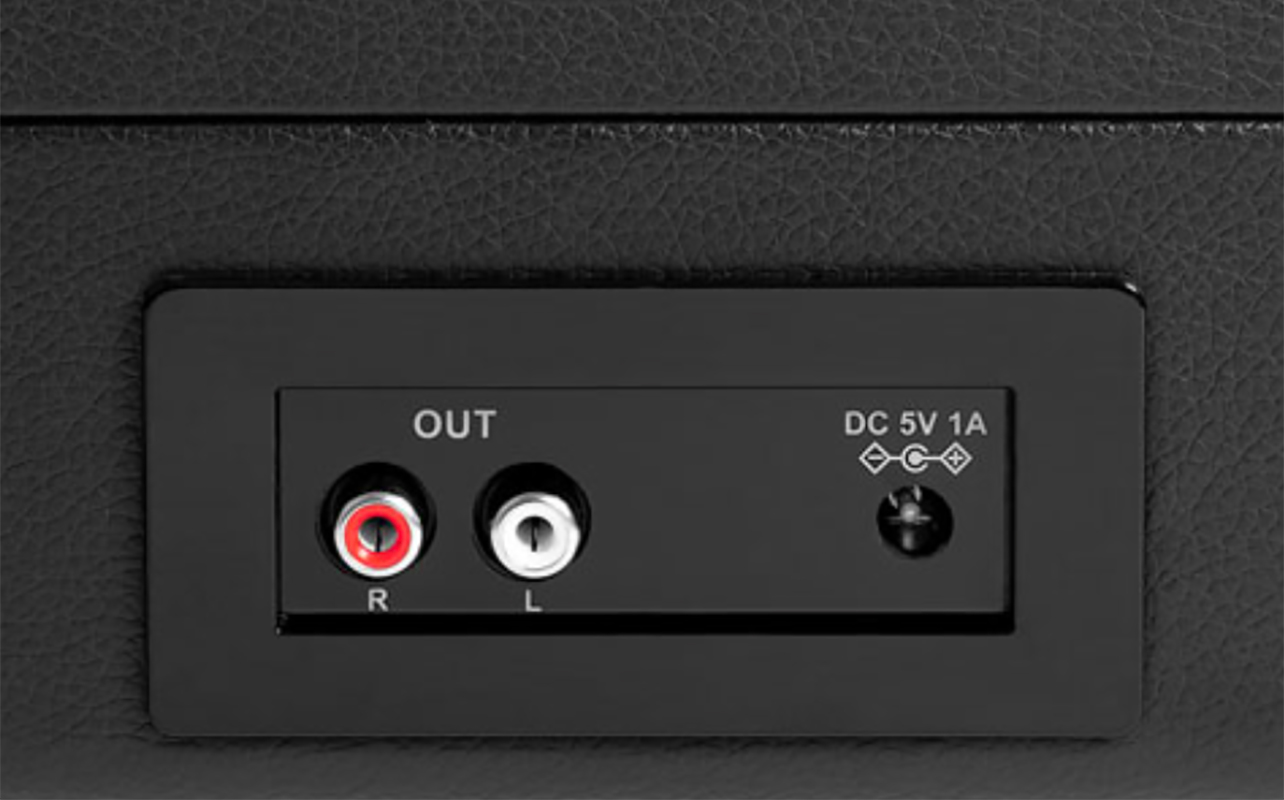
- RCA output cables – These red and white cables for left/right audio signal are used to connect to speakers, amps, or preamps.
- Ground wire – These are often found on turntables with external preamps to reduce hum, and they connect to an external amp’s ground post.
- USB output (optional) – Found on some modern turntables, this is for digital archiving or computer connection if that’s a feature you plan to use.
Understanding preamp, amp, and speaker roles
All turntables require external speakers. While some record players do come with built-in speakers, it’s advisable to connect them to external speakers for more favourable sound. The full signal chain is as follows:
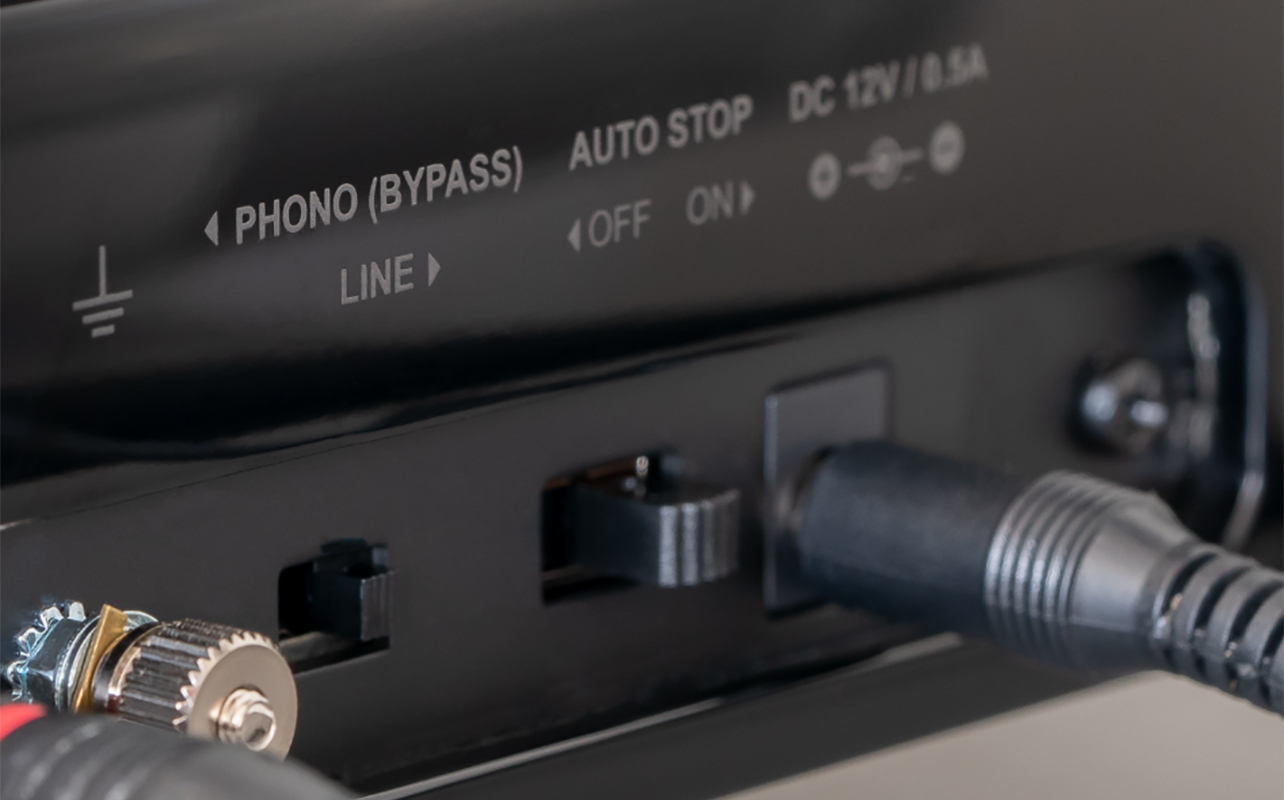
Phono Preamp – This boosts the low-level signal from the stylus to “line level” or aux signal. It can be built into the turntable, built into speakers/receivers, or sold as a separate box. If you’re buying a newer model, chances are that it has a preamp built in. You likely only need a separate one if you’re using an older vintage turntable or super high-end model. Otherwise, you’ll see a switch, likely at the back of the unit. Any record player with Bluetooth or USB will have a built-in preamp.
Amplifier (amp or receiver) – This powers passive speakers. Some setups have this built-in, others don’t.
Speakers – There are two types of speakers you can use. Powered (active) speakers have a built-in amp and plug directly into the turntable if it has a preamp. Passive speakers require a separate amp or receiver to work. You can see our guide on how to hook up a record player to speakers for more details on the process with either.
First play and calibration
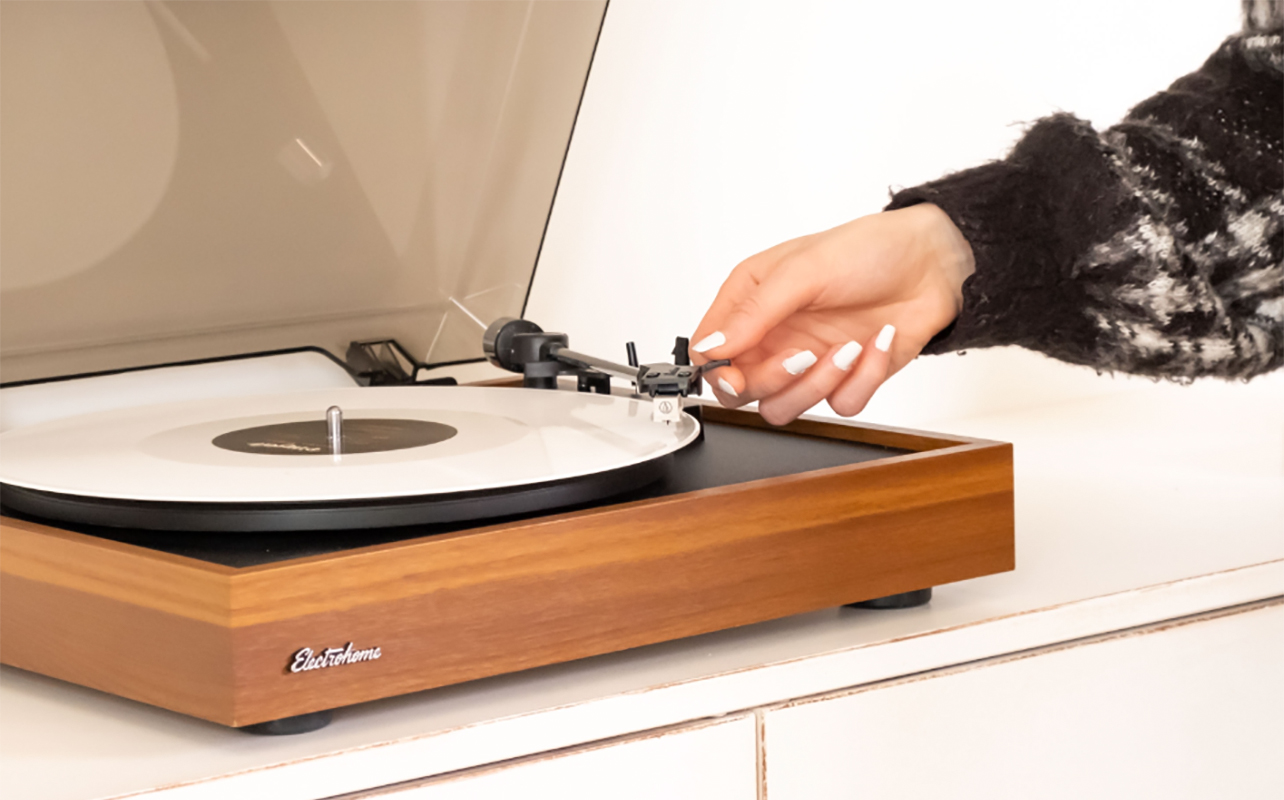
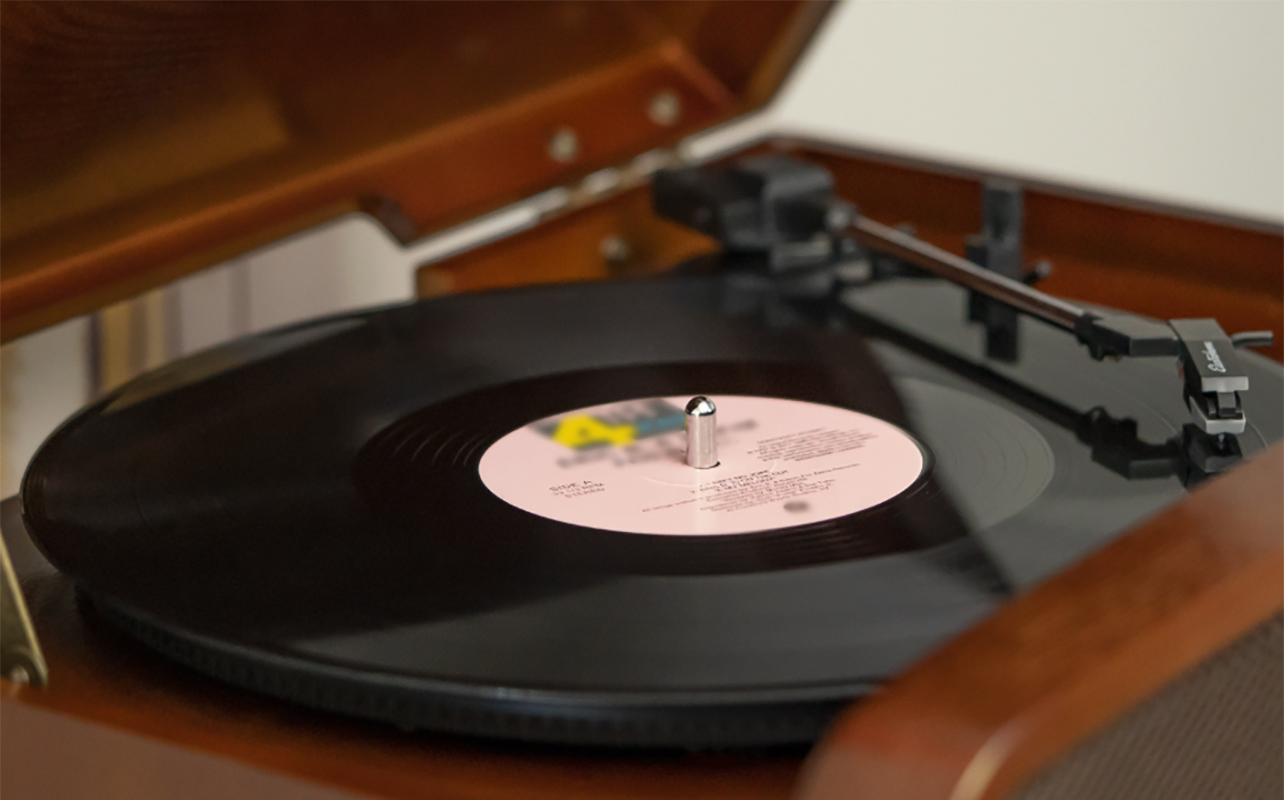
Once you have everything set up, it’s time to play! Remove the record from its sleeve and hold it by its edges. Place it gently on the platter, aligning the hole with the centre so it fits on top. It should be lying flat. If your record player has a switch or dial, adjust it to the correct speed of the record. Most are 33-1/3 PM but some, like singles, are 45 RPM and a few are 78 RPM. Next, move the stylus/needle to the start of the record and it will begin to spin and play. With automatic turntables, this process happens on its own.
Listen and take note of sound quality. Is it clear? Have you selected the right speed? Is there balance with audio channels? If the sound seems off, double check that the turntable is level. Make sure the stylus and record are also both clean of dust and debris. Ensure that all cables are securely in place. If it has a ground wire, confirm that it’s attached firmly to the grounding post on the amplifier. If it isn’t, this can result in a hum or a buzz. Finally, verify that the phono/line switch is in the correct position. Once all these conditions are met, it’s time to fine-tune the turntable.
Fine-tuning your turntable
There are a few steps you can take to fine-tune the sound of your turntable beyond troubleshooting and adjustments noted above.
Balance the tonearm – Adjust the anti-skate dual to its lowest setting. Unclip the tonearm, and lower the stylus onto the player. Adjust the counterweight located on the back of the tonearm. Keep an eye out for when the arm floats level above the record. Return it to the original position and turn the counterweight dial to “0.”
Set tracking force – Tracking force relates to the amount of force a cartridge applies to the record when it’s resting on it. Optimal tracking force is usually 1.5-2 grams but check the turntable manual to confirm for your unit. With the dial at “0,” move the counterweight back and forth until it gets to the right number.
Adjust anti-skate – This is the force applied to the tonearm. It balances the natural inward pull that occurs as the stylus moves along the groove of the record to play. This should match the tracking force number and can be adjusted from the dedicated dial. Play a record and listen for any distortion or imbalances to adjust accordingly.
Troubleshooting common setup issues
If you find there’s something off about the sound, this could have to do with some common setup issues that are easily rectified.
No sound or low volume – Check the preamp/speaker connection to ensure all cables are secure and in the right places. Verify that all dials are at the correct position as well.
Speed is wrong – Inspect the switch or belt condition. Confirm that the speed of the record you’re playing matches what you have selected. All records will indicate the speed on the label.
Excessive noise/hum – Look at grounding if there is a grounding cable, isolation, and that the player is on a level surface.
Skipping – Check cartridge alignment, stylus condition, and record cleanliness. See our guide for addressing why my record is skipping for more detailed analysis.
Final tips and upgrade paths
A good set-up lays the foundation for the best sound quality possibly, and longevity of both the player and your records. Now that you’re well acquainted with the setup and use of a record player, there are some final considerations.
Regular maintenance is important
It’s important to dust your record player frequently to keep it clean. If it has a lid, keep the lid closed when not in use to prevent dust and debris from getting onto the platter and other components. Make sure to place records back in their sleeves and store them in a cool, dry place to prevent warping. Always handle them with care to prevent scratching. A turntable stylus typically needs to be replaced every 800 to 1,000 hours of use, or after playing about 1,500 albums. If you notice distortion or a muddy sound to your records, it might be time for a replacement. Periodically clean the needle with a stylus brush or gel-based cleaner. Be especially gentle to avoid causing damage.
Upgrade considerations
Now that you’re acquainted with your turntable, chances are you’ll want to invest in a larger record collection to match. Eventually, you might want to upgrade your equipment. Now that you understand how they work and the precision that comes with a better cartridge, for example, you might be ready to swap it out. Also consider investing in a separate amp and upgrading to higher-quality speakers. This is especially worthwhile if the turntable will be your new primary music source.
Music like you never heard it
Once you listen to albums on vinyl using a turntable or record player, you’ll instantly notice the difference between this medium and streaming. The sense of quality is impossible to replicate with any other media playback methods. The uniqueness of the sound draws you in. To truly enjoy it, you need not only a great turntable or record player, but also the right external speakers and, in some cases, amp.
It’s also crucial to run through simple yet impactful fine-tuning steps, like balancing the tonearm and setting tracking force and anti-skate. This ensures that the player works perfectly in sync with your records. Finally, where you place the turntable and speakers is as important as what you’re playing. Find a quiet, low-traffic room or area where it can reside as a focal point. Store your records in a dedicated cabinet or shelf. This is great for keeping them nicely on display but also in great condition.
Go through this checklist from unboxing to setup to fine-tuning the sound once you have purchased one of the best record players or turntables. You’ll be well on your way to showing off your new turntable or record player to friends and family. Chances are, they’ll be clamouring to get one of their own, too, and coming to you as their new resident expert.
See a wide selection of record players and turntables at Best Buy Canada.
And once your turntable is set up, the experience doesn’t stop there. Best Buy Canada also offers an amazing collection of vinyl records, so you can start listening right away. From timeless classics to today’s chart-toppers, you’ll even find popular albums from Taylor Swift to add to your collection and enjoy the full magic of vinyl from the very first spin.


