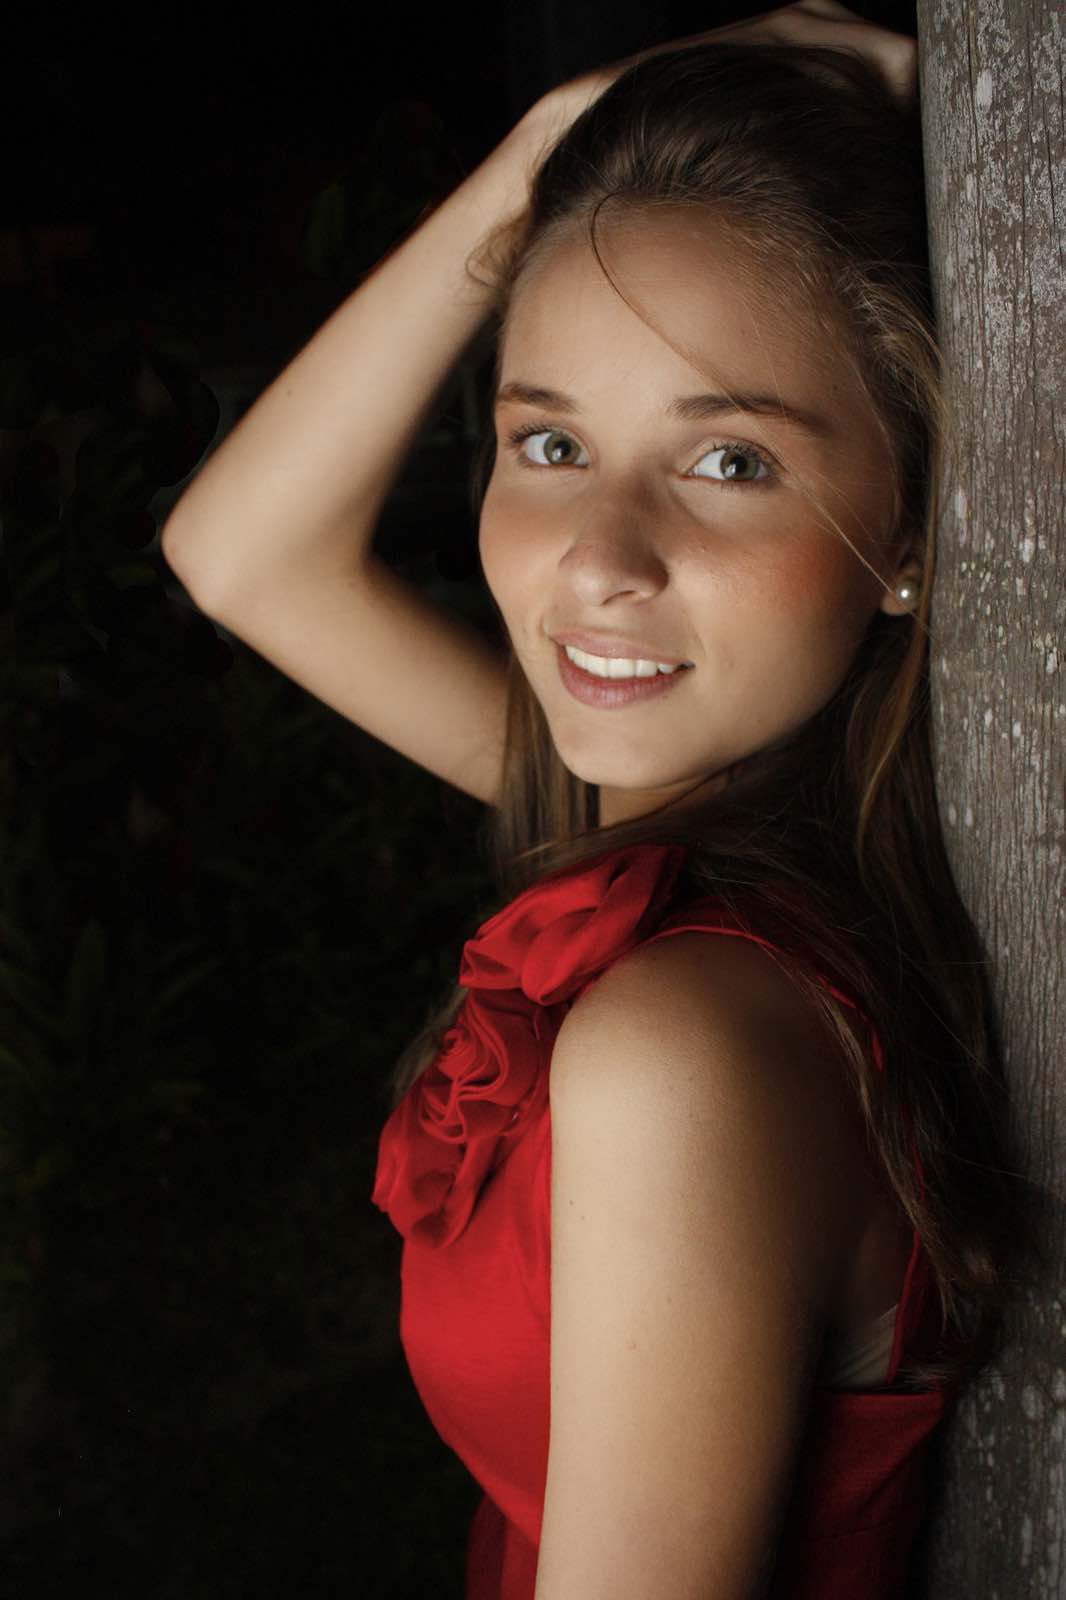
Let’s talk about what makes a great portrait. First, we’ll need to establish what a portrait is. A portrait, for the intents and purposes of this article, is a photograph taken of a person (henceforth referred to as “the subject”) wherein they are the main subject of the photograph. Usually a portrait will frame the subject from halfway down the torso to the top of the head. You can shoot portraits from a closer or farther from that framing, but this is a fairly standard one that works.
 The second element that usually makes up a portrait is a blurred backgrounds. This is an effect that is usually achieved by taking control of your camera’s aperture, and opening it as wide as possible. This does two things: it gives you plenty of light to shoot a beautiful, arresting photograph while also shooting an image with a shallow depth of field. It’s this shallow depth of field that gives you the blurred background you’re looking for.
Now that you know what you’re shooting, it’s best to figure out who you’re shooting. Chances are that you’re giving this portrait to a family member or a friend, but in the event that you’re shooting someone you don’t know, take the time to get to know them before you shoot them. You want your portrait to represent this person, and the only way to do that is by knowing a bit about them.
The Camera
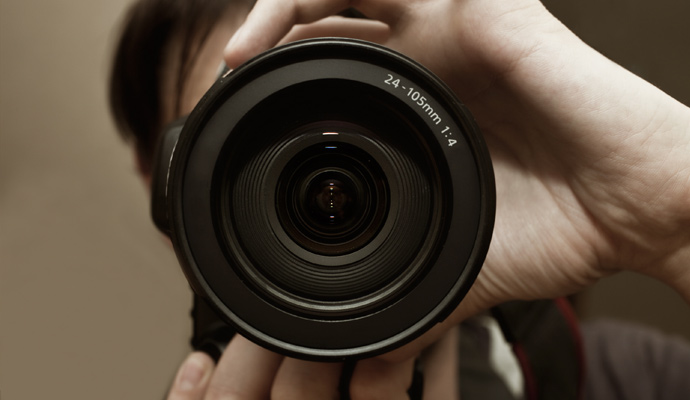
Shooting a great portrait can be done with any camera, but I recommend a mirrorless system camera or a DSLR; these cameras generally have a portrait setting if you’re just getting started, or they have full manual modes so that you can take control and shoot exactly the picture that you want, as I mentioned above. Two cameras that can help you get the job done are the Canon T5 and the Nikon D5500. Both Canon and Nikon have a “fast” 50mm lens available with an aperture that opens right up to give you that great blurred background.
There are three elements to a good portrait: personality, framing, and lighting.
 Personality
This, to me, is the most important part of a portrait–and it’s the most subjective part too. Capturing the spirit of the person that you’re shooting is an extremely difficult thing. Before you begin shooting it’s a good idea to make a list of things that you know about the person; think about words that represent them. If they’re not someone you know you can get them to create this list themselves. Try to match those words up with what you see through the lens. For people who are more introspective think about positioning them so that they’re looking off camera; for extroverts, try to capture the energy that they bring by having them look right down the barrel of your lens. As I said above, this is the most personal and subjective part of shooting portraits; finding the spark that makes your subject unique is difficult. Sometimes it can help to hand them a prop–something they’d use every day, or that represents something that they’re passionate about–to help bring that uniqueness to life.
Framing
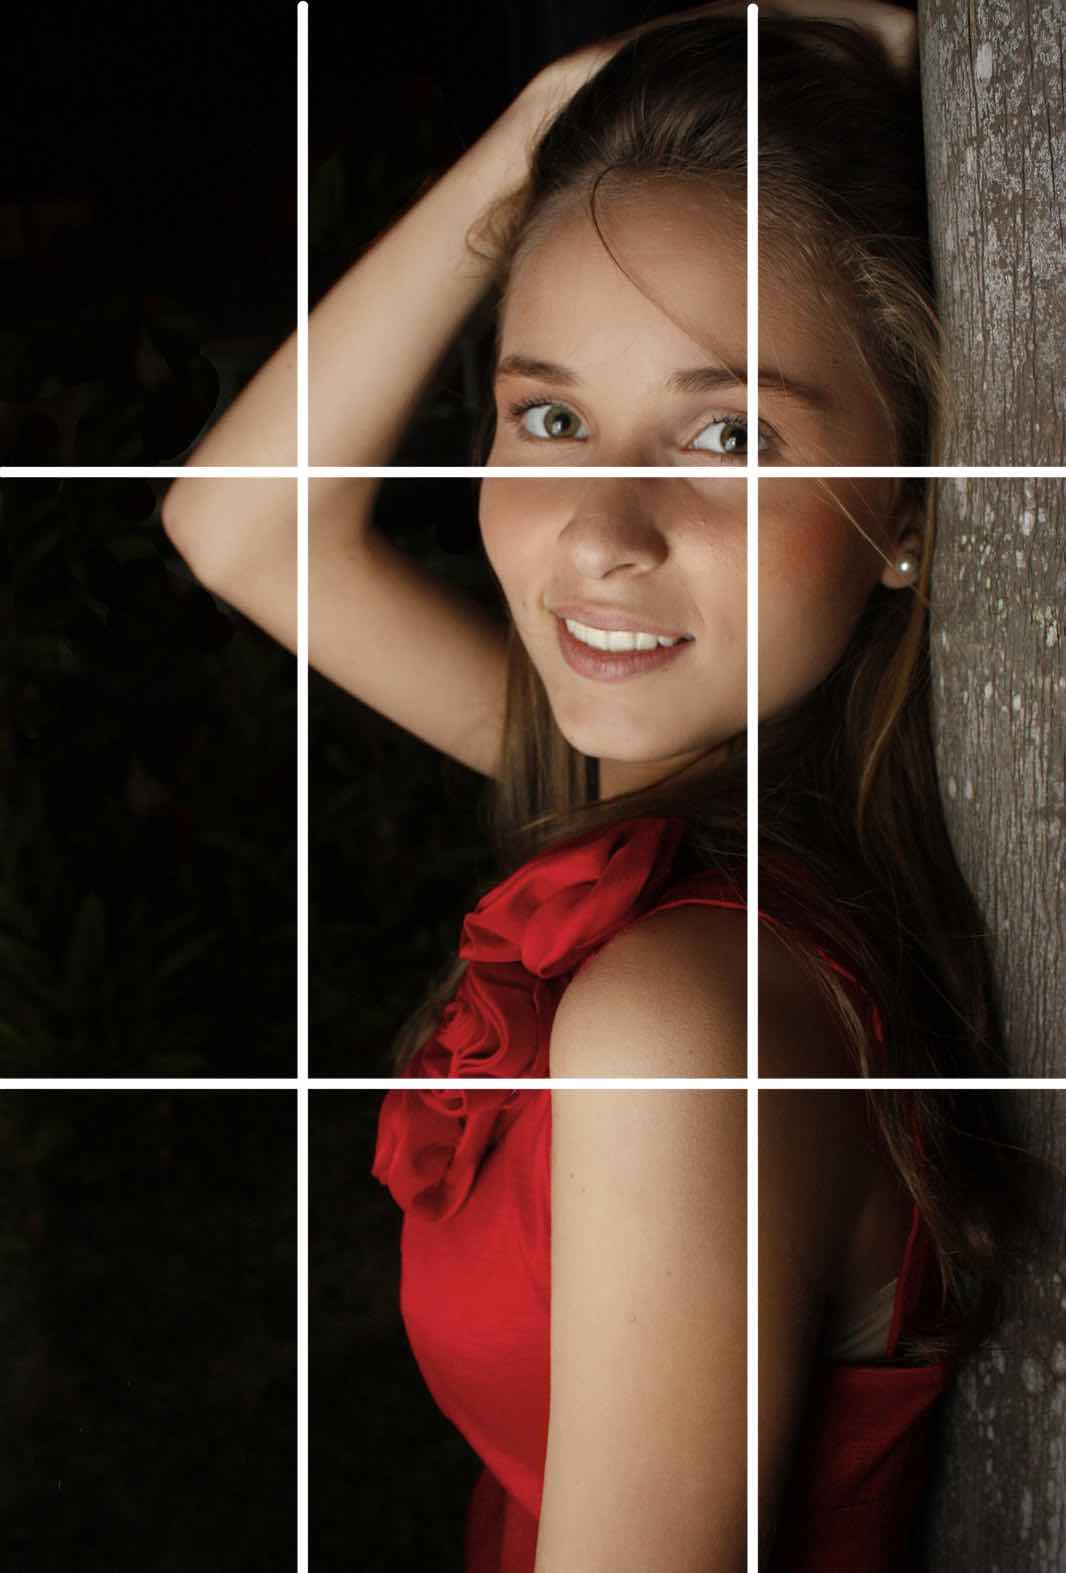
It’s generally accepted that portraits are best framed starting halfway up the subject’s chest, with them filling most of the frame. Use the rule of thirds to help ground interesting parts of the photos–in most cases their eyes–to help really draw the viewer to interesting parts of the picture. You can play with headroom–that’s the amount of space above the subject’s head–and nose room–that’s the space in front of the subject’s face–to yield different results. Opening and closing a portrait by changing the amount of space is a powerful way to control how people feel about your photograph.
Getting framing right is a matter of getting your camera and your subject in the right position. Do yourself a favour and use a tripod; while you can get great shots handheld, it’s one fewer thing to worry about when you’re trying to get the perfect image.
Lighting
Lighting can be a powerful element when you’re shooting portraits. If you have the time and equipment, adding lighting reinforcement can help your subject pop – that can mean something as simple as an on-camera or off-camera flash, or as elaborate as a strobe setup with multiple flashes and umbrellas. Personally I like to opt for a portable reflector—it’s essentially a shiny sheet that will reflect ambient light onto my subject, bringing light and colour to areas that may typically be in shadow.
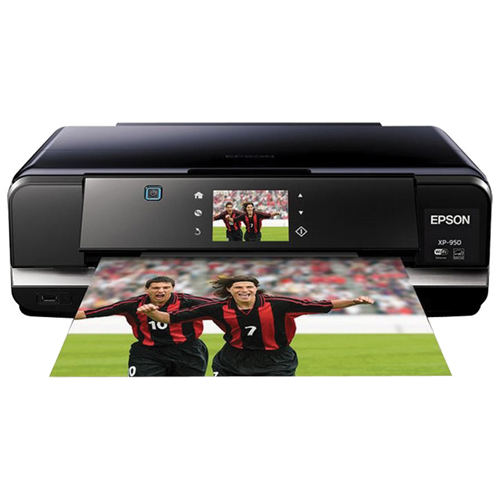
 Now that you’ve got your shot you need to produce a great print. I’m biased here, but I’ve loved the quality that you get from Epson printers—yes you can consider that my recommendation, no, no one from Best Buy told me to say that. Epson uses a different printing technique than most other manufacturers, they have great photo paper (that can be waterproof in certain conditions), and they have pigment-based inks that make a huge difference in the quality of your colour. Choose high quality photo paper to print on—that’s a must.
Getting the right version of your picture is another subjective part. Personally I use the editing tools in Photos for Mac OS X, but there are some great options in Picasa from Google that will help you out as well. For heavy-duty photo editing and library management, check out Lightroom from Adobe—it has some great editing tools to allow you to manipulate the colour, contrast, and other settings.
With your print now complete, choose a frame and wrap it up.
|
Make it extra special: I like to add a personalized note inside the frame–either on the back of the print or on a separate piece of paper, noting when, where, and why, the portrait was taken. It’s a great way to add a little extra touch to your gift |
Young Woman in Red Dress by Daniel Atun can be found on Wikipedia at http://commons.wikimedia.org/wiki/File:Young_Woman_in_Red_Dress.jpg


