
If you’re interested in learning the basics of photography, there is one simple concept that will help guide your photographic journey: without light there is no photography.You can use the best camera and the best lens but without light you’ll never make an photograph.
Photographers are slaves to light
While it might sound like a catchphrase, photography really is all about light. As photographers we are slaves to it, like surfers to waves, anglers to fish, or stargazers to clear skies. A wise photographer once observed that if you want to make interesting photos you need to put your self in interesting situations. Because in these situations expression trumps aesthetics. When your mom meets her baby grandson for the first time, you can’t worry too much about the light, you’ve just gotta get the shot. But if you are determined to make beautiful photography then you need to be develop and keen sense of light. You need to become a student of light and develop an awareness of it in every situation, observing how it works and how it changes the appearance of subjects. If you want to shoot portraiture you need to know when the light is flattering and when it is unflattering and what you can do to make the best of whatever light is available.
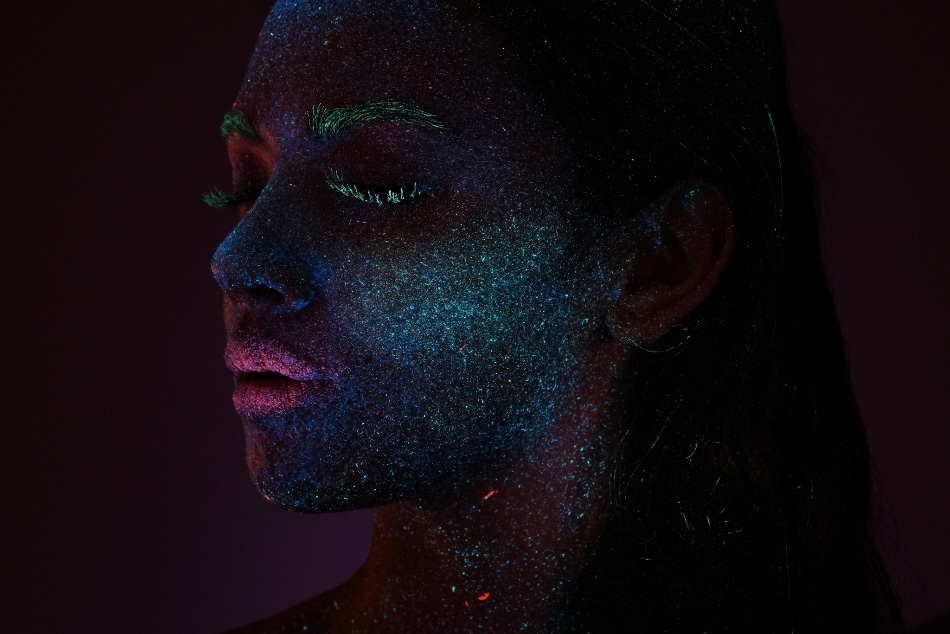
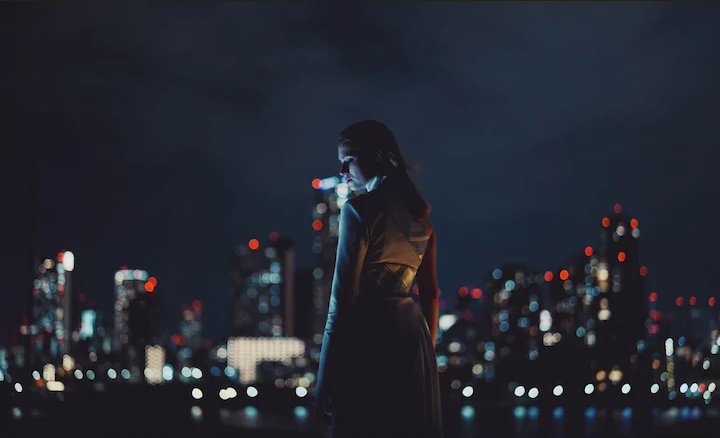
Does this mean that we always need to have lots of light? Or are there opportunities to create strong and interesting work in low light situations? The answer is a resounding yes. And today I’m going to help you navigate the sometimes murky waters of low light photography.
Shutter speed
One of our primary concerns when we are shooting photographs is our shutter speed. We need to keep it above a certain threshold in order to get sharp images, but we also need to keep it below a certain threshold lest our images be under exposed. If our shutter speed drops below that lower threshold we might end up with camera blur as a result of the movement of our hands. One of the ways that we can overcome this problem is by using a tripod. The tripod is a really useful piece of kit and definitely one of the first items I would recommend any photographer to buy. In fact I’ve written a whole article about how tripods can help you take better photographs, and it’s well worth a read if you want to learn more about our three legged friends.
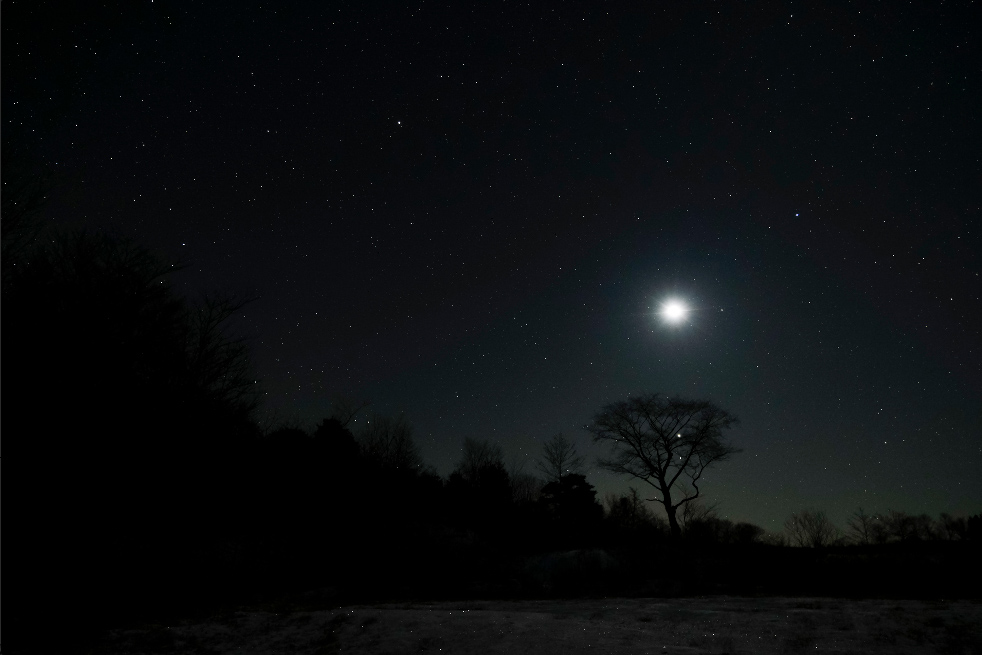
Image stabilization
There is another clever solution to the problem of camera shake and that is image stabilization. There are actually two kinds of image stabilization: lens stabilization and in-body stabilization. Lens stabilization has been around for quite a while now and is the de facto standard for stabilization in DSLR’s. But nowadays we are starting to see more in-body stabilization with the rise of the mirrorless camera.
Stabilization works by counteracting the movements of your hands and allowing you to shoot at lower shutter speeds, and because of this it is a highly prized feature among photographers. There really is no downside to stabilization except that you have to pay a premium for it. This is certainly the case with lenses, but stabilization seems to be becoming more of a standard feature for mirrorless cameras. Another big advantage of stabilization is that it allows you to shoot better videos hand-held.
Check out a range of stabilized cameras available at BestBuy.ca
Shoot to the left
One of the simplest techniques you can use to get better shots in trying circumstances is to ‘shoot to the left’. This is a reference to something called a histogram which is a graphical representation of the exposure of your image. The more underexposed the image is the more values you will see on the left of the histogram. So if you deliberately keep your shutter speed up, in order to get a sharp image, but in doing so underexpose your image, you can then increase your exposure afterwards using your favorite editing software. And if you shoot in RAW mode you get tonnes of leeway to push and pull your exposure after the fact.
Photo 101: when to start shooting RAW photos
Pump up the ISO
Our final strategy for taking great photos in low light situations is to pump up the ISO. ISO essentially refers to the sensitivity of the sensor in your camera and it is something that we can raise or lower as needed. Our preference is always to keep it as low as possible because as you raise the ISO you will gradually start to see digital noise which degrades your image. It’s fine in small doses but at some point it becomes really detrimental to your photographs. A lot of cameras nowadays will allow you to manually select your shutter speed and aperture and auto select your ISO which is pretty handy but I generally prefer to select my own settings so that I can make sure the ISO stays as low as possible.
Sony is known to make some of the best low-light performers on the market, like the amazing a7S III full-frame mirrorless.
Be like a rock
Finally, here’s a tip for those situations where you forgot to bring your tripod, you’ve maxed out your ISO and you need to drop your shutter speed to an uncomfortably low speed. Start by squeezing your elbows to your side as you hold your camera firmly to your eye and spread your feet wider than shoulder width. Then press your back against a wall or a pillar and hold your breath as your click the shutter button. You’ll be surprised how well this technique can work!
Shooting in low-light situations is definitely one of the biggest challenges we face as photographers, but armed with good techniques and the right equipment, we can create some really interesting work—moody, dramatic and captivating. Never be afraid to challenge your assumptions and experiment!

