
There has never been a better time to be a photographer. Technology has reached a point where the vast majority of Canadians have access to a high-quality camera—and yes, I’m including smartphones in that category. But having a good camera is by no means a guarantee that you’ll be able to take a good photo, no matter how many shots you take.
Today I’m going to share with you some of the best advice I can give about how to take a great photo, or at least take better photos!
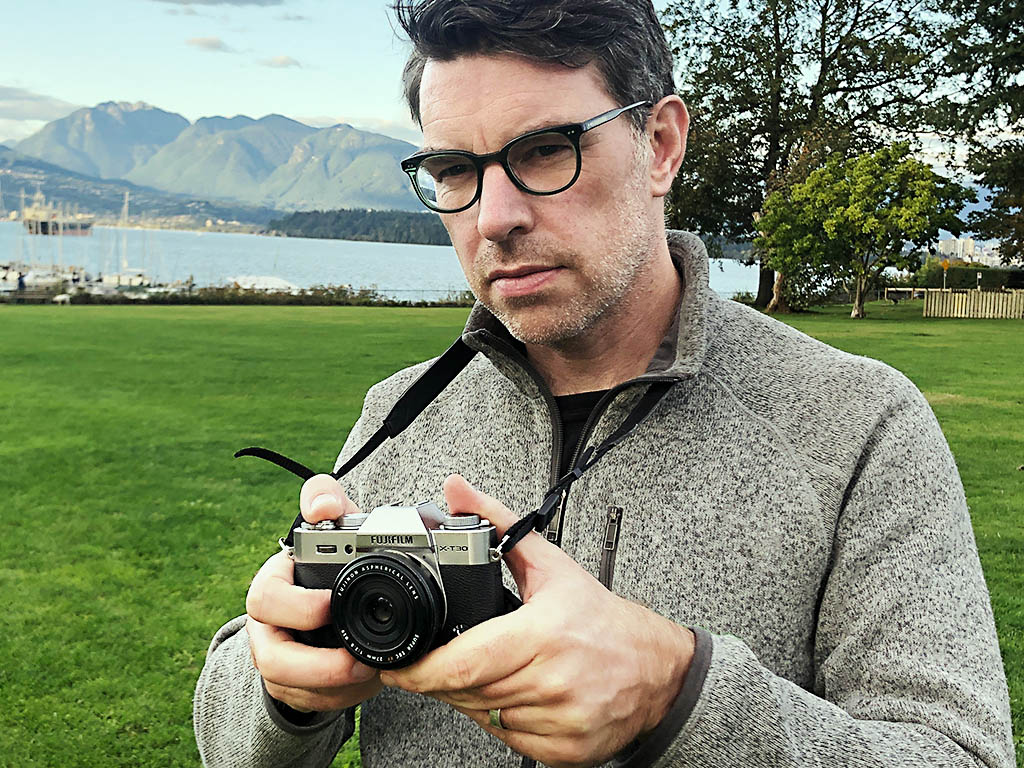
1. Take off those sunglasses
This is the first and easiest piece of advice I can give: always ask your friends and family to take their sunglasses off for photos. If the eyes are the window to the soul, you want to make sure they are visible in your portraits. (And the more visible the better, so take at least one step closer before you take the shot!). Removing sunglasses for photos makes so much sense that it’s a super easy ask, and most people respond along the lines of ‘Oh yes, of course!’. If the sun is too strong and your subjects need to squint, then you might want to change your angle or look for a shady spot. I personally like to take shots where the sun is behind my subjects because you can get some really nice effects, like lens flare. You will probably have to overexpose your shot a little bit in order to do this, however, or else your subject’s face will look dark and underexposed.
2. Don’t shoot at under high sun
Shooting under full sun is very, very hard to do well, and professional portrait photographers will avoid doing so if at all possible. To take great photos of people you need great light and the sun is, for the most part, a harsh and unflattering light source. There is one important exception to this rule—evening time. When the sun is low in the sky it’s intensity is much diminished and this is the time when you can make really interesting photographs. There’s also the period just after the sun has set when the sky is still nice and bright and provides a quality of light that is absolutely beautiful. Photographers often refer to the time around sunset as the Golden Hour, and if you restrict yourself to shooting during this window (which also exists at dawn by the way) you will notice the quality of your photographs go way up. You’ll often see this technique used in movies too, where filmmakers wait for the Golden Hour in order to create a reflective or nostalgic feeling.
3. Keep your equipment clean
A little while back, I decided to switch from Canon to Sony, specifically the Sony A7 III. I’ve been very happy with the camera in general, but one major difference I’ve noticed is that it seems to attract much more dust and dirt to the sensor for some reason. There have been plenty of situations where I’ve imported photos and videos, only to discover that they are seriously compromised by stuff on the sensor that shouldn’t be there. Dealing with this can be a huge time suck in the case of photos, or pretty much impossible if your dealing with video. This is why it’s important to check your equipment before you start to shoot. You can check the sensor directly, by taking off the lens and looking inside, or by shooting a long, hand-held exposure of a white wall. This shot will appear as basically full white, and if you zoom in you’ll be able to see any flecks of dirt or dust that may be on your sensor. To clean your sensor you should follow the manufacturers instructions. Personally, I try the in-camera cleaning feature first, and then I’ll use an air blower to dislodge any stubborn bits. The other thing you’ll want to pay close attention to is the lens. The front of the lens often gets smudge marks on it from handling, and these can easily be cleaned off with a typical glasses cleaner, which you should always keep in your kit. Always check the rear of the lens too, where you might find some dust.
Check out all the camera cleaning options available at BestBuy.ca
4. Look for interesting angles
Too often we pay little or no attention to the angle we’re taking photos from. We just point and shoot. But this denies us the opportunity to make our shots so much more interesting, simply by changing our perspective. When I’m shooting portraits with kids I will always take some photos with my camera as close to the ground as I can get it. The results are almost always more interesting than the same shot taken standing up. So why not always do it you ask? Like any technique, it’s easy to overdo, and as they say, variety is the spice of life! So always look for a different angle. Shoot from above, shoot from below, peek through the leaves of a tree or a chain link fence. See what’s in your environment that you could incorporate into your shot to make it more interesting. If you want some inspiration, take a look at the work of Henri-Cartier Bresson, one of the truly great photographers who had a knack for finding the best angle from which to capture his images.
5. Don’t worry about your equipment!
Us photographers are known for our love of new gear. We’re always on the lookout for the latest and greatest camera, the best lenses, or that dream camera bag. Too often, however, we get drawn into the trap of thinking that we would do such great work if only we had such and such a piece of kit. But this is a defeatist attitude that can hold us back from doing our best work. You can make a great photo with pretty much any camera. I’ve created some of my favourite work with a cheap plastic camera called a Holga. The key is to lean into the limitations of the equipment you have, and use those to guide your process. Be experimental, but be consistent. Don’t just try a technique once, try it over and over again till you discover something unique, something that drives your passion to create.
Now get out there and start shooting!

