 There’s a sterotype that exists regarding photographers and equipment; that we love acquiring new gear even more than we love using it. I’ve mentioned Gear Aquisition Syndrome (G.A.S.) in the past and it’s actually a very real phenomenon. Ok maybe not in the scientific sense, but talk to any photographer and I bet they’ll confess to a zing of excitement that comes with every unopened box.
Part of the thrill is in the possibilities—”I’m going to make some AMAZING images with this thing!” But as with all toys, the promise rarely lives up to the reality, and a creeping sense of buyers remorse often sets in.
Today I’m going to attempt to guide you on the path to the Nirvana that is worry-free upgrades! Because there does come a time in every photographer’s journey where you need to make an investment in order to realize your vision, to make those images you see in your head.
I wrote an article in my recent ‘How To Use Your Camera’ series about the basic equipment you need to start making ‘serious’ images. Of course nowadays most of us carry a phone in our pocket that can take excellent photographs, but there are limitations to what you can achieve without investing in a DSLR or a mirrorless, interchangeable lens camera.
So if you are at the stage where you’re comfortable with your camera, and you can shoot in manual mode, choosing your own shutter speed, aperture and ISO, then it might be time to think about investing in equipment that can push your photography to the next level.
Lenses
One of my personal ‘aha’ moments in photography came when I realized the importance of a good lens. At first I was happy to shoot with the kit lens that came with my camera, but when I did a little research into what was available I learned about the limitations of my that lens. I had assumed, as many probably do, that the kit lens was probably equivalent in standard to the camera body it came with. But this was not the case. A camera body with an APS-C sized sensor (or a Micro Four-Thirds) is capable of producing professional-quality images, when matched with a good lens.
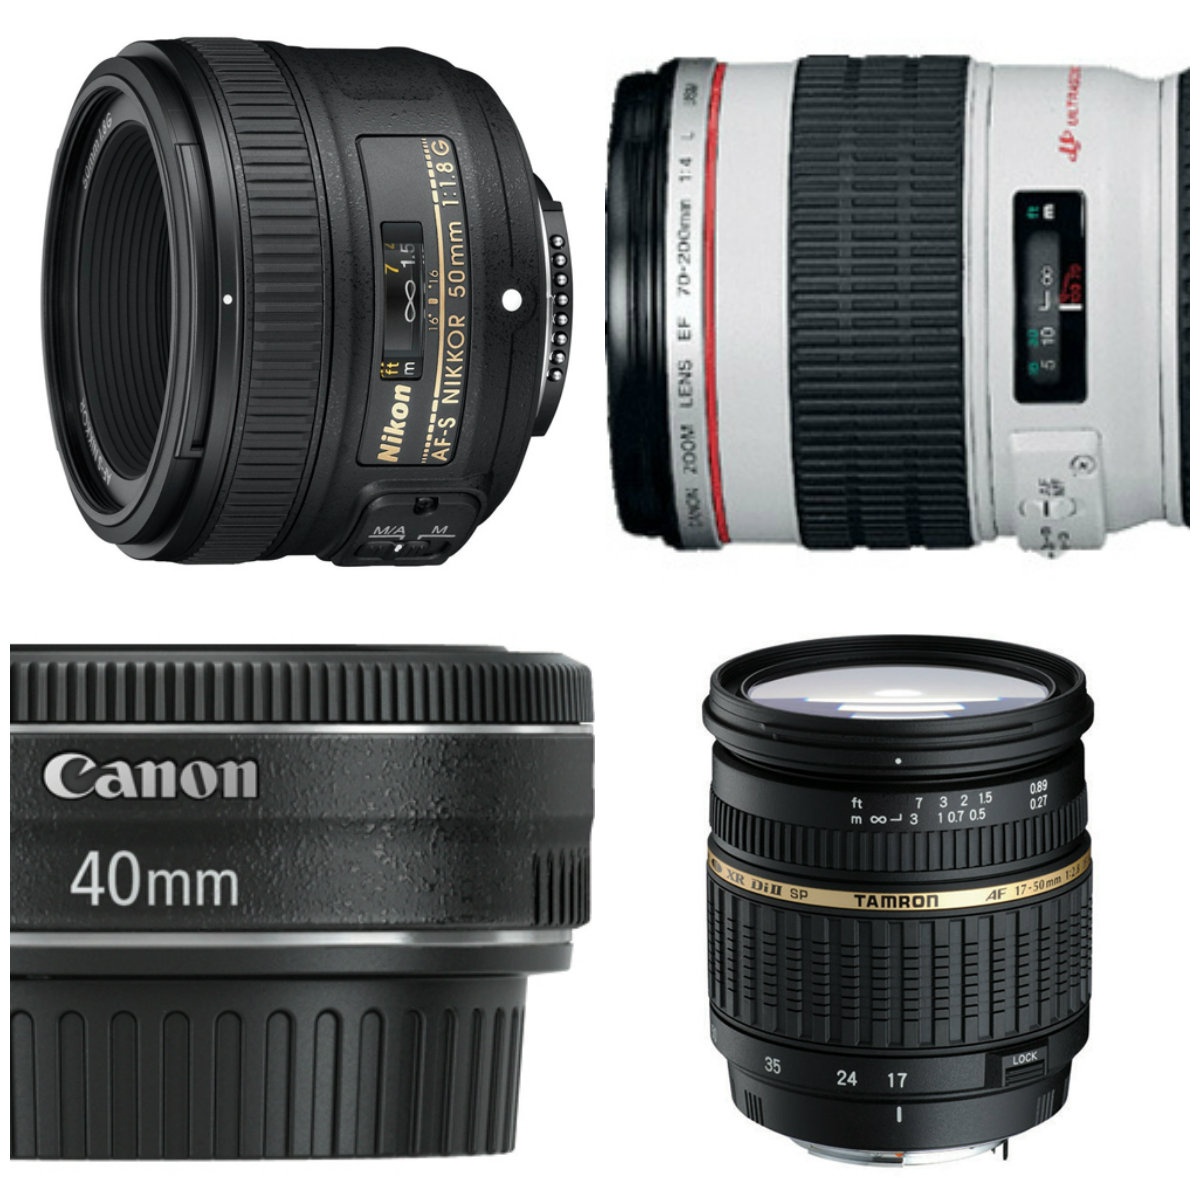
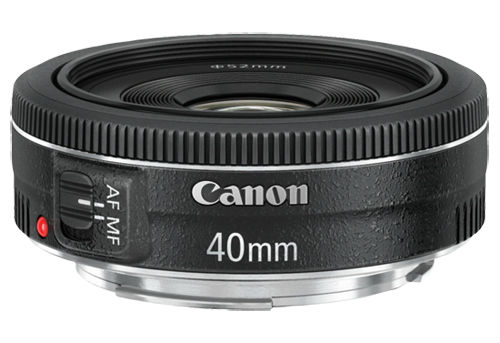 Contrary to popular belief you don’t need to break the bank to buy a good lens. If you’re shooting with a Nikon or a Canon DSLR you have literally hundreds of lenses to choose from, including those produced by third party manufacturers like Sigma and Tamron. My well-worn advice is to start with a prime lens. Prime lenses are great value because they produce sharp images with little distortion. On the downside they don’t zoom, but that’s a small price considering the upsides in terms of image quality and performance.
The other great thing about prime lenses is that they have wide maximum apertures which allow you to shoot with a narrow depth of field and get those lovely, arty, blurred out backgrounds. This will allow your portrait subjects to really pop. A 50mm lens is an excellent choice if this style appeals to you and here at BestBuy.ca we have great options from Canon and Nikon.
Speedlights
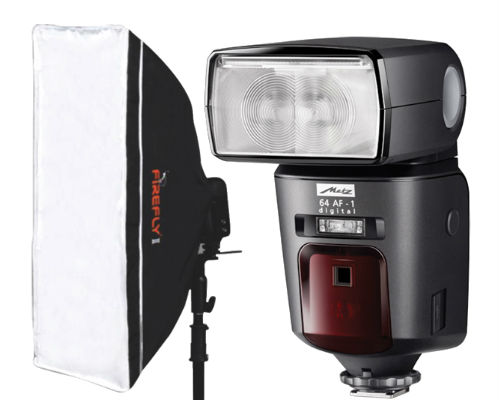
One of the other big advances I made in my photography was learning to use speedlights. Speedlights are flash units you can mount in the hotshoe on top of your camera. They’re a lot more powerful and versatile than a pop-up flash, but they’re not always the easiest things in the world to master. One of the techniques I use to photograph a dancefloor at a wedding is to zoom the flash in really tight and then shoot with a slow shutter speed. This allows me to focus the light on one or two people, and also get some light trails that capture the energy of the moment. Flash photography is often frowned upon by photographers (myself included) because it produces a very stark look, which can be really unflattering, but this stark look has been embraced by a new wave of photographers and has gotten a lot of traction in the mainstream media. If you’re a fan of that style, a speedlight is a great investment.
Off-Camera Lighting
The other way to use speedlights, the way I use them most often, is off-camera. This opens up a whole swath of lighting options for me. The most basic portrait setup I use involves mounting a speedlight on a light stand and placing an umbrella in front of it to diffuse the light and make it softer and more flattering. In order to activate the flash you need to connect it to a something called a trigger. Your trigger can either be a cord directly connecting the camera to the speedlight or else you can use a radio trigger, which is a combination of a transmitter on the camera and a receiver attached to the speedlight. Most speedlights also have a ‘master/slave’ option whereby the unit mounted on your camera can be used to trigger a unit mounted elsewhere. I personally don’t love this system for my Canon speedlights because it relies on a clear line of sight, and it can be very hit-and-miss.
Speedlights are incredibly powerful things in terms of what they enable you to shoot, and in my opinion they’re largely underrated by a lot of photographers who prefer to use studio strobes. Studio strobes put out a lot of wattage it’s true, but it’s not often you need as much light as they produce, and the fact that you always need to have access to a power outlet is a bit constricting.
Keep It Safe
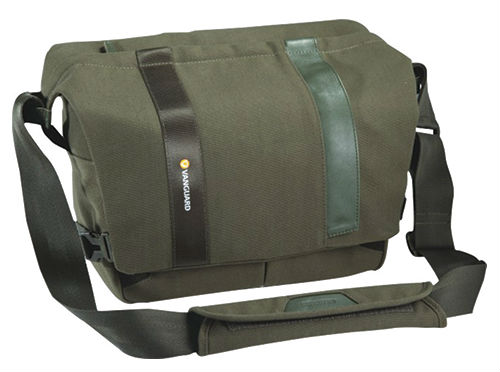
Finally, if you are planning to expand your equipment cache, investing in a decent camera bag to house and protect it is highly recommended. Personally I have two bags; one large backpack that can carry almost everything I own, and one smaller shoulder bag for those shoots where I want to travel light. A large Pelican case has been on my wishlist for a long time though – I love their durability and rock solid feel.
Hopefully I’ve given you some ideas today to help you think about your equipment needs in a responsible way, but if you have any questions please feel free to leave a comment below.


Thoughts….
Thanks @xl! Good point re. the ‘rear curtain’, also known as ‘2nd curtain sync’ in the Canon world.
Comments are closed.