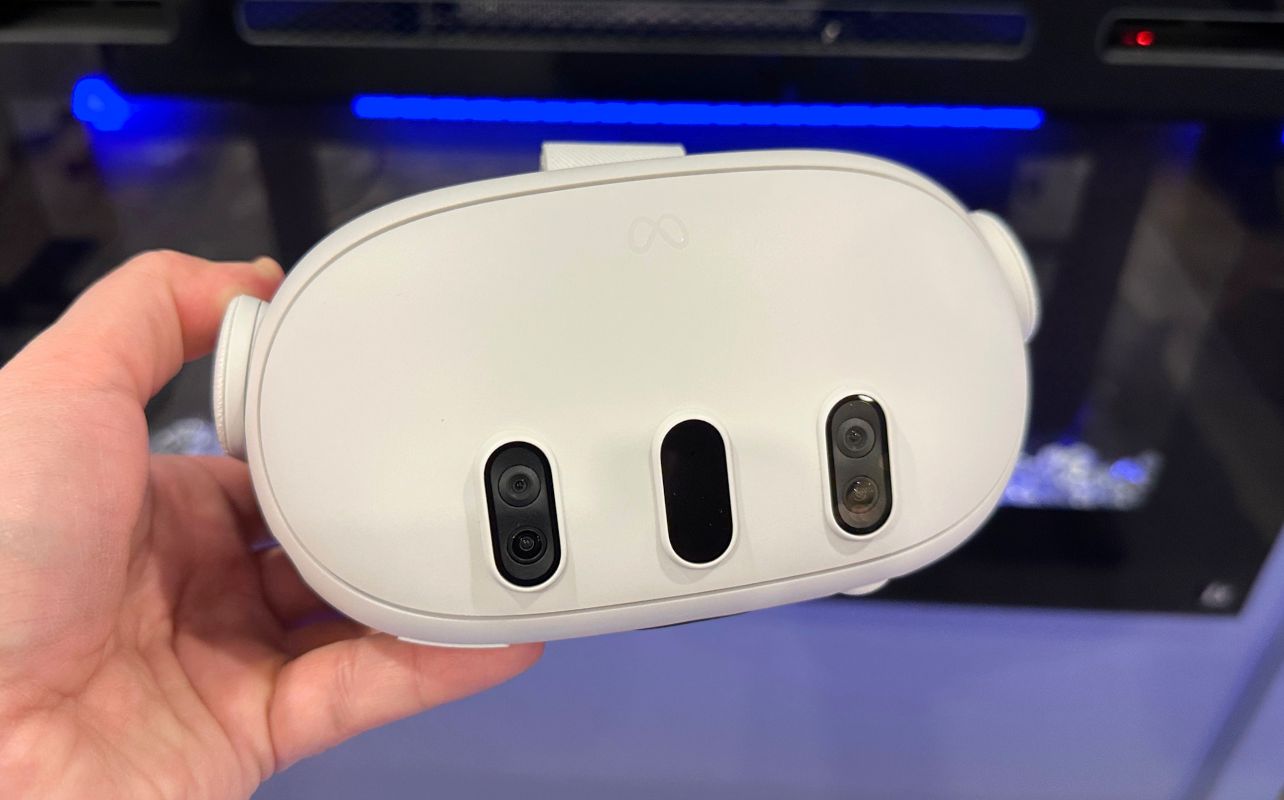
The Meta Quest 3 and Meta Quest 3S offer incredible virtual reality experiences; both headsets blend the physical and virtual worlds seamlessly. In this how-to guide, I walk you through the process to get you set up. As both headsets provide very similar setup process, I’m using my Meta Quest 3 to demonstrate how to get up and running on either device.
Properly setting up your Meta Quest hardware is essential to getting the most out of the experience. It can be straightforward with the proper guidance, and I’m here to help you through each step. Let’s dive in!
Step 1. Unbox your Meta Quest 3
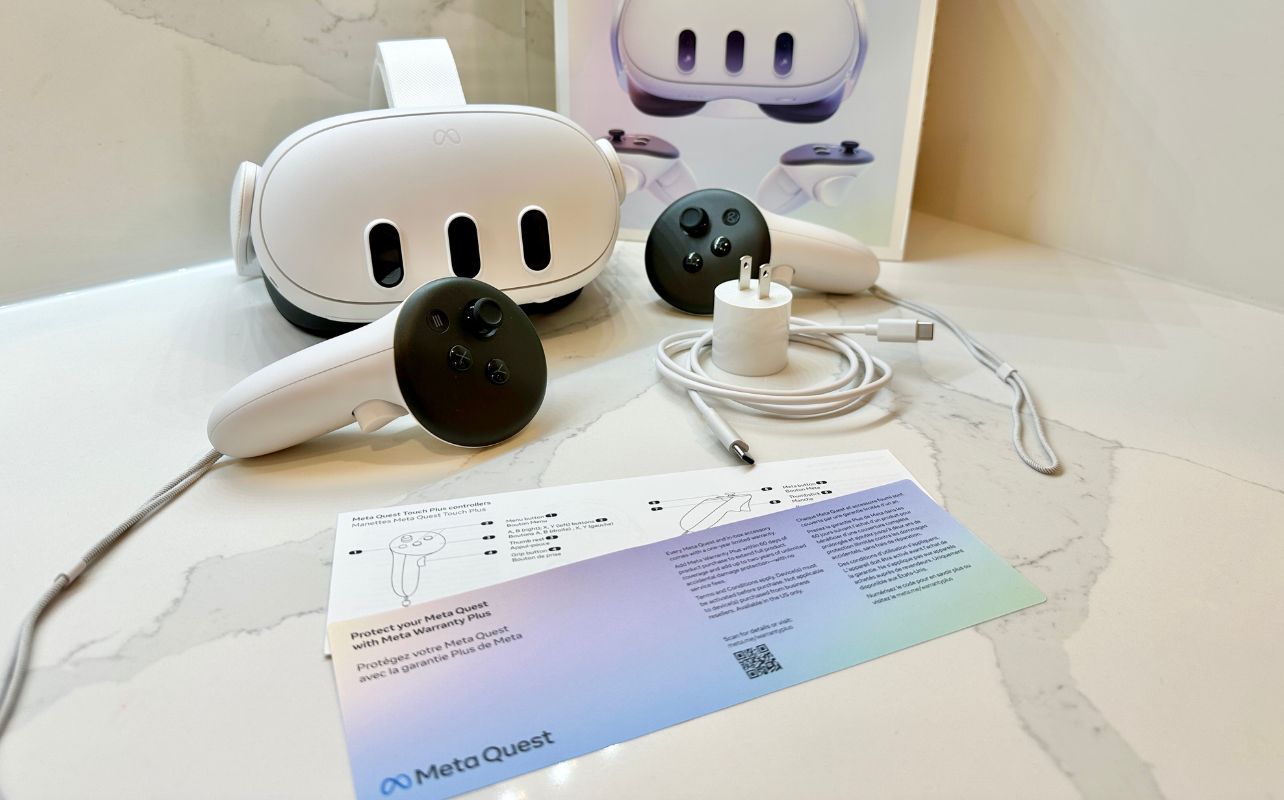
Before beginning the setup process, make sure you have all the necessary components. Your Meta Quest 3 should have the Meta Quest 3 headset, two Touch Plus controllers, charging cable, adapter, plus quick-start guide and safety manual—all are included in the retail package. Lay all the components out on a clean, flat surface, to ensure you can easily access them.
Step 2. Charge the headset and insert batteries to the controllers
Your headset may not be fully charged out of the box. When I got my Meta Quest 3, it had a 70% battery level. I recommend fully charging up before moving on to the next steps, as you must apply a few critical settings and updates during the setup process. A full charge ensures uninterrupted setup and helps avoid potential issues.
Use the charging cable and adapter to connect the headset to a power source. As your headset is charging, you may insert AA batteries to the controllers and ensure they are seated correctly. The Quest 3 includes batteries out of the box.
Step 3. Set up the Meta Quest headset and Meta Quest controllers
After your headset is fully charged, you can now prepare your Meta Quest 3 headset and controllers. Follow these steps to get up and running:
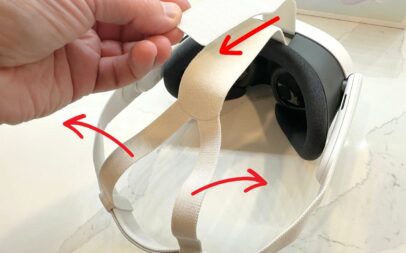
3.1 Adjust the headset straps: Before turning on the device, adjust the head straps for a snug and comfortable fit; tighten or loosen the hook and loop fastener that runs along the middle of your head. You can also slide the left and right straps in and out to seat the headset better on your head.
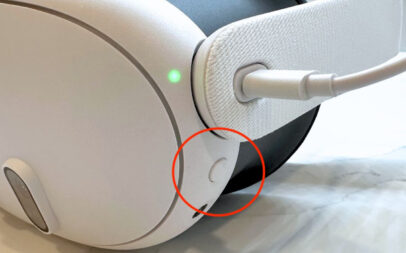
3.2 Power on: Press and hold the power button on the left side of the headset until the LED light turns on. You should see the “M” of the Meta logo inside the viewfinder as the device boots up.
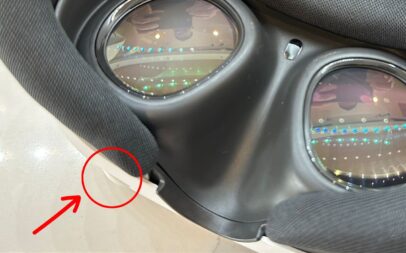
3.3 Adjust the lenses: Use the lens adjustment slider at the bottom of the headset to align the lenses with your eyes. If things look blurry, the Meta Quest 3 allows you to adjust the interpupillary distance (IPD) for optimal clarity. Use the IPD adjustment wheel located at the bottom of the headset to set the lenses to your preferred spacing.
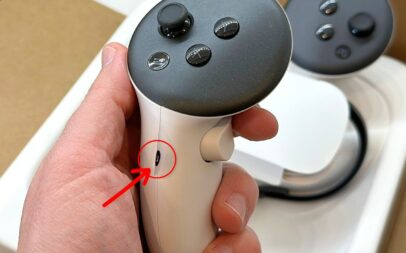
3.4 Set up the Meta Quest controllers: Remove the plastic tabs from the controllers to activate them. The controllers should automatically pair with the headset. If not, follow the on-screen instructions to pair them manually.
Step 4. Download the Meta Quest app
The Meta Horizon app is essential for setting up and customizing the Meta Quest 3, as well as the Quest 3S.
4.1 Download the Meta Horizon app. Go to the App Store or Google Play Store to download Meta Horizon on your smart phone.
4.2 Open the app and sign in with your Meta account. If you don’t have one, follow the prompts to create an account. I was given the option to either use my Facebook or Instagram account to continue the process, which was convenient. If you don’t have either, don’t worry. You can set up a Meta account in a few extra steps.
4.3 Pair the Meta Horizon app with your headset. Follow the on-screen instructions to pair your headset with the app. You may need to scan a QR code displayed on your cellphone screen or enter a pairing code.
Step 5. Connect your Meta Quest headset to Wi-Fi
Once your headset is paired with the app, the Meta Horizon app will prompt you to connect the headset to your Wi-Fi network. Select your network and enter the password to establish a connection.
Step 6. Update software and firmware
As your headset connects to the Wi-Fi, your Meta Horizon app will check for any available updates for the headset and controllers. This is an essential step. Ensure you install any updates (they will automatically apply) to get the latest features and improvements.
Step 7. Set up the Guardian Boundary
The Guardian Boundary feature helps you define your play area to avoid obstacles. Follow the on-screen instructions to draw a virtual boundary around your play space. Doing so ensures a safe VR experience.
Step 8. Explore the Meta Store
With the setup complete, you can now explore the Meta Store to download apps and games. Be sure to check out apps that you are familiar with, like YouTube, Facebook and Instagram—each has neat features that make use of the VR platform. For example, YouTube can be displayed in a theatre mode, turning any space into a dark theatre with a massive, vivid virtual screen. You can also share screenshots and clips of your VR adventures in various games and other experiences via Facebook and Instagram. The store offers various VR experiences, from games to educational content.
You are ready to explore with the Meta Quest 3
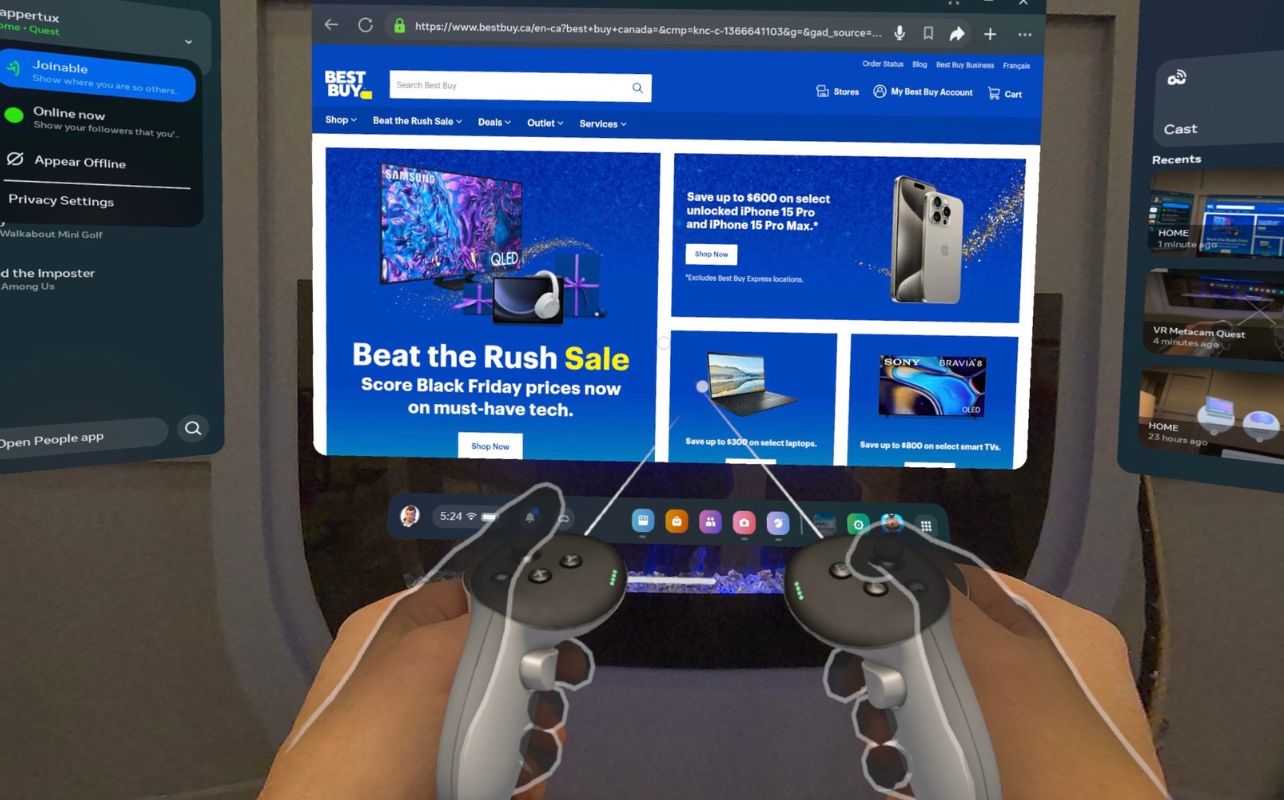
By following the steps above, your Meta Quest 3 headset is ready to use. Whether you’re looking to play games, watch movies, or explore new worlds, the Meta Quest 3 has a diverse array of experiences.
Ready to enhance your virtual reality adventures? Visit BestBuy.ca to explore Meta VR headsets and accessories to level up your experience.


