[Editor’s note: this is part of a series of articles about home recording. At the end of this article are links to other articles in this series.]
You’ve probably found this post / series because you want to learn more about how to set up or how to make better use of your home studio.
People from all walks of life are making use of home recording equipment these days. Perhaps you’re a musician with some original material you’d like to capture or a parent who wants to record their child’s progress on the piano. Maybe you regularly record cover tunes and post them on Youtube. Well, welcome to a new series that is devoted to helping you get the most out of your gear.
Home recording technology seems to get better and cheaper with every passing moment. What you can achieve in your spare room or home studio today was only in the realm of high-priced professional installations a dozen years ago. The problem you’ve probably already encountered is that there is a LOT of information out there. I’m going to try and break things down into manageable chunks. I’ll walk you through some concepts and touch on some gear that you may or may not want to consider.
The Main Goal
I’ve been asked (and have asked myself) questions that typically begin with
“What should I….”
or
“What’s the right way to….“
I don’t want to discourage any of those questions – by all means, bring them on! However, I’d like to kick this off with the following:
There is no RIGHT way to accomplish any one thing in your studio.
The only rule you should keep in mind is: “If it sounds good to you, then it is good.”
That’s not to say that there aren’t some basic guidelines you should try first, but anything you read here or elsewhere should be read as just that – a guideline. Try new things! Experiment! Above all, enjoy yourself.
The Broad-Brush Plan
The first few posts in this series will deal with the basics of a home studio. Whether you’re a student, songwriter, composer, solo artist, re-mixer or a band member wanting to start recording, mixing and mastering, there’ll be something for you here.
I may refer to musician-types a lot, but they aren’t the only audience for this series. Recording spoken word, foley, sound effects or even sound design and mixing for media can all benefit.
I’ll start off at a high level by splitting the studio into three main chunks:
Input
This includes gear and techniques concerning microphones, MIDI and other technology used to feed audio or data into the 2nd chunk.
 Microphones come in all shapes, sizes and variety and are used to capture sound sources. Different microphones have different characteristics and some have the ability to capture sound in unique ways. Some types of microphones have developed reputations among recording engineers as being all-round or specialized. We’ll get into some of the species of microphones, how they work and we’ll touch on some of the good starting points.
MIDI (Musical Instrument Digital Interface) is a protocol – a way for computer-based instruments to communicate musical information with each other. It’s been around for over 30 years and has some very robust and unique uses. Keyboards are the devices that are mainly associated with MIDI, but the protocol has been adapted for virtually every instrument you can think of and some applications you probably didn’t think of!

Those aren’t the only ways you can get material into your recording rig. Plugging your guitar, your keyboard, your turntables and pretty well anything else electronic into your system is possible as well. There are some standards around what should be plugged into what to get the optimal sound and we’ll touch on that as well.
Capture & Editing
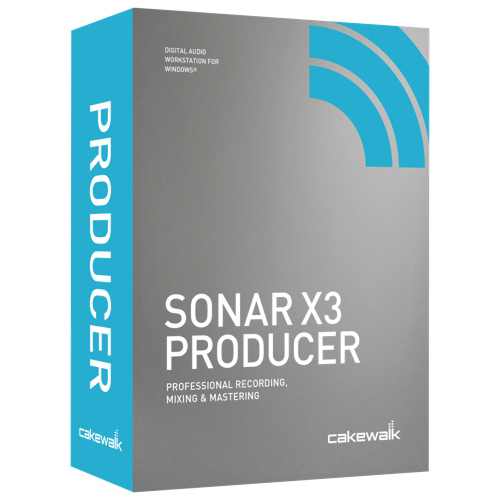
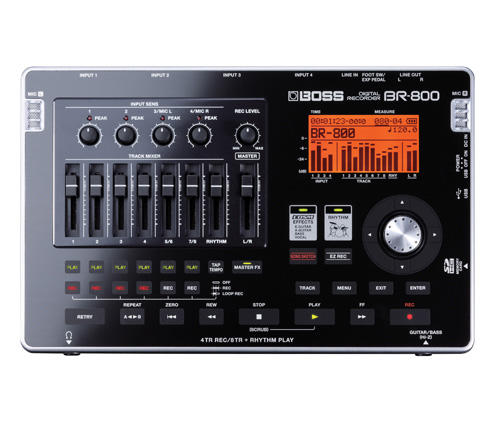
 This section covers the “middle bit” where audio and data are captured and manipulated. There are so many different options available for the home recordist. Capturing audio via analogue methods (magnetic tape) is definitely an option these days, but most home recordists opt for digital solutions. We’ll focus mainly on options in the digital realm which include using computers and/or dedicated hardware solutions, like the Boss BR-800 shown below.

Audio interfaces, software, plug-ins, effects, mixing techniques and all the other technology and techniques associated with capturing and editing audio will be included in this chunk.
Output
 Speakers, headphones and the listening environment are the main areas we’ll hit on here. What, how and where you hear the material you are working on are going to impact the decisions you make in the first two sections. We’ll talk about the pros and cons of speakers and headphones and get into topics such as setting up your room(s), finding the best listening position and room treatment topics like absorption and diffusion.
Each of these sections can be divided and sub-divided into a wild number of sub-topics. The rabbit hole we could travel down is virtually endless. I don’t intend to get esoteric but rather keep all of this at a useful and practical level.
Feedback – the Good Kind
Lastly, I want to strongly encourage and invite you to get involved! Ask questions, make comments, tell some stories – by all means. This is a two way street, so post in the comments section, send me a tweet or email and let me know what’s happening in your recording and mixing world as we go through this series.
I look forward to sharing some of my thoughts and lessons I’ve learned over the years with you. Most of all, I look forward to interacting with you and continuing to learn new things about the artform surrounding the creation and capture of sound.
What Studio Gear Do I Need |
Learn about Audio Software |
Learn About Audio Interfaces |
Here is a link to all the articles in the home studio series The Soundboard.


