Cleaning around the house is an important task every family must do, and that includes cleaning appliances in the kitchen as well, including the refrigerator. That can be a daunting task given that the fridge is full of food at any given time. It has various drawers and shelves, not to mention, with most, a freezer section as well. What is the best way to go about cleaning it, how often should you do it, what should you use, and how can you make the process as seamless as possible? We’re here to help.
 How to clean the main fridge interior
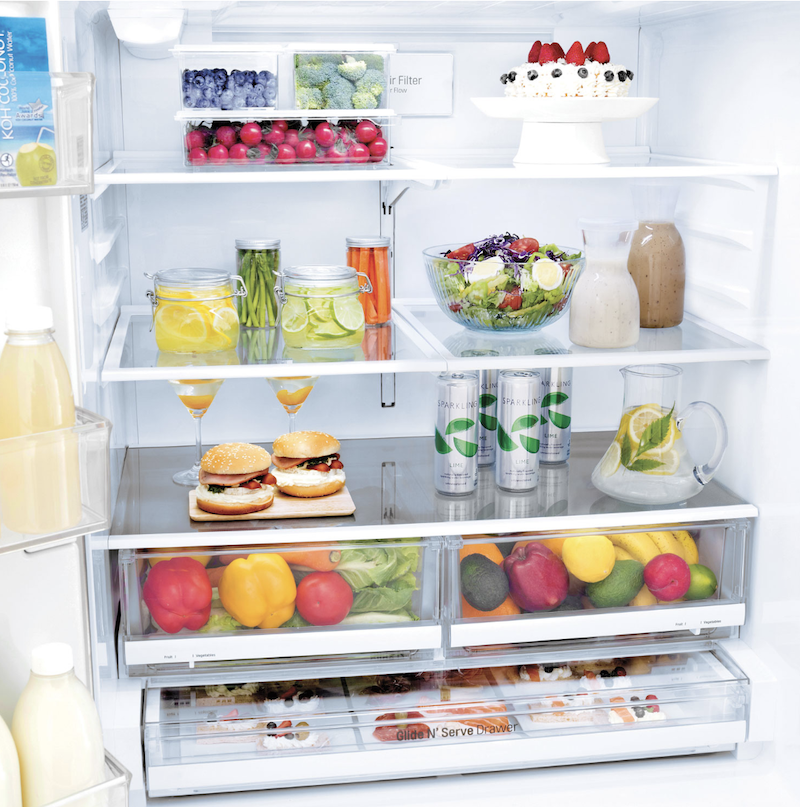
Start with the inside of the fridge. If you don’t have the space nor a secondary fridge or cooler to keep especially perishable items sufficiently cold, you can clean in sections. Otherwise, completely empty it. Either way, time the clean for before your next grocery shop so there’s less to move.
Start with the shelves
Start from the top shelf and work your way down. Wipe each shelf with a mix of warm water and mild dish soap. You can also use baking soda if preferred. If there are caked on spills, you might need something stronger, like vinegar or a cleaning solution. For especially soiled shelves, consider removing them and cleaning each one in or over a sink. Make sure to completely dry each shelf with a cloth or paper towel before putting it back inside.
Get the backs and sides
Wipe down the back, top, and sides of the fridge between the shelves with the same mild dish soap and warm water mix. Do not use abrasive scouring pads to avoid scratches: a simple washcloth will do.
 How to clean the crispers and door compartments
Now it’s time to do the same with the crispers and door compartments.
Empty and remove the drawers
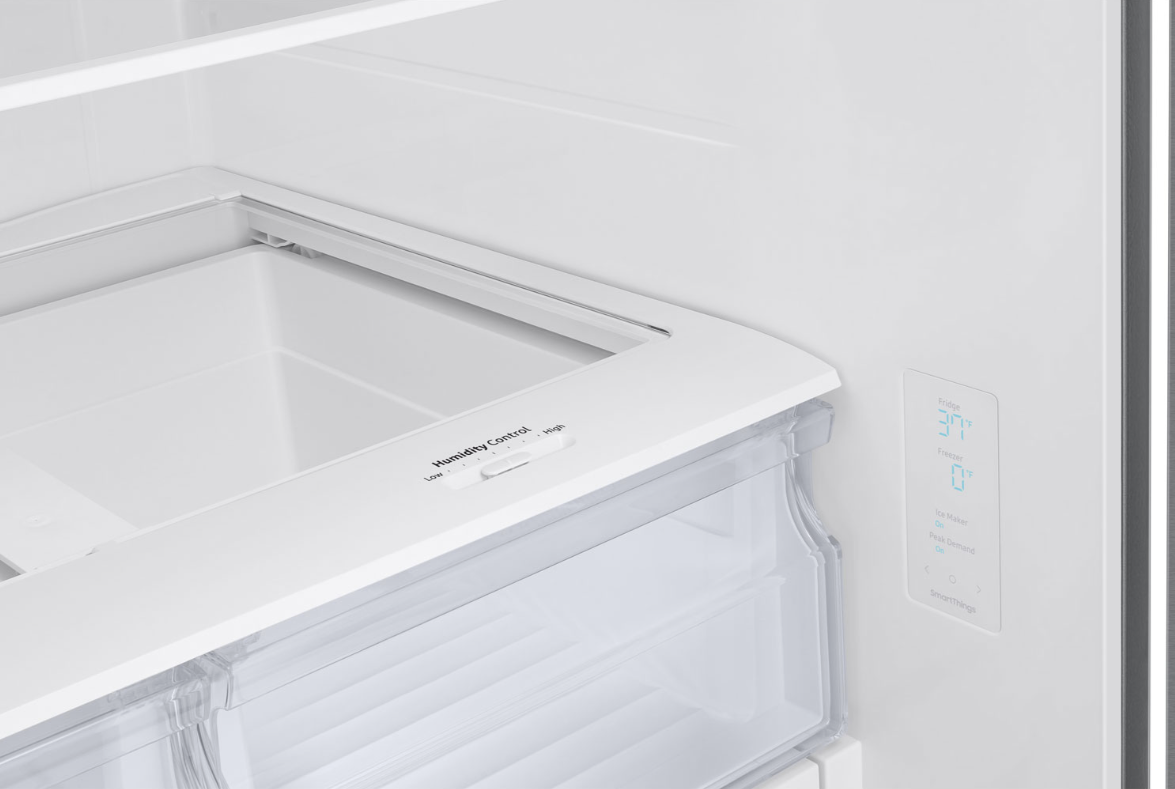
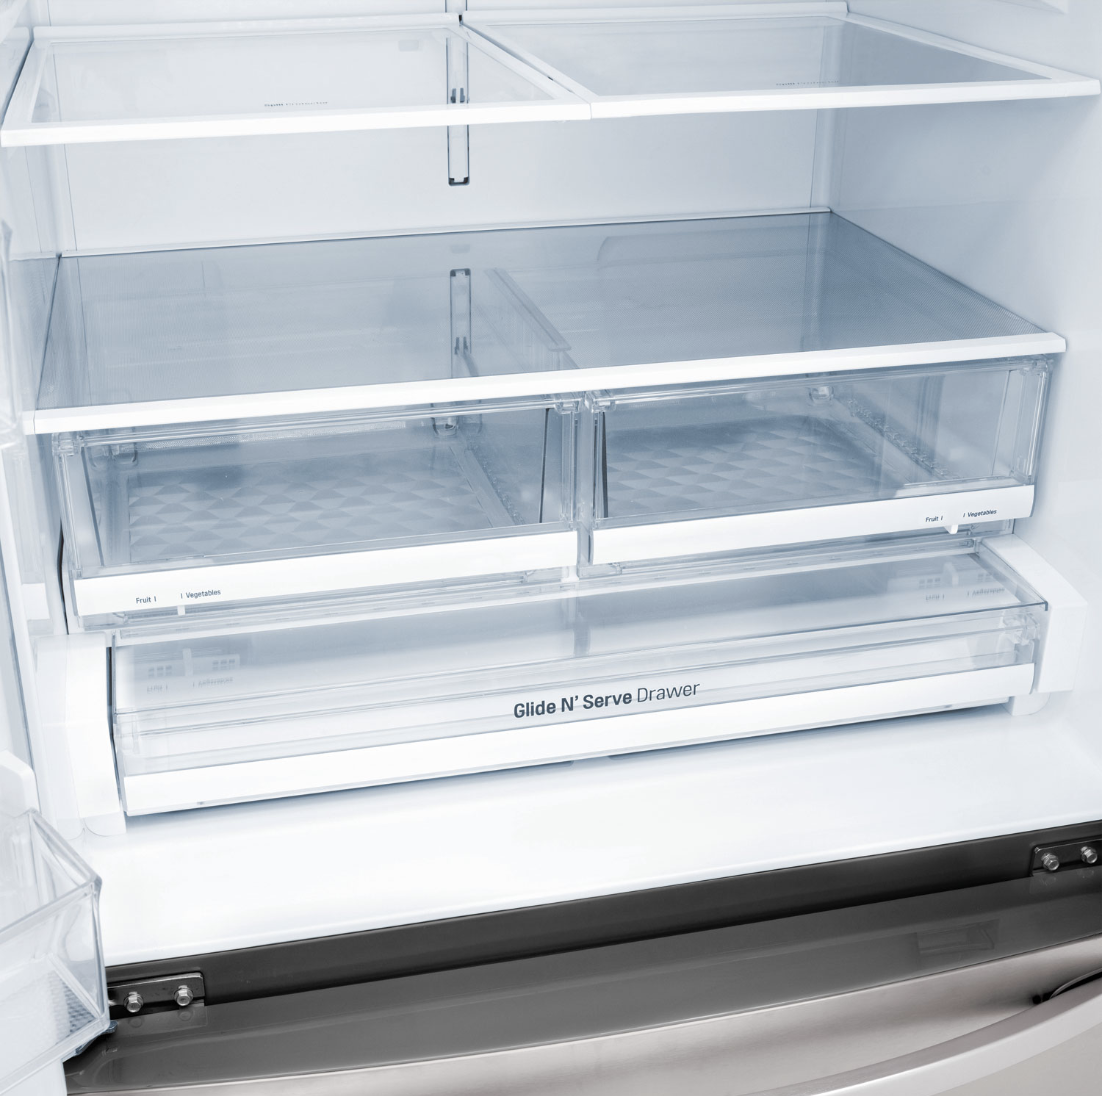
Empty these and use a mix of mild dish soap and warm water to wipe everything down. The crisper drawers can be removed for a more thorough clean if you have remnants of old produce, like dry onion skin, bits of broccoli, and other items.
Get into the nooks and crannies
Don’t forget to get into the little nooks and crannies both within the drawers (like where the handles are) as well as behind them and in each door storage area. You can use an old toothbrush or small cleaning brush to get into the tight spaces. Make sure everything is thoroughly dry before putting the food back in.
 How to clean the freezer
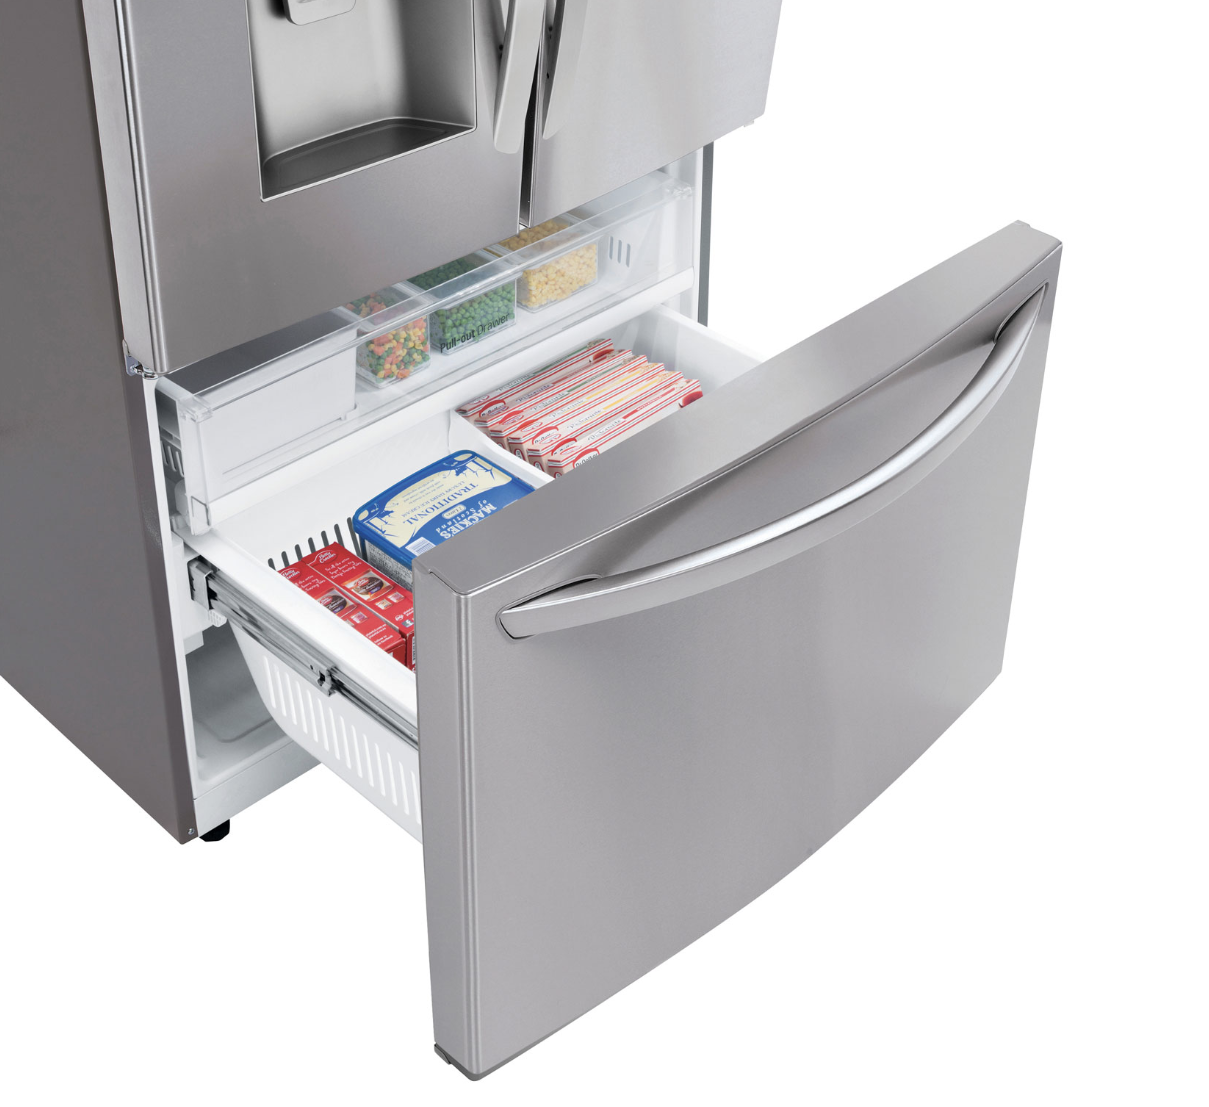
To clean the freezer portion of a refrigerator, remove everything and give it a thorough wipe down with warm water and mild dish soap. If there are elevated drawers or racks, remove them (or pull them out fully) to ensure you’re cleaning all the way to the back. If small items have fallen out onto the bottom of the freezer, especially a deep chest freezer, you can use a handheld vacuum to get them out. Think tiny frozen peas that have fallen out of the bag or crumbs from banana bread that wasn’t closed properly.
Reorganize the freezer to ensure that the most frequently accessed items are easy to get to. I like to include meat and poultry in the top freezer drawer, bagged items, like frozen fruits and vegetables, on one side and boxed items, like frozen pizza and ice cream bars, on the other. If there are items packaged in boxes and plastic, try and remove the boxes to make more space. A handy tip: use a Sharpie and write the cooking instructions on a label or the plastic wrap itself so you don’t forget.
Reorganize and purge
Before adding your food back in the fridge and freezer, use this opportunity to not only clean but also reorganize your fridge. Get rid of food that is expired. Use your best judgement for “best by” or “best before” dates. Wipe down bottles, containers, Tupperware, and other items before putting them back inside.
Consider adding storage containers to the crisper. You can use these to store different produce separately. Use the door storage, meanwhile, for items like condiments and soda cans. This space is ideal for anything that doesn’t have to be kept as cold.
 How to clean the exterior of the fridge
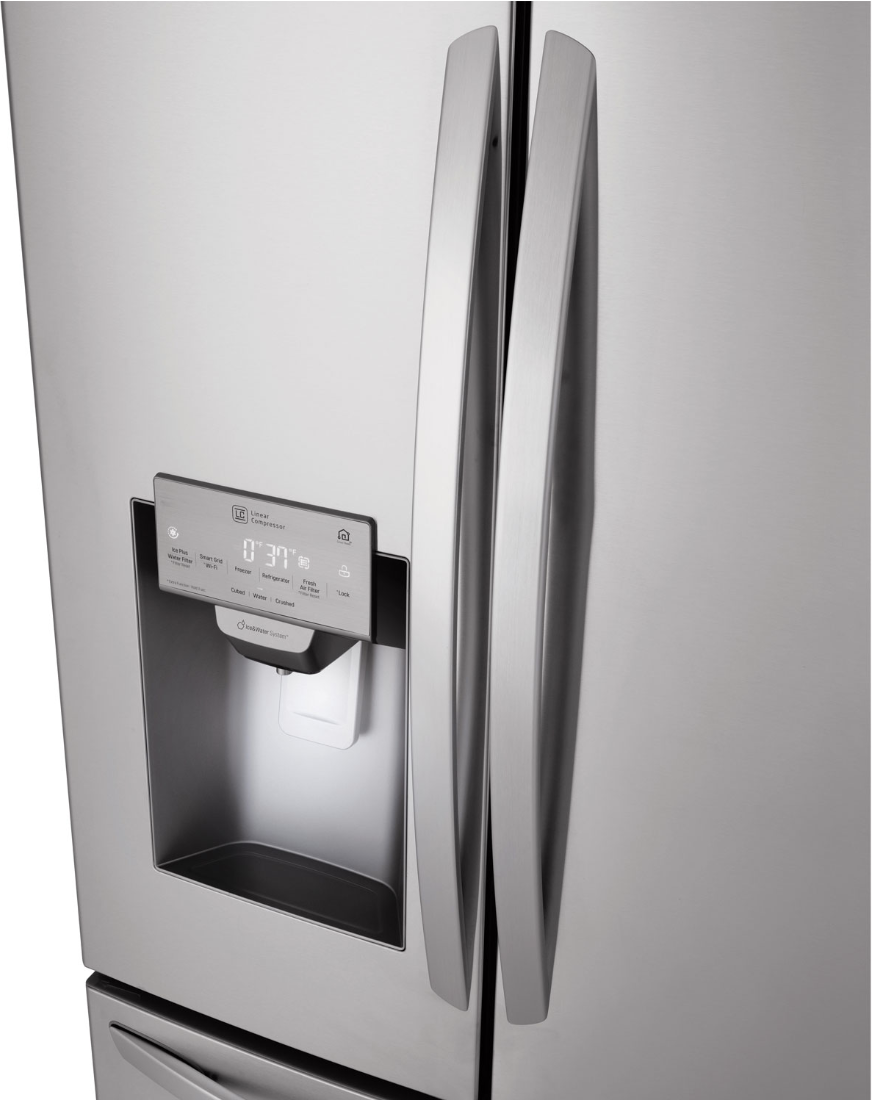
Cleaning the exterior of the fridge will largely depend on the finish material. For a standard fridge, the same simple warm water and mild dish soap solution will suffice. If it’s stainless steel, use stainless steel cleaner to get rid of everything from dirt and grime to water streaks and fingerprints. Some people also swear by a mix of vinegar and oil. Consult the manual for what’s recommended. Wipe down the front surface and sides using a non-abrasive microfibre cloth and open the doors to wipe the tops and bottoms of those as well. Don’t forget the front and underside of the handle as well!
If the fridge has a built-in water and ice machine, make sure to clean on and around that, too. Dried up water droplets can accumulate under the spout, so you’ll want to give that area a wipe-down.
How often should you clean your refrigerator?
How often you clean the inside of your refrigerator will depend on how much food you usually have in it, how messy the family is (households with young children who are prone to spilling things might have to clean more frequently!), and what types of things you buy and how they are stored inside.
Generally, try to make a habit of cleaning the fridge interior at least once every two months; at minimum, every three months. A good rule of thumb is to not only do the clean before a big grocery shop, but also right before garbage day so you can discard of items and put them out for local city pick-up right away. If you do a quick wipe before adding grocery items every week or two, this will also cut down on how much cleaning is needed when you’re ready for a big clean-out.
The exterior of the fridge, meanwhile, should get a quick wipe down every week to keep it looking fresh and clean.
 How and when to run a defrost on your refrigerator
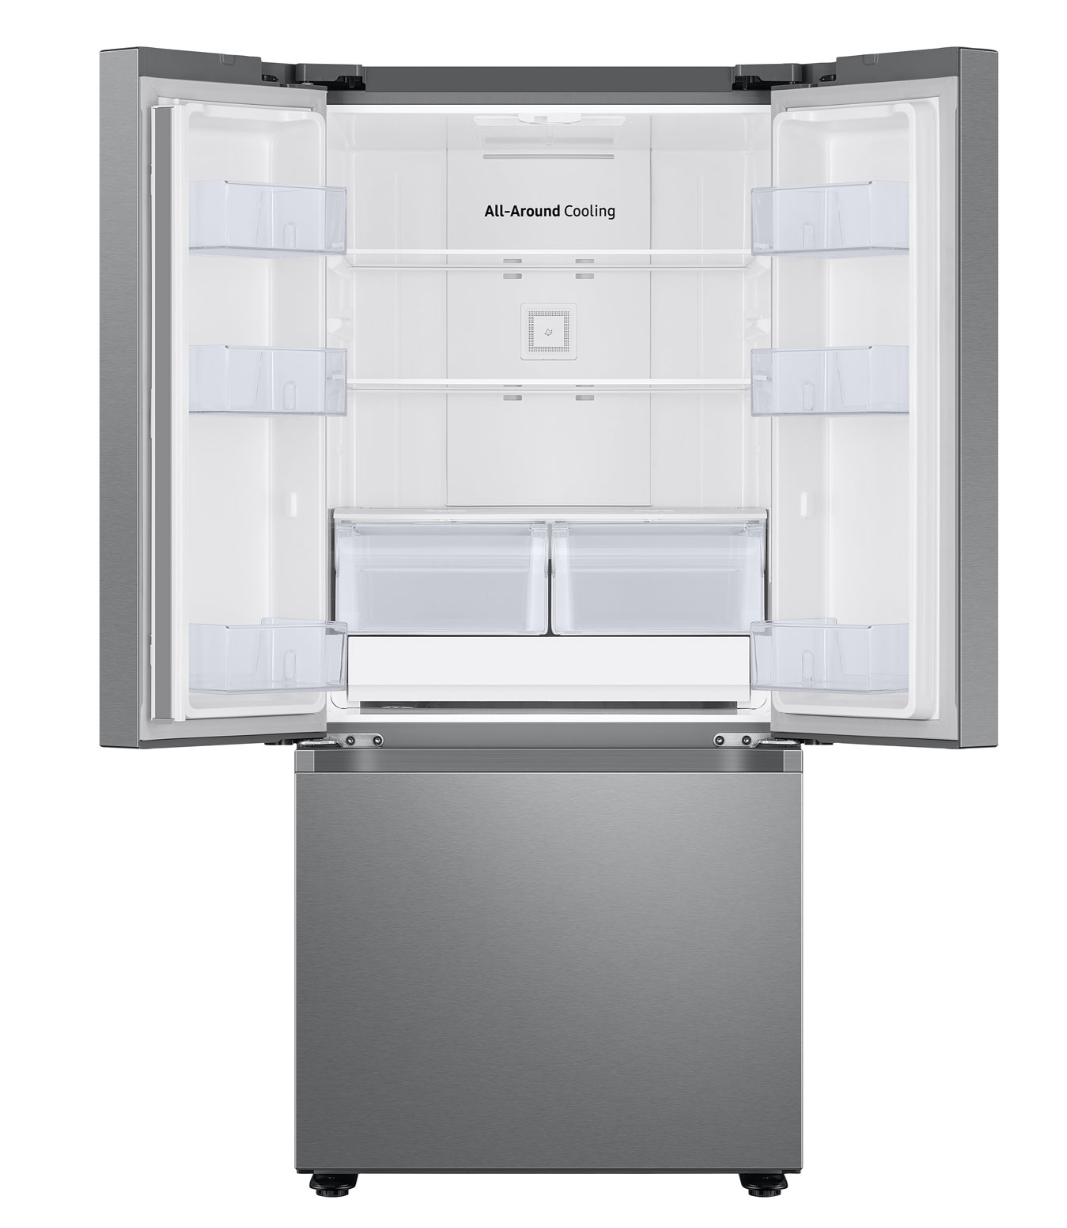
In addition to regular cleaning maintenance of the inside and outside of the refrigerator, it’s also important to run a defrost cycle periodically to keep it running in tip-top condition and prevent things like freezer burn. It’s recommended that you defrost a fridge and freezer at least once a year, ideally twice. Consider doing it at the changing of the seasons, like the beginning or end of the year (after the busy holiday season), then again before the end of summer. You should also do it any time you notice a layer of ice at least a quarter inch thick on the sides.
Defrosting is important not only to ensure maintenance of the quality of your food and efficacy of the fridge, but also to prevent the fridge from using more energy than necessary to keep cool. In doing so, it will unnecessarily waste energy and hike your electricity bills.
Remove all food, shelves, and drawers
You will need to remove all the food from the refrigerator before running a defrost cycle. The refrigerator will not be running and will warm up so you don’t want to risk anything getting to a dangerously low temperature where bacteria can grow. Plan to run this cycle when you haven’t re-stocked so there’s less to remove. Transfer frozen items to a deep freezer or, if you don’t have one, pack a cooler with ice and use that for both fresh and frozen food. Just make sure frozen food is still frozen before putting it back inside. If not, plan to cook it right away or transfer to the fridge and cook within a day or two.
You should remove the shelves and drawers from the fridge before running a defrost cycle. This will allow the fridge to fully defrost itself properly.
Unplug the refrigerator
Unplug the refrigerator and leave the doors open so the defrost cycle can begin.
 Get towels
Place small towers on the bottom shelf on the inside of the fridge. This will capture excess water that falls when blocks of ice melt through the defrost process. It’s a good idea to put a towel in front of the refrigerator as well to catch water that comes out the bottom. Periodically check on it and wipe down the interior as water accumulates.
Now…Wait
Now, just wait. How long it takes will depend on how big the fridge is, how long it has been since the last defrost, and how much build-up of ice there is. But generally, a defrost will take at least a few hours. If you want to speed up the process, you can add a pot of boiling water into the fridge. The steam will help melt the ice faster. You can also wipe the fridge with a cloth with hot water and rubbing alcohol to speed up the melting: this will help loosen blocks of ice. You can use a plastic scraper or spatula to remove any visual ice chunks.
Give it a final wipe-down
Once the process is done, wipe down the inside of the refrigerator. Plug it back in, close the doors, and and set the temperature to the coldest one. Once it reaches that, turn it back down, let it sit for 30 minutes until the temperature regulates and gets to the proper fridge temperature for safe food storage and add your food back in. Do a quick check of the door seal to ensure that it doesn’t have any frost build-up. If so, you can wipe it with a bit of oil to ensure it maintains proper suction.
New refrigerators have automatic defrost cycles

Note that many new refrigerators have an automatic defrost cycle feature that simplifies the process. All you need to do is press a button, let the fridge do its thing, and you’re done. But if you have an older fridge or want to do it the old-fashioned way to ensure the fridge continues to run perfectly for years to come, follow these directions.
Make it fun!
Make your fridge clean-out day a fun activity the entire family can participate in. Crank up the music, get out the coolers, and have each person take care of one food category or section, like the crispers, door storage, or freezer items. Do a clean-out and have the kids write a grocery list for the items that need to be replenished. It’s a good opportunity during favourable weather to cook items that have been taking up space in your freezer, like those packages of hamburgers and hot dogs you bought a few months ago.
If you decide you’re ready for a refrigerator upgrade, including a new model with features like humidity controlled crispers and automatic defrost, see a wide selection at Best Buy Online.


