

Air conditioners can help you stay cool this summer. Whether you’re planning to get one, or still figuring out how to install the one you already have, this step-by-step installation guide is for you. Installation may be different between various types of air conditioners. This how-to guide covers two of the most common types, window air conditioners and portable air conditioners.

6 steps to install a window air conditioner
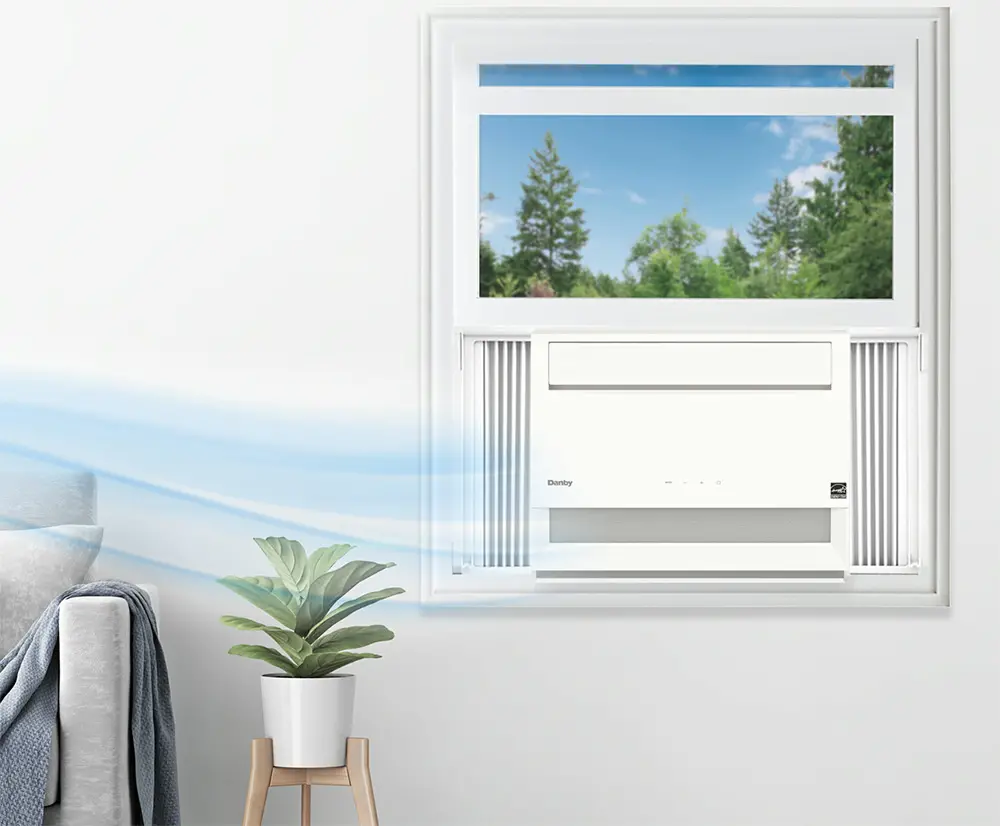
Window air conditioners are great for small spaces. Install it right on your window, so it won’t take up floor space unlike portable air conditioners. The key is to install it safely and securely, leaving no gaps, so air out won’t seep through. Here are six important steps to install it properly right at your home:
Step 1: Choose the right window for your AC
Consider the design of your window. Make sure it can accommodate the shape and size of your window air conditioner. Assess the condition of your window frame and sash for stability. In many cases, you may need to add brackets to support the back of your window air conditioner, ensuring it won’t fall over.
Also, make sure the window you’ve chosen is close enough to a power outlet. The cord on your new window unit should be around 5 to 6 feet long, so take that into consideration when deciding where to place it. For safety reasons, you shouldn’t plug a window AC into a power bar to avoid overloading.
Step 2: Layout the parts and tools
Make sure you have all the parts and tools you need to install a window air conditioner. You’ll need a screwdriver or drill, all of the screws and brackets included in the box, as well as the product guide. Lay them all on the floor in the area close to the window you are placing the unit. It’s important that you have everything you need within sight during installation.
Step 3: Apply weather stripping and install side panels
Weather stripping may be included with your window air conditioner. These strips do not only protect your window but also prevent air from seeping through. Before attaching these strips to the sides of your open window, make sure to wipe the surface clean and leave them to dry for a few minutes to make sure they stick securely.
Then, slide the adjustable side panels onto the window unit and secure them with the screws provided. Ensure you leave no gaps that will let hot air into your room.
Step 4: Ensure safety during installation
Think about safety all the time. Accidents can happen during installation when not done properly. First, make sure there’s no one under the window during installation. If you’re on a higher floor, have someone secure the area during the entire process. Second, ensure you have another person to help you do the heavy lifting. Window air conditioners could be too heavy for one person to carry.
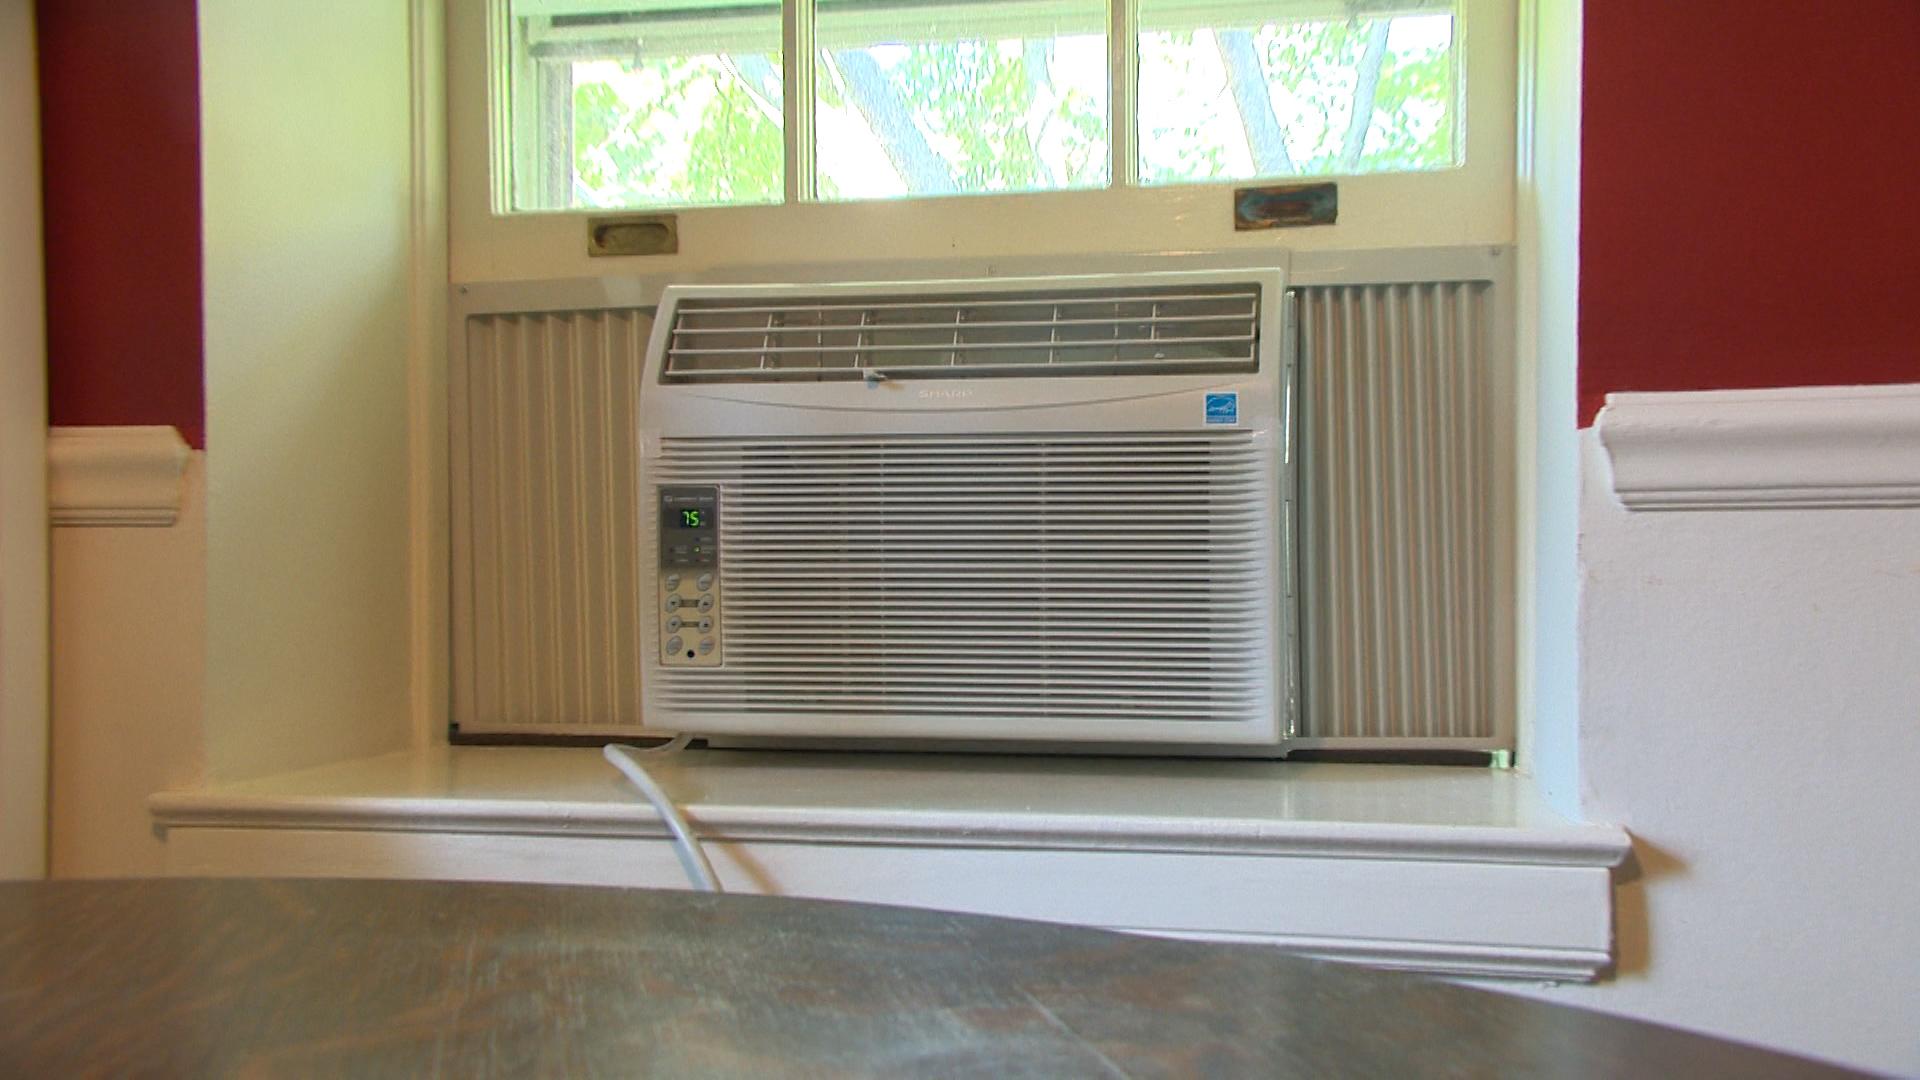
Step 5: Place the air conditioner in the window
Ensure your air conditioner is placed properly in your window. One important thing to remember is that your window AC need to drain water, so it’s important to ensure the unit is tilted slightly backward to facilitate the flow of water. This will prevent water damage from happening inside your unit.
Before placing the air conditioner, measure the width of the window. Mark the middle of the window so you’ll know the side panels of the air conditioner will be even. Once your unit is in your window, make sure to align it centre, following your middle mark. Then, close the window on top of the AC as tightly as you can.
Step 6: Add your brackets and adjust your panels
You’ll most likely see an L bracket or two in your installation package, and you’ll want to install these according to the instructions included with your unit. Because the tightly closed window will hold the air conditioner in place, the L bracket is there to firmly hold the window closed.
There may be screws to attach your window unit to your window sill. If so, you will want to add these now. Extend the side panels to reach the window and attach them with screws so they are secure.
Start using your window air conditioner
Once your last screw for you L bracket is in place, you can plug in your new unit, turn it on, and enjoy a cool blast of air.

Which type of air conditioner is best for your home?
In choosing the right type of AC, there are a few things you need to consider, like room size, power, and where you want to install it, among others.
For more information on the types of air conditioners and what to look for, check out our air conditioners buying guide.
4 steps to install a portable air conditioner
The best thing about portable air conditioners, needless to say, is that you can move it with you from to room easily. It’s perfect for those of you who wanted to have only one AC, but would like to be able to use it for different parts of your home, from your bedroom to living room. Although, they could be quite heavy, so if you have a multi-floor home you may wish to purchase a portable air conditioner for your top floor and another unit for your lower floor.
Like the window AC, you need a window for proper venting. But, because you don’t need to attach the actual unit to your window, you only need to install the window kit, which makes the process much easier. Here are four key steps:
Step 1: Choose the right window for your portable AC
Consider the design of your window. Most portable air conditioners come with its own window kit that fits standard-sized windows and works with most window types, including those that slide up and down or those that slide side to side. When choosing an air conditioner, ensure you have the right window kit.
Your portable unit will need to be on a hard, level surface and be placed a certain distance from the wall. Your instruction manual should tell you how far from the wall you’ll need to place it.
Ensure your power outlet is close by. The cord on your new portable unit should be around 5 to 6 feet long, so take that into consideration when deciding on placement in the window. Don’t use a power bar to avoid overloading.

Using your portable AC in a room without windows?
To efficiently cool your room, portable air conditioners need to be vented. A window is the most optimal way to vent, but you can also place your vent hose out of a sliding door, exterior wall, drop ceiling, and in some cases, a chimney. If you’d like to vent your portable AC in this way, you’ll most likely need to get additional accessories to have the right fit.
Step 2: Layout the AC parts and tools
For portable air conditioners, you’ll spend much of the time installing the window kit and attaching it to the portable unit. Make you have all the parts and tools you need readily in sight. Inside the box with your portable device, you’ll likely find a vent hose, vent hose adapters, and a window slide connector. You may also find foam, weather strips, or screws.
Step 3: Install the window kit
A window kit lets you securely vent hot air from your air conditioner outside. You can easily place the kit in your window by following the instructions in the included manual. One good thing to keep in mind is that you may have to add filler if the window opening is larger than the window kit itself. Popular filler materials include plywood and plexiglass. If the kit is too large for your window, you can cut it down to size.
The most important thing is that no air should leak through and no sunlight should be visible on all sides. If your model includes weather stripping, you can install it to prevent leaks.
Step 4: Attach the hose to the portable air conditioner
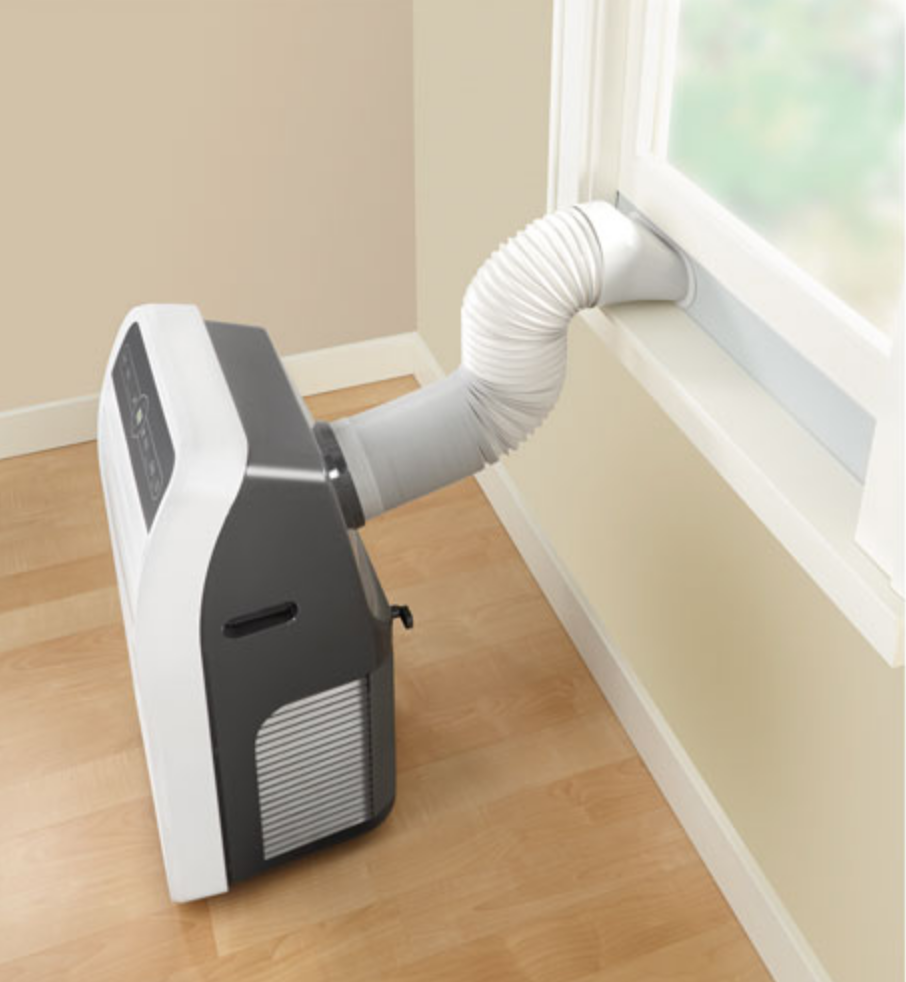
If your portable unit has a connector on the back, place one end of the hose to it. Attach the other end to the connector in the window kit. Extend the hose until you have your portable AC placed a safe distance from the wall. Don’t kink the hose when extending it and try to keep your unit in a short, straight line from the window.
Plug your portable AC in and enjoy the cold air
All that’s left to do is plug in your portable air conditioner, turn it on, and begin enjoying your cool room.
Installing an air conditioner is easy
Now that you know how easy it is to install a window air conditioner or a portable air conditioner, you can set yourself up for great summer with a cool room in your home. Many air conditioners now are built for easy do-it-yourself installation, although some may still require professional service to do it for you.
Explore the air conditioners available on Best Buy right now and choose one to keep the air cool and comfortable in your home.


Something this guide does not mention, which is a vital point for any cooling device {Fridge, freezer, or A/C unit) with a compressor.
The device must be kept upright for several hours (check manual) if it has been tilted, or put on it’s side, during transport.
This is to allow the refrigerant to return.
I like this article about How to install an air conditioner, it has a lot of info I need to know, thanks for sharing
queston can i vent portable air condictioner into cold air return vent of furnace?
A portable air conditioner can move from room to room. It’s a big facility. the article help me to choice a good AC. thank you.
I’ve always did it with mine and after several years of doing it I still don’t see any problems
Question: Is it safe to vent a portable AC unit through a window screen?
We’d like to leave our full-height screen in so we can open the top section of the venting window on days we don’t need.
Thanks,
Hi Susan
I sent your question to the appliance team at Best Buy and they said that the AC units will be exhausting the hot air from inside so it could possibly melt the screen based on the material type and how hot the room is. It is safest to follow the manufacture’s instructions which typically state not to block the ventilation openings in any way. You could check the manufacturer’s website to be sure. Let me konw if you need help finding the site for the manufacturer of your air conditioner.
best regards, Martin
Comments are closed.