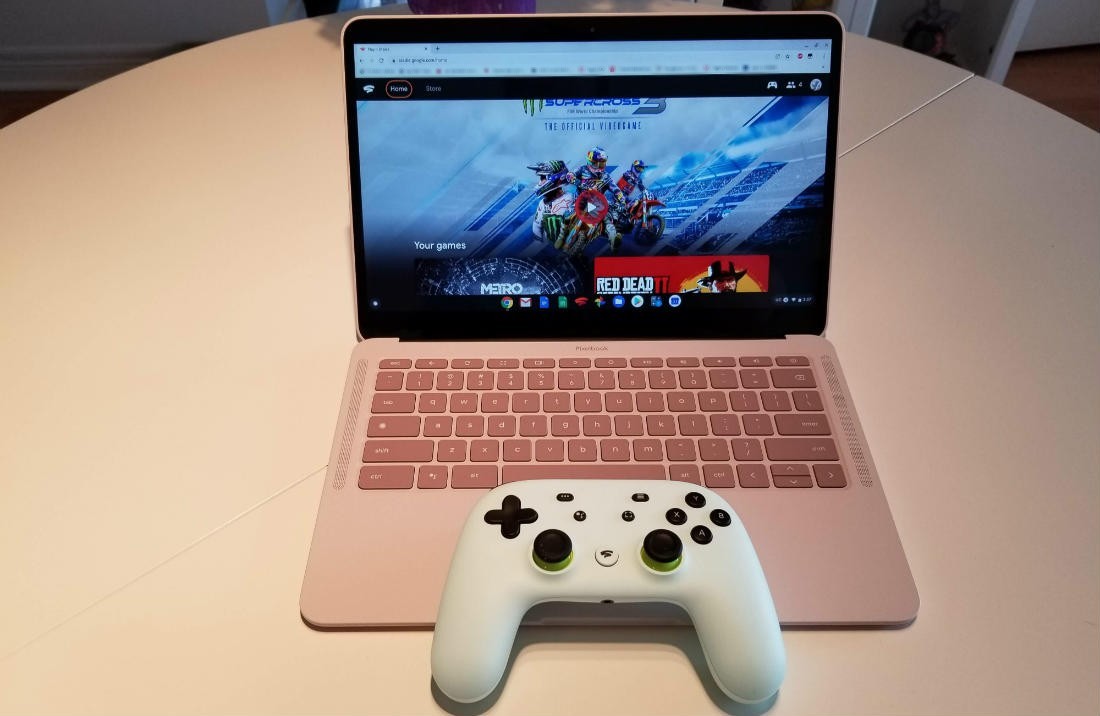
Game where you want, when you want is Google’s motto for Stadia. And, one of those places to play is with a Chromebook. You see, the beauty of Stadia is that you don’t need top-of-the-line hardware to play games. Instead, a stable internet connection between 10Mbs and 35Mbs is the only requirement you’ll need to play and enjoy games on Stadia.
Today, I’ll walk you through everything you need to know to setup your Chromebook to play Stadia. For this article, I am using a Pixelbook Go Not Pink Chromebook. To learn more about this computer, check out Brad Moon’s recent review of this same machine on the Best Buy blog.
Setting up a controller for your Chromebook
The first thing you want to do to get your Chromebrook ready to play Stadia is to connect a controller. In keeping with Google’s motto on Stadia, not only can you play where you want and when you want, you can play with what you want. Before I go any further, it is important to note that using the Stadia controller will give you the best overall experience.
Not only does the Stadia controller allow you to capture screen shots but also gives you the ability to record gameplay, and use the Google Assistant. Control wise, other controllers will offer the same gameplay experience, it is just the functionality that is limited.
With a wide variety of controllers that you can use to play Stadia, I’ll focus on connecting the Stadia, Xbox One, and PlayStation 4 controllers.
Stadia controller
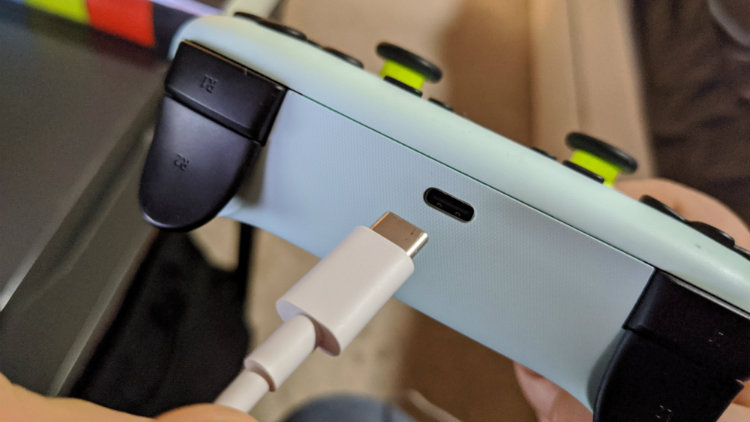
Currently, to use the Stadia controller on your Chromebook, a USB-C cable is required. Luckily, the Stadia controller comes with the cable. To connect the Stadia controller to your Chromebook, simply plug one end of the USB-C cable to the top of the Stadia controller and the other end to either of the USB-C ports on your Chromebook. It’s that easy!
Xbox One controller
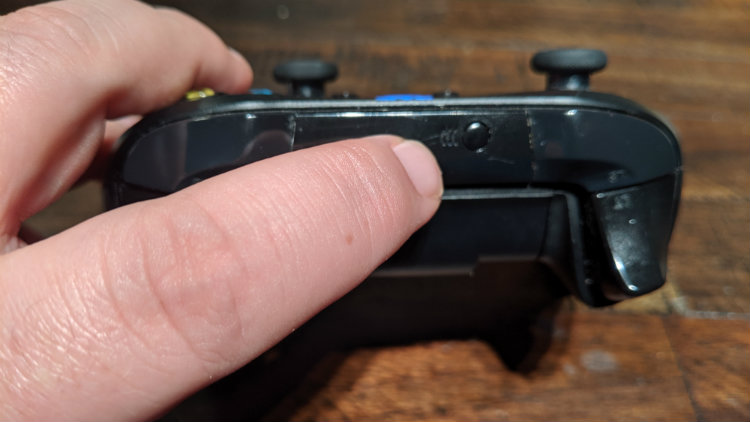
If you want to connect and use an Xbox One controller on your Chromebook, you must put the controller into pairing mode. To do this, on your Xbox One controller press the Xbox button to turn it on. Once the Xbox button lights up and the controller is on, press the Connect button for three seconds until the Xbox button begins to flash, and then release it.
Next, on the Chromebook screen move the cursor to the bottom right hand corner (near the time display) and click. Then, click on the down arrow beside where it says “Bluetooth.” This will search for available Bluetooth devices to pair. After a few seconds, you will see “Xbox Wireless Controller” as an available device.
Simply click on it and a “Pairing Bluetooth device” window will pop up stating that your Chromebook is connecting to the “Xbox Wireless Controller”. In a few seconds, the Xbox button on the controller will go solid and your Chromebook will tell you that the device has been paired.
PlayStation 4 DualShock 4 controller
To use a DualShock 4 controller on your Chromebook, you’ll have to put the controller into pairing mode. On your DualShock 4 controller, press and hold the PlayStation button and the Share button at the same time for three seconds. When the light bar on your DualShock 4 is flashing, then you have successfully put it into pairing mode.
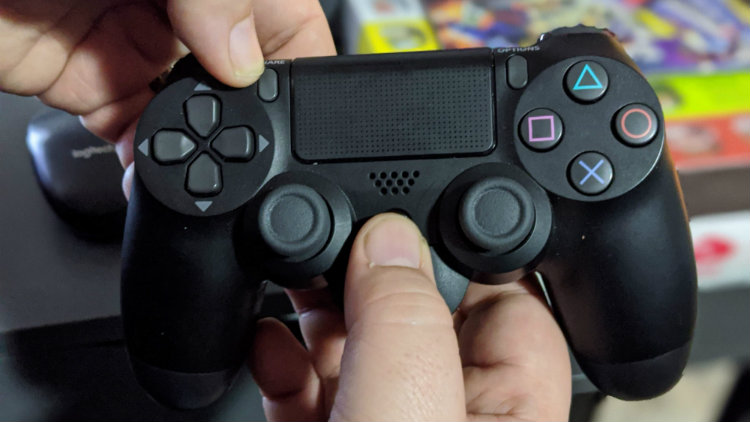
Next, click down by the time at the bottom right hand corner of your screen. Then, click on the down arrow beside where it says “Bluetooth”. This will search for available Bluetooth devices to pair. After a few seconds, you will see “Wireless Controller” as an available device.
Simply click on it and a “Pairing Bluetooth device” window will pop up stating that your Chromebook is connecting to the “Wireless Controller”. In a few seconds, the light bar will turn solid on your DualShock 4 controller letting you know that the controller has been paired to your Chromebook.
You can use your keyboard and mouse to play Stadia on Chromebook
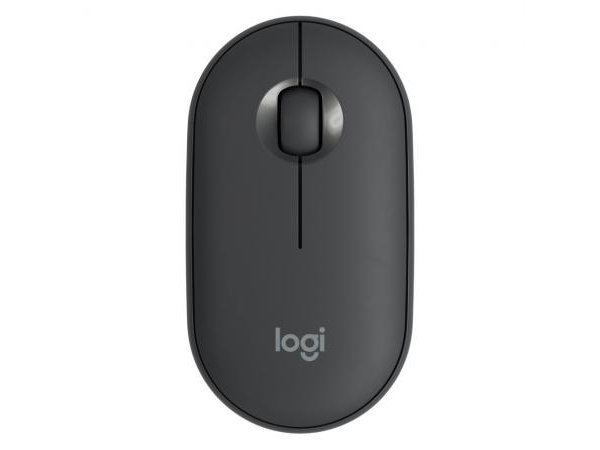
Not many people know, but you can use a mouse and keyboard to play Stadia games on your Chromebook. The best thing about it is, there is no special configuration needed. To use a mouse, simply connect a Bluetooth or USB-C to your Chromebook and you are ready to go. I used and highly recommend the Logitech M355 Bluetooth optical mouse, there is no dongle to connect. Just pair via your Chromebook and you are set to go!
Every Stadia game has native support for keyboard and mouse so you don’t have to do anything special. It just works! Some may argue that a mouse and keyboard is the best way to play games but I’ll leave that up to you to decide.
Using a gaming headset or built-in speaker
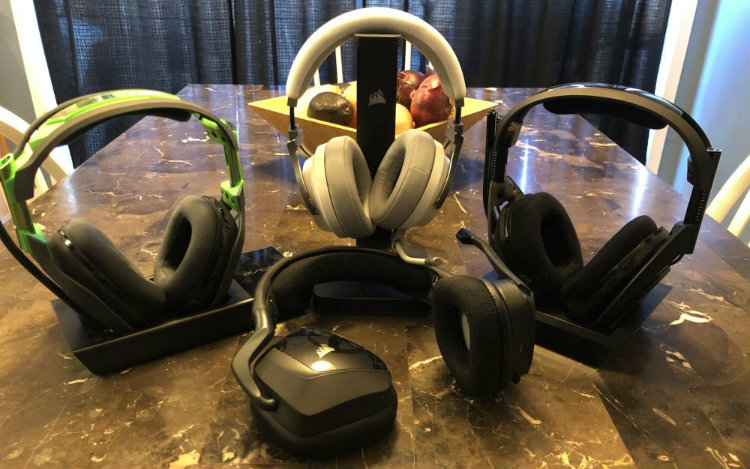
When playing Stadia games on your Chromebook, you can use the built in speakers that it comes with perfectly fine. However, if you are using a controller, you can plug in a gaming headset for an even more immersive experience.
If you need help in choosing a headset, check out Dave Neufeld’s article “Which gaming headset is right for you“.
Make sure your Chromebook is up to date
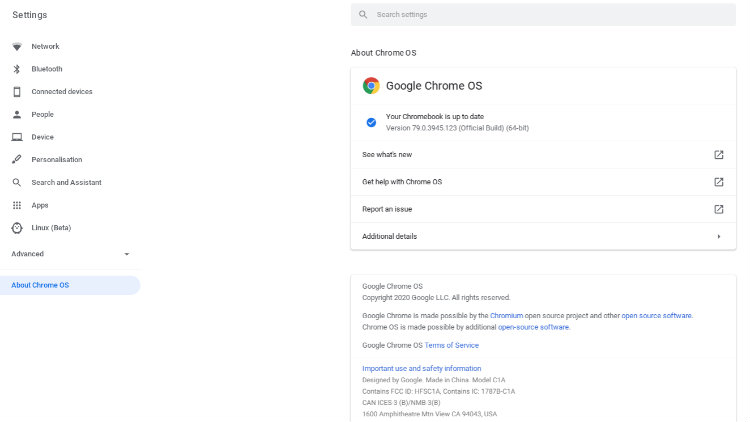
One last step before your Chromebook is ready to play Stadia games. The next thing we are going to is to make sure your Chromebook is up-to-date. There are a few ways to do this but the easiest way is to click on the launcher button in the bottom left hand corner of your screen. From there, in the search box, type settings and then hit enter.
Then, the settings window will come up and along the left hand side of the screen click on “About Chrome OS”. You’ll then want to click on “Check for updates” to ensure that your Chromebook is up to date. When you are all finished, you’ll see “Your Chromebook is up to date” as pictured below.
It’s time to play Stadia on your Chromebook
Now that your Chromebook is ready, it’s time to play. Simply open the Chrome browser on your Chromebook and navigate to stadia.google.com. If you are logged into your Chromebook with the same email you registered your Stadia account with, you will be brought to the home screen.
If you are not logged into your Chromebook with the same email address as your Stadia account you will be prompted to log in and then brought to the home screen. Once you have logged in, you can choose which game you want to play. A play button will appear and a simple click will launch the game.
My experience playing Stadia on a Chromebook
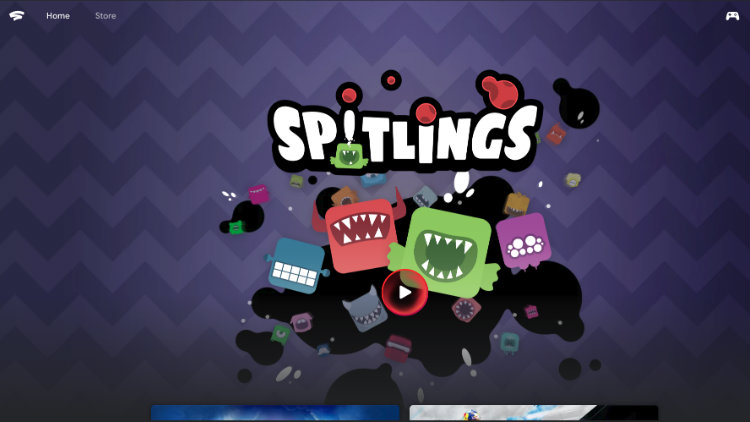
For the purpose of this article, I played several games with each of the three controllers and a mouse and keyboard. The first game I played was a new indie title called Spitlings. It’s a modern take on classic arcades games where you control a small rectangular creature with teeth. You can spit at bubbles or use your spit to jump. Your goal is to get rid of all the bubbles bouncing around the screen.
You can play with up to three of your friends and is loads of good old fashioned fun. My experience with each of the controllers was identical, Spitlings doesn’t really use the extra functionality that the Stadia controller offers. On the other hand, using a keyboard and mouse for this game was ok. Though I really preferred using one of the controllers as it felt more natural.
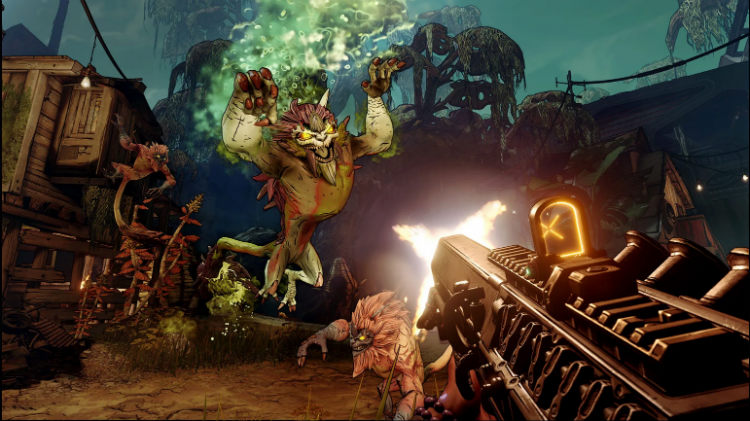
Another game that I played was Borderlands 3. With the recent updates and patches rolling out not to long ago, I wanted to give it a try. Again, gameplay wise the experience across all three controllers was the same. However, out of all the controllers, I prefer using the Stadia controller on this game because having the ability to record taking out your enemies to show to your friends is awesome. Ultimately, using a keyboard and mouse was my favourite. The mouse allows you look around at your surroundings faster than a controller, making spotting enemies a lot easier.
Setting up your Chromebook to play Stadia is as easy as 1-2-3
We did it! Setting up your Chromebook to play Stadia is as easy as 1-2-3! If you follow these steps, you’ll be playing Stadia on your Chromebook in no time. Just remember, if you pair your Xbox One or DualShock 4 controller back to their respective consoles you’ll have to set them back up on your Chromebook.
Click here to see the full line of video game software available at Bestbuy.ca
Click here to see digital video game downloads offered at BestBuy.ca


