
When you move from Nintendo Switch to Nintendo Switch 2, the best time to transfer your data is during the initial setup. System Transfer can move supported data, including user profiles, eligible save data, digital game access, screenshots, videos, and certain settings from one console to the other.
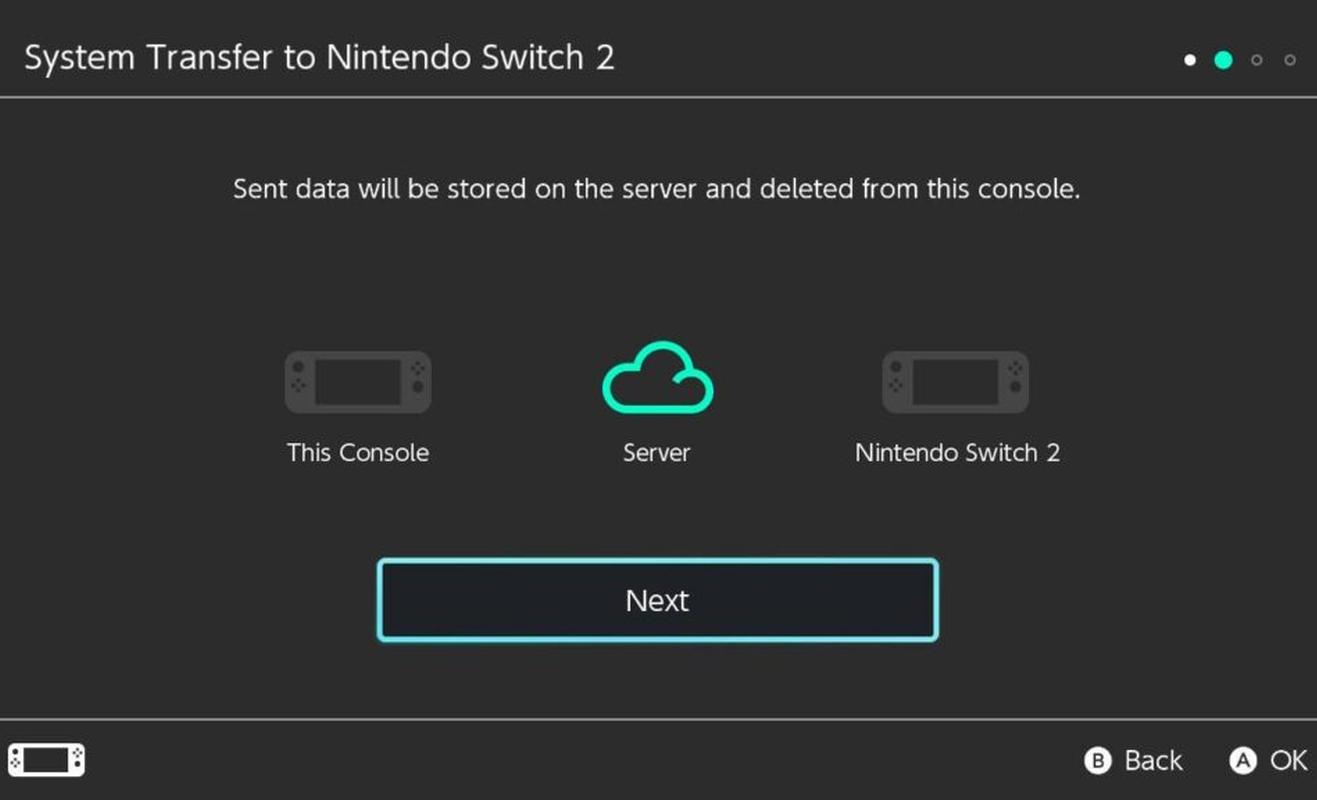
Your first big choice is deciding which transfer method fits your situation. If you’ll have both consoles at the same time, a local communication transfer is the best choice. The server transfer option is available if you’re trading in, selling, or giving away your Nintendo Switch before your new console arrives, but it erases the data on your Nintendo Switch after upload. It’s important to pick the right transfer method before you start.

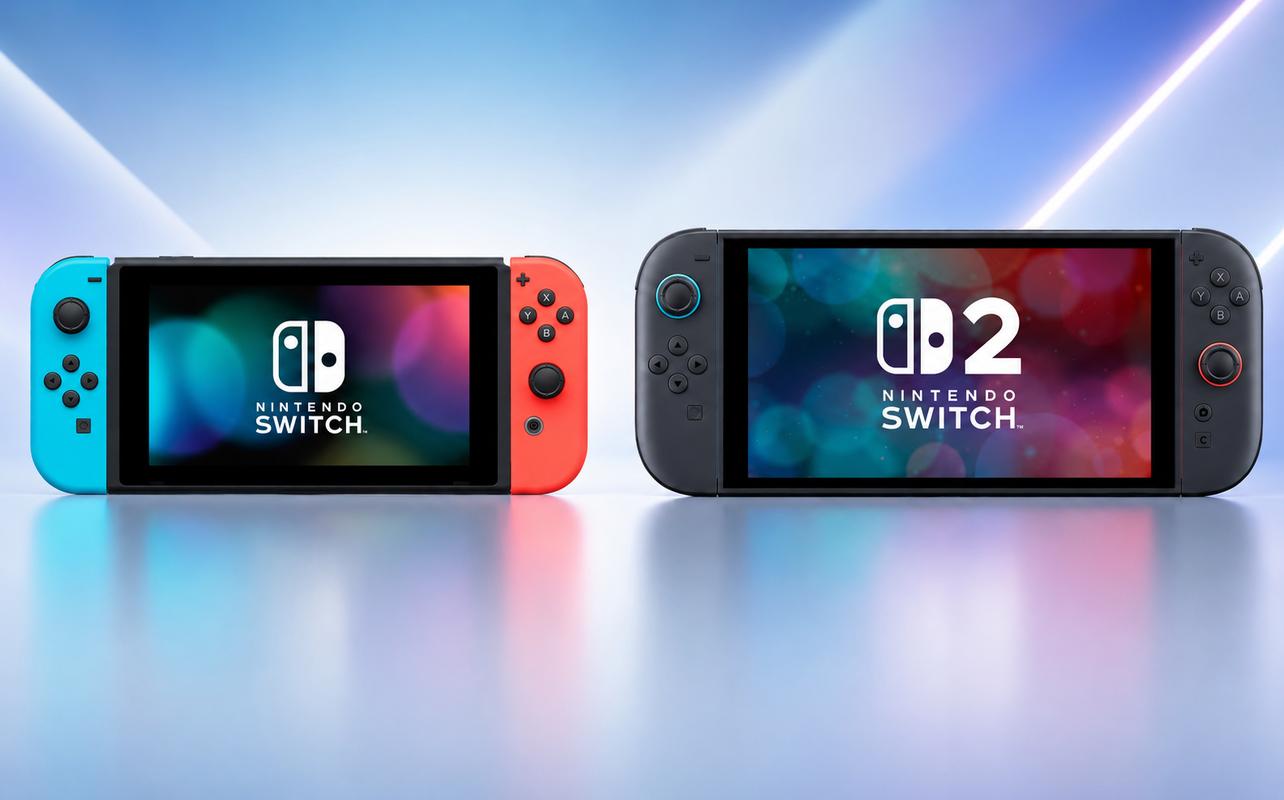
If you’re still deciding whether Nintendo Switch 2 is the right upgrade for your household, our Nintendo Switch vs Nintendo Switch 2 comparison can help you compare the main differences before moving your data.
Things to know before you transfer
Before starting, make sure your Nintendo Switch and Nintendo Switch 2 are charged, connected to power, and connected to the internet. You’ll also need a Nintendo Account linked to at least one user profile on your Nintendo Switch. During the transfer, you’ll need to sign in with that same Nintendo Account on your Nintendo Switch 2.
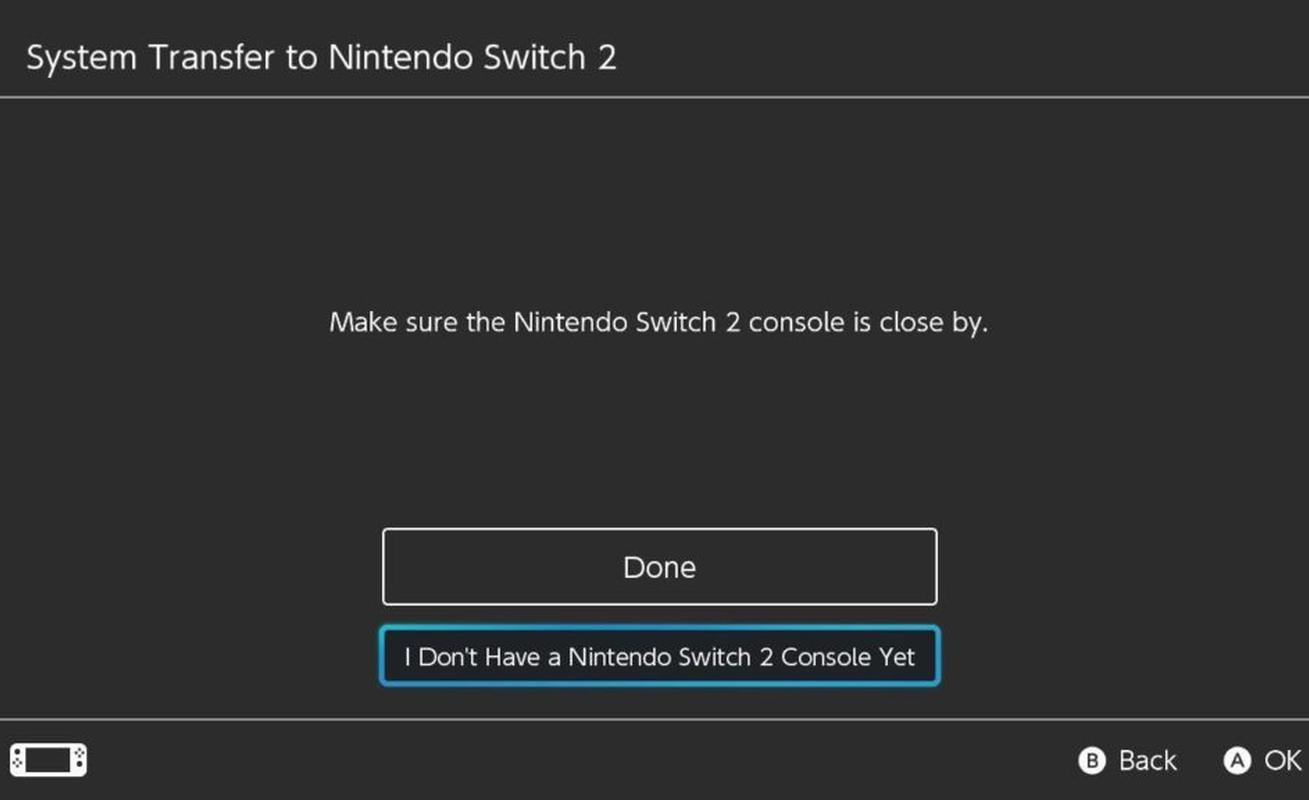
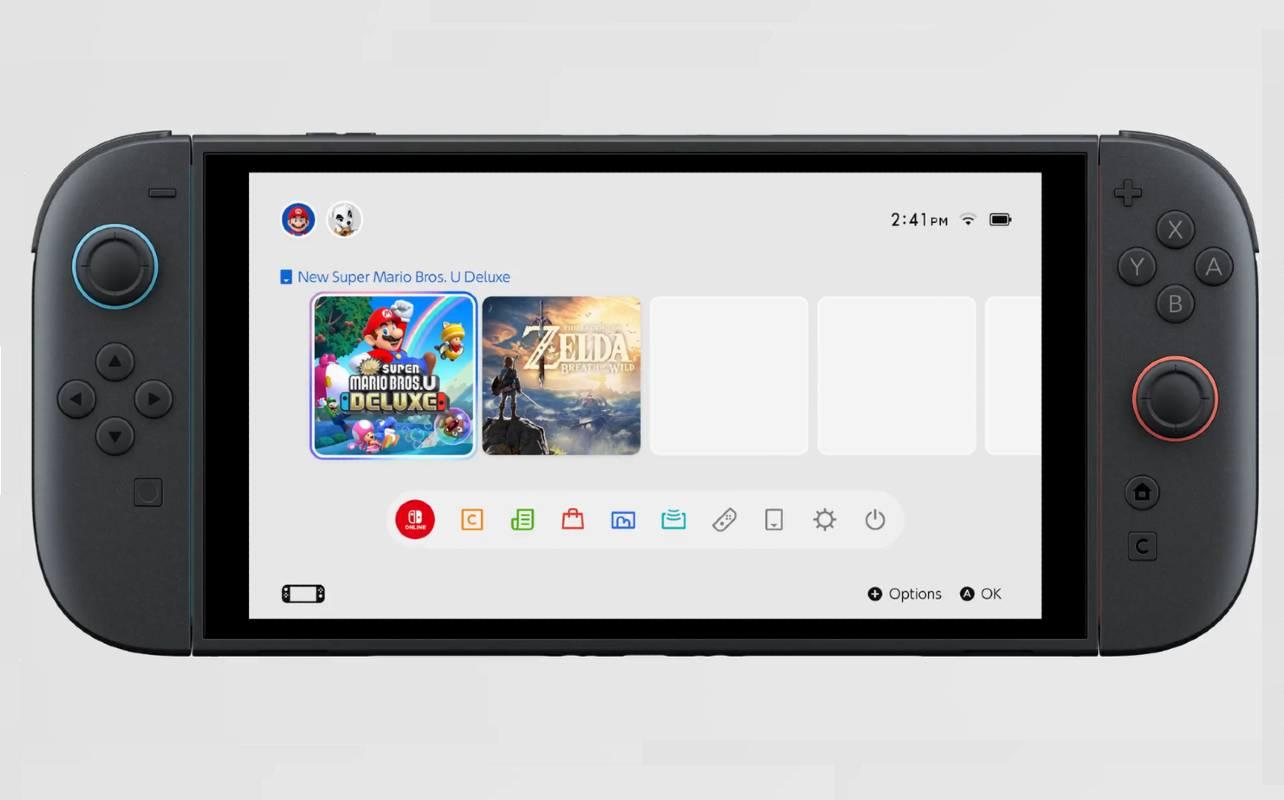
The full System Transfer option only appears during your Nintendo Switch 2 system’s initial setup. It’s important to get everything ready before you finish setting up your new console. If you skip the transfer screen and finish setup, you can move some save data later. The full data transfer process is more limited.
There are two official ways to transfer the data from your Nintendo Switch to your Nintendo Switch 2. You can use a System Transfer using local communication, or a System Transfer using the server. A local communication transfer uses both consoles while they’re near each other. A server transfer uploads data from your Nintendo Switch so it can be retrieved later on your Nintendo Switch 2. Use the local communication transfer if you’ll have both consoles together at the same time. Server transfer is mainly for cases where you won’t have access to your Nintendo Switch when your Nintendo Switch 2 arrives.
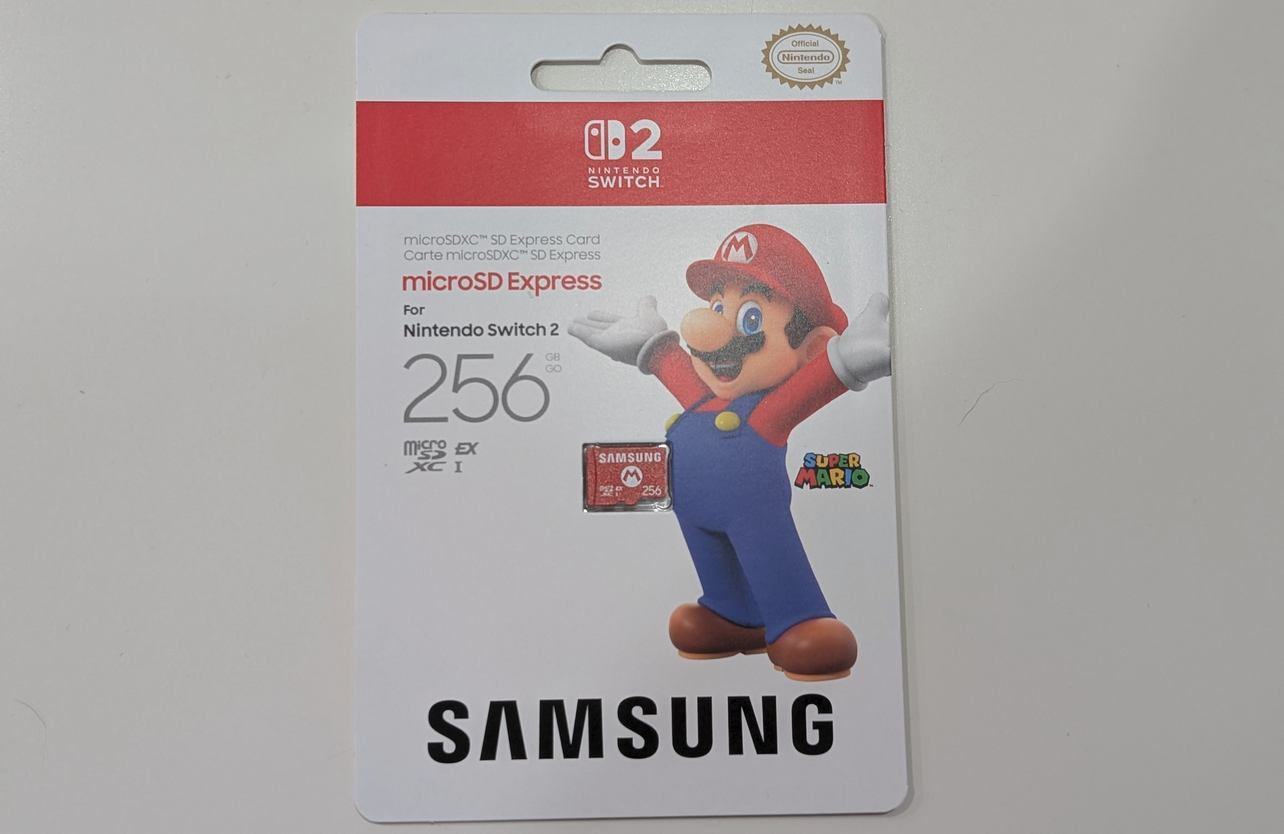
Before you begin, think about where your screenshots, videos, and downloaded games are stored. Nintendo Switch and Nintendo Switch 2 use different memory card formats. Your Nintendo Switch uses microSD cards, while Nintendo Switch 2 requires microSD Express cards for expanded game storage.
What data transfers to Nintendo Switch 2
System Transfer moves a wide range of data from Nintendo Switch to Nintendo Switch 2. It doesn’t move everything. The setup flow will show data that won’t transfer before you confirm, so read the on-screen information carefully.
What transfers automatically
System Transfer can move or reconnect your user profiles, Nintendo Account links, friends, play activity, eligible save data, screenshots and videos, registered network information, Parental Controls, Mii data, and certain console settings.
Digital games don’t simply appear fully installed the moment the transfer finishes. After the transfer and Nintendo Switch 2 setup are complete, your digital games redownload to your Nintendo Switch 2. That means the main transfer may finish before your full digital library is ready to play again. If you have a lot of downloaded games, plan for extra time afterward.
Screenshots and videos saved to system memory on your Nintendo Switch can transfer. If your screenshots and videos are stored on your Nintendo Switch microSD card, the transfer process may prompt you to temporarily insert that card so the data can be moved.
What does not transfer
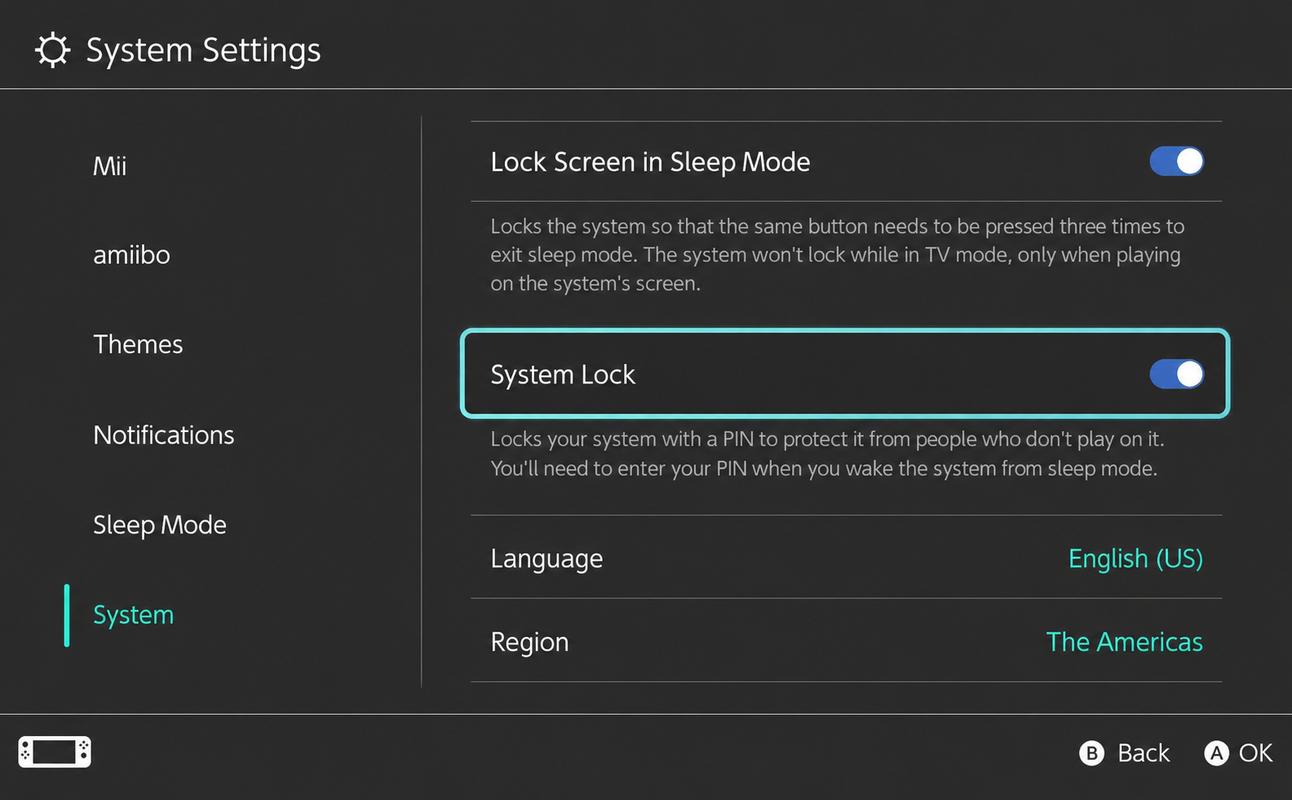
Some settings need to be set up again on your Nintendo Switch 2. Bluetooth audio settings, custom controller button mappings, time, time zone, region, and language don’t transfer. GameChat settings may also need to be adjusted after setup.
Some save data also needs extra attention. During a local communication transfer, save data supported by Save Data Cloud Backup for users linked to a Nintendo Account remains on your Nintendo Switch and is copied to your Nintendo Switch 2. If a user profile isn’t linked, or if a game doesn’t support Save Data Cloud Backup, that save data may be moved to your Nintendo Switch 2 and then deleted from your Nintendo Switch after transfer.
Check compatibility before resetting or passing along your Nintendo Switch. Nintendo Switch 2 can play compatible physical and digital Nintendo Switch games, but some games may not be supported or fully compatible. If there’s a specific game your family plays often, check compatibility before you move on from your current console.
How to transfer from Nintendo Switch to Nintendo Switch 2
The simplest way to transfer your supported data is to start a System Transfer during your Nintendo Switch 2’s initial setup. This keeps the process inside the guided setup flow and reduces the chance of missing an important account or save-data step.
Option 1 — System Transfer during initial setup
Start by turning on your Nintendo Switch 2 and following the initial setup screens. When the System Transfer option appears, choose Start System Transfer. Connect your Nintendo Switch 2 to the internet, complete any required console update, and sign in with the same Nintendo Account linked to your Nintendo Switch.
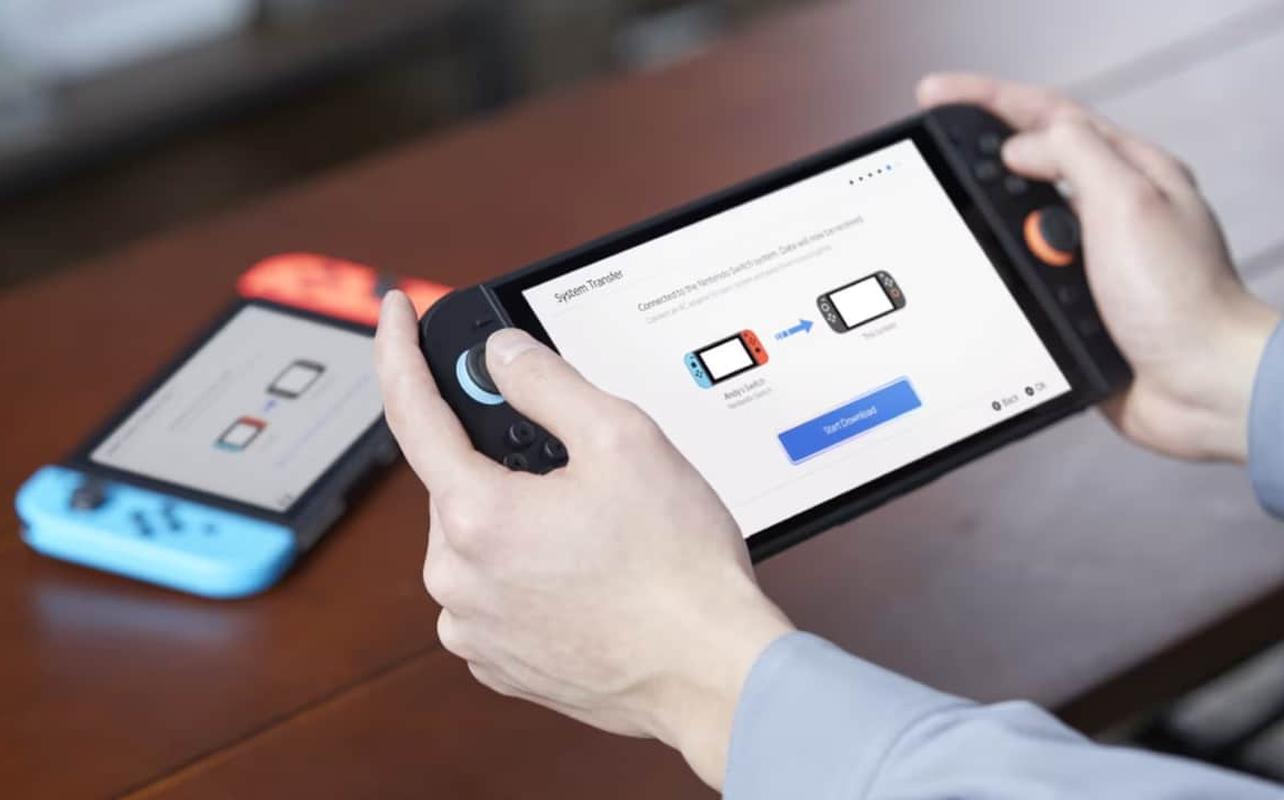
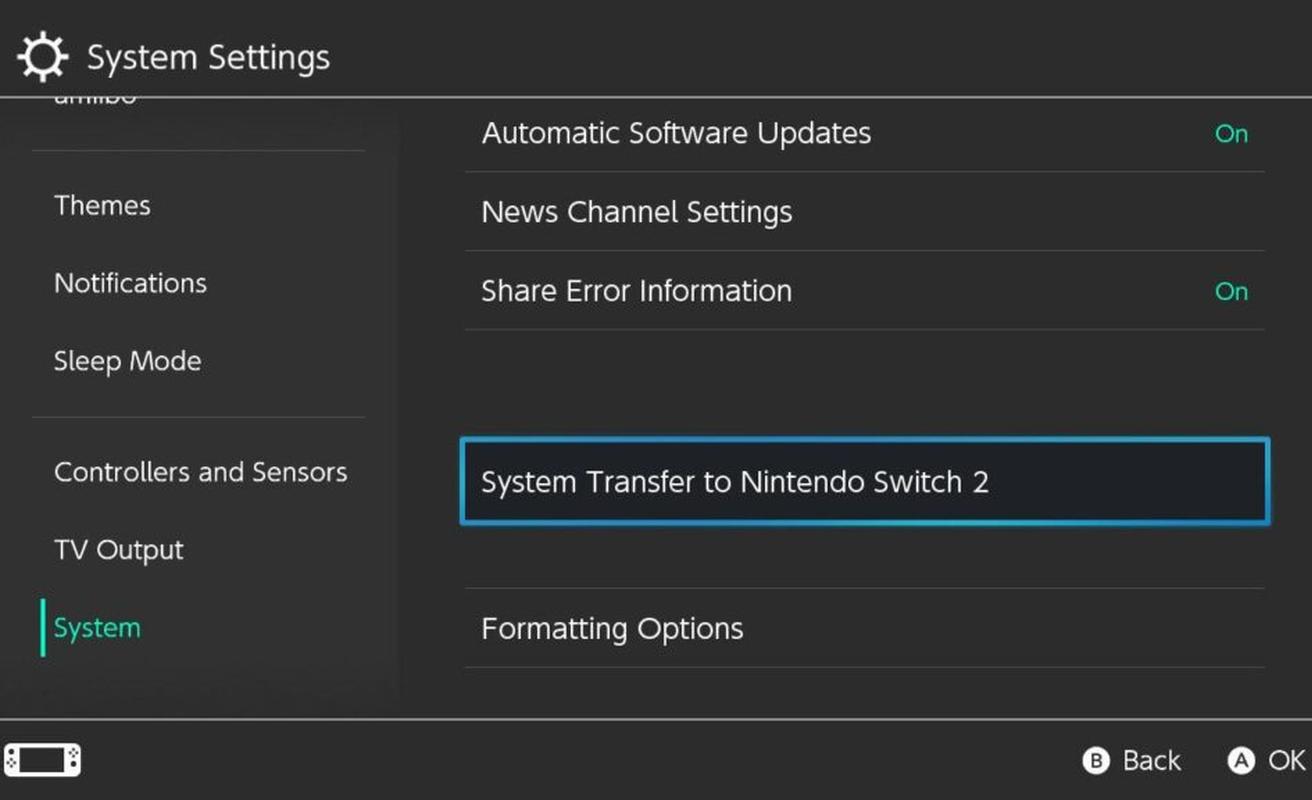
Keep both consoles nearby and connected to power. On your Nintendo Switch, open System Settings, choose System, and then select System Transfer to Nintendo Switch 2. Follow the on-screen prompts on both consoles.
Once your Nintendo Switch and Nintendo Switch 2 connect, your Nintendo Switch 2 will begin receiving the data. Transfer time depends on how much data is moving. After the transfer, your Nintendo Switch 2 will restart and finish the setup. Your digital games will begin redownloading after the transfer process is complete.
What happens to your Nintendo Switch
What happens to your Nintendo Switch depends on the transfer method you choose.
With a local communication transfer, some data remains on your Nintendo Switch while data is copied to your Nintendo Switch 2. However, save data that isn’t linked to a Nintendo Account or isn’t supported by Save Data Cloud Backup may be moved to your Nintendo Switch 2 and then deleted from your Nintendo Switch after transfer.
With server transfer, your Nintendo Switch is initialized after its data uploads to the server. In other words, all your data is erased from your Nintendo Switch and it returns to factory settings. Server transfer should only be used when you’re sure you won’t have access to your Nintendo Switch when your Nintendo Switch 2 arrives, such as when trading it in, selling it, or giving it away. You should also confirm that your Nintendo Switch 2 will arrive before the Download Deadline shown during the server transfer process.
If you skipped transfer during setup
If you already completed your Nintendo Switch 2 setup without using System Transfer, you still have ways to move some data. You can transfer save data through the console settings, and Nintendo Switch Online members can use Save Data Cloud Backup for compatible games.
These options can move save files, but they don’t recreate the full System Transfer process.
If you started a server transfer and need to retrieve it on Nintendo Switch 2, that retrieval happens during Nintendo Switch 2 initial setup. If your Nintendo Switch 2 has already been set up, completing that server System Transfer requires initializing your Nintendo Switch 2 and going through setup again. Choose your transfer method before finishing first-time setup so you don’t have to reset your Nintendo Switch 2 later.

Game compatibility & Nintendo Switch Online
Moving your data is only part of the upgrade. After setup, you’ll also want to check your games, Nintendo Switch Online access, and storage.
Backward compatibility basics
Nintendo Switch 2 works with compatible physical and digital Nintendo Switch games. Physical games can be played on your Nintendo Switch 2 if they’re compatible, and digital games tied to your Nintendo Account can be redownloaded after transfer.
Some Nintendo Switch games may not be supported or fully compatible on Nintendo Switch 2. Some compatible games also have free updates that can improve the experience or add support for Nintendo Switch 2 features. Select games may also have paid Nintendo Switch 2 Edition upgrade packs, with content that differs by game.
If you’re building out your library after the transfer, you can browse our current selection of Nintendo Switch 2 games and compatible Nintendo Switch games at Best Buy Canada to see what fits your new setup.
Nintendo Switch Online membership & cloud saves
Your Nintendo Switch Online membership continues on your Nintendo Switch 2 when you use the same Nintendo Account. That includes online play in compatible games and access to supported classic game libraries.
Save Data Cloud Backup is separate from System Transfer. It can help with compatible games, especially if you skipped the full transfer during setup, but not every game supports cloud saves. It’s worth checking your most important save files after the move so you know everything you care about is where it should be.
Common problems & how to avoid data loss
Don’t rush through setting up your Nintendo Switch 2 if you want the full System Transfer. Use the transfer option during initial setup. Once your new console reaches the home screen, your transfer options change.
Another common issue is choosing server transfer when a local communication transfer would have been better. If you’ll have your Nintendo Switch and Nintendo Switch 2 at the same time, use a local communication transfer. The server transfer option erases your Nintendo Switch after upload, so don’t choose it unless you understand what will happen to that console.
Save data needs careful attention too. Make sure your user profile is linked to a Nintendo Account before starting. If a user profile isn’t linked, or if a game doesn’t support Save Data Cloud Backup, that save data may be moved to your Nintendo Switch 2 and then deleted from your Nintendo Switch instead of remaining on both consoles.
Check your storage before your digital games start redownloading. Nintendo Switch and Nintendo Switch 2 use different memory card formats. Your Nintendo Switch uses microSD cards, while Nintendo Switch 2 requires microSD Express cards for expanded game storage.
Finally, keep both consoles plugged in and close together during a local communication transfer. Don’t rush through the confirmation screens. The transfer process shows important information before you continue, including data that won’t move over.
After the transfer: what to do next
Once the transfer finishes, take a few minutes to check your Nintendo Switch 2 before packing away your Nintendo Switch.
Start by opening your user profile and confirming your Nintendo Account is signed in. Then open the games you care about most and check a few save files. Make sure your digital games are downloading.
Next, review your settings. Bluetooth audio devices, custom controller button mappings, time, time zone, region, language, and some communication settings may need to be set up again. If you use Parental Controls, confirm the settings are active and linked properly.
Then look at your storage. If your digital library is large, this is a good time to look at microSD Express cards. You may also want a carrying case, screen protector, or extra controllers for your new console.
If you plan to keep using Nintendo Switch controllers or accessories, check compatibility after setup. Some games and features require Joy-Con 2 controllers, including games that use mouse controls.
Finally, check compatibility for the Nintendo Switch games you still plan to play. Many compatible games work on Nintendo Switch 2, but not every game is supported in the same way. Once those checks are done, you can start using your Nintendo Switch 2 with your main profile, save data, digital games, and storage plan in place.
FAQ
Can I transfer later?
You can still move some data later, especially save data. Nintendo Switch Online members can also use Save Data Cloud Backup with compatible games. However, full System Transfer is tied to Nintendo Switch 2 initial setup. If you skip it, you may need to use more limited transfer options or initialize your Nintendo Switch 2 to complete a server System Transfer.
Will my Nintendo Switch still work?
Yes, but what remains on your Nintendo Switch depends on the transfer method. A local communication transfer keeps some data on your Nintendo Switch, though certain save data may be removed depending on Nintendo Account linking and cloud-save support. Server transfer initializes your Nintendo Switch after upload. In other words, it erases all data from your Nintendo Switch and resets it to factory settings.
Do screenshots and videos move over?
Screenshots and videos saved to system memory on your Nintendo Switch can transfer. If they’re saved to your Nintendo Switch microSD card, the transfer process may prompt you to insert that card temporarily so the data can be moved.
Can you use the same Nintendo Account on Nintendo Switch 2?
Yes. Using the same Nintendo Account is central to keeping your digital purchases, profile information, Nintendo Switch Online membership, and compatible save data connected when you move to Nintendo Switch 2.
How do you move digital games to Nintendo Switch 2?
Digital games tied to your Nintendo Account redownload to Nintendo Switch 2 after System Transfer and initial setup are complete. You’ll need an internet connection, and download time depends on your library size and connection speed.
How do you transfer save data to Nintendo Switch 2?
The best option is System Transfer during Nintendo Switch 2 initial setup. If you skipped setup, you can use save data transfer through settings, and Nintendo Switch Online Save Data Cloud Backup may help with compatible games.
How do you transfer user profiles to Nintendo Switch 2?
System Transfer moves all users during the transfer process. Make sure at least one user profile on Nintendo Switch is linked to a Nintendo Account before starting.
What should you do before switching to Nintendo Switch 2?
Charge both consoles, connect them to power, connect to the internet, update your Nintendo Switch, link your Nintendo Account, check your save data, and decide whether local communication transfer or server transfer is the right method for your situation.
How do you transfer microSD card data to Nintendo Switch 2?
Nintendo Switch and Nintendo Switch 2 use different memory card formats. Your Nintendo Switch uses microSD cards, while Nintendo Switch 2 requires microSD Express cards for expanded game storage. Screenshots and videos saved to your Nintendo Switch microSD card may be moved during transfer if the setup process prompts you to temporarily insert the card.
How do you factory reset your Nintendo Switch after moving?
If you use server transfer, your Nintendo Switch is initialized as part of that process and reset to factory settings. If you use a local communication transfer and plan to sell, trade in, or give away your Nintendo Switch afterward, confirm that the data you need is safely on Nintendo Switch 2 first, then use the console’s system settings to reset your Nintendo Switch before handing it over.


