
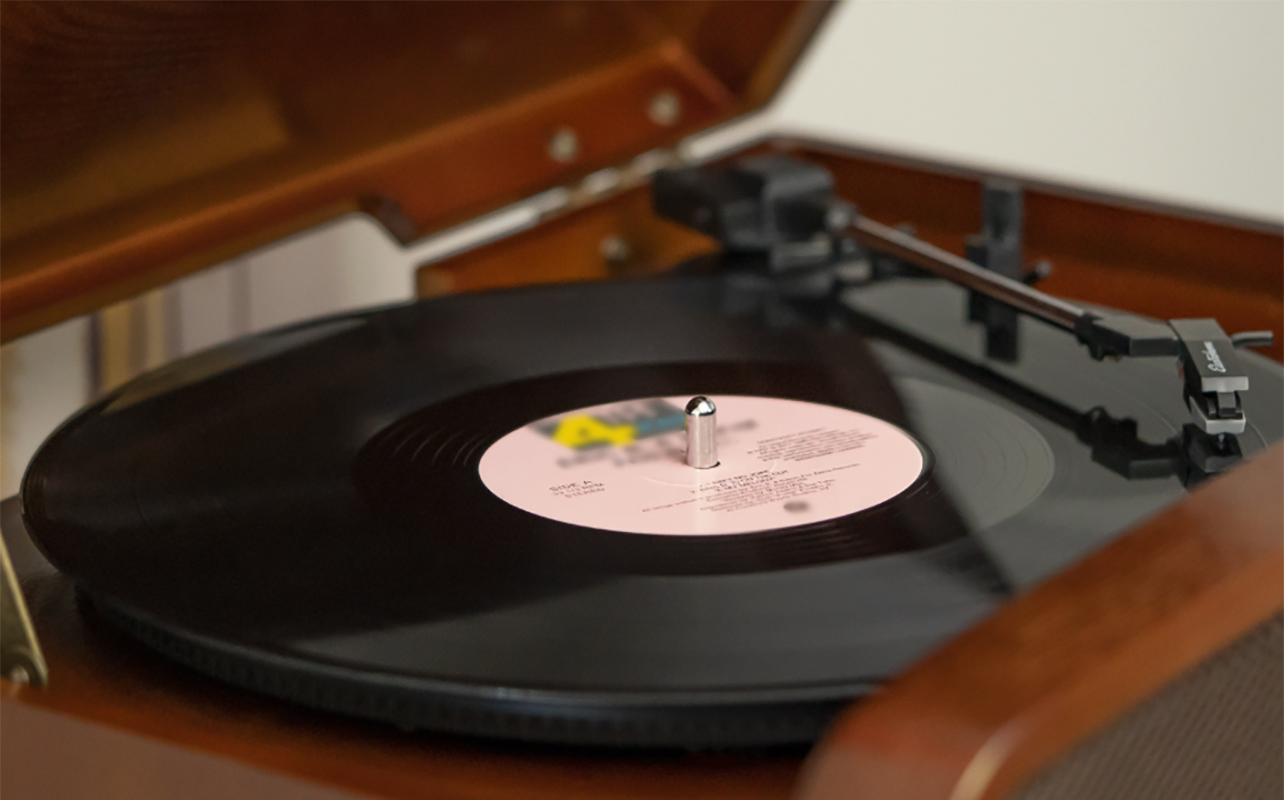
If you have been hearing more pops, fuzz, or distortion than usual from your favourite vinyl, it might not be the record at all. The stylus could be the issue. Learning how to clean a record player needle is one of the simplest ways to improve sound quality, protect your collection, and extend the life of your turntable or record player.
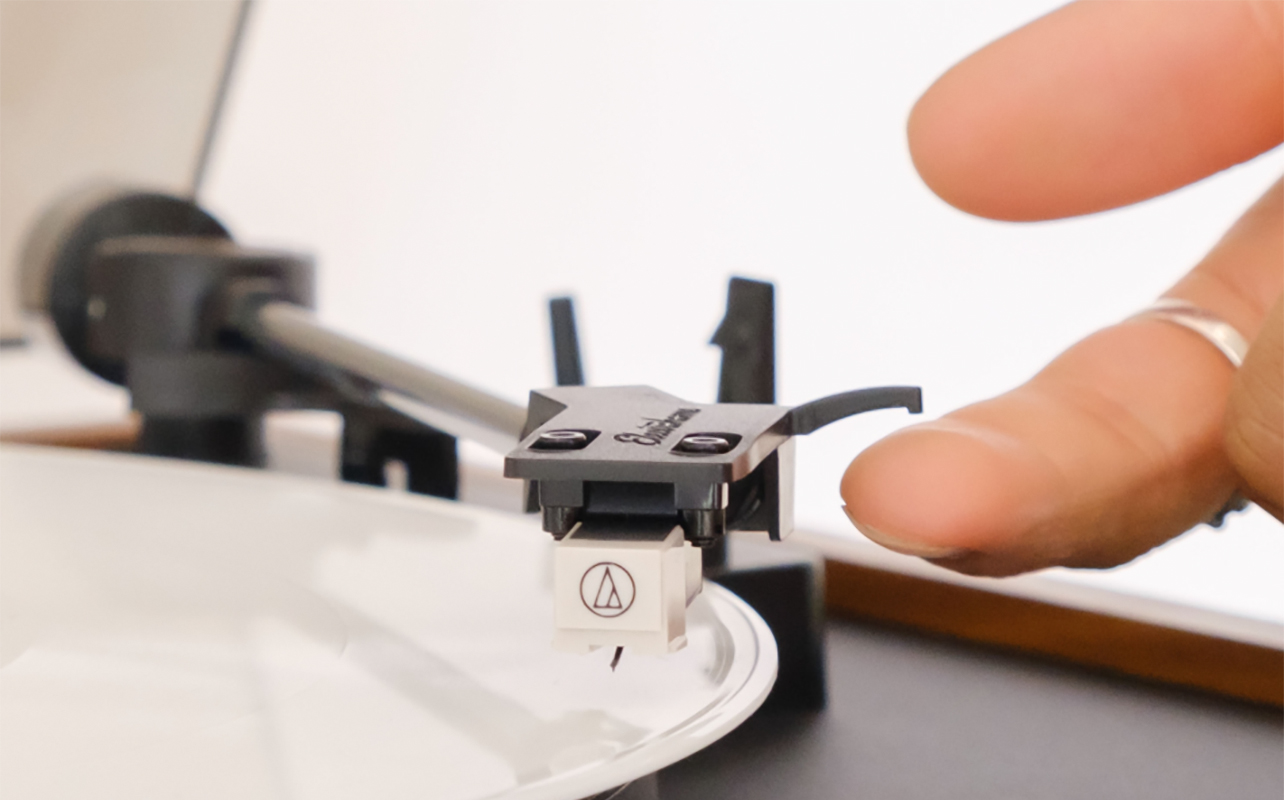
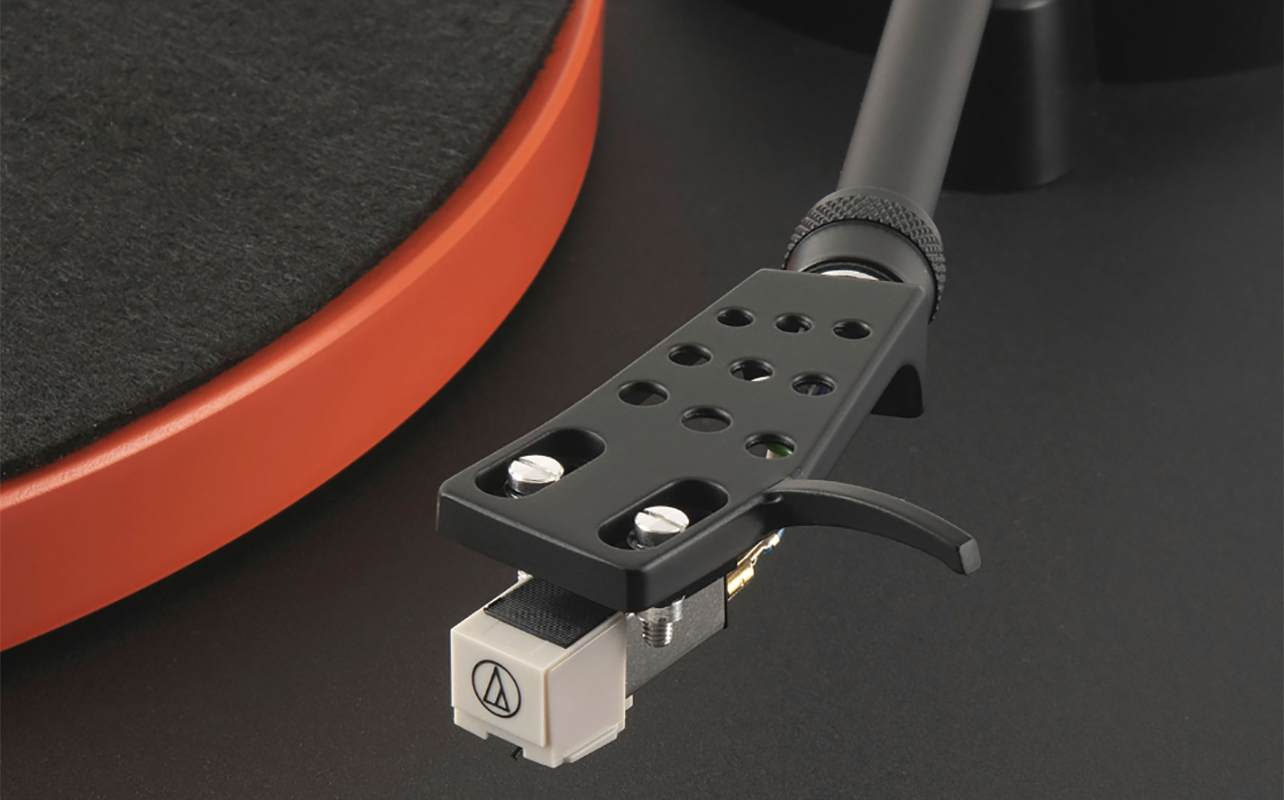
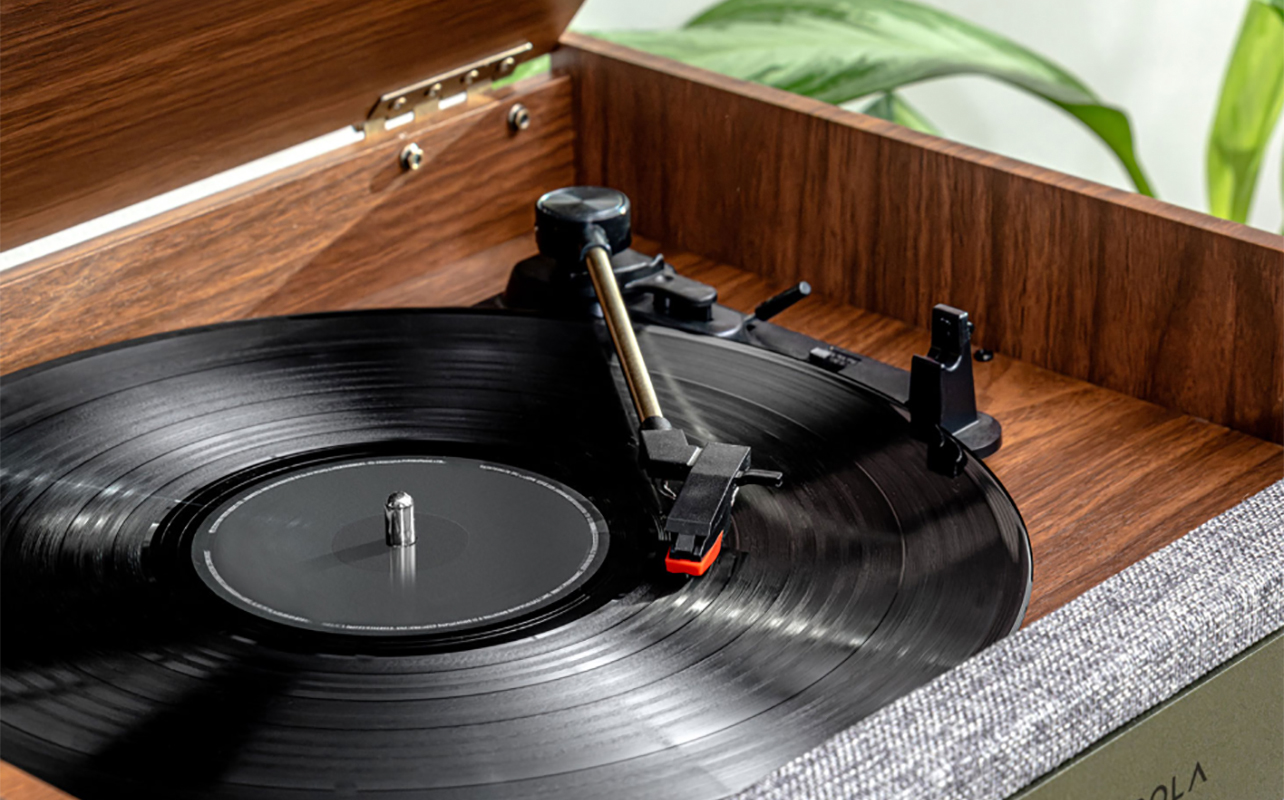
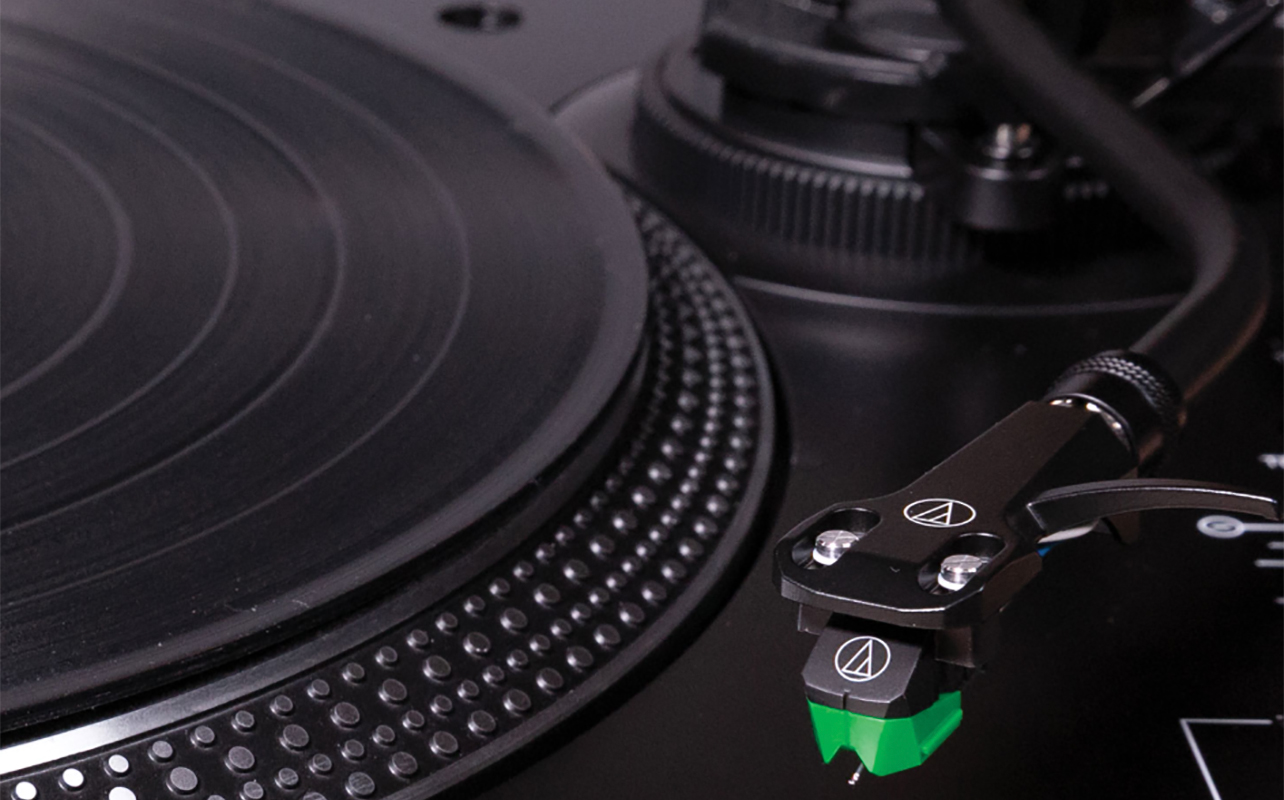
The stylus, often called the needle, is the tiny but delicate tip that tracks the grooves of vinyl records. Because it sits so close to the surface, it naturally collects dust, lint, oils, and microscopic debris. Over time, this buildup can affect sound, cause skipping, or even damage your records.
This guide walks you through when to clean the stylus, how to do it, and what tools work best, so you can give your needle the care it needs and enjoy clearer, cleaner sound.

How to know it’s time to clean the stylus
Not sure if your turntable stylus actually needs a clean? Here are the most common signs:
Signs it’s time to clean your needle
If there’s poor sound quality, including muffled highs, dull vocals, or less detail, that’s a good sign. You might also hear increased noise or pops, even on records that you know are clean. If your record is skipping or mistracking, it’s possible that the needle can’t sit in the groove properly. The most obvious indication is visible debris like dust or fuzz stuck to the needle tip. Even if you don’t notice these symptoms, regular upkeep is key. If your environment is dusty, clean the needle after every few plays. If you listen regularly, clean it weekly. And if you notice dust or debris, clean it immediately.
Why cleaning matters
A dirty stylus doesn’t just sound bad, it can also act like sandpaper. Dust and debris get pressed into the grooves of your vinyl, slowly wearing down the record. That’s why learning how to clean a record needle properly protects both your stylus and your collection.
Tools & preparation
Before you start cleaning, gather the right tools and set up your space properly. This ensures a safe, controlled clean that won’t damage the cartridge or stylus.
Essential tools
- Stylus brush: usually soft, carbon-fibre or nylon bristles.
- Gel pad stylus cleaner: a tacky polymer pad that lifts debris.
- Stylus cleaning solution: for deep cleans (only approved, stylus-safe formulas).
- Magnifier (optional): helps you inspect for dust or wear.
Prepare your workspace
Turn off and unplug your turntable. Ensure good lighting, then open the dust cover but avoid exposing the setup to airflow or dust. Secure the tonearm using the cueing lever. Keep your hands steady and work slowly.
Important safety precautions
- Never use harsh liquids (like general cleaners or acetone).
- Avoid touching the stylus directly with fingers.
- Never blow on the stylus, moisture attracts dust.
- Do not use compressed air, which can damage the cantilever.
- Always clean back to front, never side-to-side.
Step-by-step: how to clean your record player needle

Below are the safest and most effective methods for beginners and hobbyists alike. Choose the one that fits your tools and situation.
Method 1 – Stylus brush
A stylus brush is the classic, reliable choice for routine cleaning. It’s ideal for dry dust and quick maintenance, making it perfect for learning how to clean a vinyl needle without overthinking it.
How to use a stylus brush
- Raise the cueing lever to lift the tonearm.
- Hold the brush so the bristles point back to front—the same direction the record spins.
- Gently brush the stylus from back to front.
- Avoid any side-to-side movement, which can bend the cantilever.
- Repeat 2–3 strokes until the stylus looks clean.
What to remember
Use a shallow angle, keeping the brush almost parallel to the record surface. Apply just enough light pressure for the bristles to make contact. Once done, tap the brush gently to remove accumulated dust, or wipe it on a lint-free cloth periodically.
Method 2 – Gel pad (stylus cleaner pad)
If you’re learning how to clean a stylus on a record player with minimal risk, gel pads are a great option. They’re beginner-friendly and effective at removing fine debris. The stylus touches the gel, and the tacky surface gently lifts away dust and particles.
How to use a gel pad
- Place the gel pad on the turntable platter or nearby flat surface.
- Raise the cueing lever.
- Gently lower the stylus onto the gel pad.
- Lift it back up, do not rub or drag.
- Repeat once or twice as needed.
What to remember
Gel pads are easy and safe for beginners since there’s no brushing required. They are extremely effective for fine dust. However, some low-quality gels may leave residue. Don’t forget to keep the pad clean by covering it when not in use.
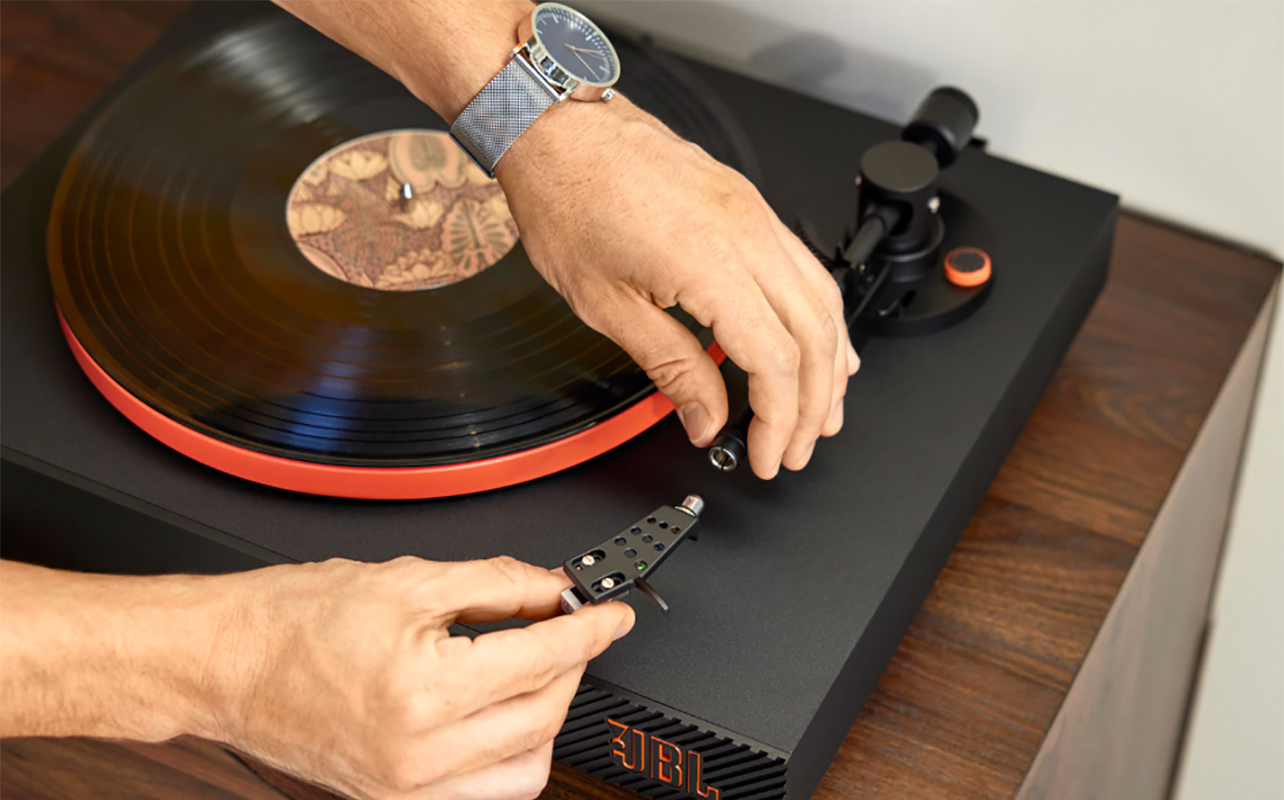
Method 3 – Cleaning solution
If your stylus has stubborn grime that brushing or gel pads won’t remove, a cleaning solution can help. This method requires the most care. Use it when there’s visible gunk stuck to the stylus or the sound quality is still poor after brushing. It’s also a good option for an older stylus with built-up residue.
Steps
- Use only a stylus-safe cleaning solution (no alcohol-based cleaners unless specified as safe).
- Apply a tiny drop of solution to the brush (not directly to the stylus).
- With the cueing lever raised, brush back to front gently.
- Let the stylus dry for 1–2 minutes before playing a record.
What to remember
Never saturate the stylus; moisture can travel up into the cartridge. If you’re unsure about this process, stick with a stylus brush or gel pad instead.
Keeping your turntable needle clean: maintenance and best practices
Cleaning the stylus is important, but preventing dust buildup in the first place makes maintenance even easier. Clean your records often and use an anti-static brush before every play. If the turntable isn’t spinning, keep the dust cover closed. Store vinyl properly, upright in their sleeves in a cool, dark place away from moisture. Regularly dust nearby furniture and surfaces.
It’s a good idea to establish a stylus cleaning routine. Do a quick brush every few plays, use a gel pad every week or bi-weekly, and a deep clean after every 10-20 hours of play. Give the stylus periodic inspections with a magnifier to check for dust build-up, chips or fractures, or a bent cantilever. If cleaning doesn’t fix sound issues, it may be time for a replacement.
Troubleshooting & when to replace the needle instead
Sometimes cleaning isn’t enough. A stylus’ lifespan is typically 300–1,000 hours depending on the model. If sound problems persist even after repeated cleaning, you might need to replace the stylus. If you notice audio distortion or skipping, visible damage, a dull or misshapen stylus, or hear harsh sibilance or scratchiness, it’s time for a replacement. It’s important to do this as soon as possible. A worn stylus can permanently damage your vinyl records, digging into the grooves incorrectly, causing irreversible wear.
Keep your stylus in tip-top condition
A clean stylus is essential for great sound and long-lasting records. Once you learn how to clean a record player needle, the process becomes routine. A few seconds of care can transform your listening experience and keep your vinyl collection in excellent condition for years. Before your next listening session, take two minutes to check your needle, you might be surprised by how much better your records sound.
See a wide selection of turntables and record players at Best Buy Canada.

This article was drafted using AI technology and then reviewed, fact-checked, and revised by a member of our editorial team.


