
 A receiver is the hub of any dedicated home theatre system. Receivers act at the core for all your parts to come together; from hardwired speakers, to your peripherals and components like gaming systems, a Blu-ray player, record player, streaming devices and more. I recently had the chance to test out two receivers with a killer home theatre set up I had temporarily. I reviewed the ONKYO TX-NR686 7.2-Channel Network A/V Receiver and the Pioneer VSX-933. Since these brands are both owned by the came corporation, we’re comparing them together. I tried them with the Monitor Audio speakers and subwoofer; read that review here.
We’ll dig in on what each one can do for you, and what sets them apart from each other. As a note, I’m not going to get into absolutely every detail of these amps; both have pages of specs and connectivity and compatibility options for almost any potential set up, and that’s way more detail than I can get into in a review, so I’m choosing only some of the highlights I found useful for the masses.
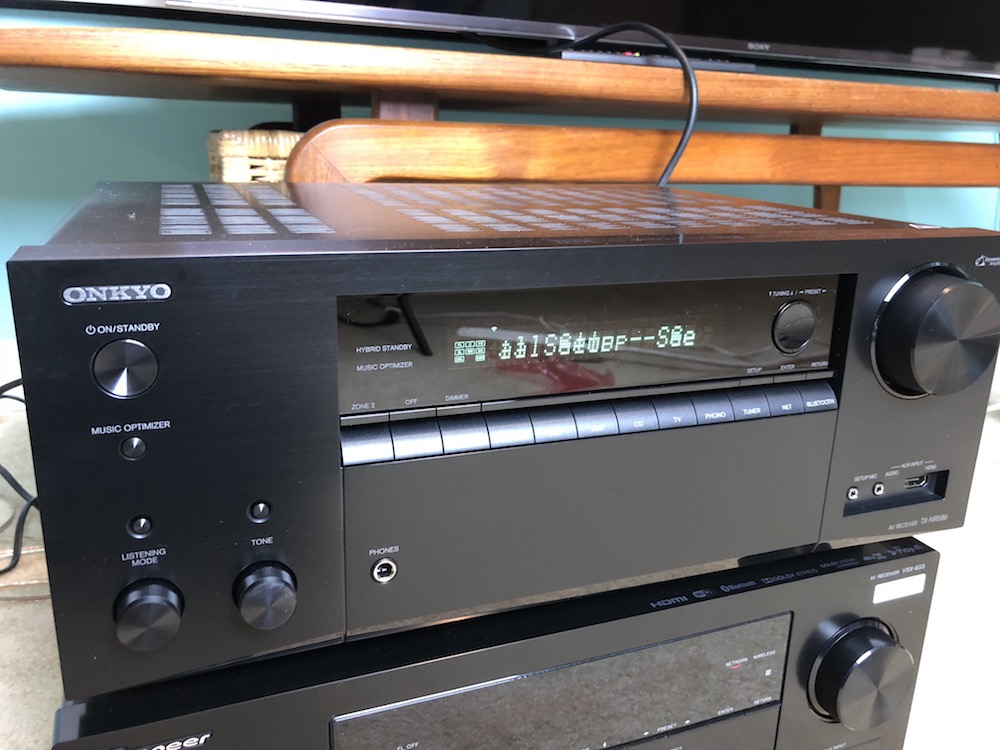 ONKYO TX-NR686 7.2-Channel Network A/V Receiver
With 4K capabilities, Dolby Atmos and DTS:X plus Bluetooth connectivity, this receiver gives you the best of today’s new technologies.
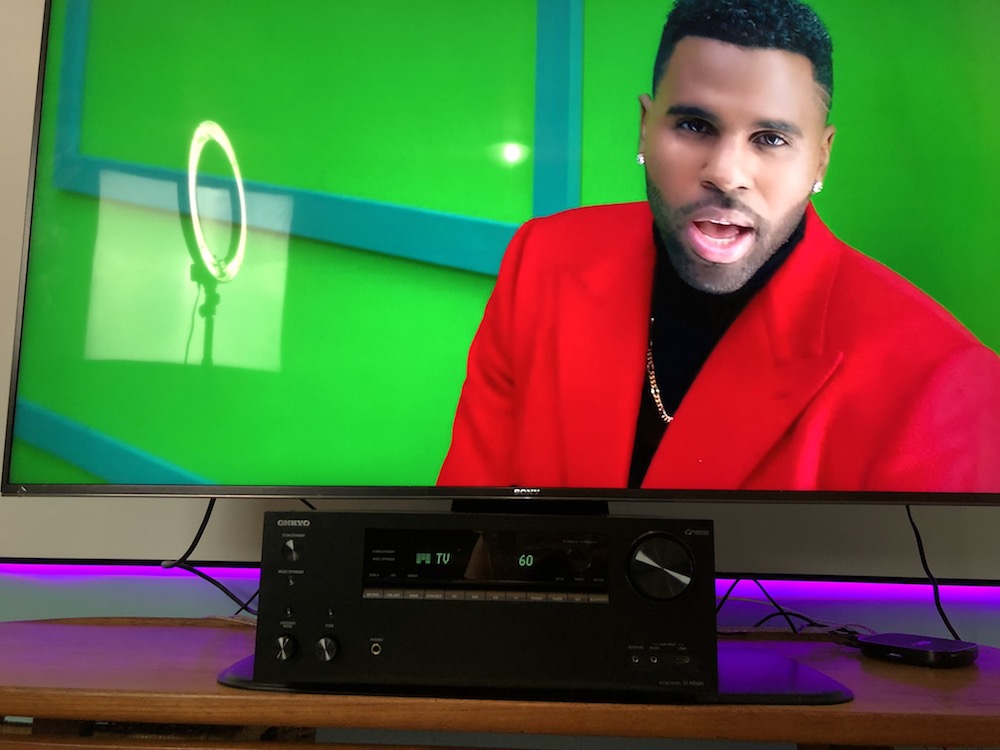
Set up: ONKYO TX-NR686
Setting your new receiver up is actually pretty straight forward. You’ll get your speakers connected, taking care to make good contact between the wires and the inputs. Connect your peripherals, and your 4K TV and you’re basically ready to go.
While you can get the basics going without connecting to a TV, if you want Wi-Fi connectivity and app control you will need to connect it to a TV so you can see the on screen set up prompts. More on that later.
Options for speaker set up/configurations
 Choosing your input is simple; you can hit one of the buttons on the front of the unit, or use the remote control, or your Onkyo controller app (more on that later).
The receiver has options for DVD, Cable/Satt, Game, Strm Box (Streaming Box), PC, Aux, CD, TV, Phono, Tuner, Net and Bluetooth. basically if you need to connect it, there’s a place for it.
Features: ONKYO TX-NR686 – wired or wireless
One of the great things about this receiver is that you can use it with a variety of wired and wireless input options. When it comes to smart formats so you can stream from your phone, tablet or device using Bluetooth or connect to various streaming services like Spotify, Tidal, Deezer, Tune In and Amazon Music.
With Google Chromecast built-in, DTS Play-Fi® support (an app which lets you you connect and control various home theatre devices together in order to stream audio from one to another) and Onkyo’s FlareConnect™ wireless multi-room platforms which allows you to wirelessly mirror network and analog audio, if you can play it, you can likely stream it. Apple AirPlay and Bluetooth® technology are also on board.
4K support for UHD video
Most new TVs sold today are 4K TVs. It’s the future of TV, so it makes sense receivers are ready to handle the needs of a 4K home theatre system. The ONKYO TX-NR686 is read for your 4K UHD viewing via HDMI® pass-through supporting 4K/60p, Dolby Vision™, HDR10, HLG, and the BT.2020 color standard.
Specs:
- THX® Certified Select™ cinema reference sound
- Supports 5.2.2-channel Dolby Atmos® and DTS:X® playback
- 165 W per channel
- HDMI® 7 in (1 front*1) / Main Out, and Sub Out*2 supporting 4K/60 Hz, HDR10, HLG, Dolby Vision™, BT.2020, and HDCP 2.2 pass-through
- Dynamic Audio Amplification with 4-ohm speaker-driving capability
- 384 kHz/32-bit DAC and VLSC™ filtering for superior clarity
- Supports Chromecast built-in and works with the Google Assistant
- Dual-band Wi-Fi®, DTS Play-Fi®, AirPlay, Amazon Music, Spotify®, TIDAL, Deezer, TuneIn*3
- FlareConnect™ wireless multi-room audio
Wired Connections:
So how do you need to connect? There’s options for most every set up and device:
- 7 HDMI inputs (1 front) and 2 outputs (1 Main Out, 1 Sub Out)
- Powered USB terminal for audio playback
- 2 composite video inputs and 2 component video inputs
- 3 digital audio inputs (2 optical and 1 coaxial)
- 6 analog audio inputs, 1 stereo 3.5 mm analog input (front)
- Phono input (MM) and equalizer for turntable connection
- 2 subwoofer pre-outs
- 6.35 mm headphone jack (front)
- Speaker setup mic input (front)
Dolby Atmos & DTS:X support
The ONKYO TX-NR686 7.2-Channel Network A/V Receiver runs THX® Certified Select™ reference sound. THX is basically a set of sound standards which manufacturers have to meet in order to get this certification. It’s most often used in top end movie theatres.
Dolby Atmos® and DTS:X® with upmixing solutions
If you’ve had any experience with Dolby Atmos you know that it can create a 3D effect of sound in your room when the right components are used. This receiver has the power to drive this effect, but you will need Atmos-enabled speakers, and made-in-Atmos content.
If you want to learn more about Atmos specifically, click to read about the Dolby Atmos experience. But the short version is that this object-based audio lets sounds play independently through any speaker, so it gives the effect of the sound moving all around you.
Onkyo Controller app : confusing and frustrating set up
There is an included remote control with the receiver, but if that’s old school for you, you can adopt the Onkyo Controller app. It collects streaming services and network-attached audio into one handy interface.
I downloaded the Onkyo controller app, and went through the setup process, but the remote could not seem to locate my device.
Attempting to troubleshoot, I did some searching around on the Internet and found reference to another app on Onkyo’s website; the Onkyo Remote 3. Also referenced is the Onkyo Remote 4. Since the fourth iteration of this did not show up in the Apple App Store, I went with number three, downloaded it and attempted to connect.
Frustratingly, the receiver does not come with any kind of manual. Nor is any version of the app straightforward and helpful when it comes to set up. So I was left to guess at the best way to pair the app with the receiver.
In the end, I was not able to pair my Apple iPhone with any of the remote apps, nor with the receiver. I reached out to Onkyo-Pioneer customer support for help and got great service.
The short version; the receiver needed a reset.
Troubleshooting Onkyo Remote app
On the way to a reset, we checked to see if the receiver was connected to the net. Here’s how to see if it’s connected:
First, click Net to check your Wi-Fi connection, if it’s not connected, you’ll need to reconnect. To reconnect, you’ll need to go (oddly) to Hardware>Network> Wi-Fi Setup. Scan for your network, enter password and it should connect. Mine didn’t.
I tried again using the “Use iOS device” Wi-Fi connection option that worked with the Pioneer receiver below. No dice; it kept kicking me out and asking me to start the Wi-Fi connection over.
We tried uninstalling and reinstalling the app before finally resetting the amp (Reset Unit; Hit the CBL-Satt button and Power button).
Finally it worked! I was able to get connected to the net, and the customer service rep told me I’d actually need to use the app labelled Onkyo Controller; not any of the others.
After starting the app set up again, it immediately found the receiver and connected and I was able to use the app to control the receiver. Hallelujah!
Chromecast built-in, now with the Google Assistant
With the addition of Google Chromecast, you can stream any music from your smartphone, laptop, or PC to the TX-NR686 using compatible Chromecastable apps.
How does Google Assistant work?
If you have a speaker device featuring the Google Assistant, such as the Onkyo Smart Speaker G3 or Google Home, or even the Google Assistant on your phone, you can cue, play, and control music playback on your TX-NR686 by voice. With everything connected now, this worked great. I was able to turn power on and off, adjust volume and more.
Overall thoughts about Onkyo TX-NR686
Despite the initial hiccups, this receiver works great. It’s got a tonne of input options, and has both wired and wireless connectivity to carry out almost any home theatre related task you may need.
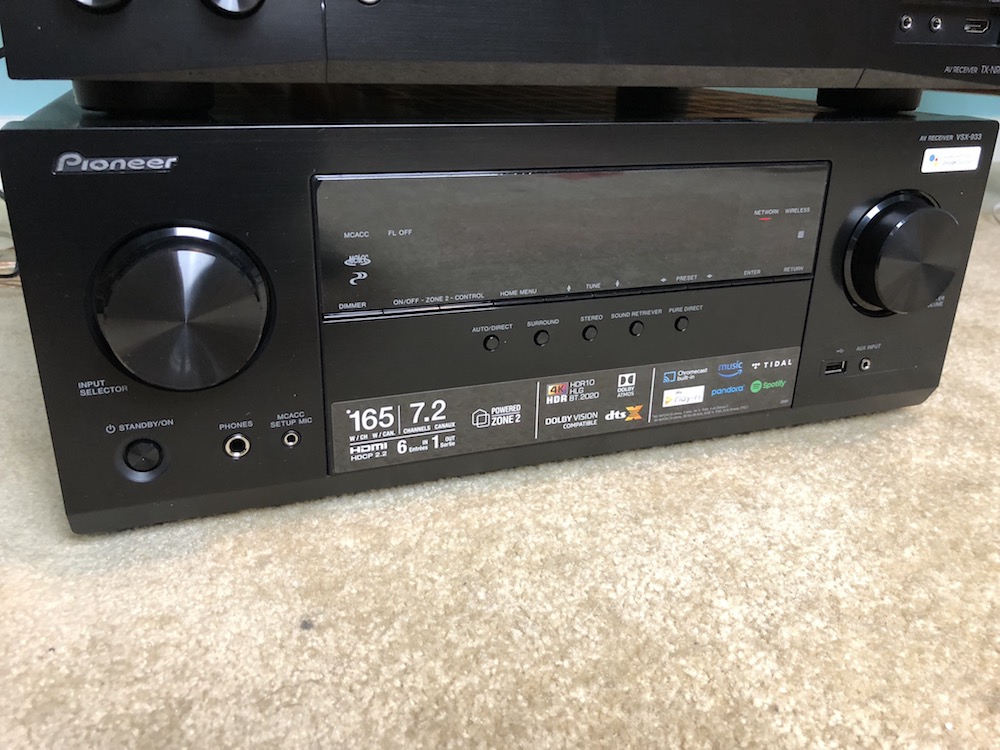 Review: Pioneer VSX-933 7.2 Channel Network AV Receiver
Like the Onkyo TX-NR686 this receiver, the Pioneer VSX-933 is a 7.2 channel option. It too has support for the newest DTS:X and Dolby Atmos technologies and it’s 4K compatible.
Set up: Pioneer VSX-933
Setting this receiver up is a bit different. You’ll need to connect it to a TV and if you don’t, you’ll get the message, “Initial Setup: See TV”.
Once you connect the TV to the receiver via an HDMI cable and using the ARC HDMI connection, you’ll see a Pioneer screensaver. Push any button on the remote and you’ll be greeted with a setup screen which displays instructions for how to configure the receiver.
Get help with speaker configuration
You can get help setting up your speaker configuration; it will guide you though 2.1 channels, 3.1 channels, etc up to 7.1. Or 3.1.2, etc.
Next, you can opt to calibrate the sound in your room by having the receiver ‘listen’ to the room. Plug in the included microphone and wait for the test tones. If there’s anything wrong with your set up, it’ll let you know.
 Connecting to Wi-Fi was ultra easy
After that, you’ll set up your network connection. You can manually connect to your home’s Wi-Fi or do it via your Apple iPhone 7 or later as an Airplay Speaker. Just go to your phone’s Wi-Fi settings and click on the Pioneer receiver in the Wi-Fi list. In seconds it’s complete.
Oddly, the last option in the setup is to teach you how to use ARC or the Audio Return Channel option for connecting the TV. However, you’ll likely already have done this. Nonetheless, the receiver will ask you if you would indeed like to use this option, so select ‘yes’ if that’s how you connected your HDMI cable.
Using Google Chromecast Built-in
This receiver has Google Chromecast built in, and it works with the Google Assistant. “Works with” is different than ‘built in’, since you won’t be able to talk to your receiver the way you can with a Google Home speaker.
How to use Chromecast
Using Chromecast is simple. From any Chromecast enabled app, such as Play Music or YouTube, set up what you want to listen to, then hit the Cast button, and select the Pioneer receiver. In seconds you’ll hear it.
How to use Google Assistant
The Pioneer website says, “the VSX-933 also works with Google Assistant, so you can give voice commands via Google Assistant built-in devices such as Google Home to operate the AV receiver without lifting a finger. “
To use it, check first in the Google Home app if it’s been discovered. You should automatically see it under Devices. You’ll likely also see an option that says, Enable Voice Control and More. Click it to confirm.
After that it’s simply a matter of asking your Google Home device to play music on it, “OK Google, Play Lo-Fi Hip Hop on Pioneer VSX-933,” and in an instant, you’ve got tunes.
Options for speaker set up/configurations
In lieu of physical input buttons there’s a dial to allow you to choose your inputs. I found this method a bit clunkier and more time consuming than just instantly punching the button for the input I wanted, as with the Onkyo.
There’s also a remote control and you can use the Pioneer Remote app (more on that later).
The receiver has options for USB connection (Front or rear), DVD, Cable/Satt, Game, Strm Box (Streaming Box), HDMI, Aux , CD, TV, Phono, AM Tuner, FM Tuner, Net and Bluetooth. basically if you need to connect it, there’s a place for it. While it is a bit tedious dialling through the settings on the front of the device, nine of those selections are available in button form on the remote control.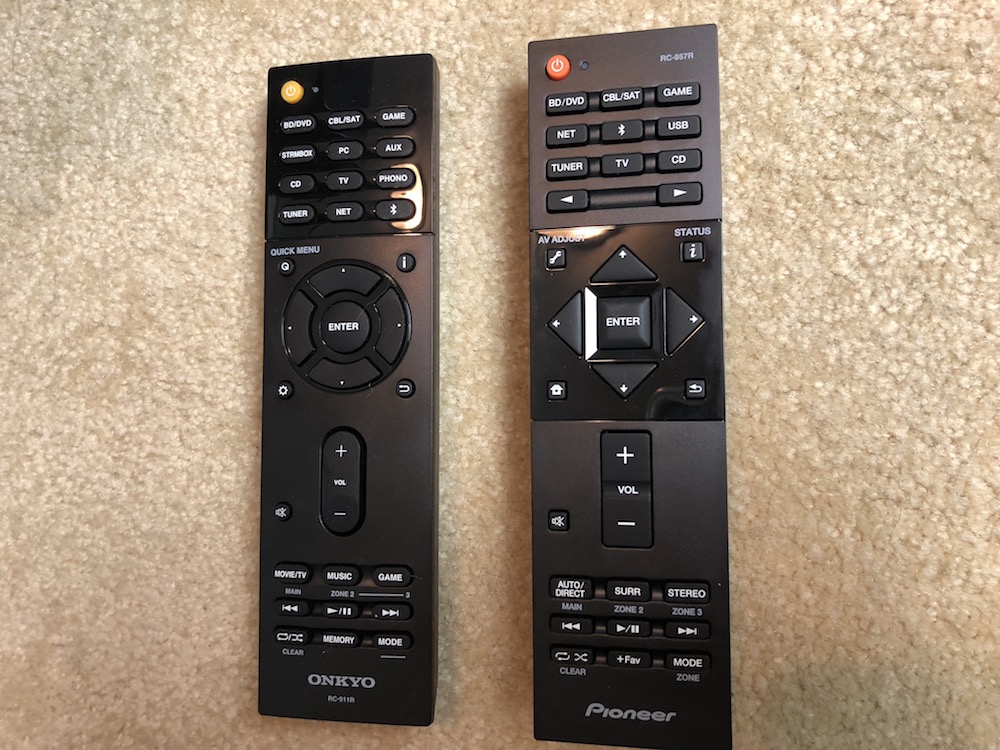
Features: Pioneer VSX-933
The receiver works with Sonos products so you can tie them into your home theatre set up. As I didn’t have a Sonos speaker, this feature wasn’t tested.
Testing Pioneer Remote App
Unlike the Onkyo, the Pioneer Remote app worked from the get-go.
As soon as I loaded up the app, it had already found my receiver. You can use the app to power the receiver on and off, to switch inputs, change volume, and more. The app is well laid out and very responsive.
Specs:
There are so many options and specifications with this receiver, there’s bound to be connections that will work for you and your set up. (Read more on the Pioneer website).
FEATURES
- Channels: 7
- 135 W/ch (6 ohms, 1 kHz, THD 1.0 %, 1ch Driven)
- Dolby Atmos®, Dolby Surround Upmixer supports DTS Formats
- DTS:X®, DTS Neural:X® Upmixer supports Dolby Formats
- Dolby® TrueHD, Dolby Digital Plus
- DTS-HD Master Audio, DTS-HD High Resolution Audio, DTS
- 96/24, DTS-ES, DTS Express
- DSD Disc (SACD) Playback via HDMI (2.8 MHz/2ch, 5.1ch)
- Digital Quad-Core 32-bit DSP (Cirrus Logic)
- 384 kHz/32-bit D/A Conversion with AK4458 (AKM)
- Audio Return Channel (ARC) on HDMI
- MCACC Auto Room Tuning
- Phase Control
- Subwoofer EQ
- Advanced Sound Retriever (2ch)
- Advanced Surround Modes
- FlareConnect™ for Multi-room Audio
- Chromecast built-in, and works with the Google Assistant
- DTS Play-Fi with Pioneer Music Control App*2
- Apple AirPlay Certified
- Amazon Music, Spotify, TIDAL, and Deezer Music-Streaming
- Services Ready*3
- Internet Radio with TuneIn
- Hi-Res Audio File Playback via USB/Network
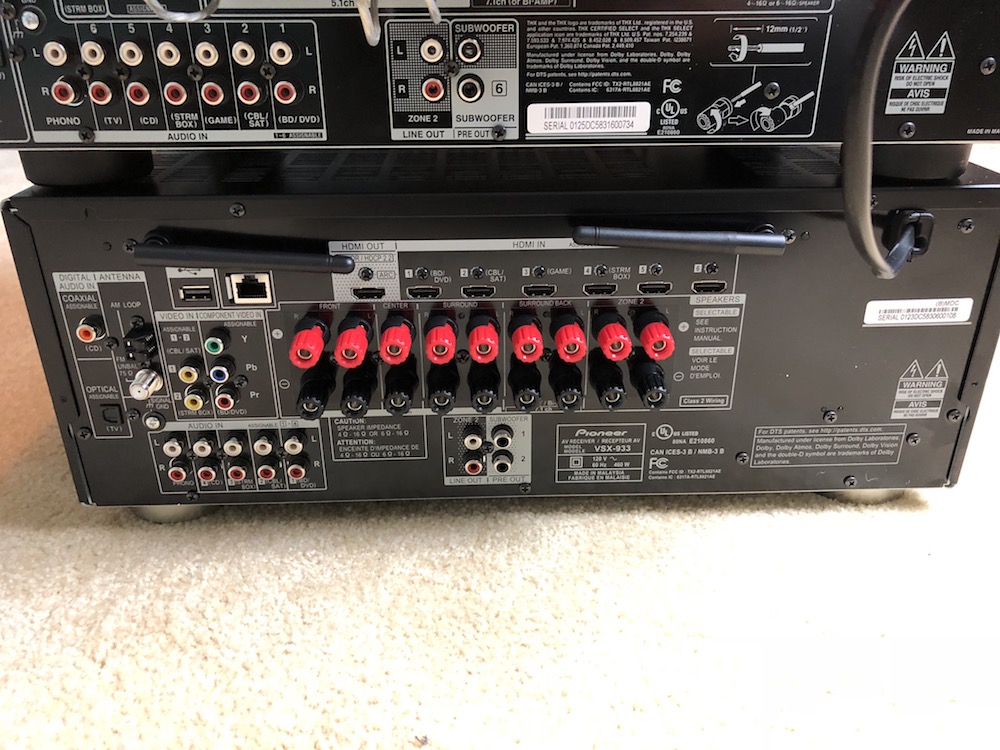
Wired Connections:
- HDMI 6 In (4 Assignable)
- HDMI 1 Out
- Ethernet 1 In
- USB 1 In for USB Drive
- AV (Component) 1 In (Assignable)
- AV (Composite) 2 In (Assignable)
- Audio 1 In (Assignable)
- Phono (MM) 1 In
- Digital Coaxial 1 In (Assignable)
- Digital Optical 1 In (Assignable)
- SUBWOOFER x 2 Pre Out
- ZONE 2 Pre/Line Out
- Speaker 9 ch Out (FRONT, CENTER,
- SURROUND, SURROUND BACK/HEIGHT/
- Bi-AMP, ZONE 2)
- FM/AM Antenna
 Overall review: Onkyo TX-NR686 & Pioneer VSX-933
The Pioneer receiver is my pick as the winner when it comes to ease of use, and functionality. Not only do you get help through your setup, but all the connected options worked flawlessly too.
Even so, these receivers are largely the same: both are 4K ready and made for Dolby Atmos. While the Onkyo has 6 rear HDMI inputs and one front HDMI input, by comparison, the Pioneer has only 6 rear HDMI inputs, so the differences are slight. There’s dual subwoofer connections in both, while the Pioneer has only a singe set of Video In components, while the Onkyo has two. There’s also the Onkyo’s button inputs while the Pioneer uses a dial. The remotes are virtually identical, save for the shape of the buttons. The Pioneer version is also a bit less expensive than the Onkyo, further leading me to choose it as my pick.
Either way you choose to go, you’re likely going to be happy with one of these receivers as the core of your home theatre.
Find the ONKYO TX-NR686 7.2-Channel Network A/V Receiver and the Pioneer VSX-933 at Best Buy.


I bought a Pioneer VSX 933 earlier in 2018. Nice machine and good surr sound BUT … In early Dec Spotify stopped connecting with it.
Turns out it needs updating but no updates are available from Pioneer UNLIKE other suppliers (Yamaha, Denon, Marantz & Sony) so I’m screwed. Thanks a lot Pioneer.
Comments are closed.