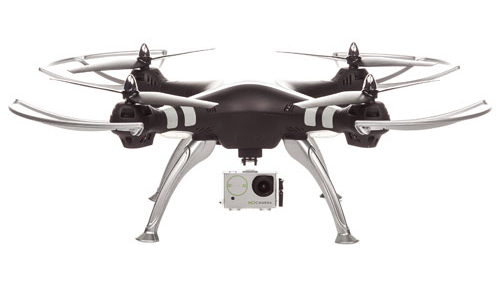
Initially I couldn’t decide whether the Protocol Galileo Quadcopter Drone with Camera was more of a sophisticated toy to be played with, or an amazing tool for photographers & videographers. However, once I started flying it myself, I realized it doesn’t really matter how you classify this drone, because either way, it’s both seriously fun & extremely useful! Whether you want to fly it around the countryside for the pure enjoyment of flying, or use it as a tool to get amazing aerial shots of some event, like a long planned hike or an outdoor family wedding, the Galileo does it all, and it does it very well! Read on for all the details of this very cool drone.
Initial Impressions
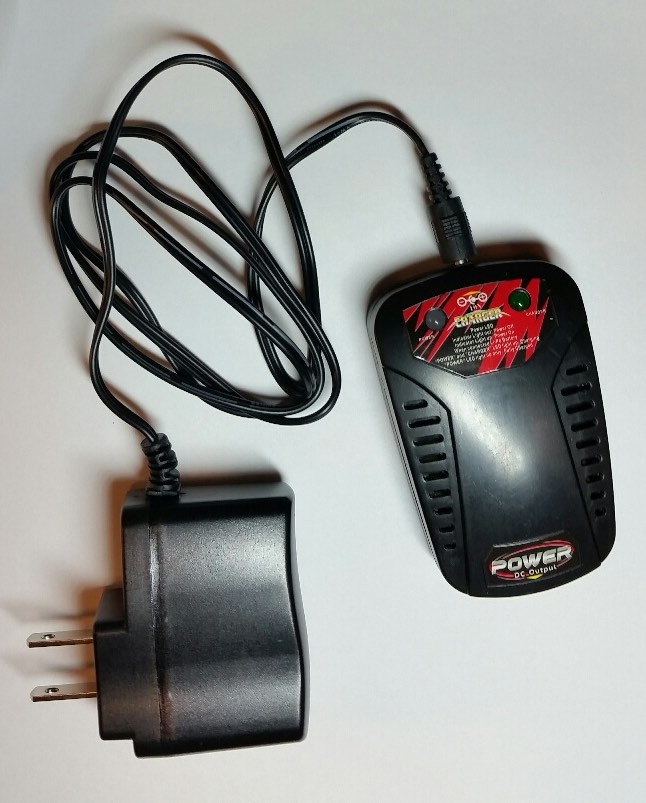
The Protocol Galileo Quadcopter Drone was impressive from the moment I first saw its large, understated box. There’s nothing flashy here. The box has a simple and classy design, creating the impression that a very high quality, professional grade drone is inside. Inside the box, this impression continues to the point that it’s difficult to think of this drone as a toy until you actually begin playing with it. Everything inside the box has its own special place within a large, opaque, plastic clamshell. The drone, its 4 legs, and its 4 rotor guards are all individually stored in the upper clamshell, and the legs and rotor guards all need to be attached to the drone before use. Removing the upper clamshell reveals a second, lower tier of storage where the battery charger, its adapter, a special box with the mini HD camera & its mount, a small screwdriver with tiny screws for attaching the legs, and several spare rotors are stored.
Charting the Key Considerations
| How much set up time does the Galileo Quadcopter require? | The Galileo does require some minor assembly, such as attaching the legs, the camera, and the rotor guards. The legs & rotor guards take the most time, as they each require a couple of small screws to hold them in place. But even so, it only takes a few minutes. Aside from that, you will need to charge the rechargeable battery before the first use, and install the transmitter’s batteries as well. |
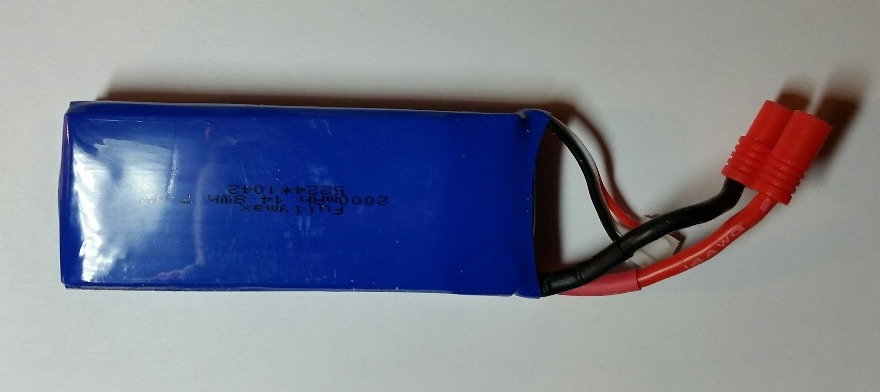
| What type & quantity of batteries does the Galileo take? | The Galileo comes with one rechargeable battery, and its controller requires 4 AA batteries to function. The rechargeable battery, according to the instruction booklet, gives you 7 minutes of flying time after 200 minutes of charging. I personally found that I got more like 10 or 12 minutes of flying time, though, so either the manufacturers are being conservative in their flight-time estimate, or I just keep time very poorly. |
| What are the mobility (& range) characteristics of the Galileo Drone? | The Galileo is not a fast drone. Its top flying speed is 6.5 Km/h, which is good because it doesn’t get away from you quite as easily as it might if it were faster. Its range is somewhat difficult to gauge, but it easily got far enough away during testing that it became pretty difficult to see. It also has a stunt mode wherein you can perform cool flips and fly like a real daredevil. |
| Does the Galileo feature any special lights & sounds? | Yes, the Galileo features bright, red & green flashing, LED lights along its underbelly that allow for easy night flying. Also, the Galileo makes the typical flying sounds of any drone helicopter. It’s actually quite loud during flight. |
| What is the suggested age range for the Galileo? | The suggested age range for this one is 14 and up. I think that this range is very appropriate, as flying can be a bit tricky at times, and younger users might have difficulty keeping the Galileo from crashing into houses, trees, cars, people, and other objects if they don’t have previous drone experience & piloting skills. If a child is going to use this, I highly recommend that they have plenty of open space to fly in, as well as adult supervision. |
| How much of a WOW factor (on a 0-5 scale) does the Galileo have? | The Galileo scores a solid 4 / 5 from me on the WOW scale. This is probably the best drone I have used to date, and certainly the easiest to fly, even or me! It’s also really a lot of fun! I especially enjoy taking photos and video with the included camera. |
Testing & Play
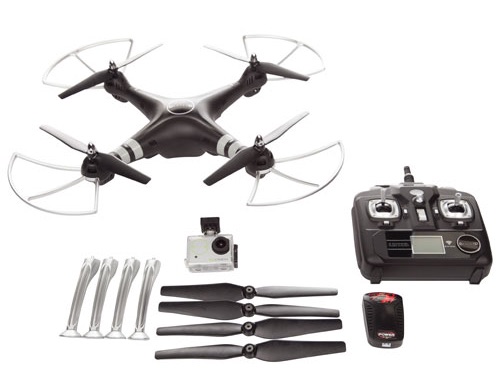
Playing with the Galileo is fun and relatively easy. If you have plenty of space to fly it in, you can get it going really high, and you can set its speed to its highest mode without compromising much in the way of safety. The Galileo has 3 speed modes to choose from: Low, Medium, and High. On the lowest setting, your top speed is only 40% of the drone’s maximum capability. On the Medium setting, the top speed becomes 70% of the maximum. And on the High setting, you have access to the full 100% of the Galileo’s maximum speed (approximately 6.5 Km/h or 4 mph). I personally tested the Galileo in a local park. I took it out on multiple occasions and found that lifting-off and hovering were rather easily achieved, though moving along the horizontal plane was somewhat more difficult as I kept getting my directional controls confused. Even so, my flying did improve with practice, and it would have improved even more if the max flying time wasn’t just a few minutes.
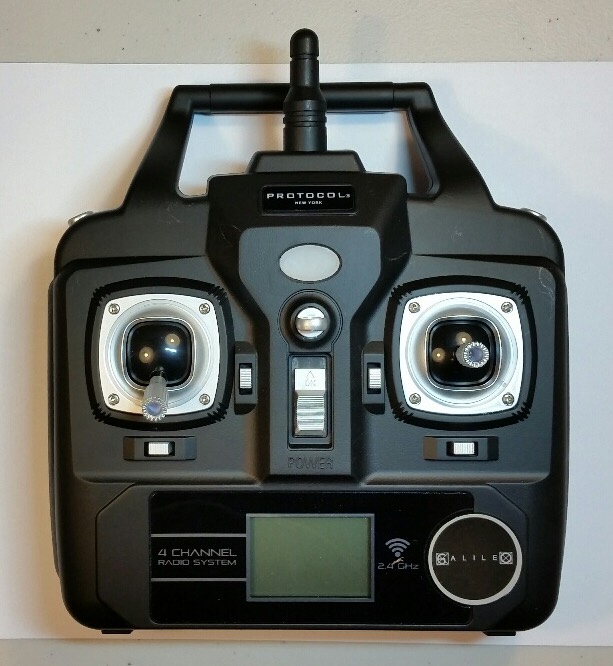 To control your Galileo, the transmitter shown at left is included. The main controls you will need to know immediately are the left and right joysticks, the On / Off switch (between the joysticks), the camera button (just to the right of the left hand joystick), the stunt flying button (top right corner of the controller on the outside edge), and the LCD display (front and center at the bottom of the controller). The left hand joystick controls your lift-off and landing capabilities, as well as the turning of your drone to face whatever direction you choose. The right side joystick is for actually moving forwards, backwards, and side to side during flight. There’s also an oval power indicator light in the center of the controller near the top, roughly half way between the aerial (top, center) and the On / Off switch. Several other buttons allow you to fine-tune various controls, and the small button on the top left corner along the outside of the controller allows you to choose among the different speed setting options. Overall, this is a fairly intuitive controller that doesn’t stray too far in configuration and operation from other drone controllers. If you are used to flying other helicopter drones, you really shouldn’t have much trouble getting the hang of this one.
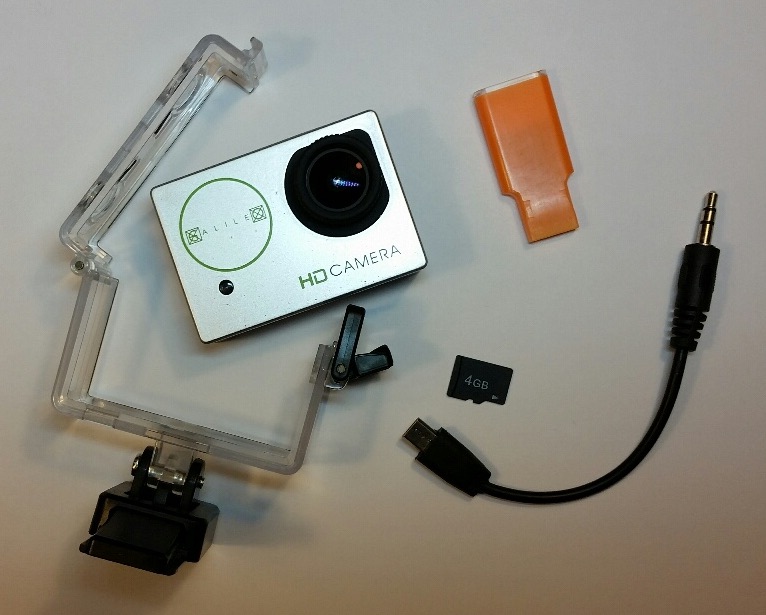 One way to get some serious enjoyment out of your Protocol Galileo Drone is to use the included mini HD camera to take still photos and shoot video. This inclusion is very cool indeed, and, to me, it’s really what this toy is all about! In the photo at right, you can see the camera itself, the camera hanger (the clear plastic camera cage with black mount), the wire that attaches the camera to the drone, the very small SD memory card (which holds 4GB of data), and the means by which you attach the memory card to your computer (the orange, memory card to USB adaptor). The card simply plugs into the side of the camera when in use, and it plugs into one end of the orange adapter when you want to transfer your photos to another medium. Unfortunately, the USB plug-in end of the adapter is a very tight fit in my MacBook’s USB drive, but it works fine with my wife’s PC laptop. Overall, this is a very cool feature of the Galileo Drone. You can even choose between shooting your images in 1080P or 720P. It’s nice to have options!
For & Against
Some of the best things about this toy are the most simple of details, like the fact that it has 3 distinct speed modes. This is great for inexperienced drone users, such as myself, as we can initially use the drone in its lowest speed and work our way up as we gain more confidence and flying proficiency. And even at its top speed, this drone isn’t flying so fast as to run headlong into trouble before you have a chance to reel it in.
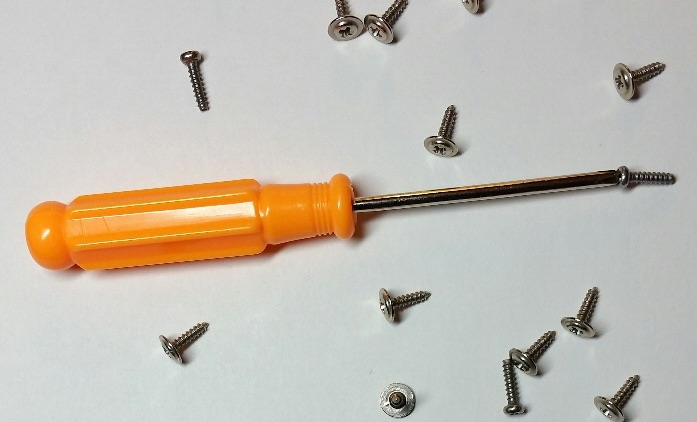
Moreover, assembly is minor & simple, and the Galileo’s attention to detail, such as including a magnetized screwdriver (see photo below), make it all the easier to accomplish. For instance, when attaching the copter’s legs, 2 screws are required for each leg, and one of them needs to go into rather tight quarters, where my fingers just don’t fit. With the magnetized screwdriver, though, it’s quick and easy to get the screw into place and fully screwed in. I really like these aspects of the Galileo, as they make using it a lot more fun.
In addition to these qualities, I also love the mini HD camera and the quality of photos it takes. If you watch the video below, you’ll see some footage that the mini camera shot while flying overhead. It’s pretty clear.
Trying to come up with a knock against this thing is actually surprisingly difficult. Pretty much every toy I test has at least 1 or 2 significant drawbacks. But with the Galileo, aside from the fact that I’m a very poor pilot and probably take longer than most to get used to flying these kinds of models, I really can’t come up with a single, solid complaint against it. If I were to offer one or two minor nitpicks about the Galileo, they would probably have to be the fact that it needs 200 minutes (that’s over 3 hours!!) of charging time to get its 7 (lets say 10-12) minutes of flying time in, and if you don’t sync it to its transmitter while the drone sits on flat, even ground, the balance / stability during flight can get messed up. Other than that, the Protocol Galileo Quadcopter Drone is one impressive toy!
Examining the Video Evidence
Please check out my video review of the Galileo:
Final Thoughts
The bottom line here is, how much to you like the hobby of flying drones? If this is a significant hobby for you, you probably can’t do a whole lot better than the Protocol Galileo Quadcopter Drone (at least not without getting into some serious expense). This particular model, considering what it can do and what it includes, is something of a bargain in my opinion. I really like it a lot, even though I’m not really much of a drone guy. If drones are your thing, I expect you’ll enjoy this one. Until next time, when I look at 2 cool drones in the same review, have a great week!
Mini Gallery of Additional Photos



I am trying to find where and how I can purchase the 4GB SIM card for my Galileo Stealth Drone with Camera.
Comments are closed.