 If you’re just getting interested in having a smart home and all that entails, my best recommendation is to start small and work your way up from there. There’s a lot of choice in the world of smart home devices, and it’s easy to get overwhelmed unless you start by testing out a device or two.
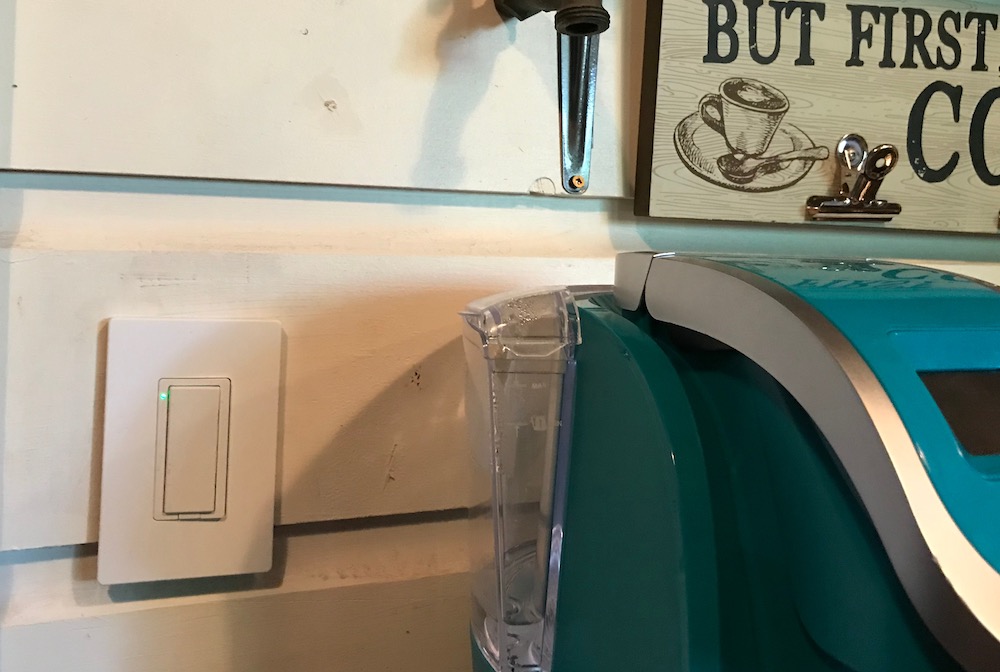
At my last count I had 20 smart home devices running in and around my home, and I couldn’t be happier to add in another when the opportunity comes up. That’s why I was really interested in testing out the Insignia Wi-Fi Light Switch. It looks like a basic gang light switch, but it gives you the power to remotely control your lights as well as schedule them to turn off and on. It works with the Insignia app, Apple Home Kit, and Google Home.
A simple gadget that takes on a task and makes it even easier: that’s the very definition of a great smart home device, and I think the Insignia Wi-Fi Light Switch is one of the must-haves if you’re creating a smart home. Here’s what I thought after installing and using my switch.
Installing the Insignia Wi-Fi Light Switch
If you’ve ever installed a light switch in your home, you know the ins and outs of installing electrical outlets and lights. I’m pretty good in the light department as I’ve installed multiple lights, and installing the Insignia Wi-Fi Light Switch is no different.
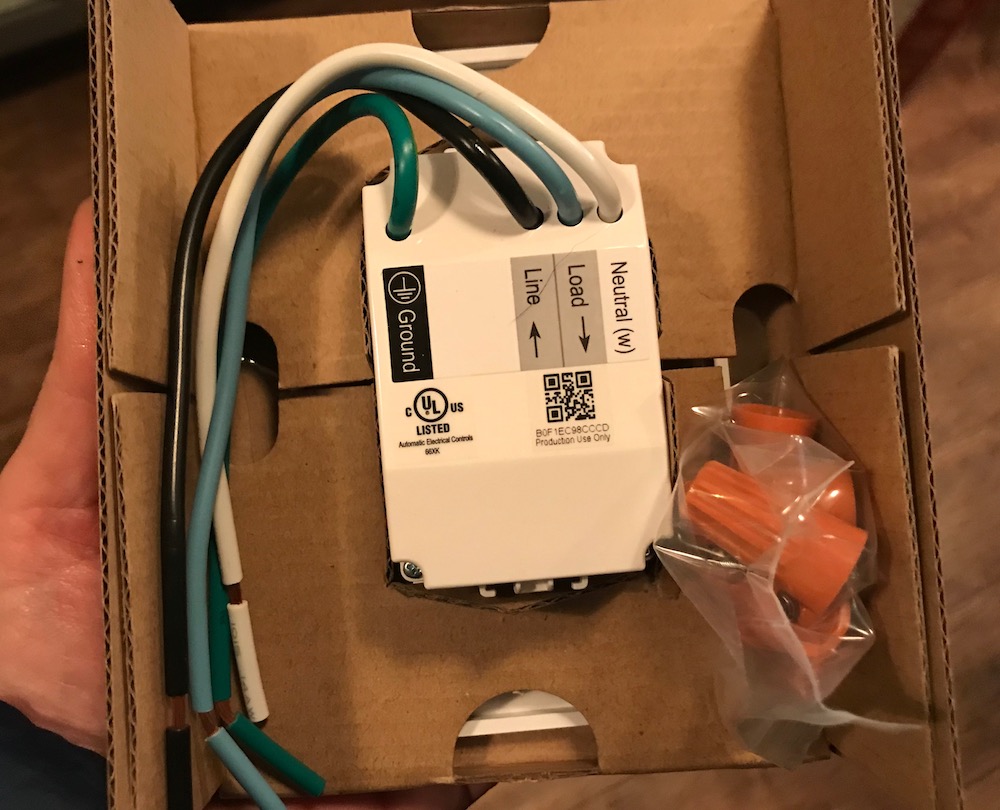
Included in the box is the switch itself, instructions and electrical marrets to tie off the ends of the wires. On the back of the switch is a diagram of what the wires are and where they should go. As with any electrical install, always turn the breaker off for that outlet before you remove your old switch, and it’s recommended that you take a quick photo of how the wiring lines up to your old switch before you disconnect it. That way you have a reference point if you get confused installing the new one.
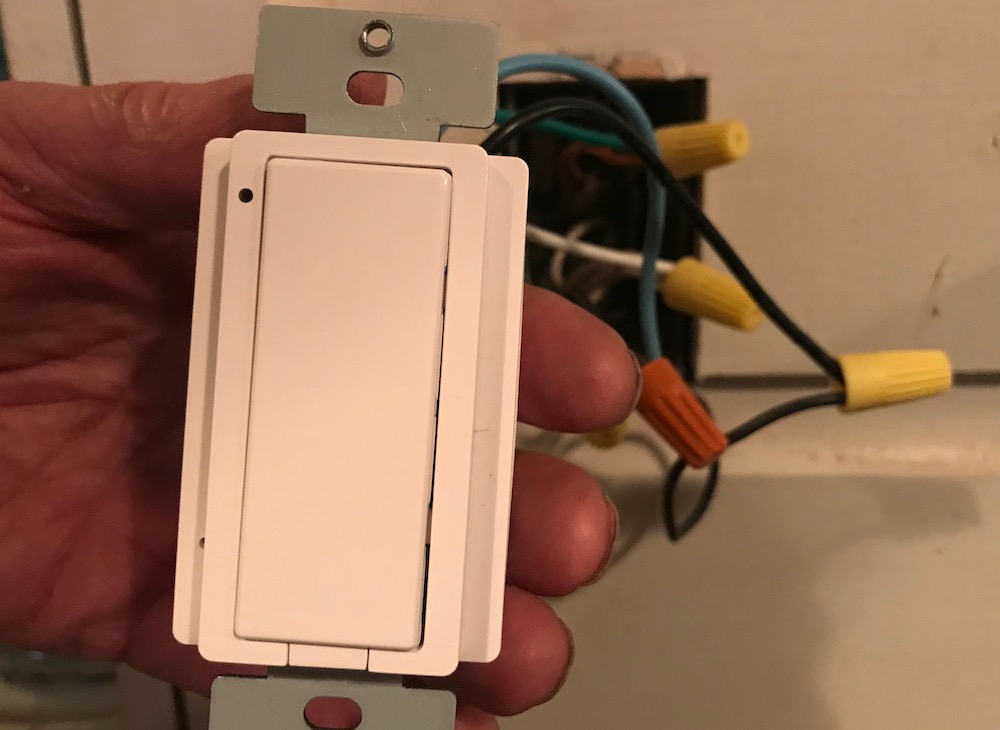
The only thing that confused me during the install process was the fact that lights have three wires; white, black, and ground. The ground wire is either green or just copper. With the Insignia Wi-Fi Light Switch, you have white, black, blue, and ground. Both the blue and the ground wire absolutely have to be connected or your light won’t work.
The wiring in my house is only a year and a half old, so I easily found all of my wires, used the included marrets to connect them, and used a screwdriver to put the switch in place. In all I think it took about 10 minutes to install.
Once the switch is installed, it’s time to connect it to your home network.
Connecting the Insignia Wi-Fi Light Switch to your network
 When the Insignia Wi-Fi Light Switch is connected to power and installed, you’ll notice a blinking green LED light. That means your switch is waiting to connect to your home network.
To add the switch to my network I opened my Wi-Fi settings on my phone and saw the “Add Accessory” at the bottom of the screen. I tapped that to add the switch to my Wi-Fi, and I was prompted to enter my password for the network as well as rename the switch.
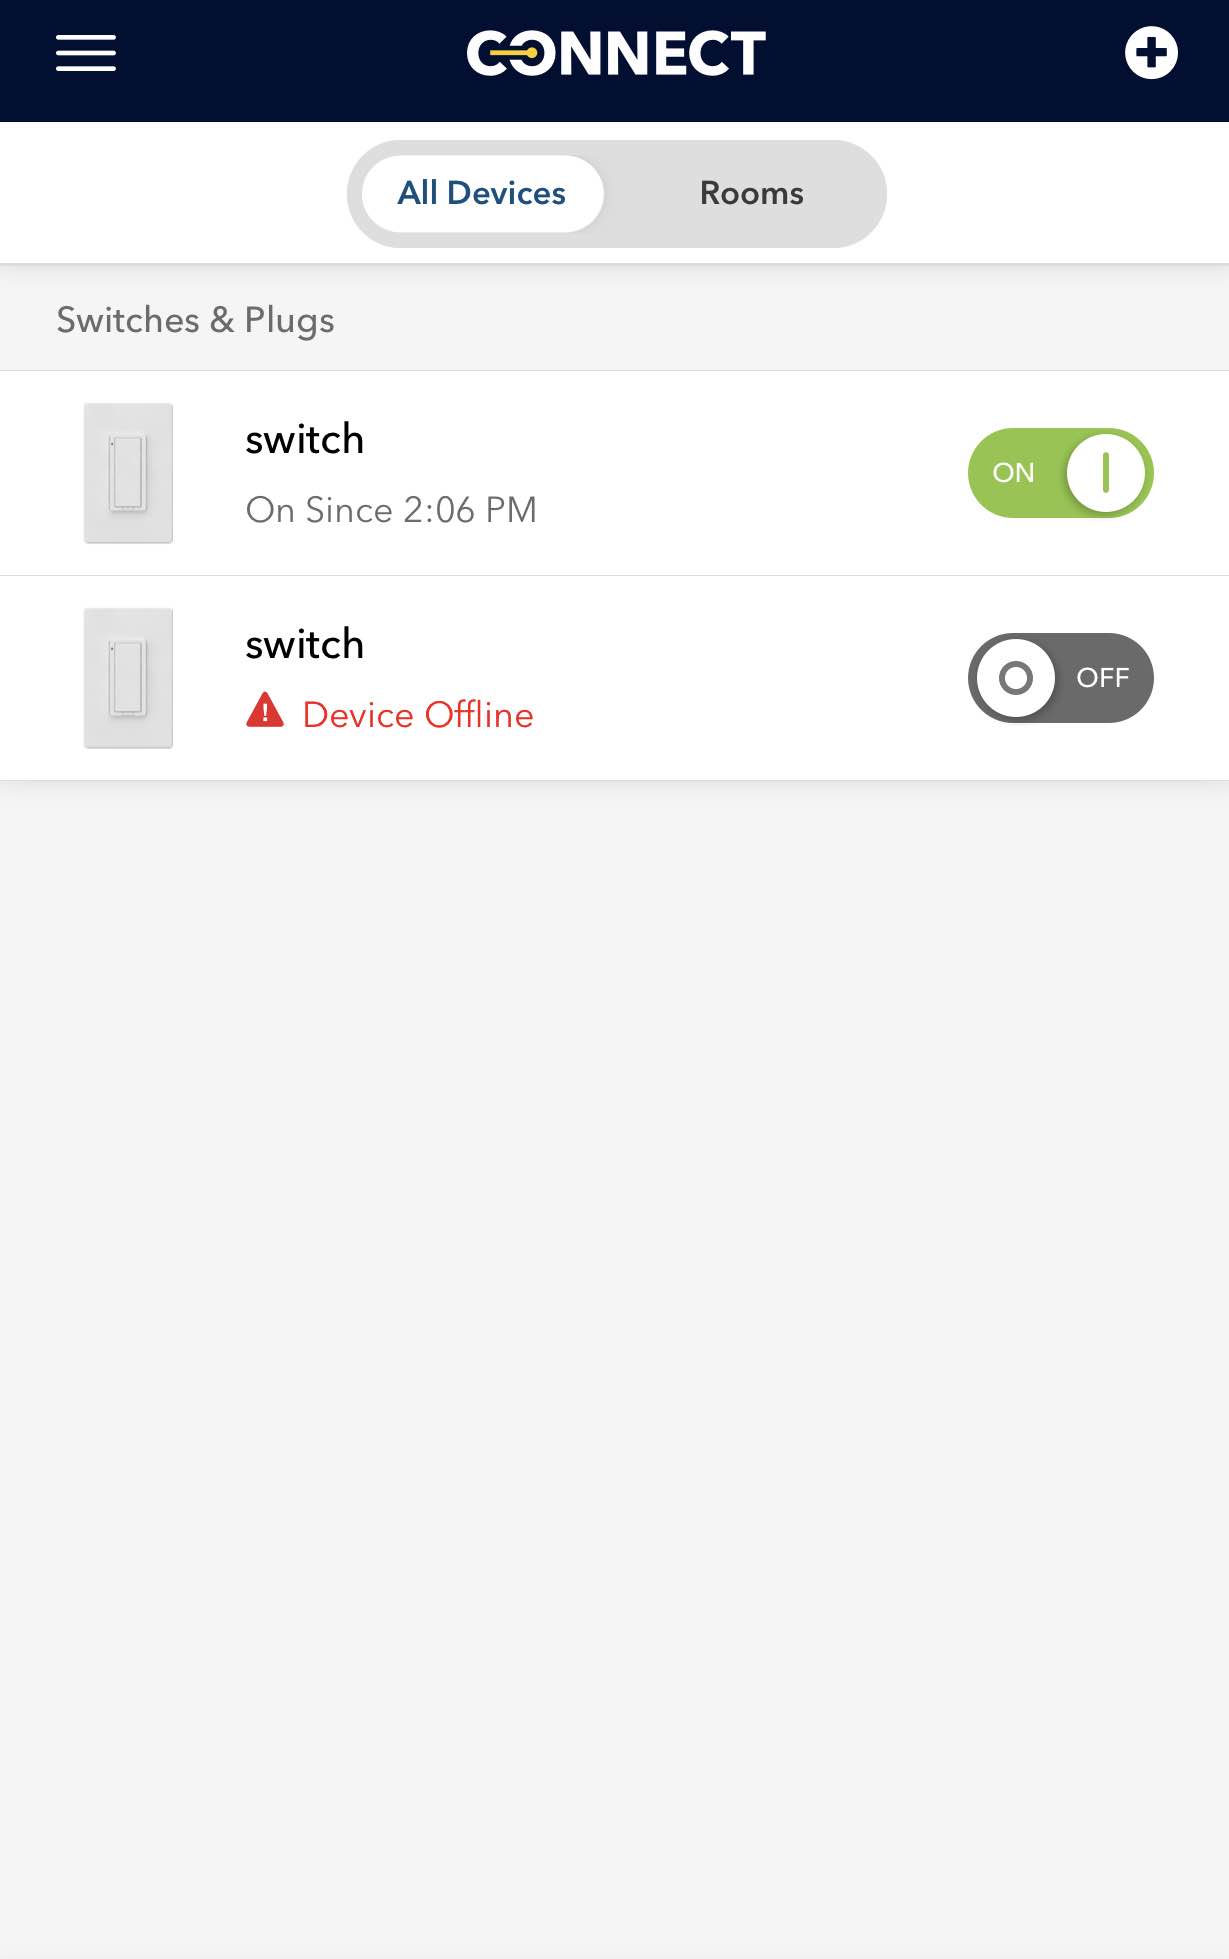
Once I added it to my home network the LED light on the switch became a steady green. That’s when I opened the Insignia app, clicked on “Add device” and the app began to look for the switch. It should find it within 10 seconds, and once it does, you can start controlling your lights via the app right away.
Although it’s quick and easy to connect the Insignia Wi-Fi Light Switch to your home network, there’s a few troubleshooting tips I can share in case the app doesn’t find the switch at first.
Make sure your phone and your switch are on the same network
Thanks to a repeater and a mesh router, I have six different Wi-Fi options in my house. I had to forget all networks except one to ensure that my phone was on the same connection as my switch.
This switch won’t connect to a 5G band, so make sure the connection you choose is 2.4GHz, and check how strong the connection is in the area you’re in. I had three bars at my light switch, so I knew it would connect easily.
If one app won’t recognize it, another will
 My first attempt at connecting this switch via the Insignia App didn’t work. I couldn’t get it to recognize the switch, even though the light on it was steady green and it was on my network.
To get around this I opened up my Apple Home App and tried to add the switch that way. It found the switch instantly and added it in seconds. When I logged back in to my Insignia App, my switch was there and ready to use.
You can also add this switch to your Google Home App. Just look for home automation and scroll down the list until you see Insignia Connect.
Using your Wi-Fi Light Switch
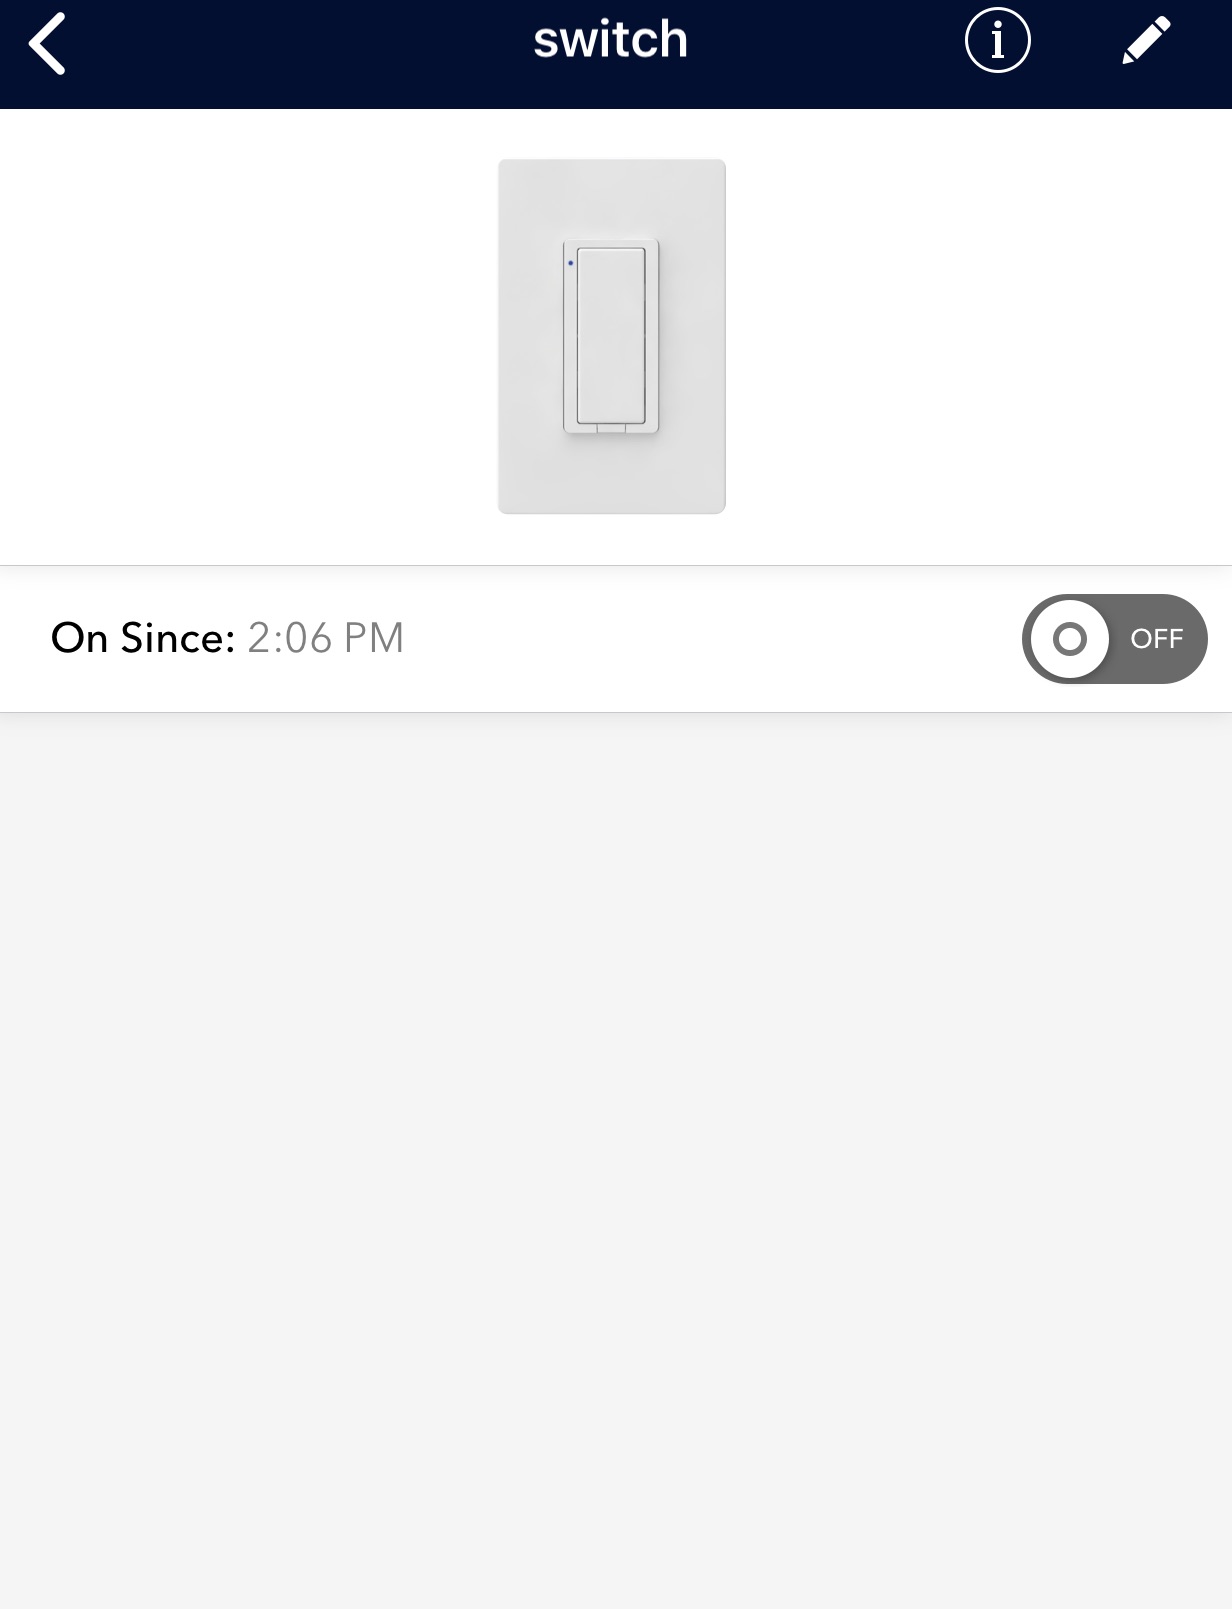 When you want to use your light switch, just open the app and tap your phone. It’s that easy. Setting the schedule is similar to what you’d see in other apps as well, so you just choose your turn on time, what days of the week you’d like to schedule them, and your turn off time. You can set multiple schedules, so you can have one just for vacations or weekends away.
Honestly, it is so cool to be able to remotely control your lights via the Insignia App. I’m such a fan of having the power to flip on the lights when I’m not at home, and being able to set them on a schedule is even better.
I like to turn the lights on for my pets if its getting dark and we’re not home yet, and I like knowing I can make my house look lived in when I’m not there. Given that it’s a rural property and security is always an issue, it’s nice to know I can just tap my phone and the lights come on.
The Insignia Wi-Fi Light Switch looks like a simple device, but when you have it as part of your smart home, it really does work together with other devices. I have Arlo cameras outside, and if something were to trigger them and I’m concerned there is someone in my yard, I can flip the lights on via the app and it will look like I’m home.
There’s a lot to love about the Insignia Wi-Fi Light Switch, and you can get your own right now on Bestbuy.ca.


