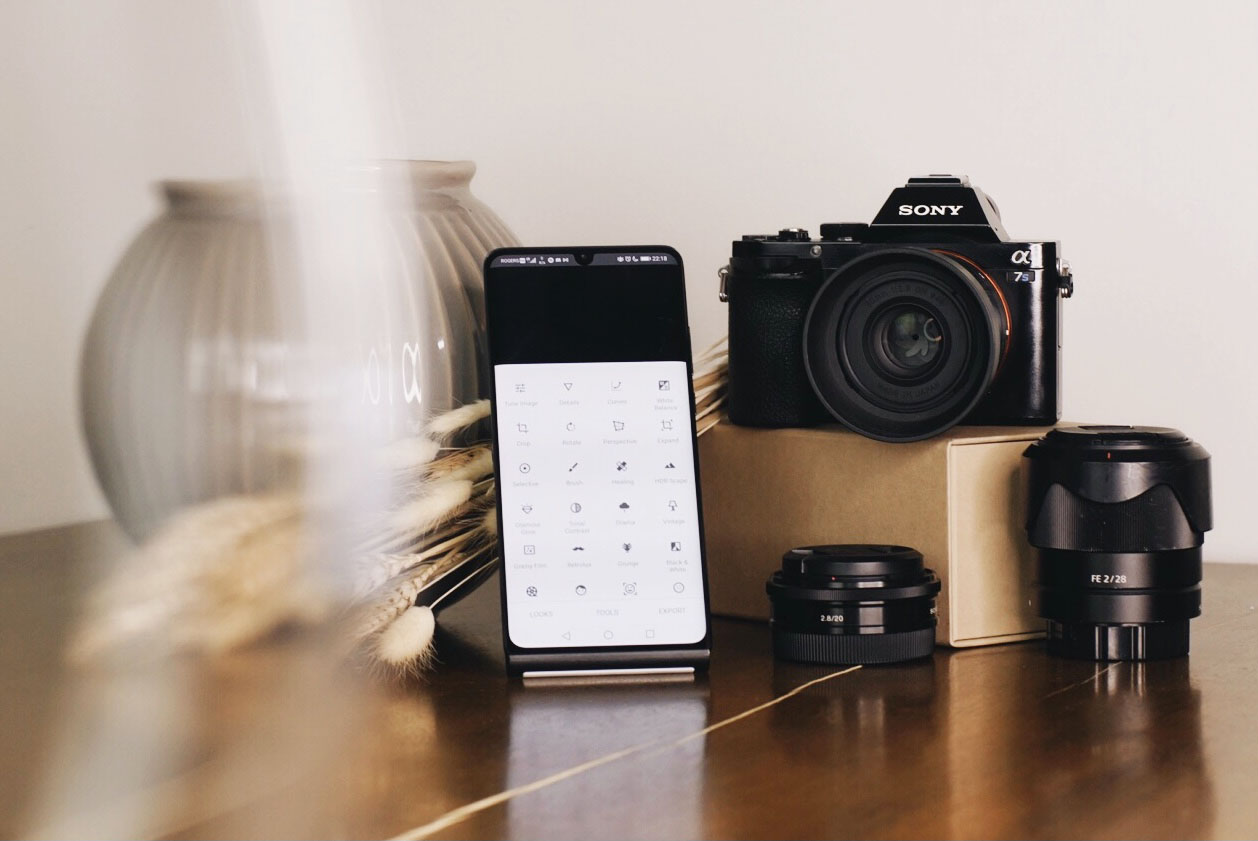
If you’re looking to take your photography to the next level, a DSLR camera is the first checkpoint on your road to professional-level results. With larger sensors, interchangeable lenses, and top-tier image stabilization, DSLR cameras make professional-quality photos accessible to the average consumer. And, for easy filtering of those photos, mobile photo editing is the perfect way to achieve professional results on the go.
Choosing a mobile-friendly DSLR camera
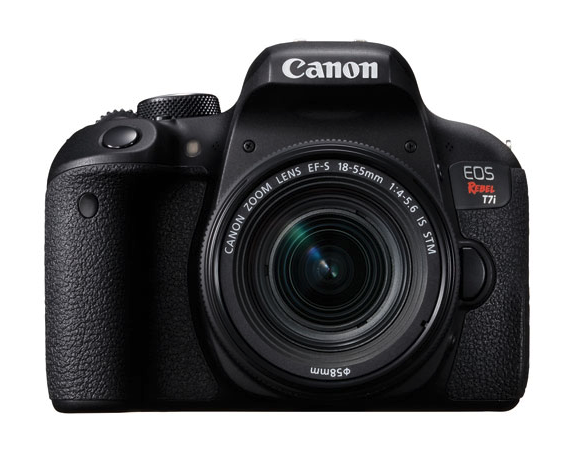 Most modern cameras come with Wi-Fi support, so if yours doesn’t… Well, it’s the perfect time to update your vintage camera body! When selecting your camera, look for options with Wi-Fi, NFC, and Bluetooth connectivity.
Even point and shoot cameras come with Wi-Fi functionality nowadays, so don’t be shy about finding a camera that can work with your phone. This post is optimized for DSLR users, but mobile photo editing is now an option for almost all DSLR, mirrorless, and fixed-lens cameras. Choose something that suits your shooting style and get ready to go.
Pairing your smartphone and camera for mobile photo editing
The easiest way to use a Wi-Fi or NFC enabled camera with your smartphone is to use the brand’s own app. It’s a simple, no-fuss way to ensure compatibility between each device. Major players like Sony, Canon, and Nikon all have their own camera apps that work with their devices, and I recommend them as the simplest solution for image transferring.
However, these camera apps are designed to be basic. They’re free apps that perform a number of simple tasks. Typically, they can act as a second screen for your camera, take photos, set a timer, and transfer images—the last of which is integral if you want to edit your photos without a computer. But, while these basic apps work well, they aren’t optimized to edit and filter your photos for you. Instead, they serve as a quick and wireless way to move images from your camera to your smart device.
Once you’ve taken an image (or even an entire day’s worth of of images) that you love, simply transfer files to your smartphone using your mobile DSLR camera app of choice.
Major mobile photo editing tools
So you took a great photo on your camera, transferred it to your smartphone, and skipped your computer and mess of cords altogether. Now what?
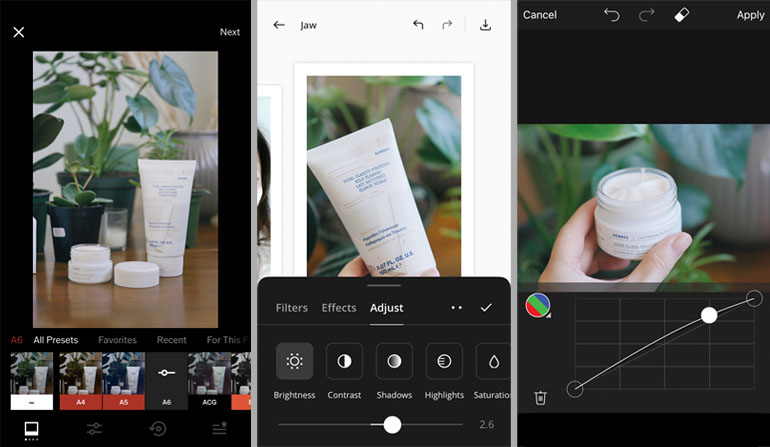
Now it’s time for the good stuff: image editing. I recommend beginning this process with an app that can filter and correct your photos, like Adobe Lightroom or VSCO. Start your edit by correcting for geometry and lens distortion (you’ll often find these features included in the “crop” tool), and then crop if desired. Some users like to correct for exposure and white balance at this stage as well; I prefer to add filter first, and adjust exposure and white balance after.
Take your photo to the next level by adding a filter that suits your aesthetic. Select for things like colour, tone, grain, and vignetting. Then, fine-tune as needed. Lightroom and VSCO are great apps to start with because they’re free to use, with additional paid features for fine-tuning: VSCO, for instance, limits HSL (Hue/Saturation/Lightness) colour toning to paid users, and sells additional filter packages.
You may find that, at this stage, you want to add special effects to your photos. These are typically separate from a filter layer, and act as an additional filter on top of a colour effect. Apps like PicsArt, Snapseed, and Unfold give you plenty of options for an art layer, including popular effects like grain and shimmer.
Mobile vs desktop photo editing
Many DSLR users edit photos on their desktop computers as well. These more powerful machines can perform more complex tasks, like content-aware filling and high-resolution batch image processing.
However, there are some benefits to going mobile. A mobile format lets you edit images on the go, which is great for posting live updates on social media. It’s also a great way to see your images as your viewers will be seeing them. Mobile users are often equal to or more common than desktop users, so seeing your images on a small screen can be a big benefit.
The Adobe Creative Cloud is designed with mobile and desktop usage in mind. Your Creative Cloud account will sync your folders, filters, and files to the cloud, so you can work on your projects the go. You can also sync filters on Adobe products like Lightroom in between your devices, which is pretty great.
Accessories to enrich your mobile photo editing experience
 Mobile photo editing may be all about convenience, but as you’ve learned here, that doesn’t mean you have to see a decrease in quality.
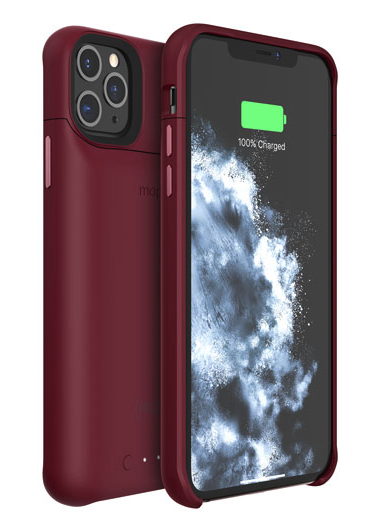
However, if I know I’m going to be editing a number of photos on my phone, I’ll make sure to bring a power bank or charging case along with me. You’ll need to up your brightness in order to see every detail of your photos, so getting that high-quality result can be a bit of a battery drain. Bringing along a simple stylus can also be handy, especially if there’s something in your images that you want to clone, draw, or heal.
While photo editing may be easiest on a larger screen, the convenience of being able to edit with your smartphone can’t be beat. Mobile editing is a great way to get a photo up onto your social media feed before an event is even over, and can be an excellent way to provide clients with a few previews of their photo session by the time they return home.
Get ready to up your DSLR photography skills with the help of your smart device.

