If you remember the “old days” of sharing photos digitally, you know the process wasn’t always simple or intuitive. Before multimedia messaging and social media, you had email attachments, instant messenger and maybe even mailing some prints.
Today’s technology makes sharing an entire album of images in a tiny fraction of what it would’ve taken less than 20 years ago. If social media is your preferred method, or especially, if you’d rather do away with that option altogether, there are safe alternatives. In fact, there are at least five of them, and anyone can use them.
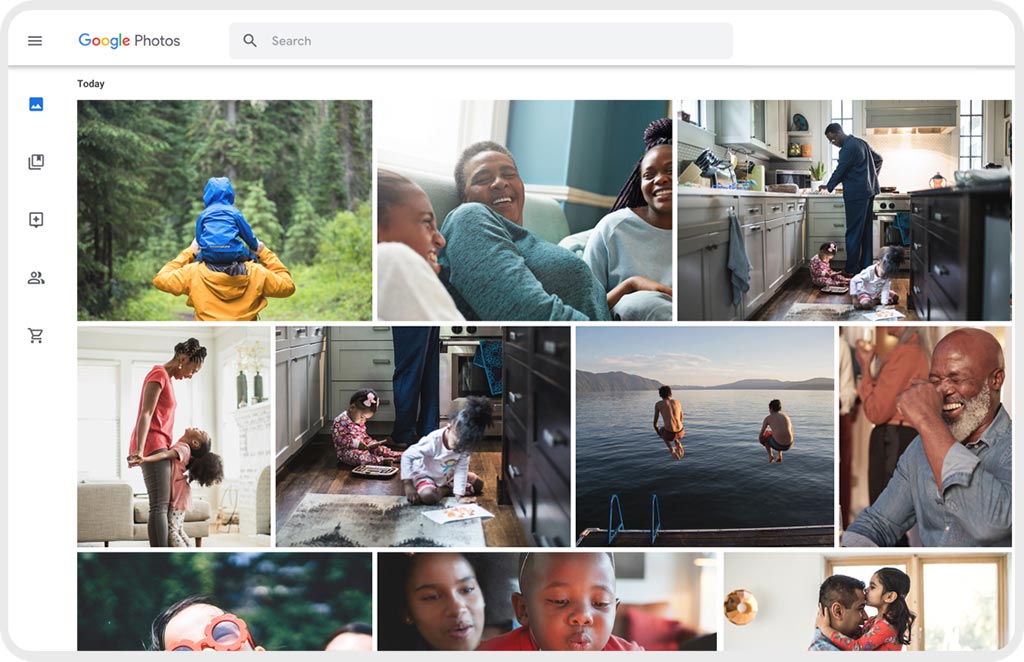
How to share photos using Google Photos
It may seem odd to propose Google Photos in lieu of social media sites, like Facebook and Instagram, if you have privacy concerns. But there is a difference in that your images aren’t visible to anyone other than yourself. That is until you decide to share them—and only with specific friends and family you’re comfortable with. You can do so by sharing access to an album, so that they can see all the images and upload their own as well.
It’s a nice way to keep images to a select circle of trusted people, particularly if the photos are of family members or children. Setting up an album is easy, as you only need to go to the app on your phone (iOS or Android) and select New Album to get started. Name it what you want, and then add photos.
Google also lets you automatically select people and pets, so that they automatically upload to the album whenever new images show up in your Google Photos library. But if you’d prefer to keep it so that you only upload photos manually, that’s perfectly fine, too.
You will need to add people by email address when you select Share. Or you could create a link that you can copy-and-paste to share via email or messaging for others to view. Only those you add via Share will be able to add photos as well, so access is largely up to you. Anyone who views shared albums can like and comment on individual images, so there’s plenty of opportunity for feedback without the worst aspects of social media.
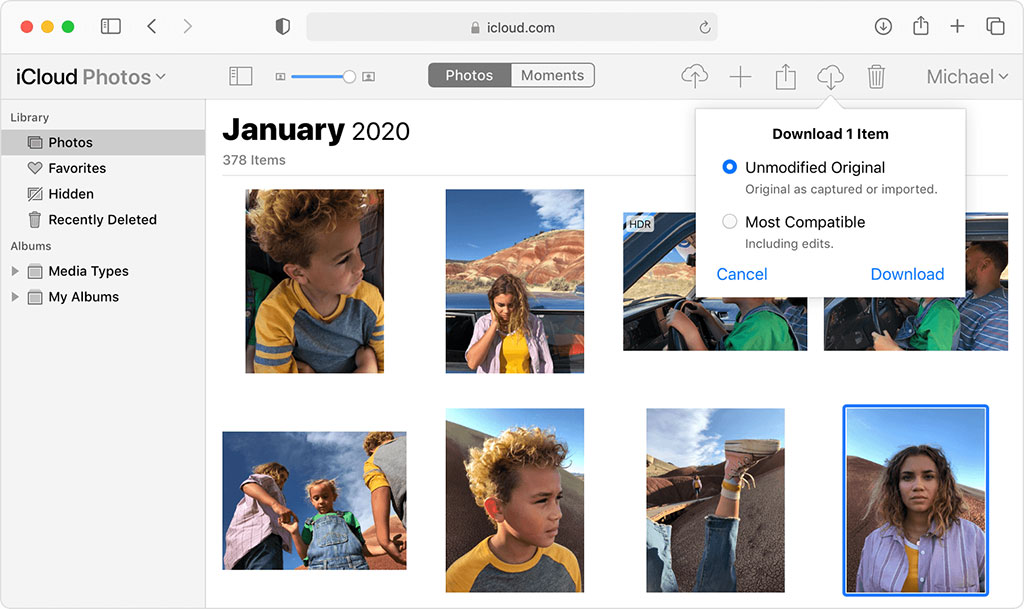
How to share photos using iCloud
This can work really well if your iPhone is your primary camera. Since iCloud uploads all the images you shoot with your phone, you have the ability to share pretty much anything you want. Create albums from select photos, and add those you want to share with, or to collaborate with.
To do this, you will need to ensure some settings are on. On your iPhone or iPad, go to Settings>Photos>iCloud Photos and toggle it on. This setting allows you to upload all your photos and video to iCloud, but there’s a catch. You need to have enough iCloud storage to actually make this viable. You can buy additional space, starting at $1.29/month for 50GB. It goes up to $12.99/month for 2TB.
If you do have the space, then you not only have full photo backup, but also ways to share what you want. What’s cool about this is that photos that automatically upload to a specific album then become viewable by others you share with. So, if you go on a vacation and add photos to an album about it, selected friends and family will see them as soon as they upload.
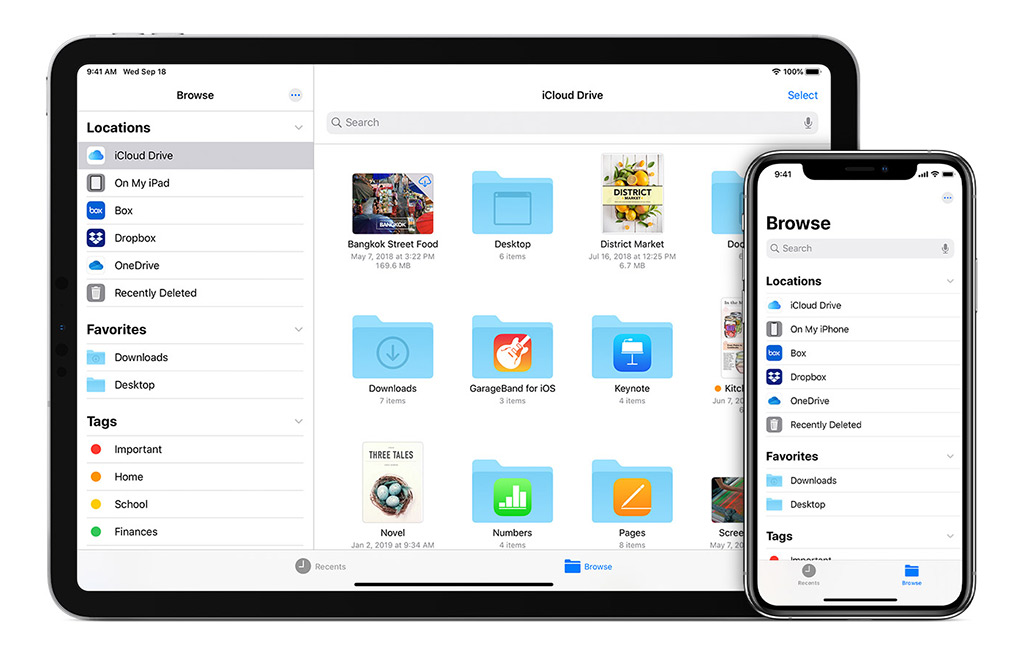
Share photos using cloud storage services
If you subscribe to a cloud-based storage service, you have another efficient way to share photos with others who can access them at their leisure. Dropbox is one of the most popular, but the same thing applies to others, like Box, Microsoft OneDrive and iDrive, among others. They aren’t always as visible as Google Photos and iCloud Photos, but still effective, especially for privacy.
You can set up a folder and share it with whomever you like, filling it with photos and video. It’s a bit old school in that you’re basically sending files in a folder, rather than a collage of photos in a visual album. But it is useful if the people you’re sharing with want to download those entire folders.
You will have to ensure you have enough cloud storage to consistently manage uploading photos. You can set things up so that photos upload to Dropbox automatically, though perhaps the best way to do that is to use an app like IFTTT to automate that, if you’re so inclined.
Send photos in large batches through WeTransfer
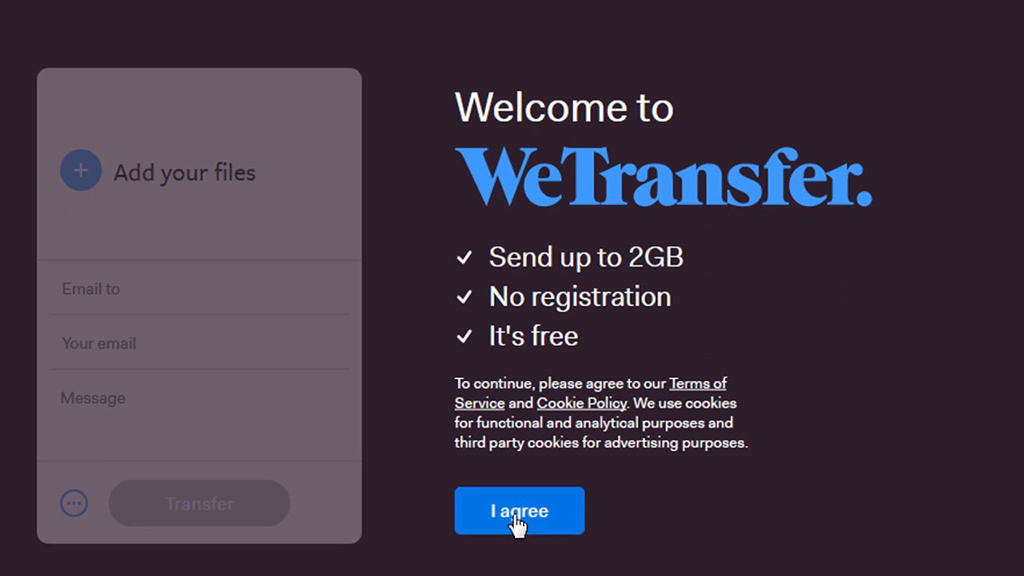
I’ve always liked WeTransfer for sending large or zip files to others, and if you have a large folder of photos or video, you may want to give this a shot. For one, you don’t have to set up an account or do anything to start using it. All you need to do is attach the photos you want to share, type in the email addresses you’re sharing to, and then press send.
You’re limited to 2TB of free storage, though you can sign up and pay for up to 20 TB. I like this option if you’re trying to share original photos, like those in RAW format that you may need help with editing.

Use a photo-sharing website
If you’ve heard of Flickr, SmugMug and Photobucket, then you know of at least a few sites to share photos. These are purely about posting and sharing images, though you can lock things down so only a select few can see them. You do need to pay to get additional storage and perks, but the layout and ease-of-use makes them compelling.
If you want to try something without costs associated, you can give ImageShack, imgbox and Imgur a chance first. They have some limitations, but are otherwise pretty straightforward. The sharing principles are largely the same, too. Decide who you want to share with, or send them a link to see an album. Simple as that.
Your photos, your way
You don’t always have to turn to social media to share your photos. That’s especially true if you’re concerned about privacy, or just don’t want the scrutiny that can come with social networks. Even more so if you’re only interested in sharing images with few loved ones, or “keeping it in the family.”
Check out the latest smartphones and cameras available now.


