
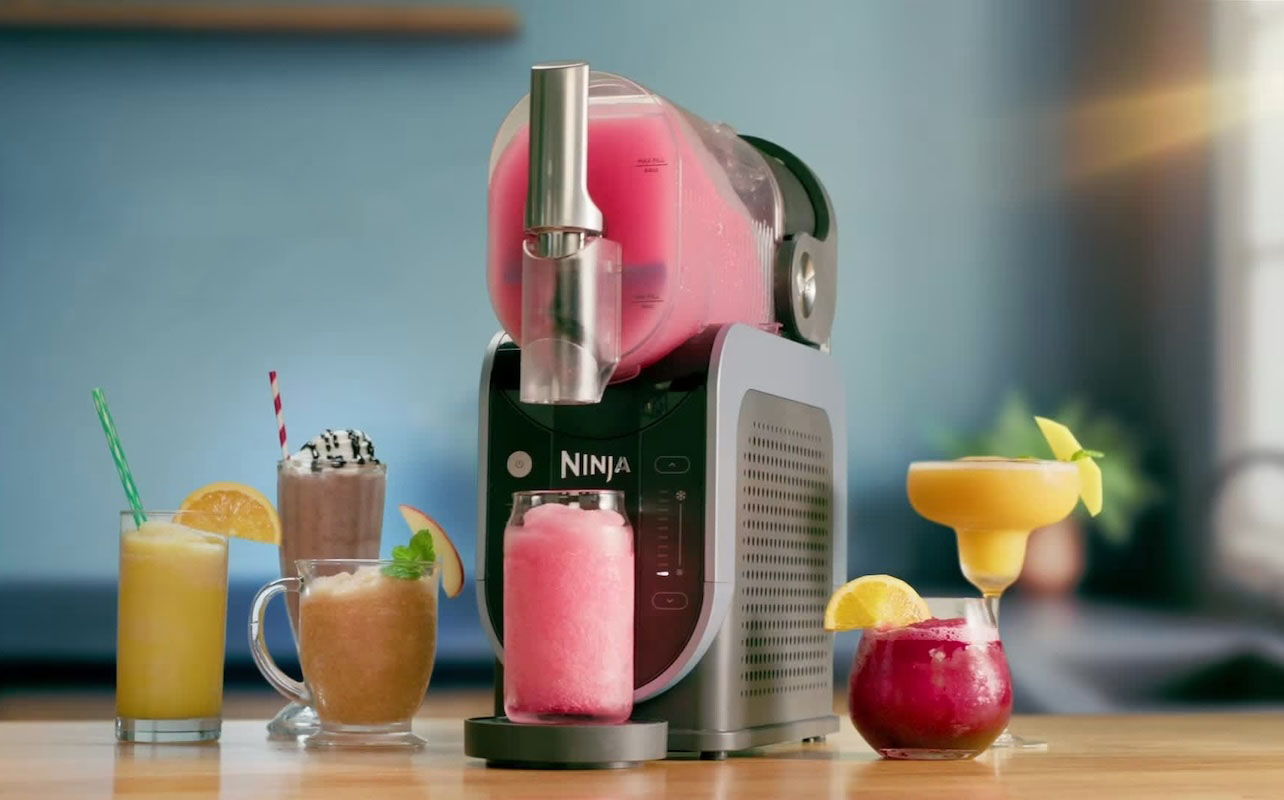
Slushies are undeniably one of the best ways to cool down on a hot day or add some fun to a party. Whether you’re using a compact Ninja Slushi slushie maker at home or a traditional commercial slushie machine, keeping it clean is essential—not just for taste, but also for hygiene, performance, and long-term reliability.
In this guide, we’ll walk you through how to clean a slushie machine thoroughly and properly, with separate step-by-step instructions for both traditional slushie makers and popular Ninja home-use models like the Slushi. You’ll also find a list of cleaning tools, smart maintenance tips, and warning signs that your slushie maker needs some attention.

Why cleaning your slushie machine matters
Slushie machines deal with sugary syrups, fruit purées, and dairy-based mixes—all of which can leave sticky or fatty residues that become breeding grounds for bacteria and mould if left uncleaned.
Here’s why regular cleaning is non-negotiable. Cleaning:
- Prevents buildup of sugar, syrup, and mould inside tanks and nozzles
- Improves machine performance, so freezing and dispensing stay efficient
- Keeps slushies tasting fresh without residual flavours from past drinks or mildew
- Extends the lifespan of your machine by preventing damage to parts
A well-maintained slushie maker will also stay looking fresher, cleaner, and newer for longer.
What you’ll need before you clean
Make sure you gather these supplies before starting. Having everything on hand makes the process smoother and ensures a thorough clean.
- Warm water (not hot)
- Mild dish soap (fragrance-free if possible)
- Soft cloths or sponges
- A bottle brush or soft-bristle cleaning brush
- Clean, dry towels
- Optional: food-safe sanitizing solution for monthly deep cleaning
For Ninja Slushi users and those with other at-home slushie machines, check your user manual to confirm which parts are dishwasher-safe and which must be washed by hand (All of the Ninja Slushi’s removable parts are dishwasher-safe.)
Step-by-step: How to clean a traditional slushie machine
A traditional slushie machine—the kind you see in convenience stores, bars, or event venues—has large syrup tanks, mixing blades, and a dispensing system. These parts need careful cleaning after each use to maintain hygiene and performance.
Step 1: Unplug and disassemble all removable parts
Safety first—always unplug all machinery (slushie machines included) before cleaning! Then, remove:
- Syrup/reservoir tanks
- Mixing blades or augers
- Lids
- Drip trays
- Any removable spouts or nozzles
For parts that need to be fixed into place, keep screws and small parts in a safe container off the ground so nothing gets lost.
Step 2: Drain and rinse syrup/reservoir tank
Empty any leftover slush mix. Never leave syrup sitting overnight—it can ferment and attract pests. Rinse the tank with warm water to loosen sugar residue. Avoid using hot water, which can warp plastic parts and damage the machine’s condenser or chiller.
Step 3: Wash mixing blade, lid, drip tray, and tank
Use warm, soapy water and a soft sponge to clean each piece. For narrow areas inside the blade housing or nozzles, use a bottle brush. Avoid steel wool or abrasive pads, which can scratch plastic or stainless steel surfaces.
Step 4: Rinse all parts thoroughly and dry completely
Soap residue can affect flavour, so rinse with clean water until it runs clear. Dry each part completely with a clean towel to prevent water spots or mould. Let any small nooks or crannies air dry fully before reassembling your machine.
Step 5: Wipe down exterior and base
Use a damp cloth to clean the exterior and control panel, being careful not to let water drip into the motor area. Avoid harsh cleaners that may damage surfaces.
Step 6: Reassemble and flush with clean water (if applicable)
Put everything back together. Some machines may benefit from running a cycle of clean water through the system to remove any lingering residue—your care manual will tell you if that applies to your particular machine.
Quick reference cleaning table for traditional slushie machines
| Part | Cleaning method | Frequency |
|---|---|---|
| Syrup Tank | Rinse with warm, soapy water | After each use |
| Mixing Blade | Hand wash with a soft sponge or bottle brush | After each use |
| Nozzle/Spout | Use a bottle brush and warm, soapy water | After each use |
| Exterior | Wipe down with a damp cloth | Daily |
| Deep Sanitize | Use a food-safe sanitizing solution | Weekly |
How to clean Ninja slushie machine
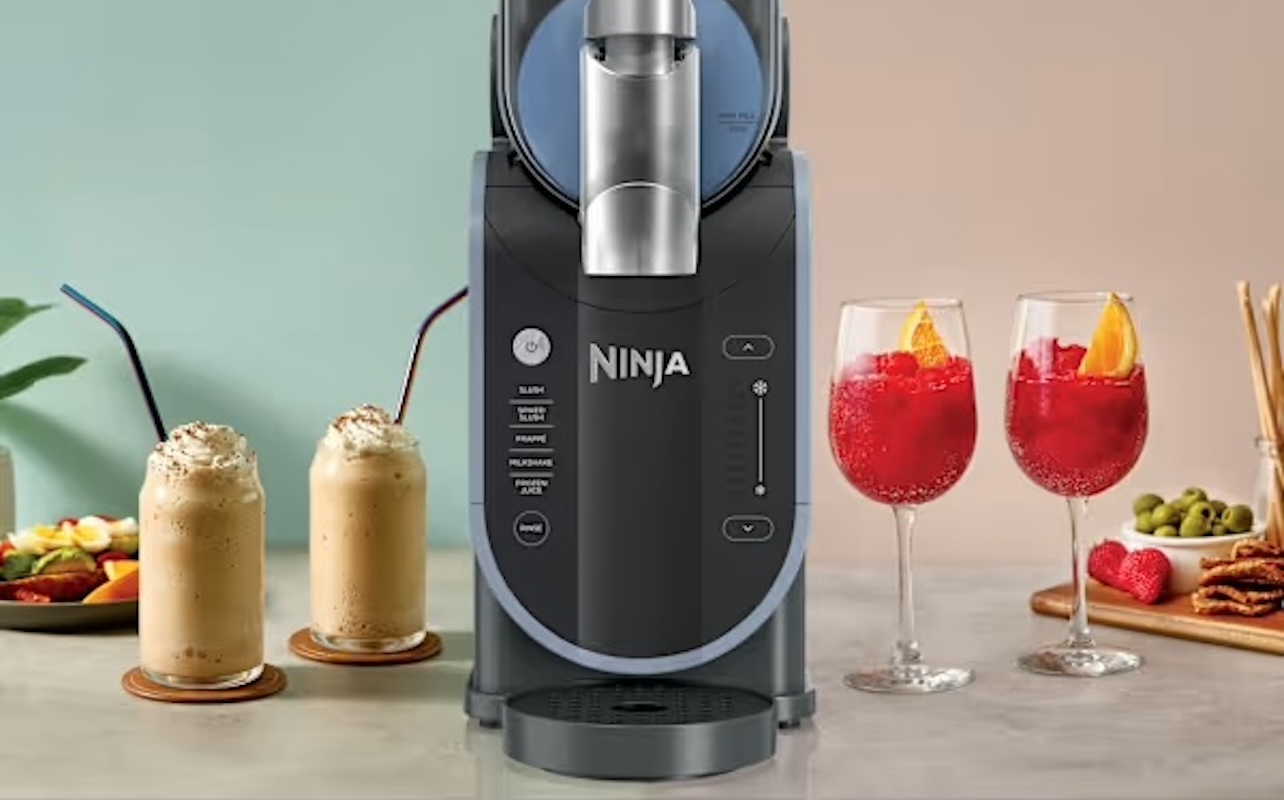
The Ninja Slushi frozen drink maker—like the Ninja Thirsti or other drink models—is designed for home use. It’s smaller than commercial drink machines, and requires a gentler cleaning approach with smaller tools.
Step 1: Rinse out the remaining slush
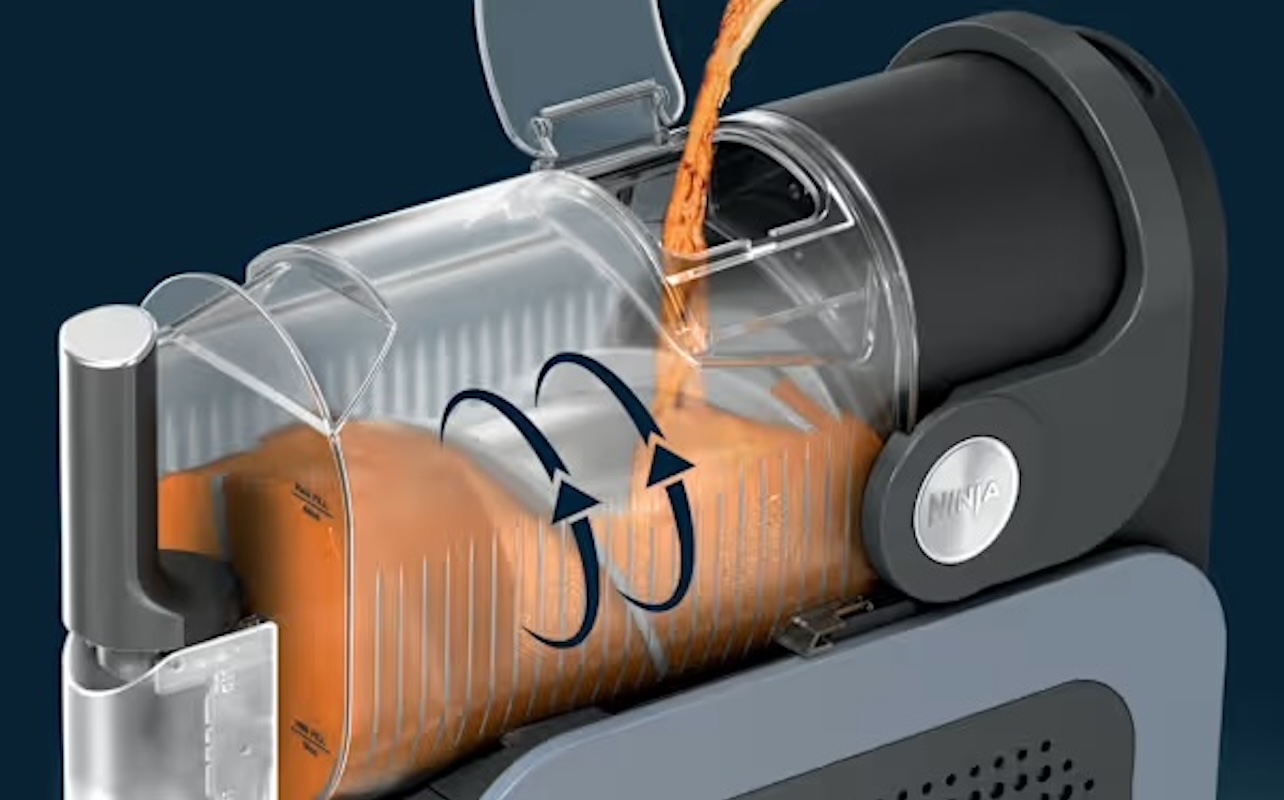
Use your Slushi’s “Rinse” function to empty the machine’s slush container. Fill the machine’s empty container with cool water to the max fill line, allow it to churn for one minute, and dispense the slurry to clean out any remaining slush. For a deeper pre-clean, you can add 1-2 drops of gentle dish soap to this step.
If you choose to do so, you can repeat this step until the water runs clear.
Step 2: Turn off, disassemble, and wipe down
Press the Slushi’s Rinse button again to end its rinsing cycle. Then, power off the machine and unplug it. Detach the slush vessel by unlocking the bail handle and then sliding the vessel forward and off of the unit. Slide the auger off the evaporator as well. Wipe down the evaporator with a warm, damp cloth.
Remove the product’s condensation catch and drip tray.
Step 3: Wash all removable parts by hand or dishwasher
Wash the slushie machine’s slush vessel, auger, condensation catch, and drip tray using warm, soapy water and a non-abrasive sponge. Or, load all parts into the top rack of your dishwasher and run your dishwasher’s normal cleaning cycle. All removable parts of the Ninja Slushi are dishwasher-safe.
Step 4: Clean the spout and nozzle area
Rinse and clean the Slushi’s spout and nozzle, as it can collect sticky residue over time. Use a small bottle brush or toothbrush for any stubborn remnants. Rinse and let air-dry.
Step 5: Wipe the exterior and control panel
Wipe the Slushi’s base and button panel with a damp, soft cloth. Never use harsh chemicals or soak the base in water.
Step 6: Dry and reassemble
Let all parts dry fully before putting them back in place. If any part is damp, moisture can get trapped, leading to mould or mildew growth during storage.
How often should you clean a slushie machine?
| Cleaning Task | Frequency |
|---|---|
| Rinse and wash removable parts | After every use |
| Wipe down evaporator | After every use |
| Wipe exterior | Daily |
| Deep clean with sanitizing solution | As needed |
| Quick rinse between different flavours | As needed |
Tips to prevent residue or mould buildup
- Never leave syrup, drinks, or mix in the machine overnight
Sugary drinks create the perfect environment for bacteria and mould. - Always empty and dry before storage
Standing water or residue leads to odours and corrosion over time. - Store with the lid open
This allows for air circulation just in case moisture becomes trapped inside the vessel during storage.
Signs your slushie machine needs cleaning
Not sure if it’s time to give your slushie maker a more thorough clean? There are a few telltale signs to watch for. If the buttons or spout feel sticky to the touch, that’s usually a clear indicator of syrup buildup. An unpleasant smell wafting from the machine is another red flag, often caused by old residue or trapped moisture.
You might also notice changes in the appearance or taste of your drinks—slushies that appear discoloured or taste off may indicate contamination from leftover mix. Performance issues, such as the machine taking longer to freeze or producing a watery, uneven texture, can be linked to clogged or dirty components. Finally, if you see visible residue or buildup inside the tank or around the nozzle, it’s definitely time for a cleaning session.
By catching these warning signs early, you can prevent mechanical problems, keep your drinks tasting fresh, and ensure your machine runs smoothly.
Final thoughts
Whether you’re running a concession stand or just whipping up frosty drinks at home, knowing how to clean a slushie machine is key to getting the best performance and flavour. It’s important for taste, aesthetics, and food safety.
For traditional slushie makers, focus on deep cleaning tanks, blades, and nozzles regularly. For Ninja Slushi models, pay close attention to crevices and spouts, and always dry thoroughly before storing.
A little cleaning effort goes a long way. Your slushie machine will last longer, your drinks will taste better, and you’ll never have to worry about contamination in your next slushie—so you can focus on the fun stuff, like what to add in your slushie machine.

This article was drafted using AI technology and then reviewed, fact-checked, and revised by a member of our editorial team.


