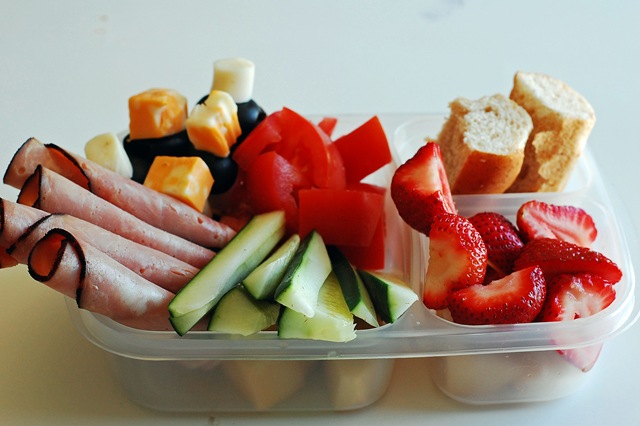
 Road tripping has always been a popular way to spend a few weeks with the family every summer, but with the price of airfare making a huge dent in the travel budget, there are more and more people who are putting their families in the mini-van or car and heading out to explore.
And there’s a lot to explore when you travel by road in Canada and the USA. From my home base near Vancouver I’m 10 hours from the dinosaur museum in Drumheller, and there are a lot of great pit stops along the way. I’m also 22 hours from Orange County, and we like to do a long road trip down the West Coast once per year so I can get my Disney fix.
With so many road trips under my belt, I’ve become a pro at what to pack, what not to pack, and what to bring along for snacks to keep the kids happy. When you have kids like I have, with one who only eats organic and 3 others who are fans of hot dogs and granola bars, you’ve got a lot of strategic snack packing to do.
Not all of my favourite road trip snacks are the conventional kind. I like to take along snacks that you’d crave during hour 10 of driving and that you’d never find in a gas station or grocery store. To do that you need to make room for a cooler.
There are a lot of different small, easy to handle coolers you could take along on a road trip. My recommendation is that you bring two: one soft sided cooler to keep between two front seats of your car and another hard side cooler you can load up with snacks the kids can easily grab for themselves.
The absolute best way to keep food cool inside a cooler is by using frozen water bottles. If you’ve ever taken on with you on a day out you know that they take forever to defrost, so they’ll keep your food cold longer than just ice cubes. Once your bottles have defrosted, you also have an icy cold drink.
Now that you know how to keep everything preserved for a long day in the car, you’re ready to start planning your road trip snacks. Be sure to take along granola bars, carrots and celery baggies, apple slices, and goldfish crackers if you have little ones. I also like to throw in bags of dry cereal and tortilla chips.
Once you’ve packed your staples, try these road trip recipes.
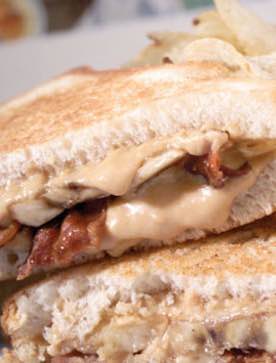 Elvis’ favourite peanut butter bacon sandwich
Maybe it’s not what you’d normally take on a road trip, but I’ve toasted these up before leaving and they are a great source of protein and energy at the 5 or 6 hour mark. From seriouseats.com.
| Ingredients: 1 tablespoon unsalted butter, softened 2 slices white bread 2 tablespoons peanut butter (Peanut Butter & Co. Smooth Operator or Crunch Time, for example) 1/2 large ripe banana, sliced lengthwise into four thin pieces 4 slices bacon, cooked 2 tablespoons honey |
Directions
Preheat a grill pan or griddle over medium heat. Spread butter on one side of each slice of bread. Spread peanut butter on other side of each slice of bread. Place banana slices on top of peanut butter. Top with bacon slices and drizzle with honey. Top with the remaining slice of bread, buttered side up.
Place sandwich on grill pan. Cook until golden brown and crispy, about 3 minutes per side. Remove to cutting board, slice in half, and serve immediately.
Homemade energy bars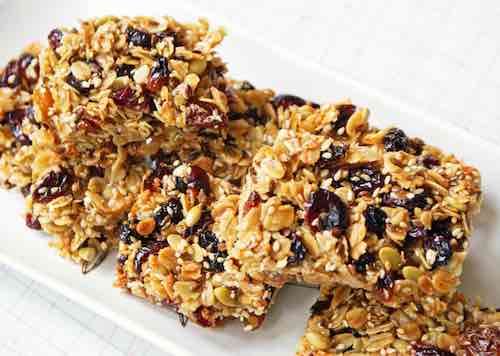
Energy bars you find in the store are full of extra ingredients that might not actually give you energy. Or, if they do, it’s the temporary sugar-fueled kind of energy that leaves you wanting a nap not long after eating one. This recipe for homemade energy bars from serio
useats.com will give you a boost without all the sugar.
| Ingredients: 1 cup pure maple syrup 2/3 cup chunky natural peanut butter 2 2/3 cups rolled oats 1 cup whole wheat flour 1/4 cup soy protein powder or whey protein powder 1 teaspoon ground cinnamon 1/2 cup wheat germ 1/2 cup unsweetened dried coconut 1/2 cup raisins 1/2 cup chopped peanuts (or walnuts) |
Directions
Preheat the oven to 350°F. Lightly grease a 9 x 13 inch baking pan. I used a nonstick cake pan, but I imagine you could use a Pyrex baking dish, too.
Use the back of a wooden spoon to mix the syrup and peanut butter together in a large bowl until well blended.
In a separate bowl, stir together the rest of the ingredients. Stir this mixture into the peanut butter mixture to make a uniform dough. Press it into the prepared pan. It will be slightly sticky but should still spread easily into the pan if you grease your fingers.
Bake until golden brown, about 25 minutes. Cut into bars while still warm but allow to cool completely in the pan. Wrap each bar individually and store in an airtight container for up to 1 week, or freeze for up to 1 month.
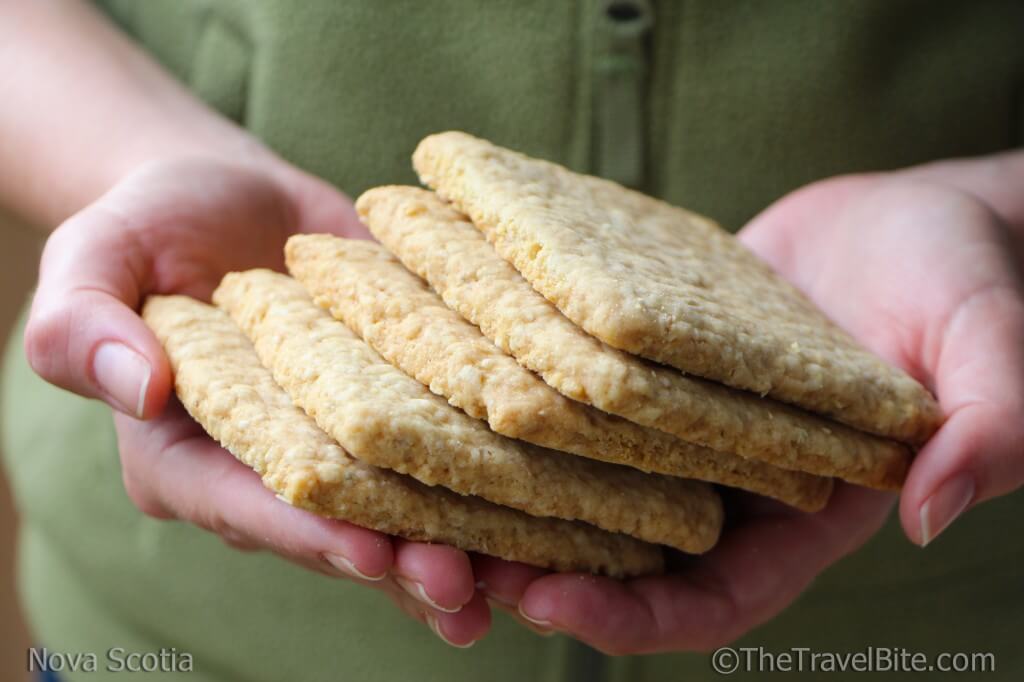
Nova Scotia Oat Cakes
I saw these before my last road trip and I had to try them. They remind me of oatmeal cookies but they’re a bit heartier so they keep you full for longer.
From thetravelbite.com.
| Ingredients: 2 Cups Oatmeal 1 Cup Flour ½ tsp Salt ½ Cup Butter ¼ tsp Baking Soda ½ Cup Brown Sugar ¼ Cup Boiling Water |
Directions
Preheat oven to 400 degrees and line baking sheet with parchment paper.
Dissolve baking soda in boiling water (add a little more water if needed).
Combine dry ingredients with butter, then add dissolved baking soda.
Mold into a dough ball, then press it out onto a baking sheet. You can roll it out with a dough pin to make it thin as you want it to be about ¼ inch thick.
Cover and chill for 10-15 minutes to firm up the dough, then remove and score down the middle and across to make 8-10 squares (you’ll use these lines for clean cuts after it’s done baking).
Bake for 12-15 minutes until they are golden brown. They should be crisp and crunchy, not chewy.
Separate the cakes along the score lines with a thin knife and then allow them to cool.
July and August are prime road trip months, so be sure to grab your snacks and head out to explore a bit of what’s beyond your own backyard. Here are a few small appliances you can use to create road trip snacks.
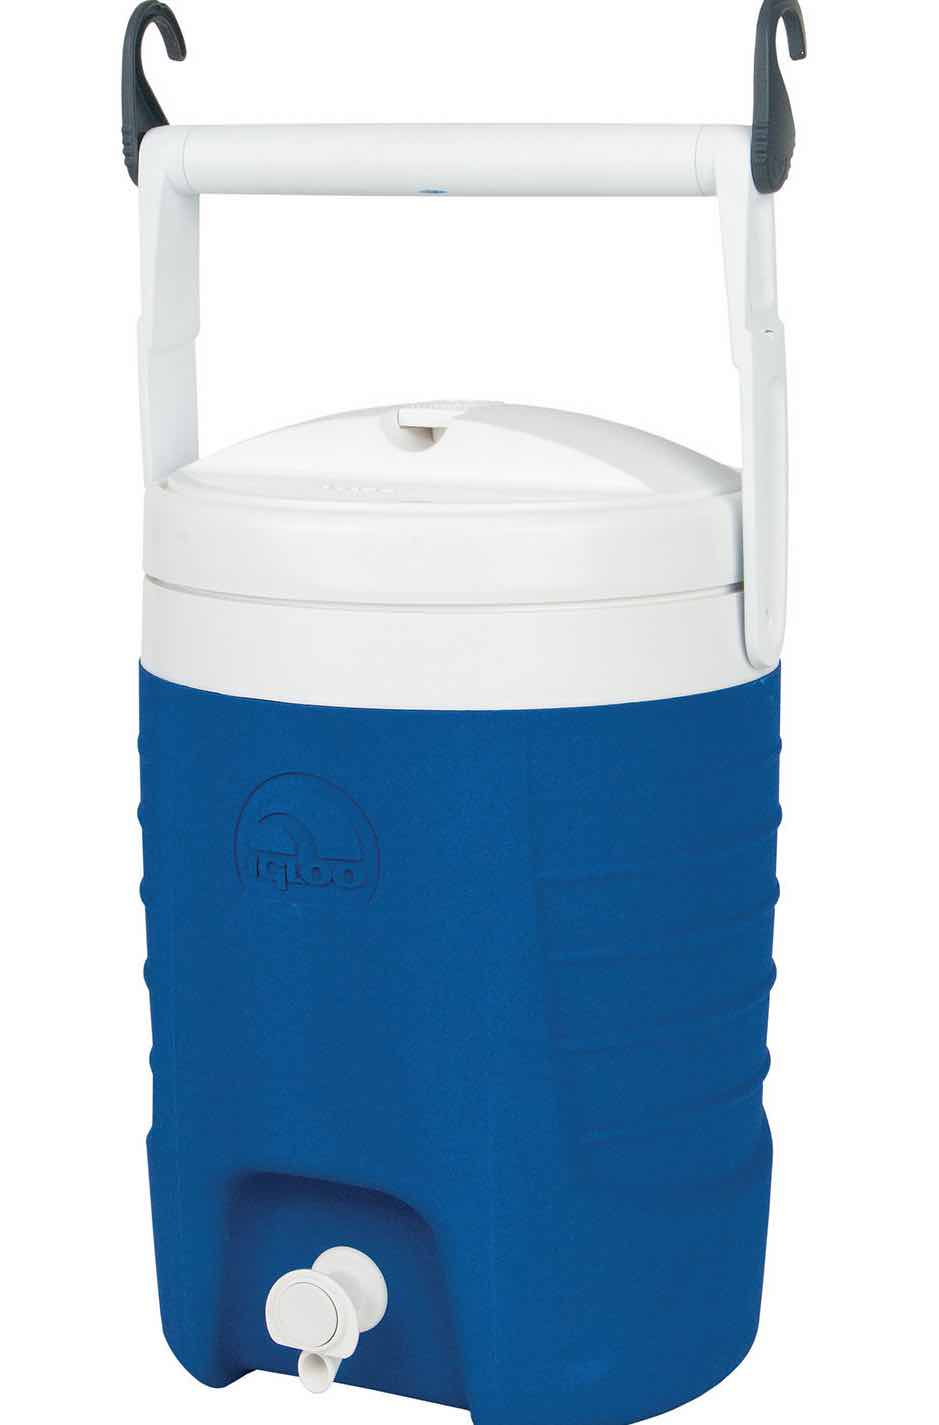 Fill a cooler full of ice water so you don’t have to stop for drinks Fill a cooler full of ice water so you don’t have to stop for drinks |
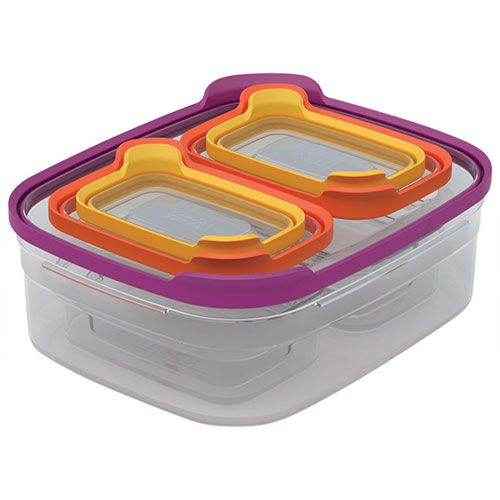 Road trip food storage is simple with these Nest food containers |
 If you’re camping you can take along the World Famous stove kit to whip up more road trip snacks on the way. |
Main image from howwerollfitness.com


