
Mounting a TV may sound difficult, but with a little help, you’ll have your new TV mounted on your wall in no time. Here’s a quick guide on how to mount a TV in your living room, rec room, bedroom, or anywhere else you’d like to hang a TV on your wall.

How to mount a TV
For the average weekend handy-person, mounting a TV can seem a bit daunting. This guide will help make the process a lot easier. Your first step is to do a bit of research into making sure that you have the right style and size of mount for your TV. TV mounts come as a kit, with all of the parts required to mount your TV to a wall. You should also see a tool list included with your TV mount, and you’ll want to set yourself up with the right tools.
Mounting your TV on wood studs
This article will explain in detail how to mount your TV on wood studs as that is the most common installation type. The mounting hardware included in the kit will most likely be meant for wood studs only. If you are looking to mount into metal studs, concrete, tile stone or brick, you can consult a professional service like Geek Squad for help securely mounting your TV.
What you will need to mount your TV
Time: 2-4 hours
Tools required: Mounting kit, power drill and bits, screwdriver, level, stud sensor/finder, tape measure, socket wrench, pencil.
Optional: Additional screws and drywall anchors, extension cord.
(Please note the above tools are for drywall surface and wood stud installation only. Additional tools are required for concrete, tile stone, and brick)
Number of steps: 10
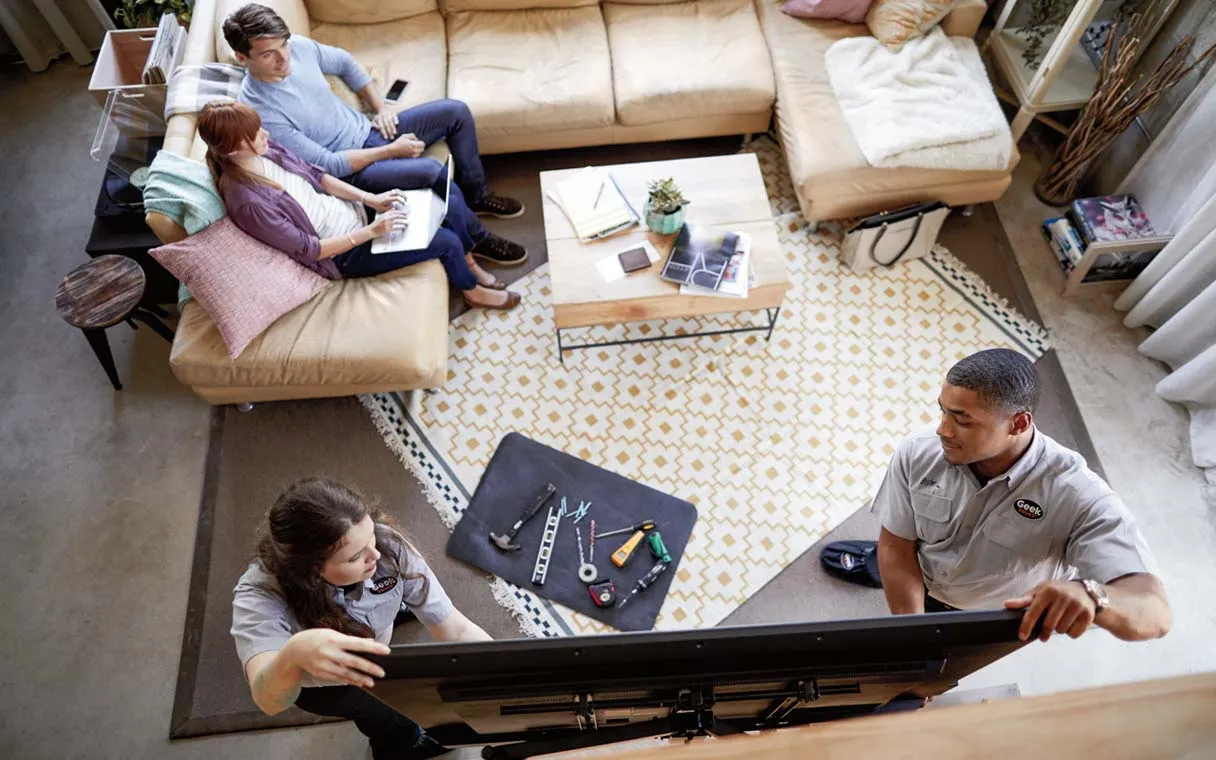
It’s recommended you have someone assist you with mounting a TV. Depending on how large your TV is and how heavy the mount is, you may need one person to lift the TV and another to help centre and affix it to the wall.
Please note: If you wish to conceal any wiring, you will need to invest in a few other tools, such as a concealment kit, wire fish tape, a drywall saw and a chisel. Wire concealment is not covered in this blog.
Prior to installation, be sure you understand any environmental hazards in the area where the mount will be placed, as well as any building or strata by-laws that may affect your decision to mount your television.
Steps to mounting your TV
The following steps take you through the process of mounting your TV from start to finish:
Choosing where to mount your TV
Step 1 / 10
Starting with the basics, have you thought about where you’d like to mount your TV? Before buying your TV and choosing a mount for it, make sure that you’ve answered some important questions including:
- What kind of surface am I mounting in? (ie. drywall, wood frame, brick, etc)
- Can the mount I’m looking at be installed on the surface of my wall?
- Can my wall support the total weight of the mount and the TV?
- Do I have enough power outlets nearby to support mounting in this location?
- Is the TV I’m buying too big (or small) for my viewing space? (see the table below)
When choosing your spot, make sure you have minimal glare and good visibility from your seating area. You’ll want to consider whether you’ll have any challenges watching TV at different points of the day when the sun shines directly on the TV.
Here is a quick chart of optimal viewing distances for 4K Ultra TVs by size and distance from screen:
| Screen size | Viewing distance range for 4K Ultra HD TVs |
| 40″ | 3.5-5.0 feet (42 to 60 inches) |
| 43″ | 3.5-5.5 feet (42 to 66 inches) |
| 50″ | 4-6.5 feet (48 to 78 inches) |
| 55″ | 4.5-6.9 feet (54 to 83 inches) |
| 60″ | 5.0-7.5 feet (60 to 90 inches) |
| 65″ | 5.5-8 feet (66 to 96 inches) |
| 70″ | 6-9 feet (72 to 108 inches) |
| 75″ | 6.5-9.5 feet (78 to 114 inches) |
| 80″ | 6.5-10.0 feet (78 to 120 inches) |
| 85″ | 7-10.5 feet (84 to 126 inches) |
Choosing the right TV
Step 2 / 10
You may already have a TV you’d like to mount, so when choosing your new mount you’ll want to be sure you take the weight, size and mount compatibility of your current TV. The latest TVs should be mount compatible, but your new mount may not support all types. Your TV’s user guide should be able to steer you in the right direction and give you guidance on the the types of mounts you can use.
Choosing the right mount
Step 3 / 10
Choosing the right mount doesn’t need to be a tricky process, though it may be with the number of choices you have out there. When considering your wall space and the needs for your mount, there are a few questions you can ask.
- Will my TV support this style of mount? (Consult step 2)
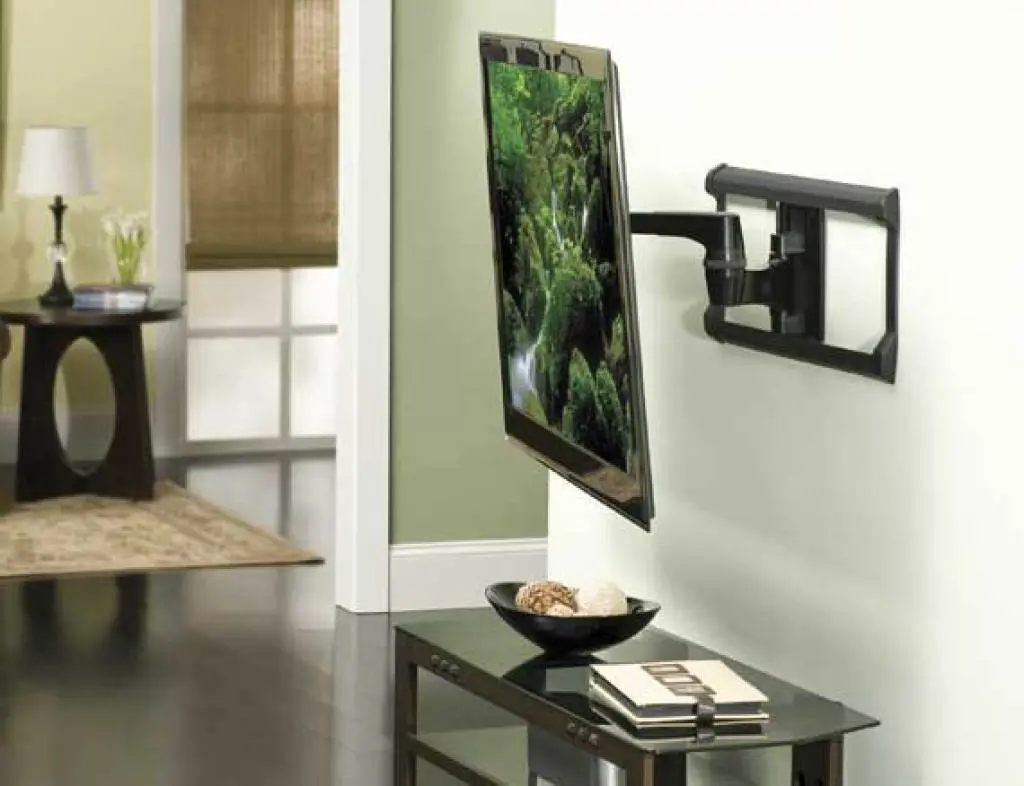
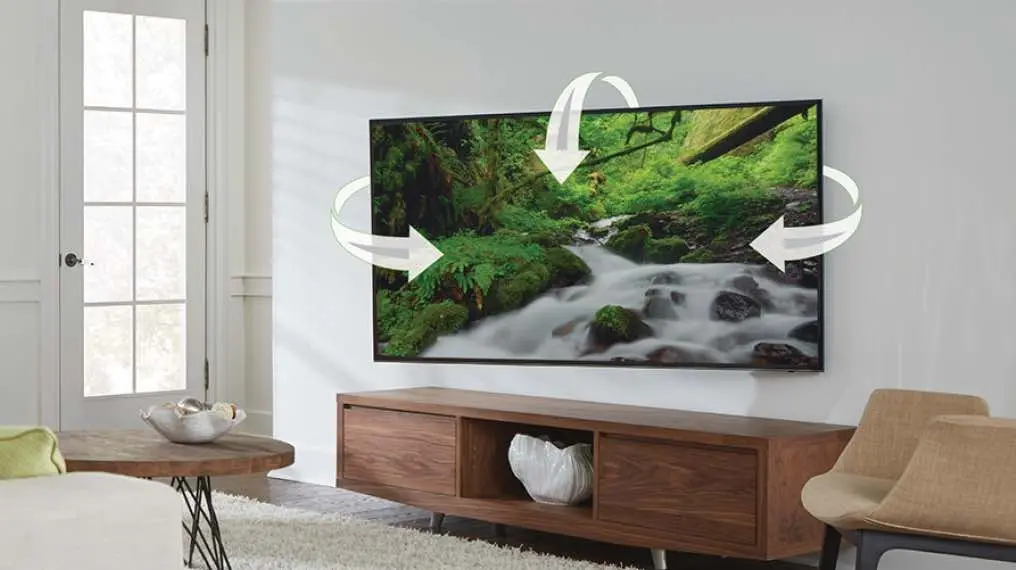
- Do I need the mount to swivel around?
- Can the mount I’m looking at support the weight of my TV?
- Can it installed on the surface I want to mount my TV to?
- Do I need a mount with a large size range in case I choose to upgrade or downgrade in the future? You can find some really flexible and dynamic options out there, including mounts made for 47-80 inch TVs.
Choosing where to put wires
Step 4 / 10
Since you will be mounting your TV on a wall, you will have to think about what to do with any wires that are exposed. Some homeowners don’t mind keeping them visible, since it gives them easy access to hooking up and unhooking different devices. Other homeowners have gone to the great length to hide them, with some thinking about building entire false walls to hide wires. If you do want to hide your wires, you should think about purchasing an in-wall wire management system to ensure the cleanest look possible.
Preparing the surface to mount your TV

Step 5 / 10
Once you have established the location where you would like you mount your TV, use a stud finder to locate the best spot on the wall. It’s really important that you use a stud finder that’s appropriate not only for the surface you are mounting on, but also for the type of wall. If you are mounting on a shared wall or one adjacent to a bathroom, take extra care with drilling. You don’t want to drill into water supply lines or electrical lines. Be sure to mark all of the right areas with a pencil and bring out the mounting bracket to help you establish the right spots and distance for your pilot holes. You’ll also want to keep your level with you and use it at all times to ensure that your pilot holes and mounting aren’t lopsided.
Some TV wall mounts include a drilling template you can place on your wall to map out your pilot holes and ensure your mount will be level. It’s much easier to use drilling template than it is to lift a heavy TV mount to your wall, so you’ll want to tape it up and use it as a guideline.
Attach the mounting bracket to the wall
Step 6 / 10
Once your pilot holes are drilled and you’re ready to start installing the mount itself, you should attach it to the wall with the screws and anchors provided. If you’re mounting your TV to an unusual surface (like brick,) you may need to visit your local hardware store to get special mounting screws or contact Geek Squad for help.
While mount hardware kits should come with the right screws and anchors for standard installations, but you may prefer to use longer drywall screws and higher gauge drywall anchor if it’s something you’ve used with previous home projects. You’ll just want to ensure that your mount (and TV) is capable of accepting any non-stock standard hardware before you start drilling larger pilot holes. Hardware inside your mounting kit will have been selected purposefully to ensure that you are not going to damage your TV, for example, by having screws too short or too long for the mount.
Prepare your TV for mounting
Step 7 / 10
Next, you will need to prepare the TV itself for the mount. If it’s on a stand right now you’ll want to remove it from the stand and ensure you’ve have a dedicated space for your mounting screws. You’ll want to think about the way the TV will sit and whether it makes more sense to attach all of the wiring to your TV right now. For example, can you attach HDMI cables on a flat mount or should they be added before you place it on the wall? For swivel mounts, you may have enough access to attach wiring after it’s stationed. However, with stationary mounts, you may not have as much luck to do more than plug in an HDMI cable here and there.
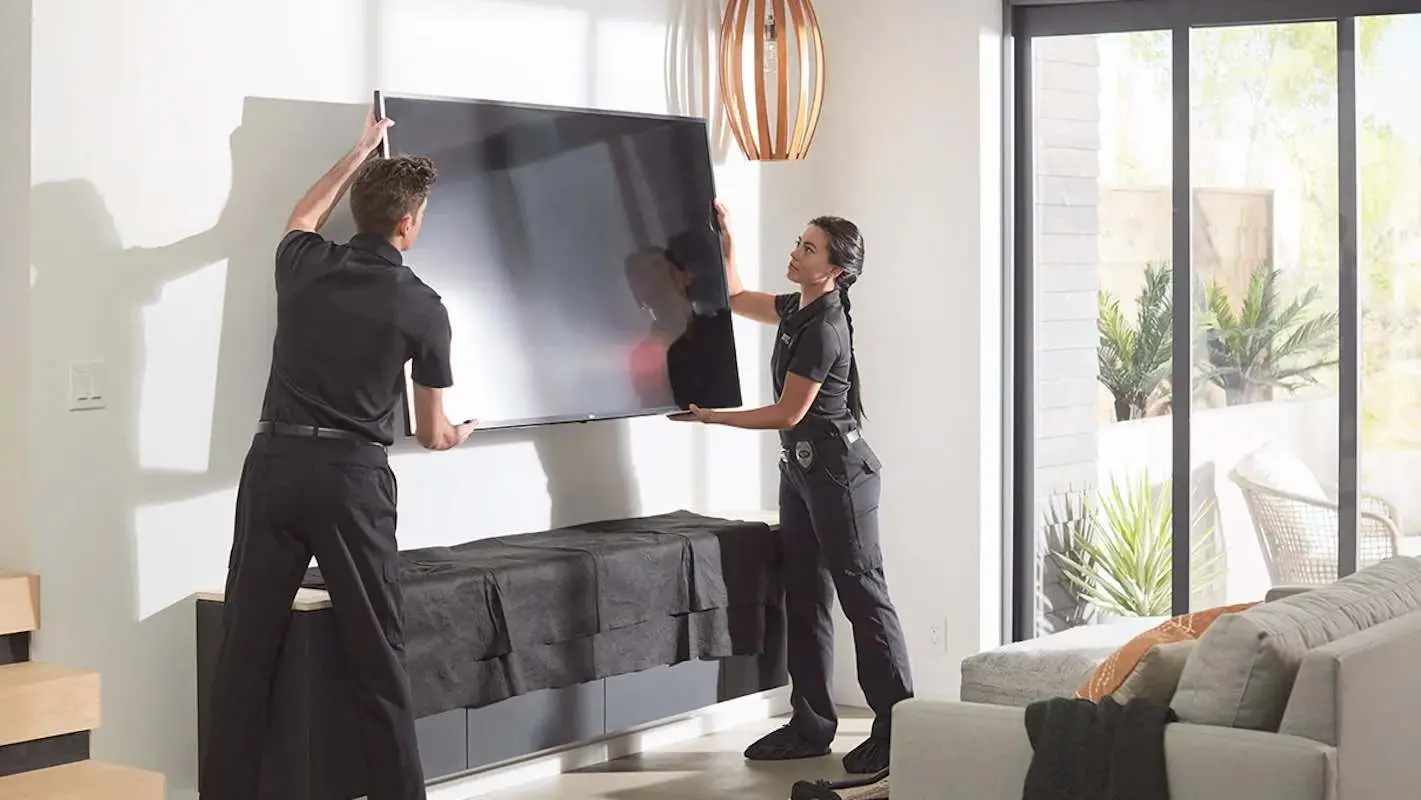
With the assistance of the person helping you, lift the TV into place and hold it there while you (or your assistant) lock the mounting mechanism in place.
Secure your TV
Step 8 / 10
Once you’ve lifted the TV in place, you’ll want to follow the next steps in the mounting manual to make sure it’s firmly attached. All of the heavy lifting is now done. You’re in the home stretch!
Connect all power and inputs (if necessary)
Step 9 / 10
If you haven’t already done so, now is the time to connect all of your power and inputs.
Sit back, relax, and enjoy your new TV mount
Step 10 / 10
The last step is simple and rewarding. Grab a snack, pick up the remote control, and watch your favourite TV show or movie. It’s your reward for all of your hard work.
Congratulations on successfully mounting your TV!
One big thing to keep in mind with a newly mounted TV is that this is a permanent addition to your home, so you want to be sure that you’ve picked the right place and the right TV mount. If you also aren’t that confident with your handy-person skills, you can always rely on your friends at Geek Squad. Geek Squad Members get an amazing deal on TV mounting so take a look at all of the benefits you can access including set up services and support.


