Are you thinking about a dash cam for your vehicle? The devices are pretty useful. If your care should be involved in accident, dash cam footage can help to support your case. There’s always the chance your camera will catch a streaking meteor and make you a YouTube star. If you’re looking at a dash cam but have a limited budget, or maybe you’d like to try an inexpensive model out first before committing to something higher end, I just completed testing a model that should be on your radar: the Nextbase 122.
Unboxing: almost everything you need
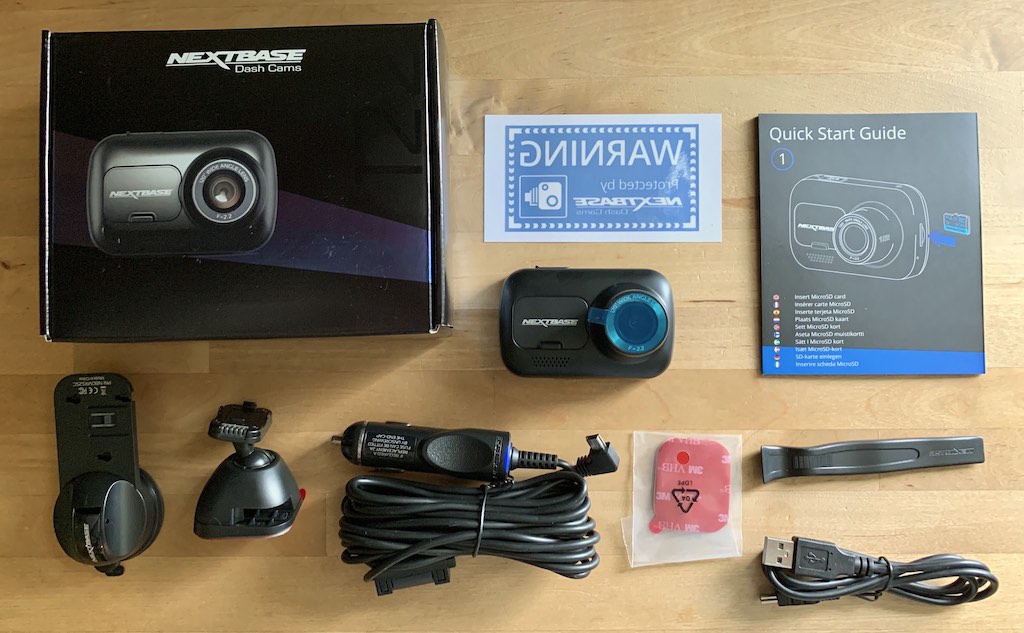
The Nextbase 122 comes in a compact box that is packed with components. Most importantly, this includes the camera. Also inside are a USB power cable to connect the dash cam to a PC, a 12V USB power adapter for the vehicle, a Click&Go PRO mount (with two adhesive pads), and a suction cup mount. There’s also a handy tool for tucking the power cable into your vehicle’s headliner, out of sight.
The one thing that’s missing is a microUSB card. And you definitely need one of those. You can buy any card that’s rated for recording 720p video, but the easiest option is the Nextbase 32GB Go Pack.
Nextbase 32GB Go Pack
The Go Pack is a reasonably priced kit with a 32GB, high speed U3 microSD card. It’s fast enough for recording 4K video, so that’s plenty of speed for this application. Also inside is an SD card adapter, so you can directly access the microSD card using any laptop or PC with a built-in SD card slot. Finally, you get a neoprene carry case for the camera itself. This could come in handy if you don’t want to leave the camera in your vehicle, and its soft interior protects the camera lens from abrasions.
You don’t have to buy the Go Pack, but since you need a microSD card anyway this is an easy option.
 Installation and the Click&Go PRO mount
Going back to the Nextbase 122, once its unpacked, its time for installation. The thought of installing electronics in a vehicle can be intimidating, but the Nextbase 122 makes it easy.
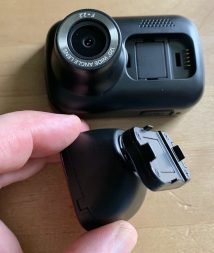
Nextbase includes its Click&Go PRO mount, which is a very clever accessory. The front of the camera has a magnetic power port. Pop off the small covering that hides the port and the camera will snap right onto the Click&Go PRO mount magnetically. No effort required, no worries about alignment, hold the two near each other and they’ll snap right together. The mount has its own USB port, so the power cable connects to the mount—not the camera.
With no power cable to worry about and a magnetic connection, the camera can be popped off the mount and removed easily.
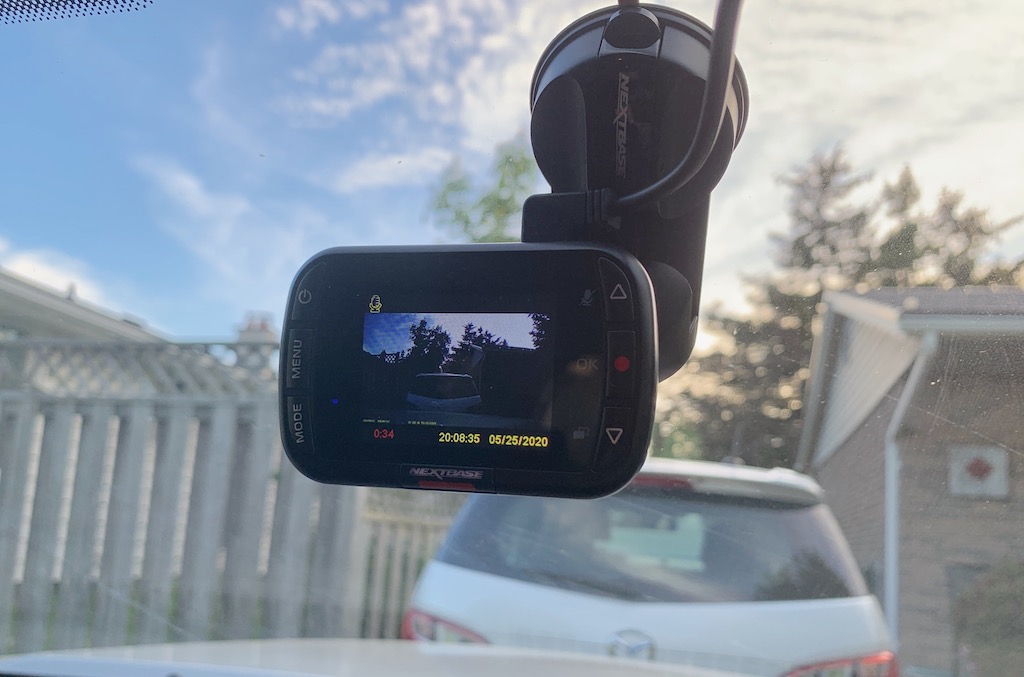
The only real decision you need to make is whether to use only the Click&Go PRO mount, which can be attached directly to your dashboard or windshield using an included adhesive pad. If you’d rather the whole contraption be easily removable, the Click&Go PRO mount can snap onto an included suction cup mount. That’s the method I used, and it held solidly. The mount is adjustable and you can use the LCD screen to watch the image and aim it properly.
The only “wiring” you face is plugging the included 12V power adapter into an open 12V power port (in the old days these were the cigarette lighters). Plug the other end of the cable into the Click&Go PRO mount’s USB port. Then use the included plastic tool to gently push the excess cable into your vehicle’s headliner.
You’re ready to hit the road! The camera itself has settings you can fine tune (using the 2-inch LED display and on-camera controls) to optimize the image, set the G Shock sensor sensitivity and recording preferences, but I used the defaults. I did have to set the current date, though.
What the G Shock sensor does
The Nextbase 122 is equipped with a G Shock sensor. This basically measures impacts. If it detects an impact severe enough to be of concern, it automatically triggers an auto-save for the footage.
You can also leave the camera in your vehicle while parked and a small built-in rechargeable battery will power the G Shock sensor. If it detects an impact, such as another car backing into yours, that will wake the camera and it will record footage. That battery should last up to a week when fully charged.
Nextbase 122 dashcam performance
The Nextbase 122’s camera is 720p resolution with a wide, 120-degree angle glass lens. As soon as the vehicle is started up, the camera turns on. Using the default settings, it immediately begins recording. The video is saved in chunks and when the card is eventually filled, new video automatically begins to overwrite the oldest footage. There are also manual buttons to take video or photos. Audio is recorded as you drive, but there is a microphone mute button if you don’t want that.
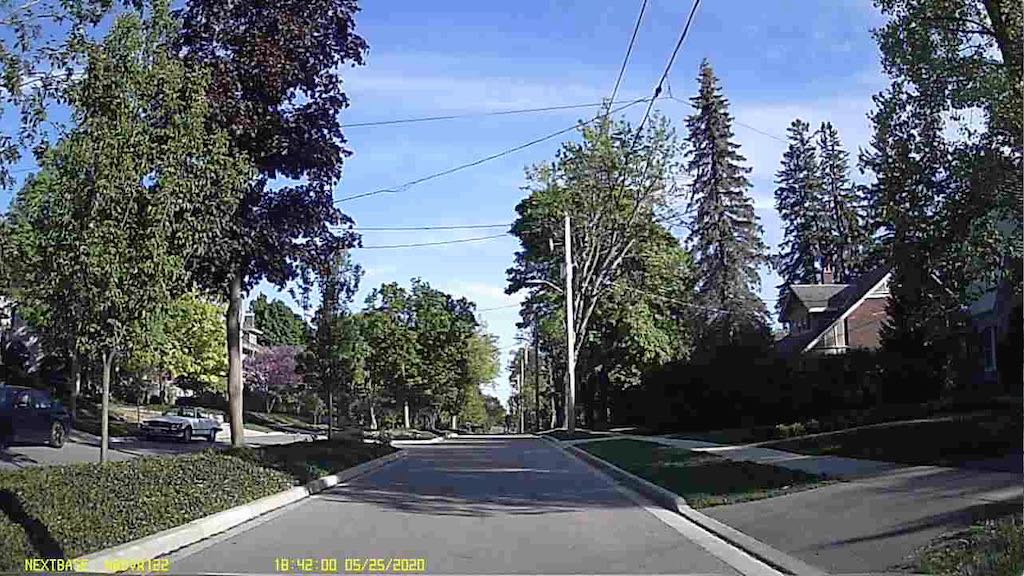
I found the camera gave a nice wide view of the road and surrounding area. The 720p resolution and 30fps capture is good enough to easily identify vehicles and road signs, at least during daylight. this is when it performed best. At night, on well-lit street video quality was still good enough to make out important details. However, on dimly-lit residential streets it didn’t fare as well.
 Reviewing footage
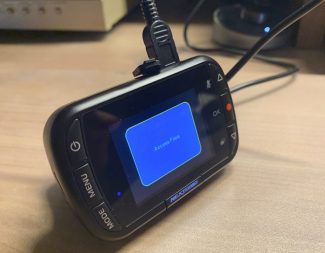
If you want to review or saved the footage on your computer, it’s easy to do. The Click&Go PRO mount lets you pop the camera off. Connect it to your PC with the included USB cable and it mounts as a drive, loaded with AVI files that can be played or copied at will.
Is this your new dash cam?
I like the fact that the Nextbase 122 is so easy to set up, install and get up and running. Few dash cams I’ve used make it as easy to pocket the camera the way the Click&Go PRO mount does. The biggest knocks against this dash cam are its low resolution video and lack of extra features—like GPS, wireless smartphone connectivity, and driver alerts.
If you want something more capable, with 1080p or higher resolution, Nextbase offers other choices. But if all you need is a solid, easy-to-use entry level dash cam, the Nextbase 122 is well worth considering. Just don’t forget to pick up a microSD card to go with it.

