
 Everyone knows you can walk into any grocery store and buy a bag or box of pasta, and there’s no limit to the different kinds you can choose from if you’re making a pasta dinner. But if you’ve never tried to make your own pasta, you’re missing out on an amazing experience.
I’ll admit it; when I first thought about making pasta I was under the impression it was a really hard thing to do, but since I’ve had the pleasure of trying out a few pasta makers over the past few months, I know how easy it is to make pasta like spaghetti, macaroni, and rotini.
If you can make a ball of dough in your KitchenAid stand mixer with eggs, flour, and salt, you can easily whip up a pasta dinner for four with the KitchenAid Pasta Press. This is the last attachment in a series of KitchenAid attachment reviews I’ve done over the past few months, and although I’ve loved them all for different reasons, this one surprised me with how easy it was to use and how much I enjoyed using it.
I spent a few hours making macaroni with the KitchenAid Pasta Press. Here’s what I thought of the process and how it works.
KitchenAid Pasta Press makes pasta, simply
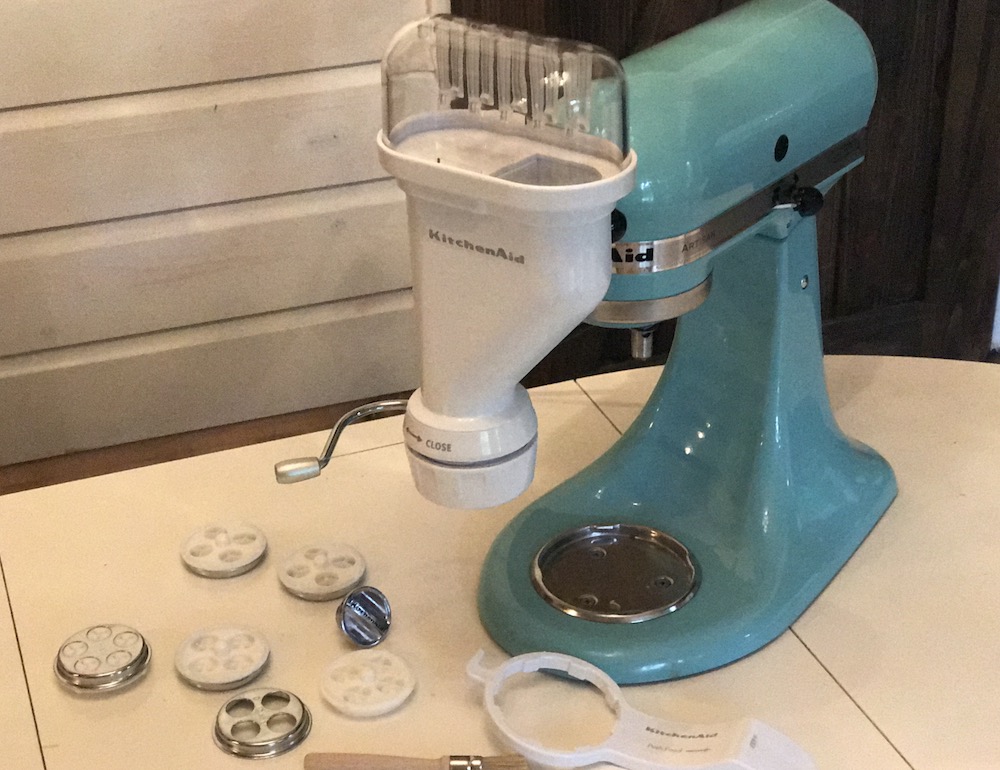
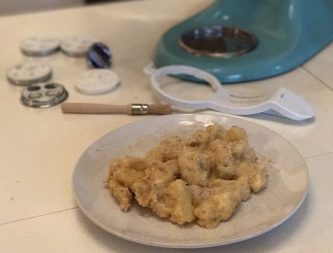
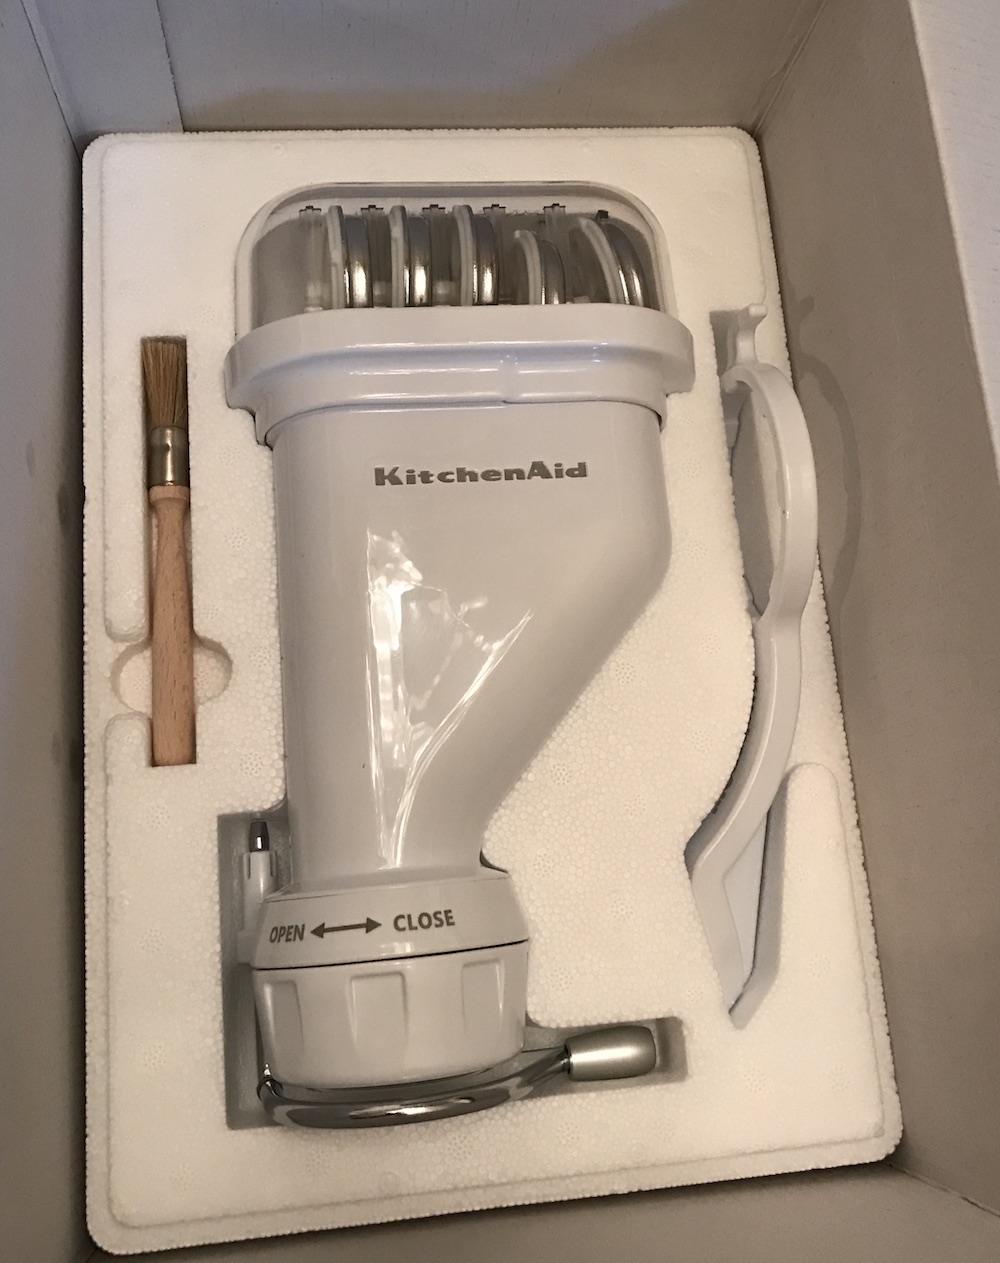 The KitchenAid Pasta Press looks like most pasta makers I’ve tried. It’s made from sturdy plastic, has an area where you drop the balls of dough to be pressed, and includes a combination tool you can use to push the pasta through and undo the pasta plates from the attachment. It also has a brush to clean the excess pasta dough off the plates.
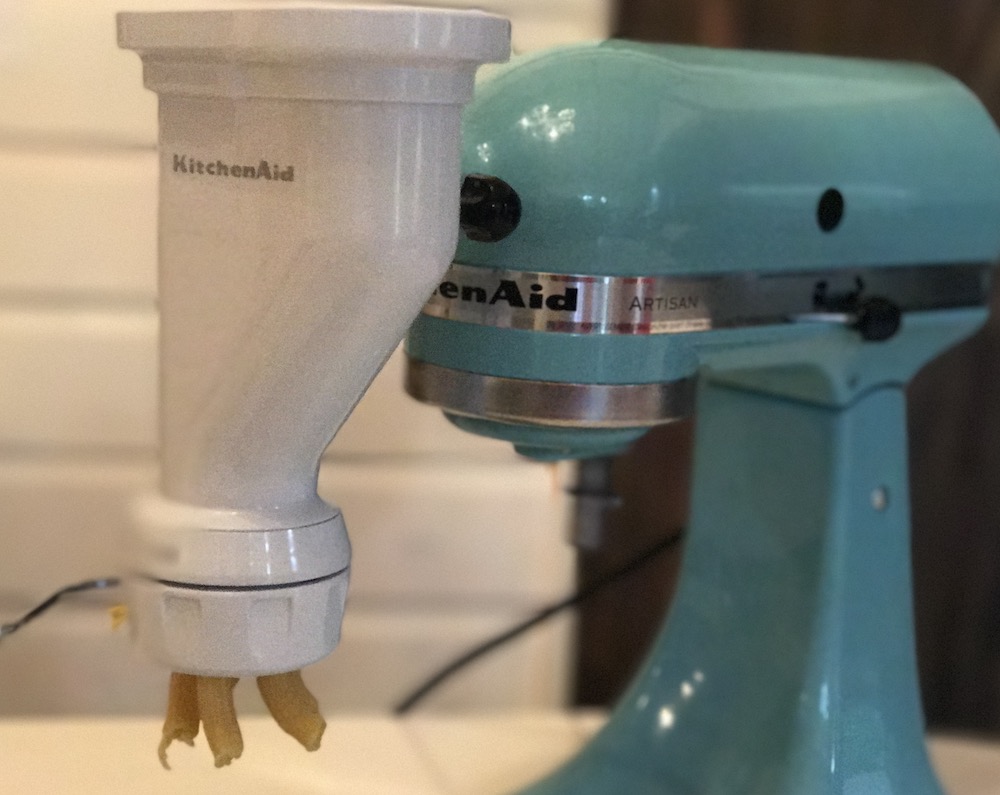
What makes the KitchenAid Pasta Press stand out is the integrated wire cutter that slices the noodles off the plate as soon as they are pushed through. This is the first pasta maker I’ve tried that has that, and it makes slicing your noodles clean and easy.
Using the KitchenAid Pasta Press
 You’ll need a KitchenAid stand mixer to make your own pasta with the KitchenAid Pasta Press, and it’s compatible with all types of KitchenAid stand mixers.
To attach the Pasta Press you just need to undo the cap on the front of your stand mixer, pop the attachment on, tighten the bolt, and you’re ready to make pasta.
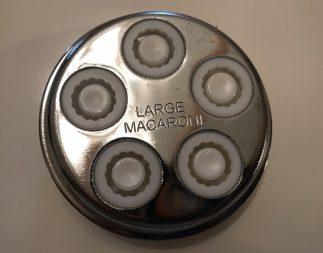
There are 6 pasta plates included with the KitchenAid Pasta Maker: spaghetti, rigatoni, bucatini, fusilli, large macaroni, and small macaroni. To use one you just remove the cap at the bottom of the pasta press, put the plate you’d like to use in the cap, and attach it to the pasta press.
Pasta dough recipe
 Once your plate is attached, you can start pushing your dough into the pasta press. I found a great pasta dough recipe on Mariobatali.com you can try to make your own pasta. You can make it using his directions, but I like to use my stand mixer to put it together.
Pasta dough recipe
Ingredients
4 cups All-Purpose Flour
4 large Eggs
Directions
Mound the flour in the center of a large wooden board. Make a well in the center of the flour and add the eggs. Using a fork, beat the eggs together and then begin to incorporate the flour; starting with the inner rim of the well. As you expand the well, keep pushing the flour up to retain the well shape (do not worry if it looks messy).
When half of the flour is incorporated, the dough will begin to come together. Start kneading the dough, using primarily the palms of your hands. Once the dough is a cohesive mass, set the dough aside and scrape up and discard any dried bits of dough.
Continue kneading for 10 minutes, dusting the board with additional flour as necessary. The dough should be elastic and a little sticky. Wrap the dough in plastic wrap and allow to rest for 30 minutes at room temperature before using.
How to press your pasta dough
 When you’ve got your pasta dough ready, form it into several small balls. That makes it easier to feed through the pasta maker.
To make large macaroni I put the stand mixer speed to 6. I’ve read that if you make spaghetti you may want to turn it up to 8 so it feeds through easier.
Once I placed my pasta dough into the pasta press, I pushed it down using the combination tool. The pasta dough shouldn’t stick to the sides at all, instead moving straight down and out of the pasta press.
It took a minute of adding dough, pushing, and watching before the macaroni noodles came out, and when they did I immediately sliced them off with the wire cutter. Having that wire cutter built in makes it so easy to slice noodles, and I was seriously impressed with how the pasta started falling to the plate.
I wasn’t as quick to slice some macaroni curls, so some were longer than others, but overall I managed to get the hang of it within a few minutes. I think if I made it again I would focus 100% on the pasta coming through and not get distracted by adding more dough to the machine.
 Once the macaroni was pressed I put it on a cookie sheet to dry. You can cook it right away, but I let it sit for an hour before I boiled it for 7 minutes. Once it was boiled I made a cheese sauce, tossed the pasta in it, and baked it in a cast iron pan for ½ hour.
The result was, according to the family, the best mac and cheese I’ve ever made. There’s a real taste difference between fresh pasta and the stuff you get in the store, and because you make it yourself you can also use organic or gluten-free flour and organic eggs.
Cleaning the KitchenAid Pasta Press
Clean up is pretty simple. The KitchenAid booklet included in the pasta press recommends you let the pasta plate dry before you try to remove the pasta, and I’ve found that’s the easiest method. Once it’s dry you can tap the plate to dislodge the chunks of remaining pasta and then use the brush to remove the rest.
The actual pasta press is not dishwasher safe but you can remove the corkscrew inside and wash it and all of the plates are dishwasher safe too.
Making pasta with the KitchenAid Pasta Press is so easy, you’ll never buy a bag of dried pasta again. Take a look at the KitchenAid Pasta Press on Best Buy, and be sure to check out all of my other attachment reviews.


