Nintendo Labo is here
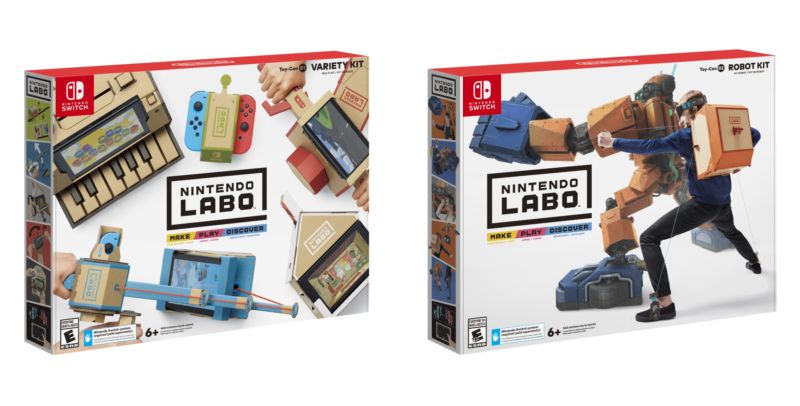
Nintendo Labo is here, and I’ve spent the better part of the last week testing the company’s latest innovative product line. In a nutshell, Labo combines the fun of do-it-yourself products with innovative new video game experiences. It’s a one-of-a-kind idea that could only come from the creative minds at Nintendo.
At launch, Nintendo Labo comes in two unique kits: the Nintendo Labo Toy-Con Variety Kit and the Nintendo Labo Toy-Con Robot Kit. There is also a Nintendo Labo Customization Set, which comes with stickers and stencils to customize your creations. My review will focus on the Variety and Robot Kit, as those were the two I had access to. Let’s take a deep dive into what exactly Nintendo Labo is!
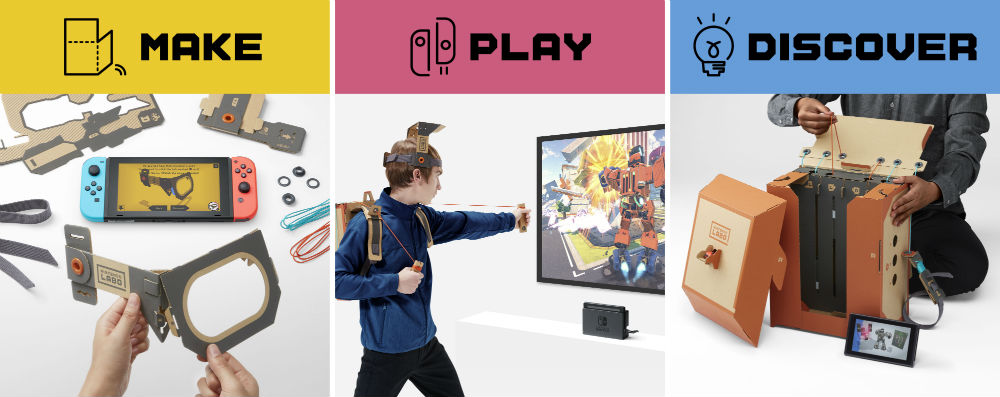
Make, Play, Discover
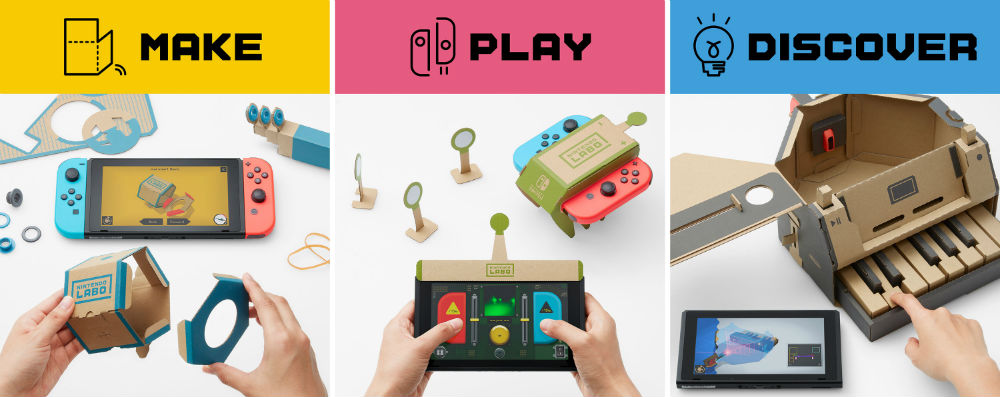
At the heart of Nintendo Labo, it’s all about Make, Play, and Discover. Inside the kits you’ll find everything you need to build creations, play with them, and then discover what’s under the hood. Tangibly, this includes sheets of cardboard used to construct Toy-Cons, and Nintendo Switch software featuring interactive games. The software also includes the Toy-Con Garage, an application used to custom program your toys.
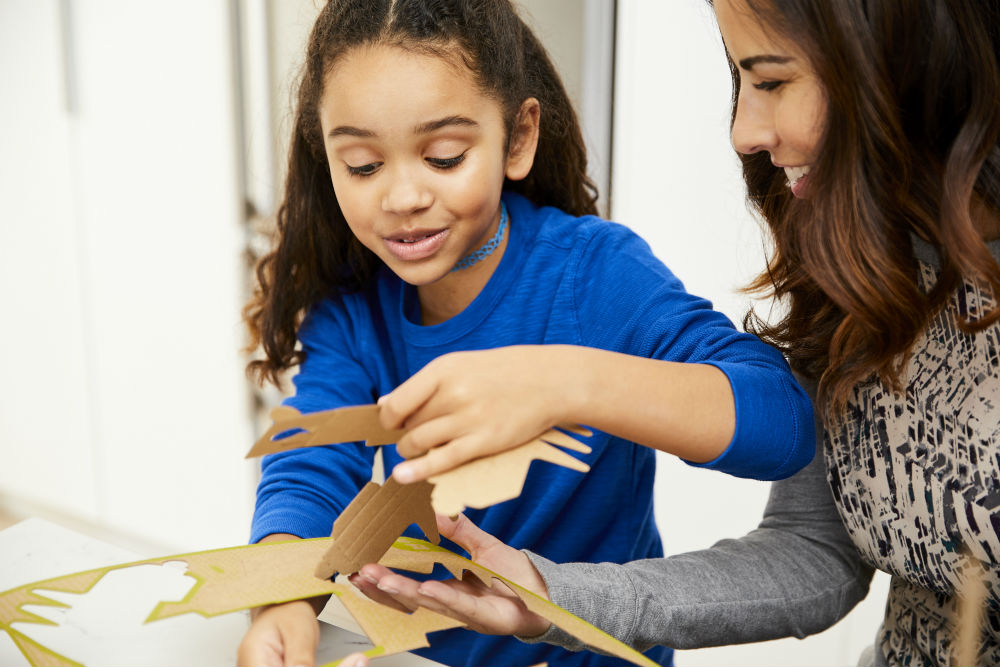
To help make building easier, the cardboard sheets are labelled and colour coded. It’s necessary, too, considering some Toy-Cons are quite elaborate and can take an hour or more to build. Make sure you hold back from immediately punching out the cardboard pieces—there’s a very specific order in which to do things.
Conveniently, building instructions are on the game cartridge as well, replacing the usual clumsy paper booklets you tend to find. There are major advantage to having digital instructions, such as being able to rewind or fast-forward using the touchscreen. During each building step you can also spin a virtual model around right on-screen, in case you’d like to view the step from another angle. Nintendo has really done an excellent job making the building process easy and fun!
Toy-Con #01 – Variety Kit
To begin my Nintendo Labo journey, I decided to jump straight in with the Variety Kit. There are five Toy-Con creations to build within the kit, ranging in complexity from simple to moderately challenging. On the easier side is RC Car Toy-Con, taking about 30 minutes to construct, all the way to the piano that took me well over two hours.
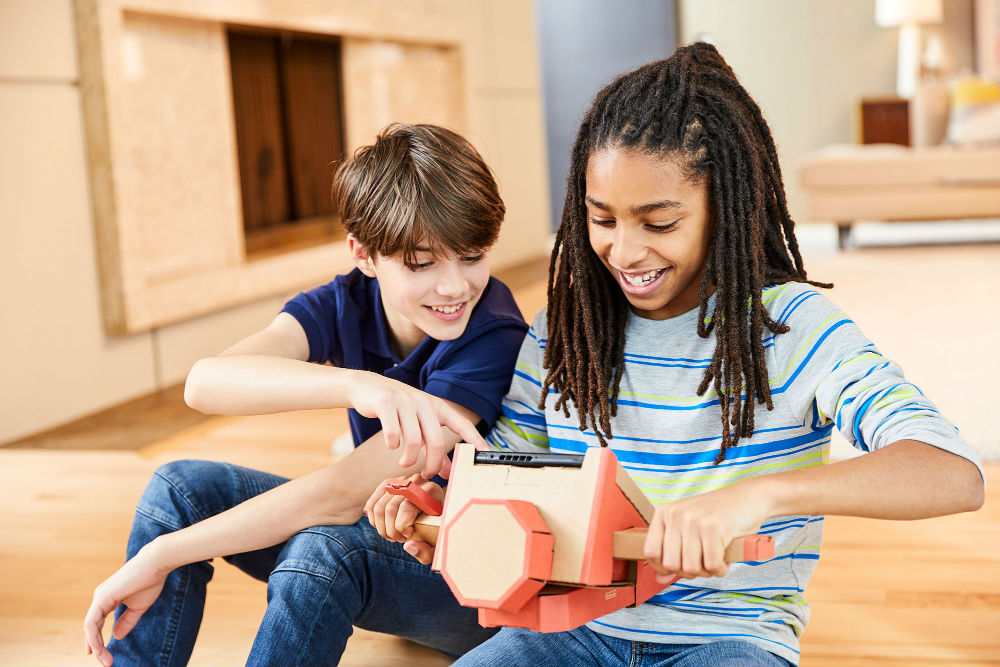
A question I had in my mind during the building was whether or not the cardboard Toy-Cons would hold together well. To my pleasant surprise they do, and that has a lot to do with sturdy ways the various pieces fit together. There are lot of tabs that get inserted into other pieces, and dodads like strings, grommets, and rubber bands help bond the cardboard together. We all know that in the hands of young ones toys can get damaged though, so I suggest hanging onto the cardboard stencils. That way you can easily cut out your own replacement piece if you ever need to. I certainly put each Toy-Con through its paces and each held together strong even after several hours of use.
Let’s take a closer look at the Variety Kit Toy-Cons individually now:
RC Car Toy-Con
For this you build an RC Car and then insert the Left and Right Joy-Con into it. Using touch screen controls on your Nintendo Switch console you’re able to control the car’s movement. What I find so neat about this Toy-Con is car movements use the HD Rumble feature in the Joy-Con controllers. Minute vibrations of the controller move the car in your desired direction. Cool!
Fishing Rod Toy-Con
With the Fishing Rod you’ll construct a medium-sized rod with an active, rotating reel. As well, a string (which acts as the fishing line) connects the Fishing Rod to a cradle holding your Nintendo Switch console. You can then cast your line and catch exotic fish swimming on your Switch screen. A vibration in the reel means you’ve caught a fish, and then you tug the rod upward and crank the reel to complete the catch. I’m very impressed with how lifelike and convincing the whole experience was.
House Toy-Con
The House is one of the more complex builds, but it’s well worth the effort. After building the House you can insert various assembled blocks into openings in the sides and bottom, and this lets you interact with a cute creature on the Nintendo Switch screen. You can play games with it, pet it, feed it, and much more. To add a little tech wizardry into the mix, the inserted blocks are detected by the IR Motion Camera on the Right Joy-Con placed on top of the House. Pretty neat!
Motorbike Toy-Con
The Motorbike tasks you with creating handlebars used to drive a motorbike on the Nintendo Switch screen. Joy-Con Controllers are inserted into either side of the handlebars, are and used to detect your movements. Pressing the ignition button starts your bike’s engine, while twisting the right handle activates the throttle. Leaning your body or turning the handlebars left and right controls the motorbike. Once again, I was very impressed with how realistic the whole experience felt.
Piano Toy-Con
After assembling a pretty elaborate 13-key piano and inserting the Nintendo Switch console and Joy-Con, you can experiment with your own musical creations by pressing different keys. You can even insert different assembled knobs to create new sound effects and tones. These include cats meowing, an old man, and notes that sound like they’re coming from under water. This is the most elaborate Toy-Con in the Variety Kit, taking about two hours to create. It’s pretty awesome seeing it all come together as a fully-functional piano!
Toy-Con #02 – Robot Kit
This next Toy-Con, numbered 02, is called the Robot Kit. It’s much more focused than the Variety Kit, offering one large, elaborate robot Toy-Con creation. You build an entire wearable Robot suit, which includes a visor, main body, hands, and feet. The whole process took about three hours to complete.
How the Robot suit works is you insert the Left and Right Joy-Con into the designated spots. One slots into the backpack, while the other the wearable visor. You can then control the Robot, which is shown on your TV when the Nintendo Switch is docked. A variety of fun gameplay experiences are available, including Robot mode where you destroy buildings and UFOs. By putting on the visor you can move yourself into first-person mode and pretend you are the robot. It’s a really cool effect and the transition is very seamless. If your child is looking for a nice challenge, building the Robot will give them just that!
Program your Toy-Cons in the Workshop
Once you’ve built your Toy-Con and had a chance to play with it, more fun can be found in the Toy-Con Workshop. This lets you customize the actions of your Toy-Cons, or even combine the actions of two Toy-Cons together. It’s very simple to do: you connect nods on your Switch screen and program in various actions. Doing this I was able to make the Motorbike handles steer the RC Car. Instead of using the Nintendo Switch touchscreen for movement, I moved the car by tilting the cardboard handlebars. This was where I realized that Nintendo Labo has potential way beyond simply following the instructions set out by Nintendo.
Moreover, the Toy-Con Workshop lets you peak under the hood to see how your Toy-Cons work. With its focus on programming, engineering, and creativity skills, Nintendo Labo seem built for learning. Specifically, it teaches valuable STEM skills, sparking interest in science, technology, engineering and mathematics. Nintendo Labo also encourages DIY projects, letting children explore creative ways to build and interact with their toys.
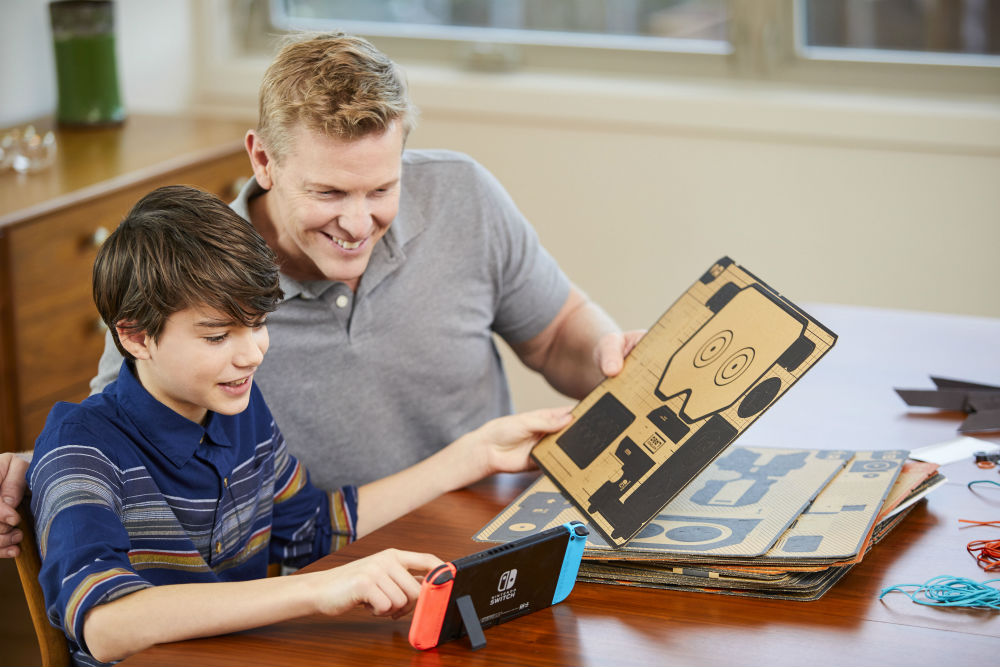
After spending several days with Nintendo Labo I’m hooked. It’s so much fun to build Toy-Con creations, play with them, and then start programming them. There really is unlimited potential here and it’s a great way for children to learn about STEM.
If you picked up Nintendo Labo, let me know in the comments below what your built and your thoughts!
Get the Nintendo Labo Toy-Con Variety Kit and Nintendo Labo Toy-Con Robot Kit today!


