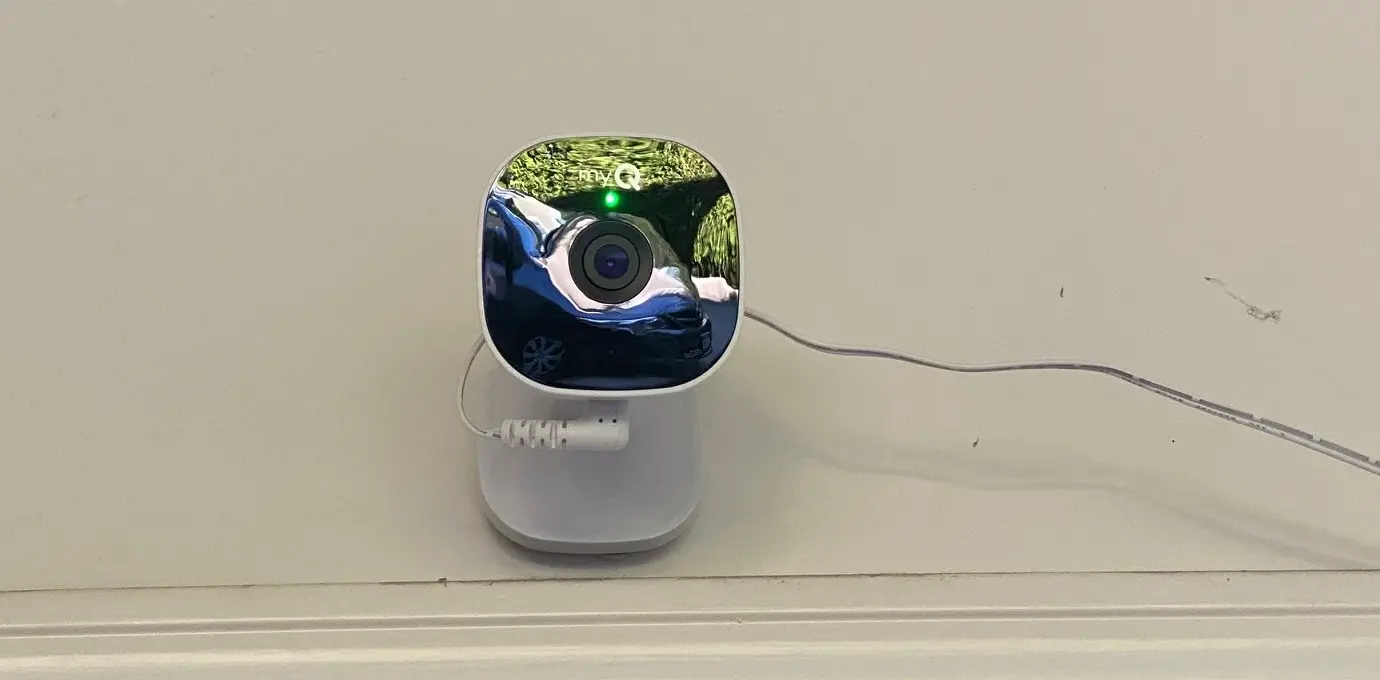
The Chamberlain myQ Smart Garage Camera is a security solution to add inside, or around your garage. It works as a functional standalone IP Camera or partners with a myQ Garage Door Opener to provide efficient video coverage of your garage. In this review, I’ll be taking a look at whether this camera is a good fit for you. For context, I already own the Chamberlain myQ Garage Door Opener (with the camera) and have owned two of the Smart Garage control devices over the last decade, so I’ve already been wowed by their products a couple times. I’m hoping for more of the same.
Unboxing the Chamberlain myQ Smart Garage Camera
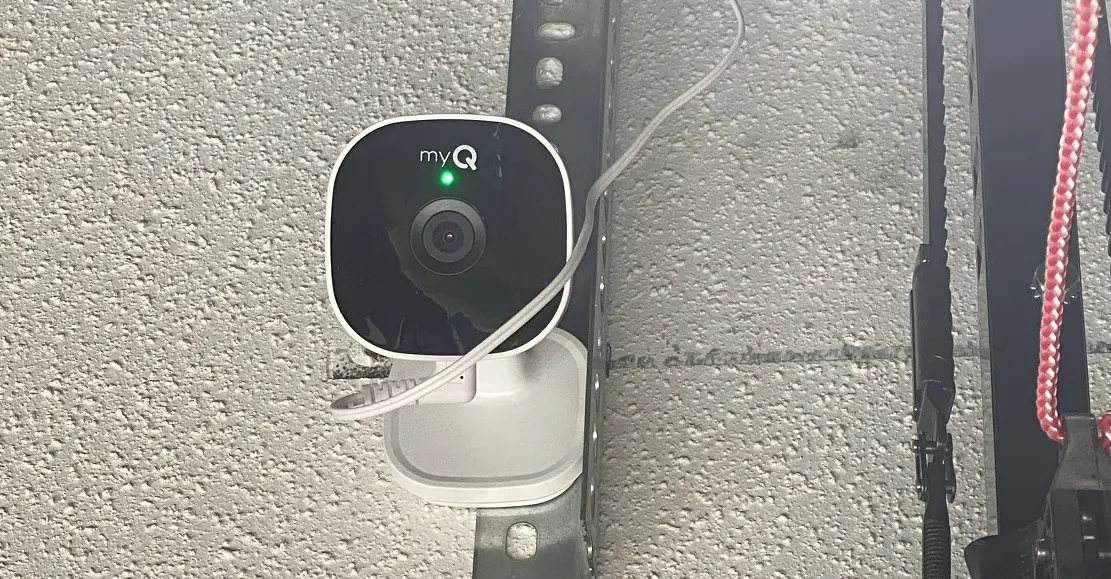
There isn’t much inside the box, and there is very little assembly required. You get the camera, AC Power adapter, a mount, and a cleaning wipe. The camera comes ready to go, and the mounting bracket is literally an adhesive that sticks to your wall (and can be screwed into a stud or drywall anchor for added support.)
The camera has a magnetic base, so you don’t even have to use the mount if you have a surface to attach it to (for example, mounting brackets of your garage door opener or a magnetic tool wall.) Don’t mount your camera just yet though.
Setting up your myQ Smart Garage Camera
Chamberlain’s myQ products are among the easiest smart products in the market to set up, so don’t expect much of a challenge here. This camera is no exception. If this is your first Chamberlain product, you’ll have to download the latest version of the myQ app in the iOS or Android App store. Once you’ve created an account, it will guide you through setting up your first device, which is a video solution.
In the absence of an account that it is already registered to, the myQ Smart Garage Camera will project its own local signal for the app to pick up. All you have to do at that point is register the device onto your Wi-Fi network, and then install the latest firmware update. All of this should take between 5 – 10 minutes. When the device is ready, it will show up ready on your home screen and the camera’s LED power light will be solid bright green. This camera comes with a Chamberlain 30 day cloud storage trial, which will automatically activate during installation. Existing Chamberlain myQ users should just go to their home screen, click the + icon on the bottom right hand corner and then Add new device > Video solution > Smart garage camera. You’ll then follow the same instructions to set it up.
If you’ve got a Chamberlain myQ Garage Door opener, you’ll need to link your new camera to it manually. To do this, click the little “…” menu at the bottom right hand corner of the camera’s preview thumbnail and select “Device Linking.” If your garage door opener is supported and is already in your myQ app, you can link it here.
What I quickly learned, however, is that my garage door opener isn’t supported. My opener already has a camera, and it doesn’t support a second one. The IP camera doesn’t see it as a device it can link itself to because of that, so the two run independently. In theory, disabling and removing the opener’s camera from the app could result in the new one being able to link to it, but I don’t know that this is a realistic scenario. You’re better off running this as a separate standalone device that covers the areas of your garage the opener’s camera does not.
In terms of mounting this, the camera only weighs 280 grams and its magnet base is pretty strong, so it’s unlikely it will randomly fall off a magnetic surface if you choose not to install it with the mount. The ease of installing this means that I had it finished setup and on the wall in less than 90 seconds.
Where to place the myQ Smart Garage Camera
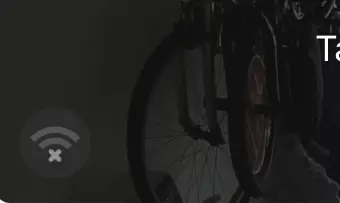
The camera is a touch limited in its filming radius. 130 degrees doesn’t sound all that limited on the surface, but I’ll explain more when I start talking about tracking features. The one thing that you will really want to ensure is that it’s placed in an area with a strong Wi-Fi signal. I found that no matter where I was placing this camera, the biggest thing that mattered was how strong the Wi-Fi signal was to support it. Without a strong Wi-Fi signal, you could miss activity tracking and will not be able to utilize real-time features of this camera reliably. In the myQ app, you’ll be able to track your camera’s Wi-Fi signal strength directly through the home page.
During this review, I placed the camera in three spots in my garage. Since I already have a camera in my garage door opener, I figured it wasn’t needed above head in the middle of the garage, so I started mounting it above where we park our sedan. This wasn’t a great option, as I had a surprising amount of signal interference that really kept me from taking full advantage of the features. We even had a delivery into our garage where my wife was standing talking to the delivery person and it didn’t register people or activity in the garage. I then moved it above the entryway into the house, and it was perfect there. I got all the notifications I expected I would (so many in fact that I had to turn the sensitivity down,) I got all the motion tracking I expected I would and I could live stream and use the two-way audio features at a moment’s notice. The last place I tried it was above my garage door opener, as if to simulate my current myQ opener’s camera. This ended up being the worst spot. I couldn’t get a reliable enough connection to do anything, and I suppose it could have been because of the garage door opener itself interfering with the signal, not to mention that our living room is right above the garage, so any number of electronic devices could have been interfering too.
Using the myQ Smart Garage Camera
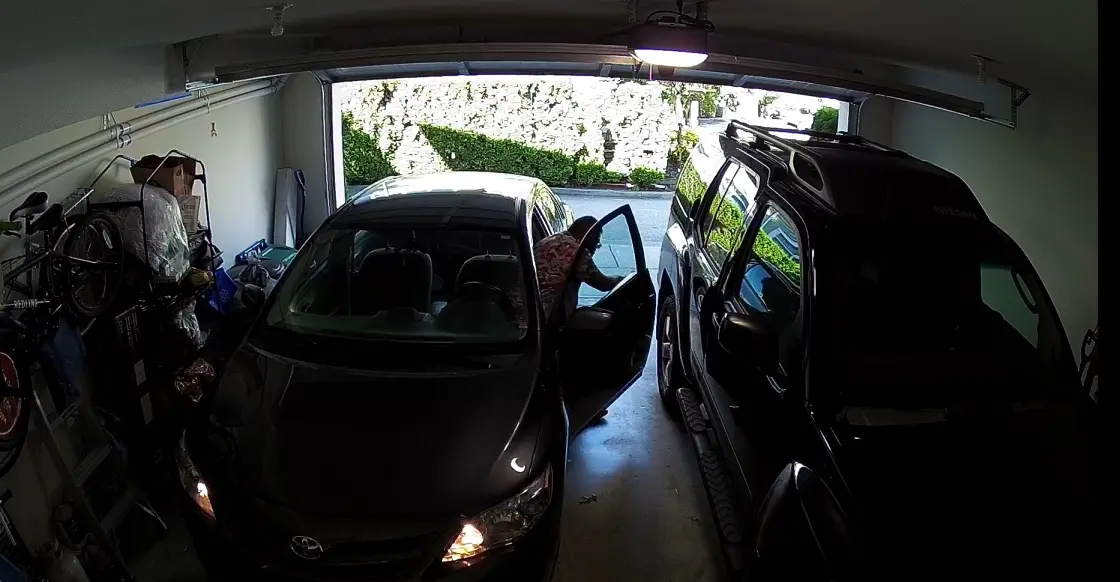
For its tiny size, you can expect quite a bit from this myQ garage camera. There are two main real-time features. You can live stream from the camera to your app, and you can conduct two way conversations too. If you have multiple devices running simultaneously, you can choose to run two-way audio from the one of your choice, which is perfect to avoid creating audio loops. There are adjustable people and motion activity trackers as well, with multiple levels of sensitivity. Each time an event is triggered, recording begins until the camera is satisfied that the event is over. If the camera thinks the event is ongoing for 10 seconds, it will only record that much. If it’s a minute, it’ll record that much. In my experience, these notifications are pretty spot on, day or night. The camera has automatic night vision enabled, but you can toggle it on or off if you wish. In addition, you can also flip the recording perspective, so if you are hanging it in a way that the camera needs to be broadcasting upside down (which is determined by the position of the myQ logo on the camera face,) you can just flip the recording and it will look proper once again. You can also position and mount the camera any way or direction you like as the arm attachment allows you to rotate the camera to face any way you need in order to get a clear shot.
If you have a smart wearable that is supported by myQ, you can also push notifications there in addition to your phone. Here’s an example of a movement notification pushed to my Apple Watch.
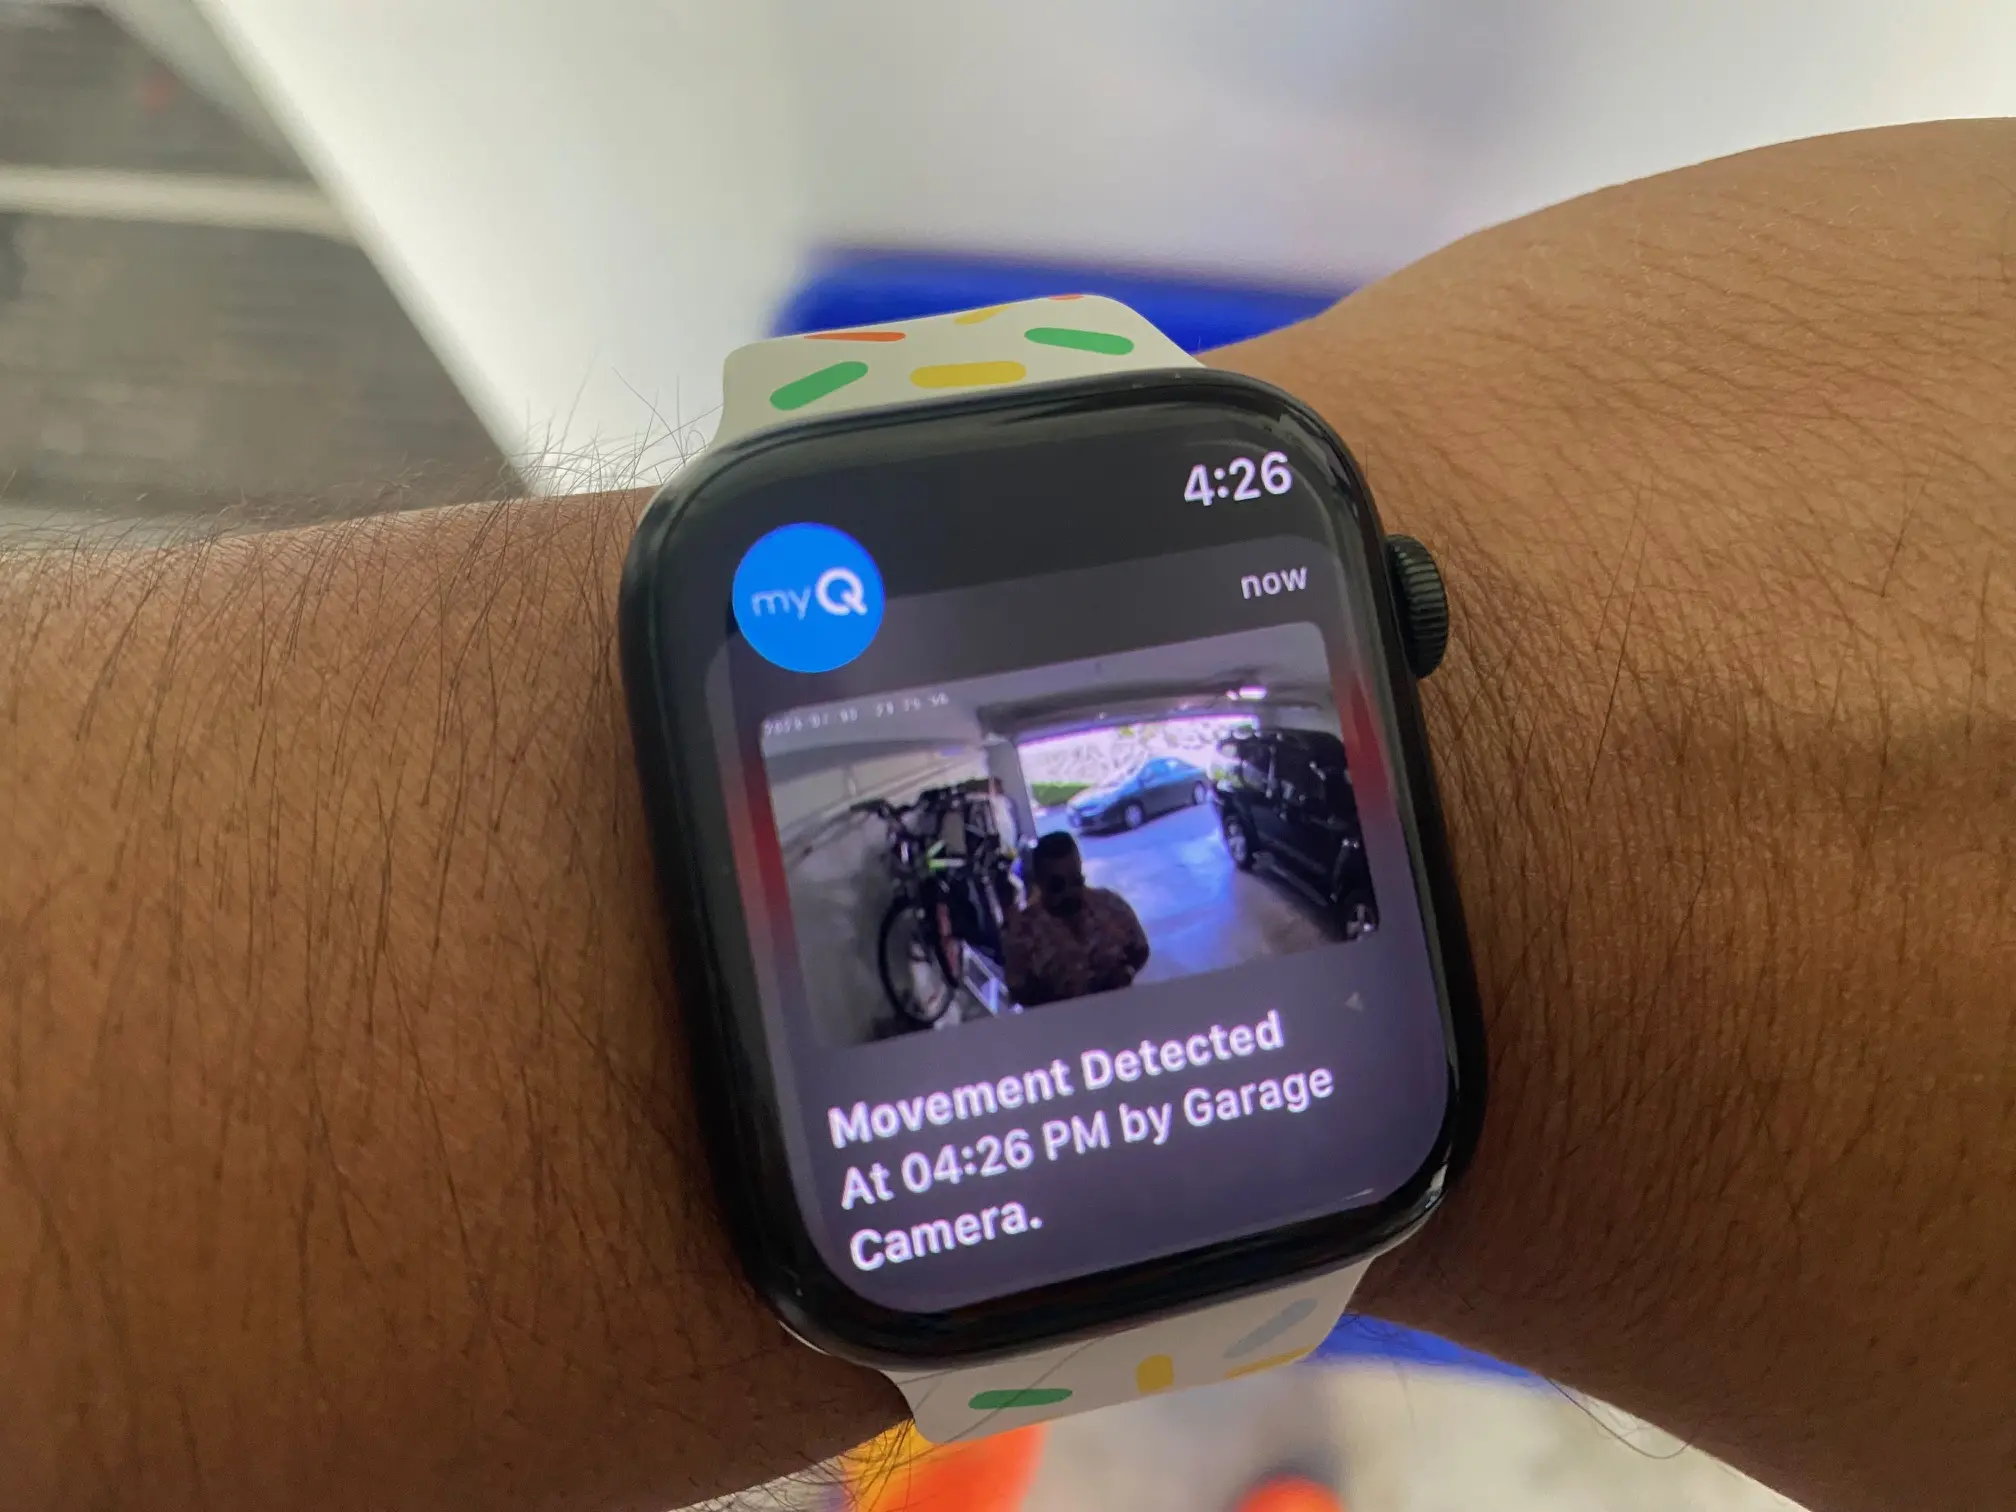
The video quality this camera outputs is great, be it real-time or recorded. In the accompanying video review, I show some activity recordings as proof. Facial captures are clear even from a few feet away and audio is really clean too.
myQ cloud subscription
The biggest downfall of this camera in my opinion isn’t performance-based at all. It’s the fact that you’re going to need a cloud subscription to keep up on its recording past your trial period. I ran into this issue with my garage door opener where I could still use the real-time features and two-way audio, but do not get any more recordings of people or cars entering the garage when the opener notifies me that the door is open. Expect the same of your myQ Smart Garage Camera. Without a cloud subscription, the usefulness of this camera is cut drastically.
I’m not going to lie. This camera is really good for its price point when it’s on its game, and offers a lot of bang for the buck. However, the features of the camera are only really at their best when you have a Chamberlain cloud subscription, so you’ll have to factor in the costs of that when you look at purchasing this. At the time of my writing this, the cost of a rolling 30 day cloud service is $140 annually, or $14 if you pay monthly. A 7 day service is $50 annually, or $5 if paid monthly.
If you are a Chamberlain device owner that already subscribes to their cloud service, they do have a multi-device subscription service which is available for the price of a single one, but to be on the safe side, you should subscribe to it through their website as the app implies that the sub you’re buying is for just that device.
Final thoughts
The myQ garage camera works really well when given a stable Wi-Fi connection to draw from, and it’s small enough that you can put it up out of reach somewhere and put it to work. It’s also got a great purchase price point for everything it comes with, but I’d only recommend this with caution and the reminder that you’re going to need to budget in a paid storage subscription as part of receiving the full and ongoing experience. If you already have a Chamberlain device (or devices) and a cloud subscription, this is a great and inexpensive addition inside your garage. Running it alongside other devices doesn’t hurt, and if something does happen, you’ll be capturing it from multiple angles. If the cloud subscription doesn’t appeal to you, following your free trial, your motion alerts will presumably only work in the moment, and an immediate live stream will be the only way you see who’s in the garage at the time. That kind of defeats the purpose of the device for me, as just like a dash cam, I think the biggest value is in the capture and retention of historical data for when something’s gone wrong.
The Chamberlain MyQ Smart Garage Camera is now available at Best Buy and online at BestBuy.ca


