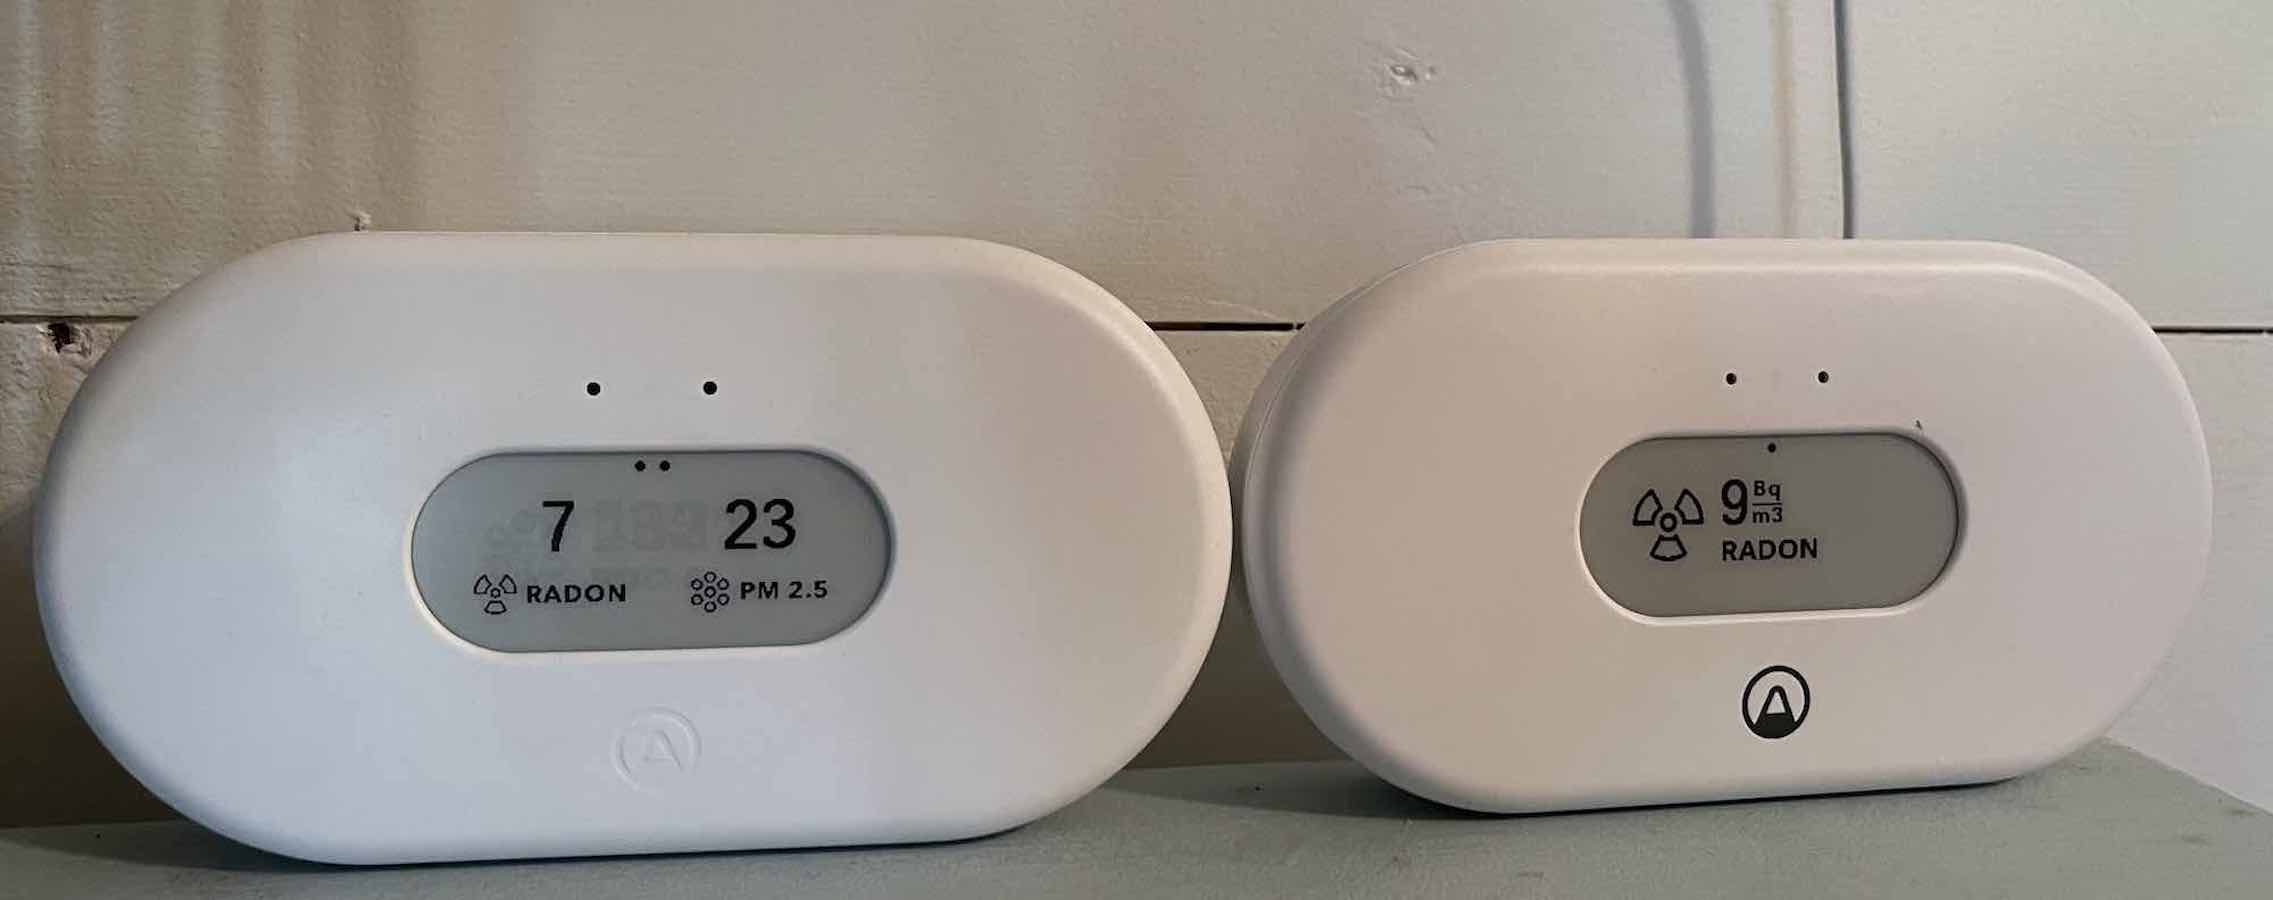
 While I run an air purifier in my bedroom to reduce allergens, I can’t say I’ve been really concerned about my home’s overall air quality. Part of me thought since I switched from a gas furnace to electric heat I would never have an issue with carbon monoxide or a lot of dust in the air, but my calm attitude toward my air quality flew out the window after I plugged in the Airthings View Plus monitor and the Airthings View Radon monitor. I had no idea what was in my home’s air, and now that I know, I want to keep monitoring it long-term.
Features of Airthings View Plus and View Radon monitors
 With Airthings View Plus and View Radon, you can monitor your home’s air quality via an easy-to-use display and the Airthings app. Both monitors connect to your home’s Wi-Fi network so you can check your air quality or radon levels from anywhere.
- View Plus has 7 sensors and monitors for radon, particulate matter (PM2.5), CO2, and more
- View Radon has 3 sensors and monitors for radon, humidity, and temperature
- Airthings app shows a history of your home’s air quality and uses graphs and colour-coded indicators to show what the air quality is like in your home
- The customizable display uses batteries and can be plugged into power
- The wave function lets you wave your hand in front of the display and a light will show you whether your air quality is good, fair, or poor
- Integrates with your smart home to give you voice control for your air quality monitor
What is radon and why should I monitor it?
Radon is an odourless radioactive gas that’s present in all homes. It’s colourless and occurs naturally in small amounts. It becomes a problem if radon is trapped inside after entering a building through cracks in your foundation or other holes.
If it does become trapped and you routinely breathe it in, radon can cause lung cancer. While you can look on a radon map to see if radon levels are high in your area, the only way to know if you have radon in your home’s air is by testing it. That’s where Airthings View Plus and View Radon come in.
Setting up Airthings View Plus and View Radon air quality sensors
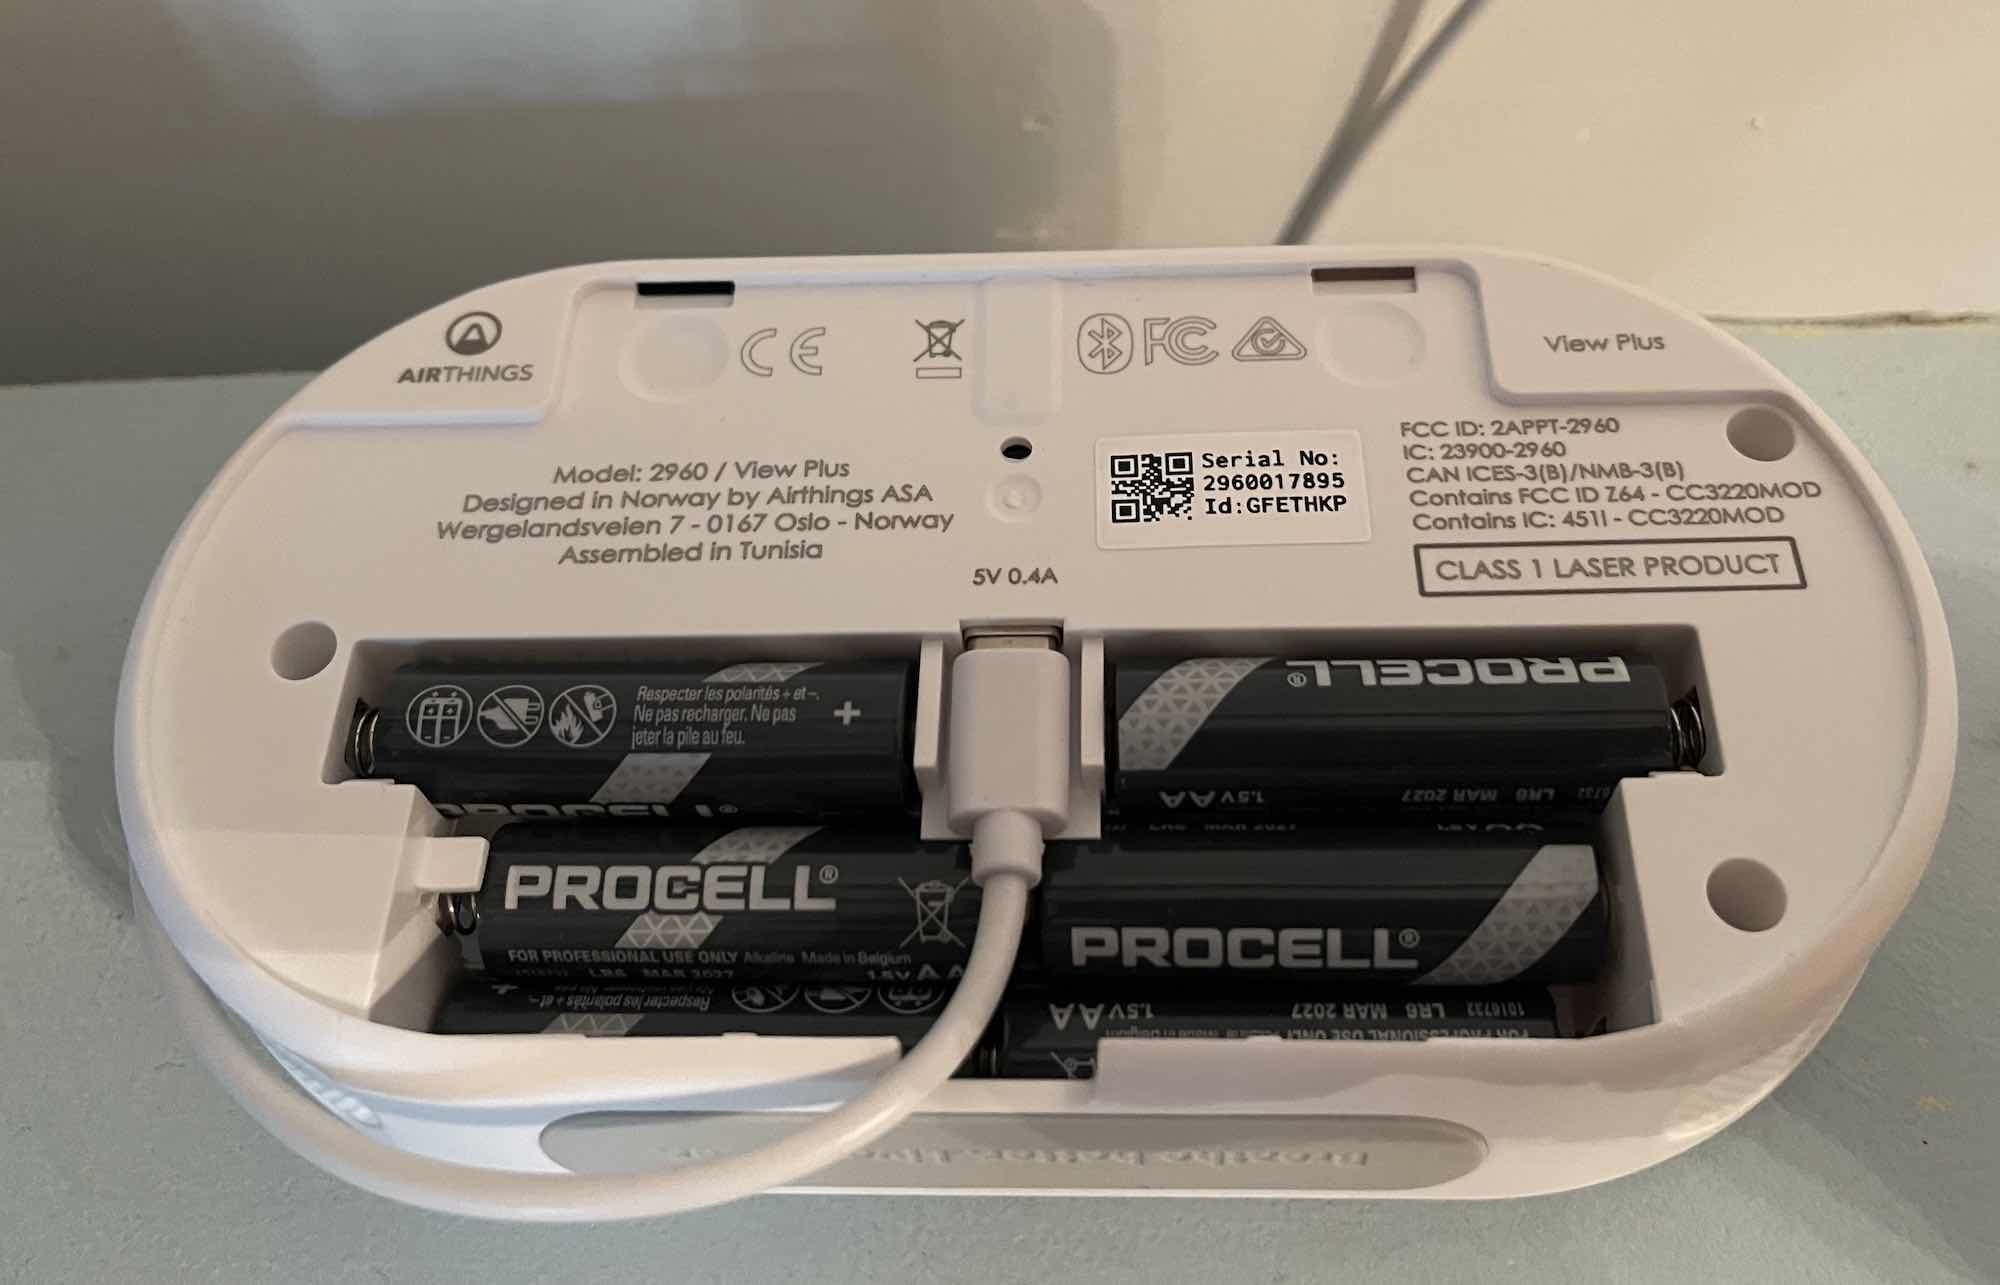 Airthings View Plus and View Radon air quality sensors are small displays that use batteries and have a cord to connect to power. There is no hard wiring or complicated setup required. You can put the batteries in the display, plug it into power, and begin monitoring your home’s air quality.
The Airthings display will let you know what your home’s air quality or radon levels are at a glance, but you can pair the Airthings monitor with the Airthings app and customize your set up. You’ll download the app, tap to add an air quality monitor, and the app will find your device. They pair very easily and I connected both to my home network in just a few minutes. Once the monitors are connected to your home’s Wi-Fi network you can monitor your home’s air quality or radon levels from anywhere.
Testing Airthings air quality sensors
You can view your air quality and radon levels right on the display, so you don’t have to use the app unless you want to see what your air quality is like when you’re away or if you want to see detailed graphs and other data.
Airthings shows you your home’s air quality at a glance
 |
 |
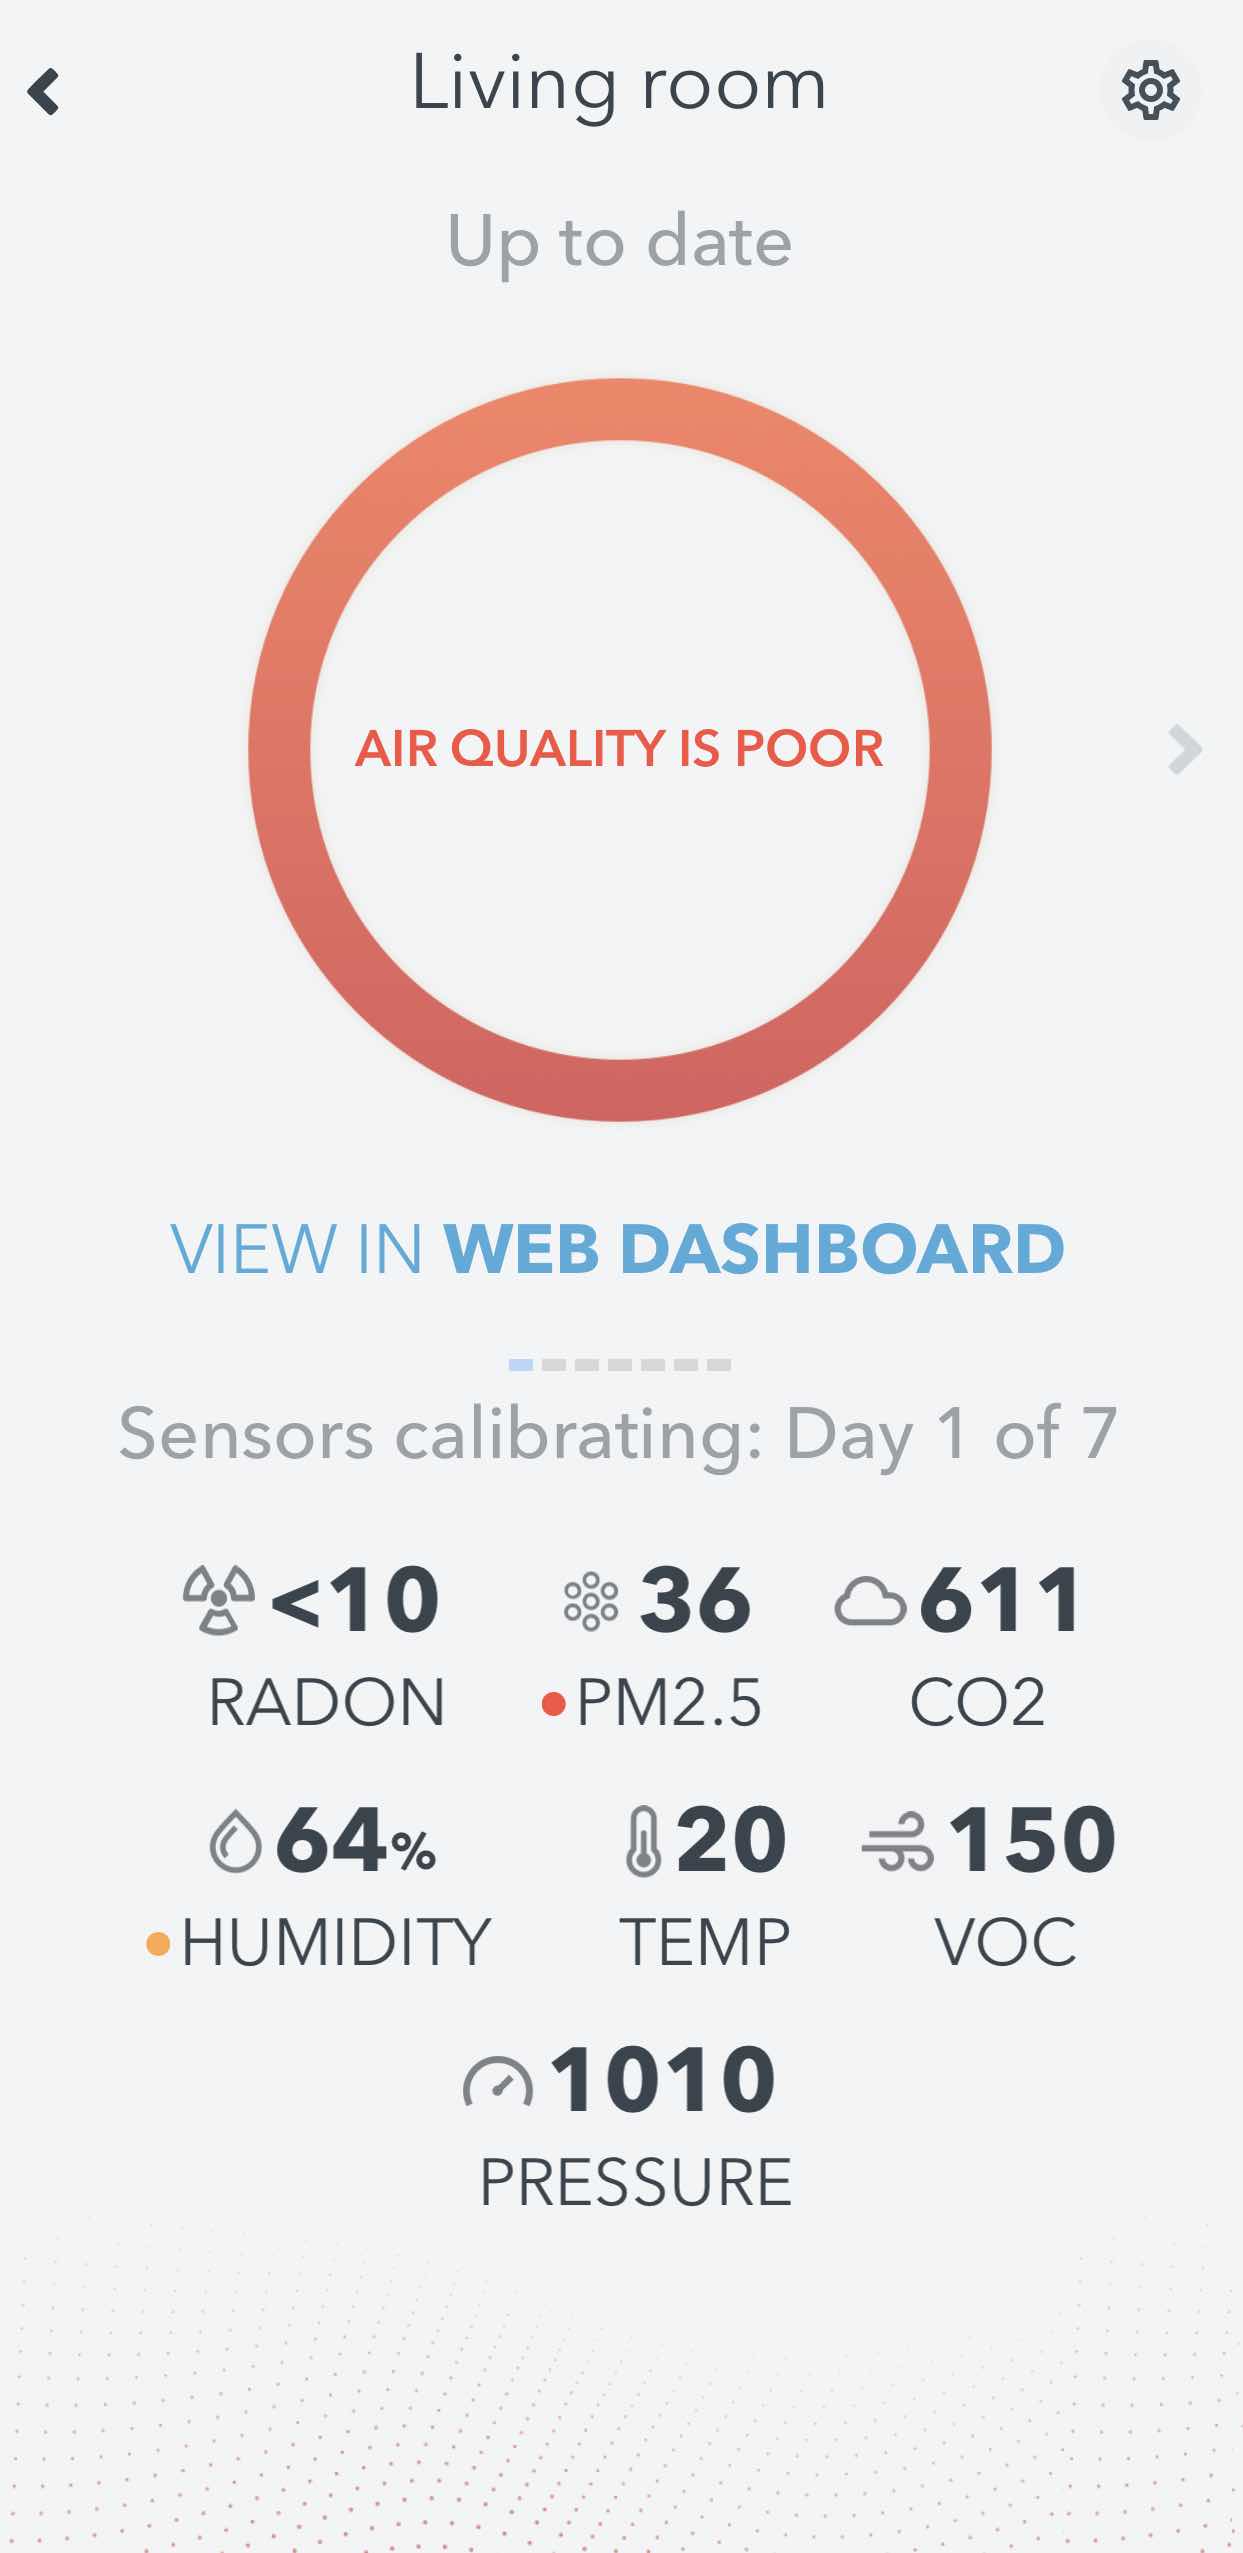
I put the Airthings View Plus in my living room and the View Radon in my bedroom. With 7 sensors the View Plus can test for the following.
- Radon:
- PM2.5: Particulate matter like dust, pollen, and spores that irritates lungs
- CO2: Carbon dioxide in high quantities can indicate amount of recycled air (and circulating viruses in the air), cause drowsiness, and impact productivity
- Humidity: High humidity can cause mold or spread viruses
- VOC: Volatile Organic Compounds are c
- Air pressure: Affects radon levels and can cause body aches
- Temperature: A look at your home’s temperature
The first thing I noticed when I started testing out the View Plus is that the air quality in my home isn’t that great. I’ve been in the middle of doing some long overdue maintenance on the floor and some walls, and I’ve been trying to clean up after to keep the dust low. I was also painting, because removing sections of the wall required a new coat of paint.
The Airthings View Plus picked up on the poor air quality right away, and it sent me a few alerts to my phone that the levels of PM 2.5 were too high. They are at 39 right now, but at one point they hit 186. That must have been when I was sanding the walls, sending dust into the air. After I painted, the VOC levels increased too. They are currently hovering at 149, but they hit 875 when I was painting. I had no clue the paint I was using had such high VOC.
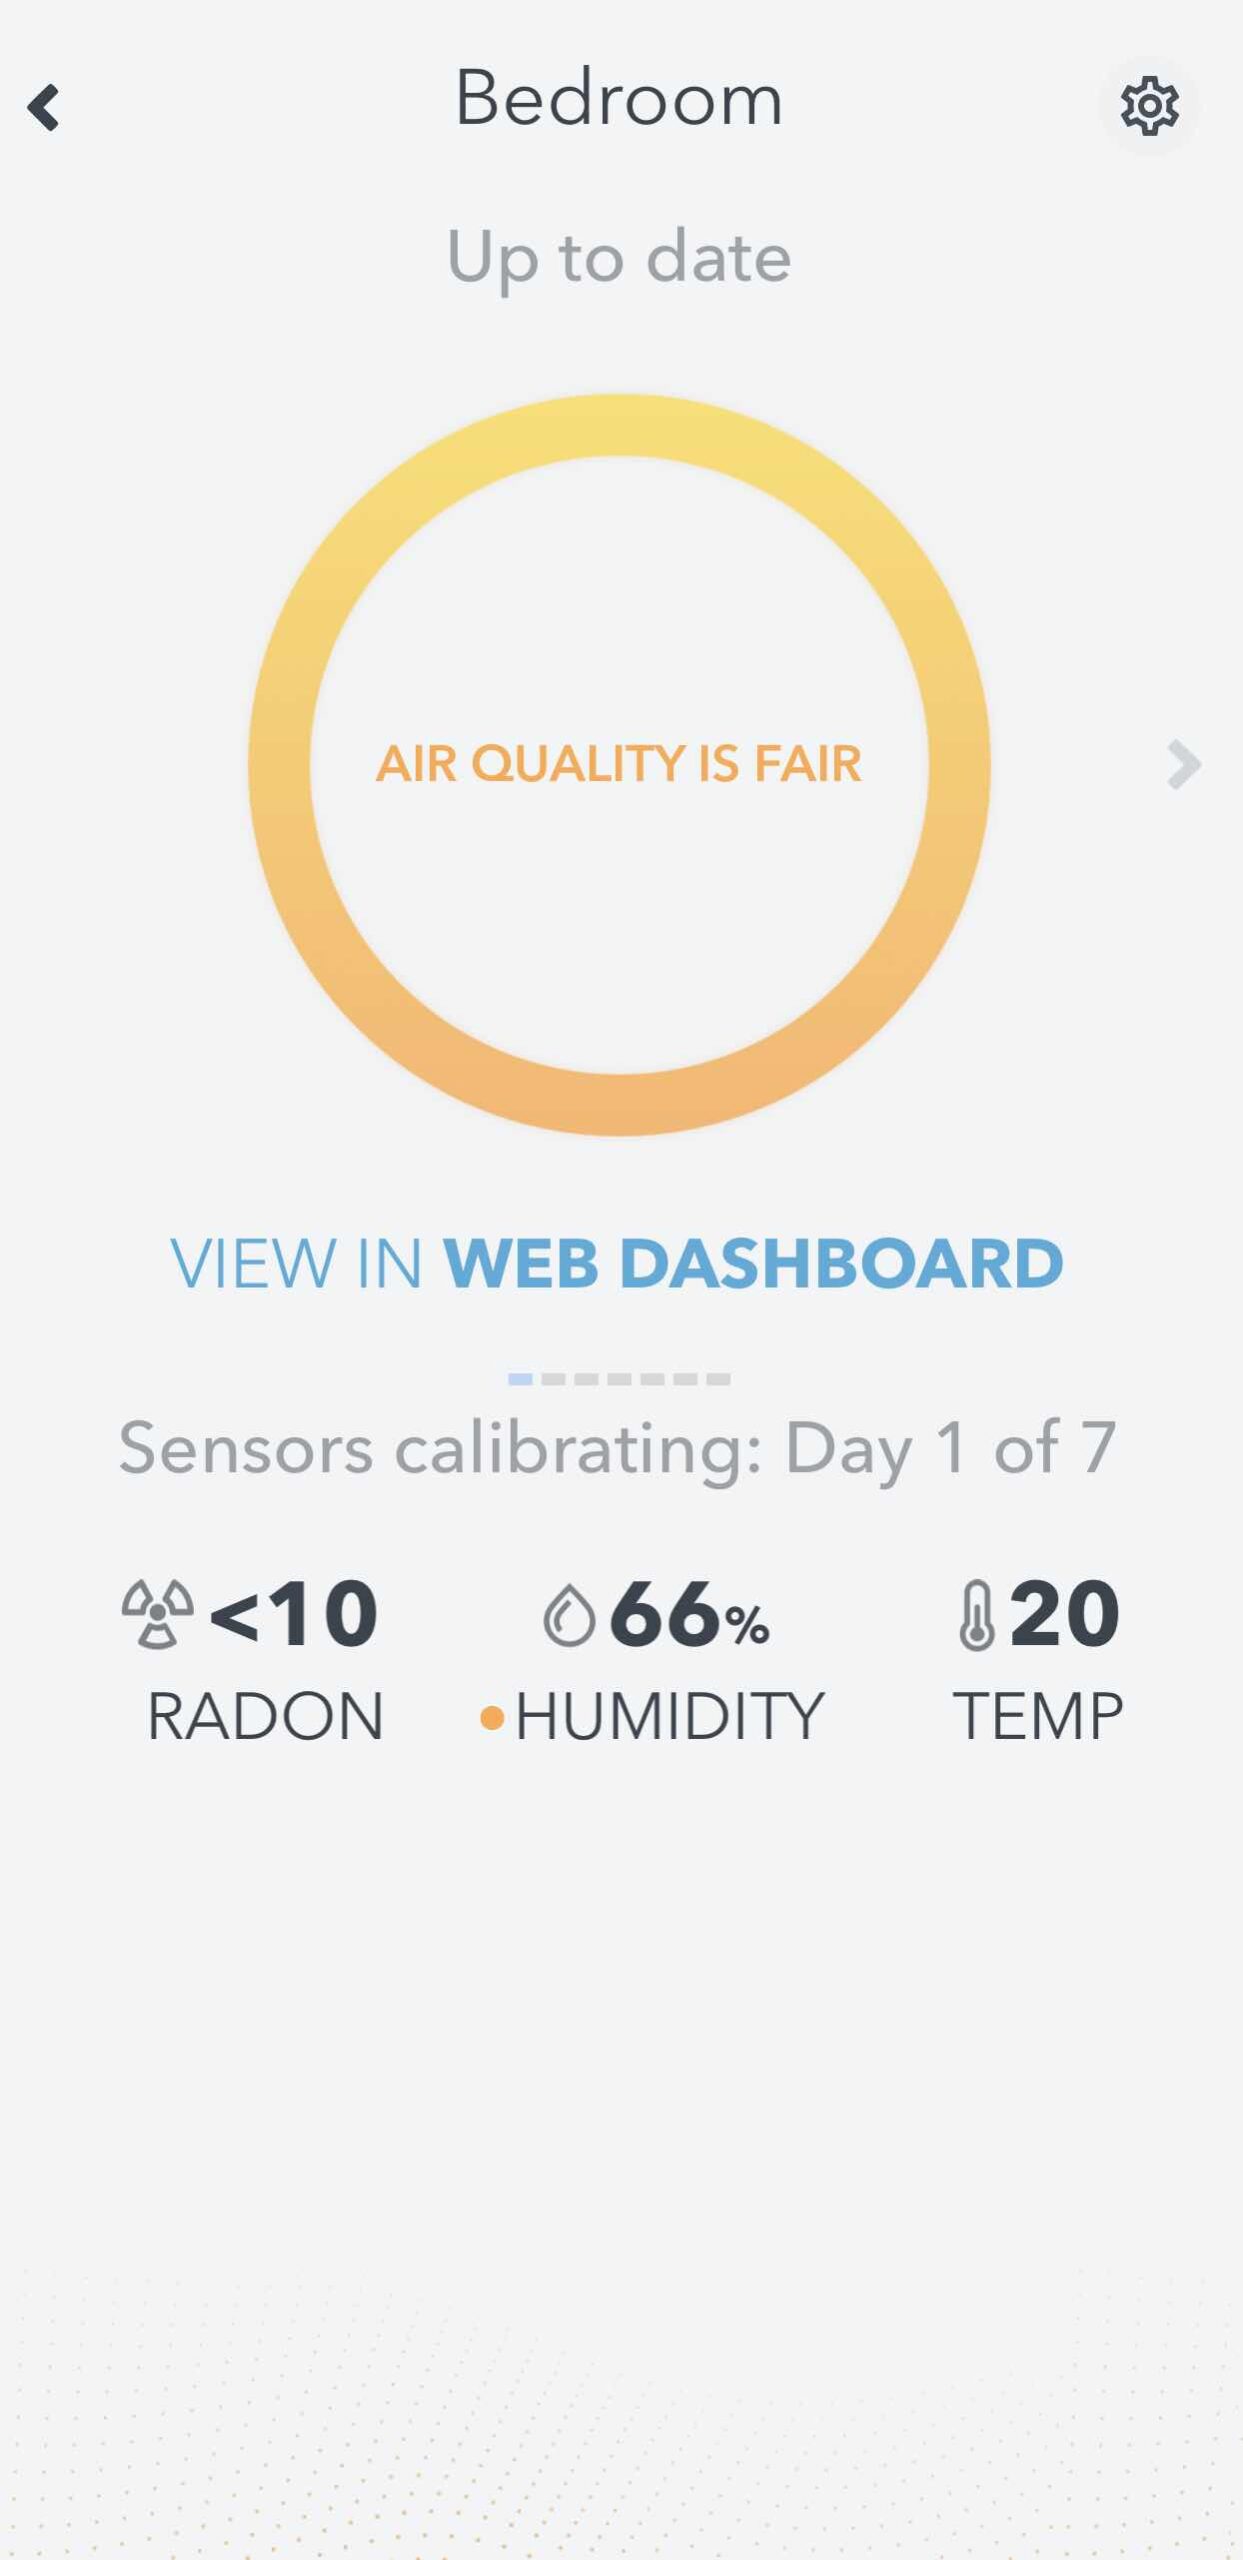
Thankfully, the monitors have only shown very low levels of radon. The Airthings View Radon was in my bedroom, and I was pretty surprised to see that the radon level in my bedroom was higher than in my living room. It has hovered around 9 while the living room has stayed around 4. I’m happy the level is still low enough that there are no issues I need to fix.
Wave to light up Airthings air quality monitors
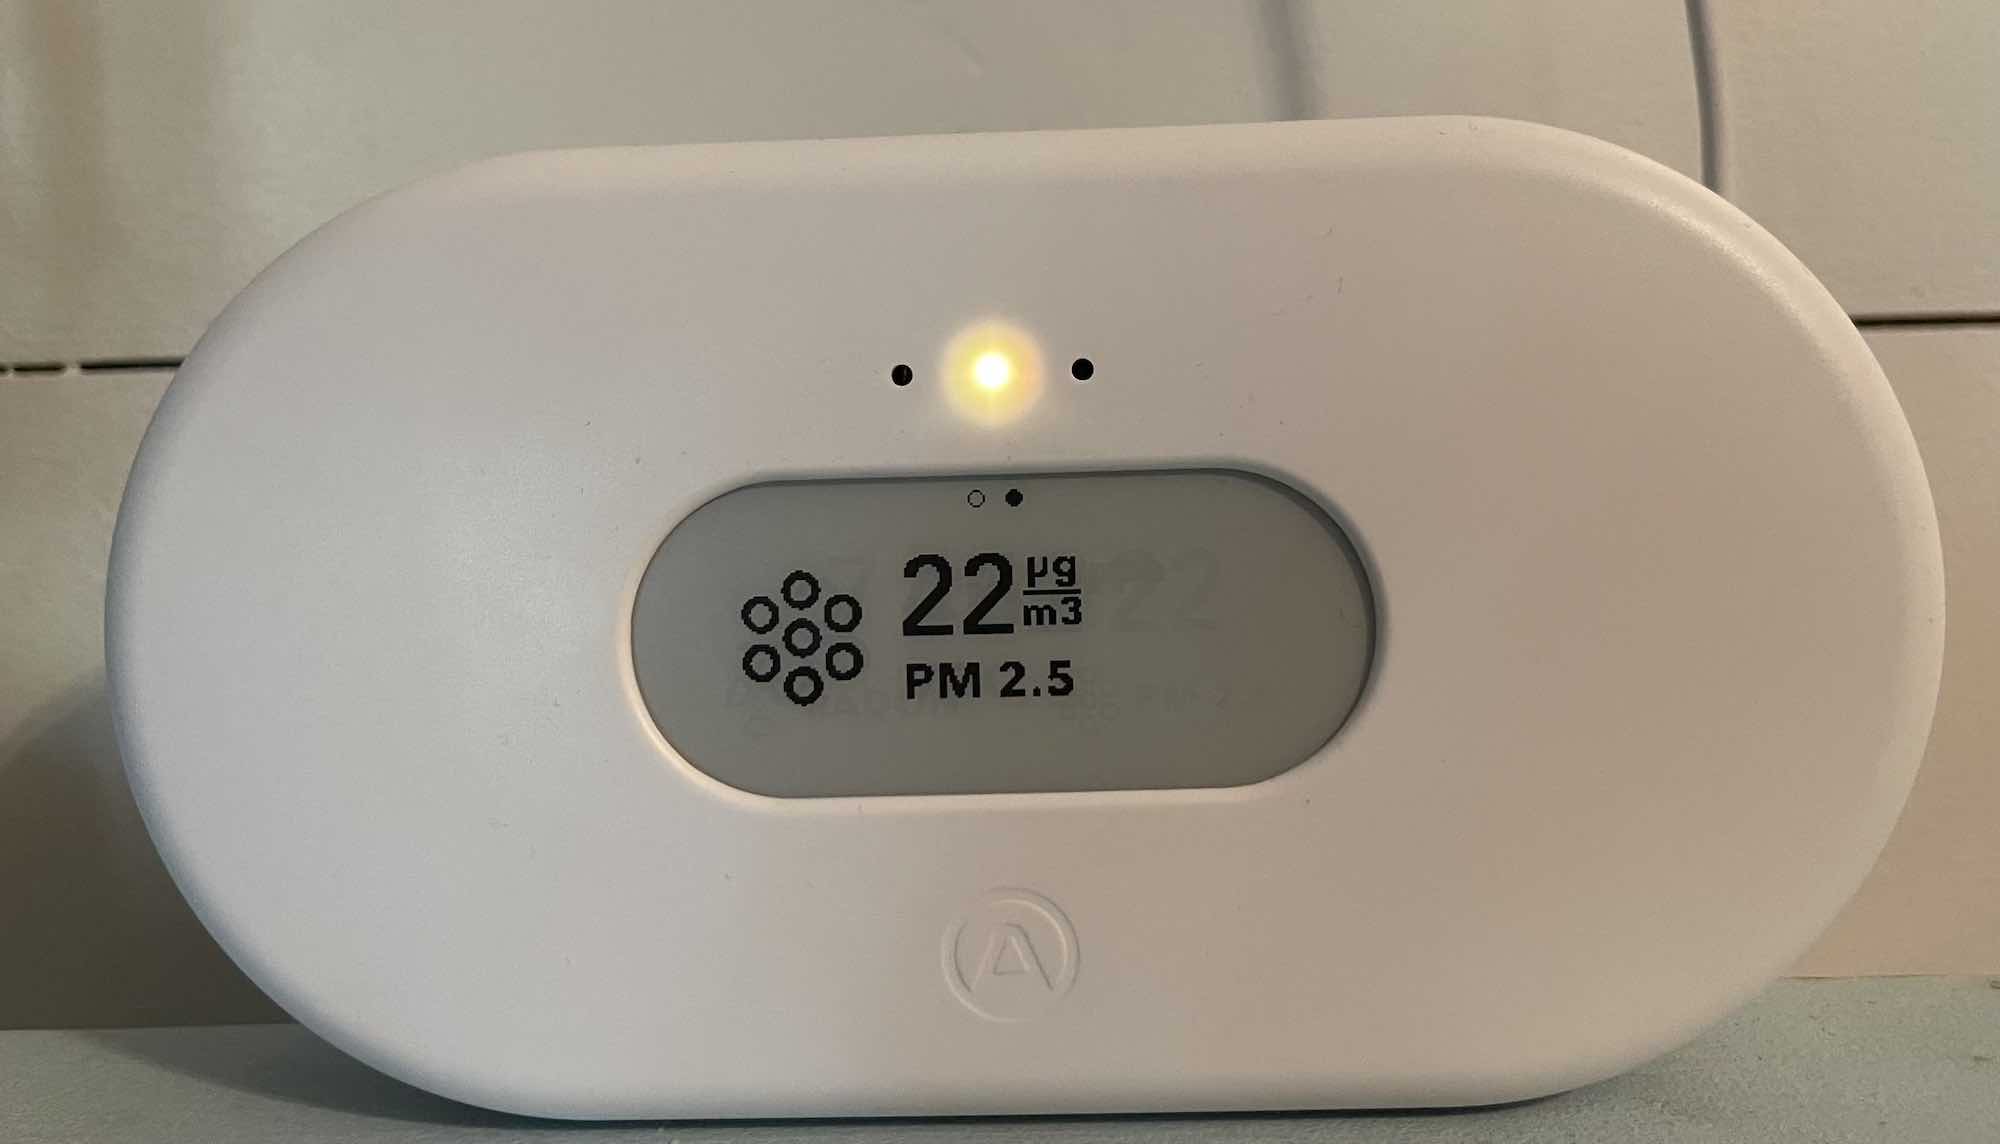
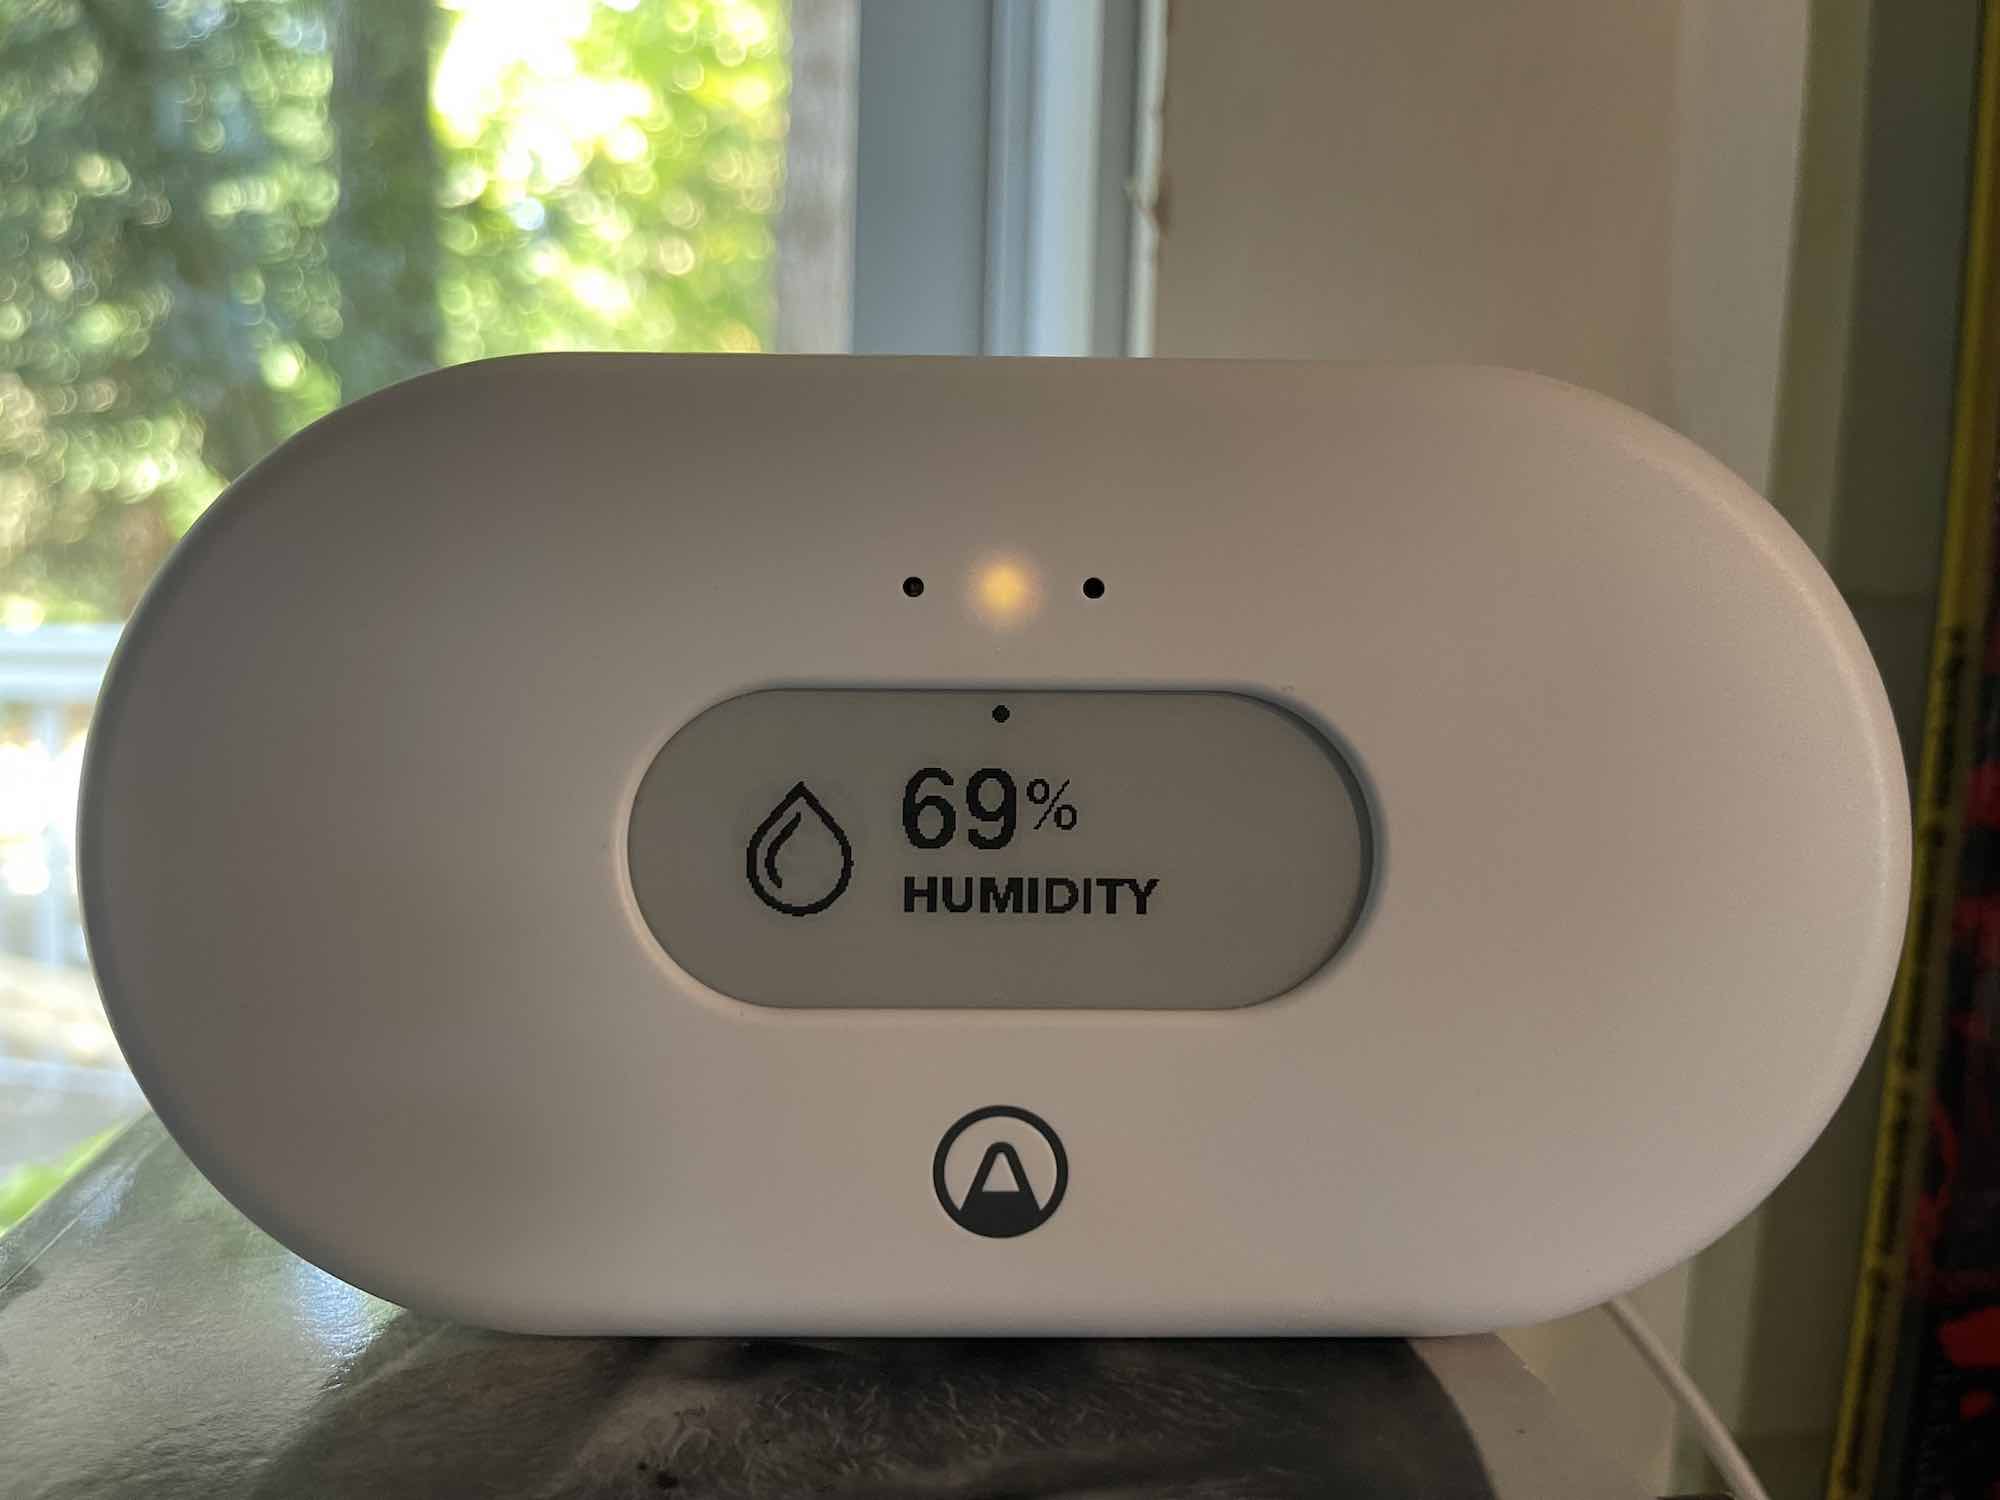
 The Airthings View Plus and Airthings View Radon have very simple displays. You can’t tap them to scroll through all of your readings, but you can wave your hand in front of the display and it will flash a coloured light to indicate your current air quality. I waved my hand and a yellow light flashed to indicate that the air quality is fair. If I had good air quality the light would be green, and poor air quality would flash a red light.
The display will flash the light, scroll through your 3 main sensors, and then reset back to your main screen. The View Plus display is customizable and you can choose which 3 sensors you’d like to display on the screen. If you want to see PM 2.5, radon, and the temperature you can set it to show them on the display. All of your other data will still be available in the app.
I really appreciate having a visual indicator of my air quality right on the display. It helps me decide if I want to pull out my phone and take a look at what’s going on or see if there is a need to be concerned. The app also uses colour codes to show if your air quality is good, fair, or poor. The circle around the readout will be the colour it corresponds to, and that saves you time looking up whether 9 is a bad readout for radon.
Connects to your smart home assistant
You can connect your Airthings View Plus and Airthings View Radon to your Google Assistant or Alexa so you can use voice control. You can ask your assistant to let you know what the air quality is like in your living room or bedroom and they will tell you without you needing to open the app or walk past the display.
Should you choose Airthings View Plus and Airthings View Radon sensors?
 I had no idea I had such poor air quality in my home, and I’d love to see what Airthings thinks after the sensors are fully calibrated. It takes 30 days of monitoring until they are, so I’ll have to wait and see what the next few days bring.
Both Airthings View Plus and Airthings View Radon are easy to use and make it very simple to see what your air quality is like. I’m really impressed with the readouts on the display, and I love being able to pull out my phone and see detailed information. Now that I’m aware I’ll make changes to improve the air quality and I’ll be moving my air purifier into the living room to see if that helps. I’m also going to choose low-VOC paint from now on because that sensor spiked when I was painting.
Both Airthings monitors really do provide peace of mind. Now that I know I could have radon, I can’t imagine not monitoring for it. The radon map showed higher-than-average levels of radon in my area, so it’s better to keep an eye on it in case something changes.
You can find Airthings View Plus and Airthings View Radon monitors for your home online at Best Buy.




These would be helpful in the bedroom and living room!
I would put one in the basement and one in the bedroom.
I’d put one in the kitchen and one in the main room upstairs
In our bungalow I would have one in the living room and the other one in the lower level out front of the utility room with sump pump and furnace.
I would put one in the basement and the other in my bedroom.
I think I would put one up near the bedrooms and one in the main floor living area.
i would put one underneath our cabin in the crawl space and in in the living room
I would put one in the hallway outside the bedrooms and the other in the basement family room
I would put one in the hallway outside the bedrooms and the other in the basement family room
One in the basement and one in my bedroom
One installed in the basement for sure. The other main floor
I would put each of the two prizes if I win into Living room and Master Bedroom.
in thr bed room and the kitchen
1st floor and in attached garage where slab has cracks
In the living room
I would put the Airthings View Plus Air Quality Monitor upstairs in the hallway near the bedrooms and the Airthings View Smart Radon Monitor in the basement.
I would put one in the open kitchen area and the other one in my upstairs hallway.
I would put one in my office and one in my bedroom!
I’d put one in the livingroom and one in the bedroom
I would put View Radon in the basement and the View Plus on the main floor to monitor C02 due to natural gas appliances.
I would put the Airthings View Plus monitor in the basement stairwell near the top and the Airthings View Radon monitor in my bedroom.
o9ne in the furnace room (basement) and one in the bedroom
We would leave it in the bedroom.
By our bedrooms and in our living room.
The front foyer
The main hallway
The kitchen
In the bonus room
I would but in livingroom and bedroom
Living room and bedroom
In the bedroom and the living room
One in the basement and one in the attic
Definitely one in the basement and one in my central hallway on my main floor.
Our house isn’t all that large so we’d just put one upstairs and one downstairs!
Radon Monitor in our basement rec room and air quality plus would be great for our bedroom.
I would put the Airthings View Plus in the central hallway on the main floor of our house and I’d put the Airthings View Radon in the basement near the bottom of the stairs, which are in a central area.
I would put one in the basement (mostly for Radon) and one upstairs near the bedrooms and craft area (VOC, CO2)
I’d put one in my basement, and one in the family room.
I would put one in the rec room in the basement and one in the hall on the main floor.
Family room and bedroom.
I’d put one in the basement and one in the living area.
I would definitely put the radon monitor in the downstairs bedroom and the quality monitor in the upstairs living room!
We would put one in the upstairs hallway and one in the downstairs hallway.
One in the lounge and one in the basement
If I were to win, I would put one monitor in my living room and another in my office.
I would put one downstairs at my house and my kid’s house!
I would put the Airthings View Smart Radon monitor in the basement near or in the bedroom. Radon levels tend to be highest in the basement and it’s best to put the monitor close to where people spend the most time. I would put the Airthing View Plus Air Quality monitor on the main level as it also tests for lots of things and this is where people spend most of their day. (The radon monitor in the basement would monitor radon in the basement so the air quality monitor would be best in another part of the house.)
I would put the airthings air quality plus on the main floor and the radon monitor in the basement
I would put one downstairs and the other on the main floor
Living room and bedroom
Comments are closed.