
Macro photography lets you tap into something magical when zooming in on the tiniest details of everyday life—like the delicate veins of a leaf, the compound eyes of a bee, or the intricate texture of your morning toast. Understanding macro lenses isn’t just for insect enthusiasts or science photographers—it’s a valuable skill for content creators, nature lovers, foodies, and anyone who wants to add more artistic depth to their photos.
In this guide, we’ll break down what a macro camera lens is, how it works, when to use it, and what to consider when shopping for one. Whether you’re a beginner with a curious eye or an intermediate photographer ready to step up your detail game, this is your gateway to a whole new way of seeing. Let’s dive in.

What is a macro camera lens?
At its core, a macro lens is a type of camera lens designed to focus on subjects that are extremely close to the lens. Much closer than a regular lens can handle except there’s a bit more to it than that. The hallmark of a true macro lens is its 1:1 magnification ratio. This means the subject appears life-sized on your camera’s sensor. So, if you’re photographing a one-centimetre object, it will fill 1cm of your camera sensor. That kind of detail is what lets you capture every pore of a petal or the glittering facets of a diamond.
Unlike regular lenses, macro lenses have a much shorter minimum focusing distance, letting you point the lens mere centimetres away from your subject while maintaining sharp focus. While some standard lenses are marketed as “macro,” they often don’t deliver true 1:1 magnification and are better classified as close-up lenses. A real macro lens—sometimes called a macroscopic lens—offers much sharper detail and greater creative control, making it the go-to choice for serious close-up photography.
What are macro lenses used for?
Macro lenses unlock a huge range of photographic opportunities, from documenting the tiny creatures in your backyard to levelling up your product photography.
Common macro photography subjects:
- Insects and bugs: The classic macro subject, thanks to their unique shapes and textures
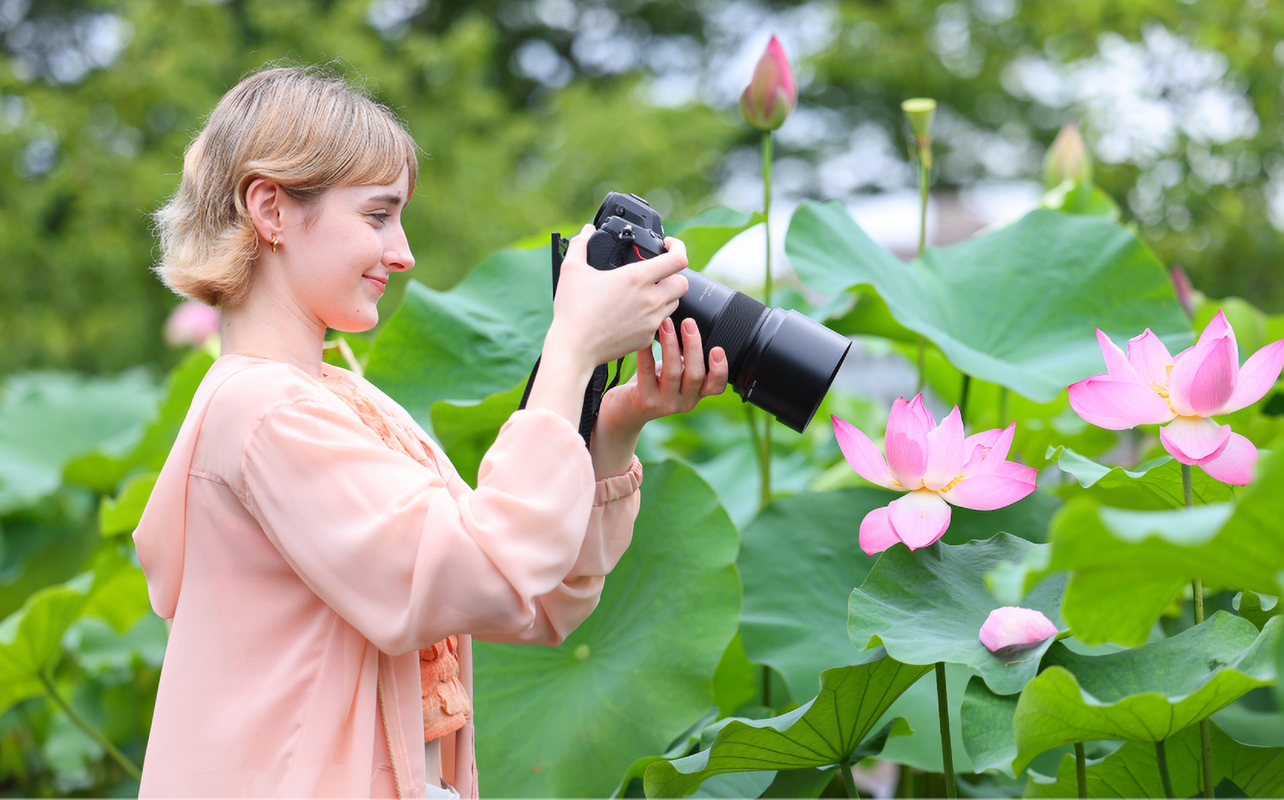
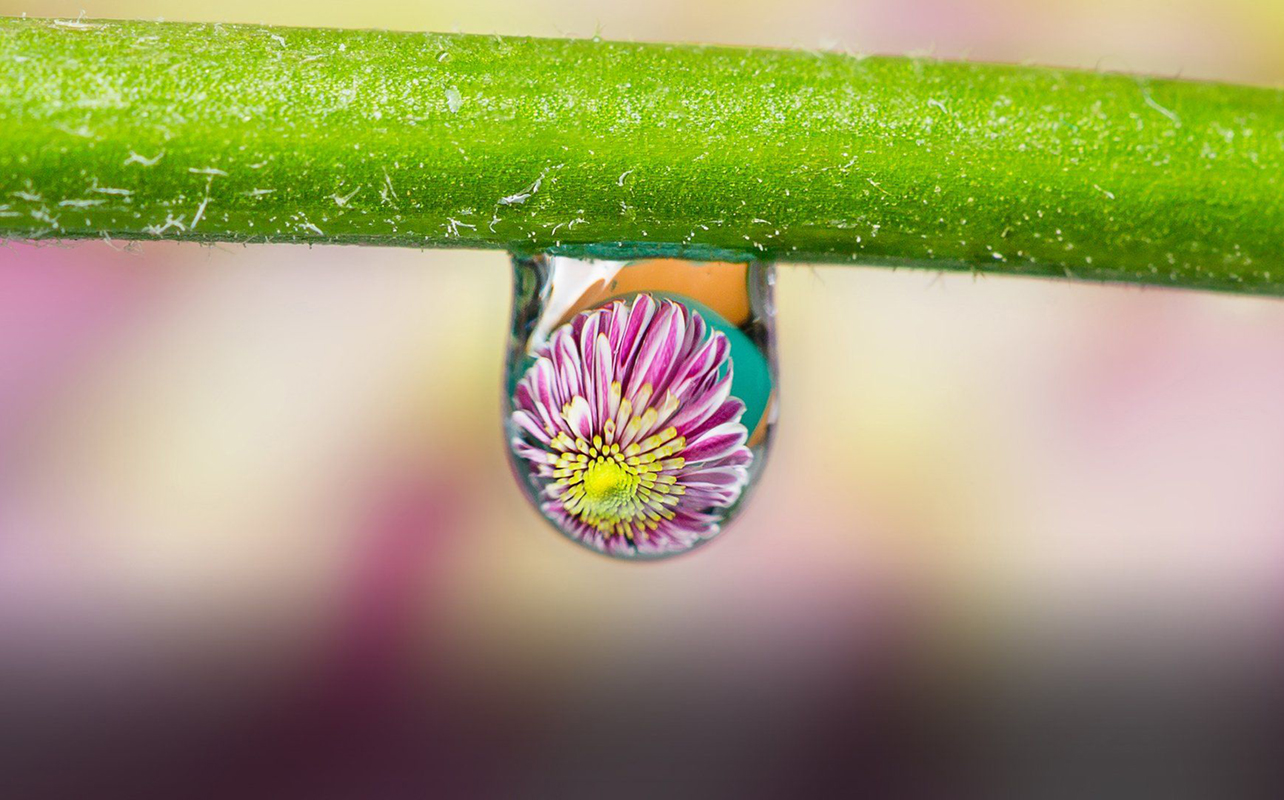
- Flowers and plants: Petals, stamens, and dew drops come alive up close
- Textures: Rust, wood grain, fabrics, and more
- Food: Showcase dishes in drool-worthy detail
- Small products: Great for e-commerce or collectibles photography
But macro photography isn’t all about documentation—it’s also a powerful creative tool to take abstract close-ups that look like modern art. Capture the tiny stories unfolding on a mossy log, flaking rust on an aged metal chain, dripping water from melting ice, or a bee pollinating a plant. Keen photographers look for these details with macro lenses, while content creators on platforms like Instagram and TikTok aim to highlight details that stand out from the usual scroll.
Key features of macro lenses
Understanding a few key specs can help you decide which macro lens is right for you. Let’s look at what matters.
Magnification ratio
The most important number: look for lenses that offer 1:1 magnification. Some lenses offer less (like 1:2 or 1:3), which is fine for general close-up shots, but for true macro magic, stick with 1:1. This is essential if you want to capture incredibly fine detail—like the texture of a grain of sand or the intricate pattern on an insect’s wing. Lower magnification ratios such as 1:2 or 1:3 are still useful for general close-ups, but they won’t give you the same immersive, up-close perspective that defines true macro photography.
Focal length
Macro lenses come in a range of focal lengths, which refers to the distance (in millimetres) between the lens and the camera’s sensor when the subject is in focus. Focal length affects not just how zoomed in your photo appears, but also how close you need to be to your subject to achieve proper framing. Shorter focal lengths give you a wider field of view but require you to get physically closer to your subject, while longer focal lengths allow you to shoot from farther away.
Here’s a quick guide to the most common focal lengths:
- 60mm to 70mm: Great for smaller cameras or when you’re working with still subjects like flowers or food. These are popular with beginners for their portability and ease of use.
- 90mm to 105mm: Offers more working distance, making it ideal for insects or shy wildlife—you won’t scare them off by getting too close. This range is versatile and works well for both handheld and tripod shooting.
- Longer than 105mm: Offers even more distance and is usually used by advanced photographers or those shooting dangerous or jumpy subjects.
Autofocus and image stabilization
Some macro lenses include autofocus and image stabilization, which are especially helpful when holding the camera or shooting moving subjects. Macro pros generally prefer to use manual focus for maximum control and ensure proper focus. Autofocus, while effective, can be swayed by slight variances in distance to the subject. Cameras with focus peaking will also illuminate focused areas with red or green highlights, as well as a magnified view for precision.
Build quality and lens coatings
Look for weather-sealed lenses if you’ll be shooting outdoors, and check for anti-reflective coatings to reduce lens flare and improve contrast. These features are especially helpful when shooting in bright conditions or dealing with reflective surfaces. You can also consider lens filters to reduce glare or reflections. Lenses have threads at the front that allow you to screw on filters, which have the added benefit of protecting the main glass underneath.
Pros and cons of using a macro lens
Like any gear, macro lenses have their strengths—and a few quirks to work around.
Pros:
- Impressive detail: Get close enough to see the pollen on a bee or the ridges on a fingerprint
- Creative possibilities: Makes everyday objects look extraordinary
- Versatile: Many macro lenses also work well for portraits thanks to their sharpness and bokeh
Cons:
- Higher price point: True macro lenses can cost more than standard lenses
- Shallow depth of field: Focus becomes razor-thin when shooting up close
- Requires stability and lighting: Without a tripod or extra lighting, your shots can turn out blurry or dim
Choosing the right macro lens
Ready to buy your first macro lens? Here are a few factors to help you narrow it down.
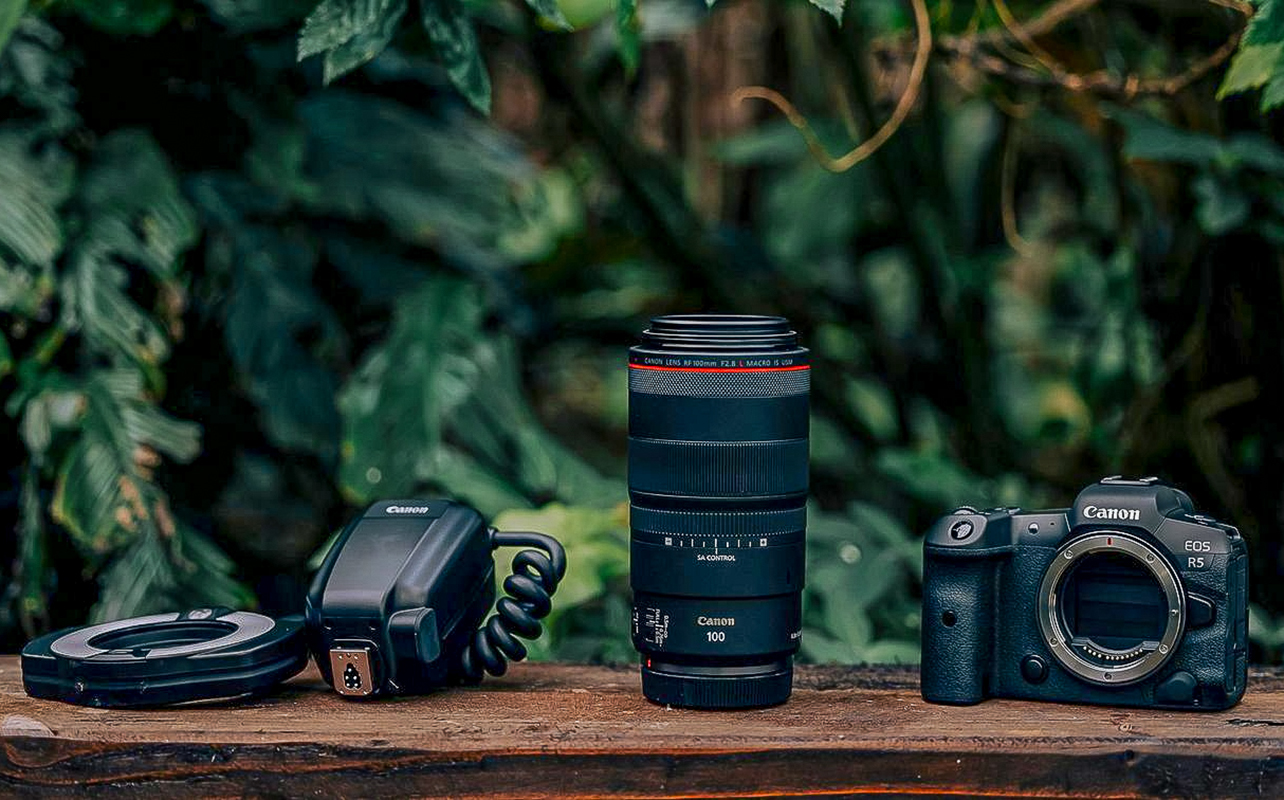
Camera type and compatibility
Make sure the lens you’re eyeing is made for your camera type—DSLR or mirrorless. Also, double-check that it matches your camera’s mount system (like Canon RF, Sony E-mount, Nikon Z, etc.). While it is possible to use a lens converter to make a macro lens compatible with your camera, you’re better off getting something that is natively compatible with your camera.
Sensor size matters
Your camera’s sensor size (full-frame, APS-C, or Micro Four Thirds) will affect your effective focal length and field of view. For instance, a 100mm macro lens on an APS-C sensor gives you more reach, which can be helpful for shooting skittish bugs. On a full frame camera, however, you have a larger sensor to utilize and more flexibility to crop in when editing afterward.
Budget
You’ll find macro lenses at a range of price points. Entry-level options are available from brands like Canon, Nikon, Sony, Sigma, and Tamron. Mid-range lenses often offer more robust build quality and better optics. The higher-end ones are expensive, though deliver outstanding quality, especially when paired with an excellent camera body.
Gear to improve your macro shots
Want to take your macro photography to the next level? These accessories can make a huge difference:
Lighting
Lighting plays a critical role in macro photography, especially since shooting up close often blocks natural light or creates harsh shadows. Ring lights offer even, wraparound lighting right around the lens, which is perfect for small objects like jewelry or insects. LED panels are great for studio setups where you want full control over light intensity and direction. Diffusers come in handy for softening natural sunlight or flashes to avoid glare—especially useful when photographing reflective or shiny subjects like water droplets or metal surfaces. Diffusers are equally useful with LED lights (including RGB ones with millions of colors) to soften lighting for creative setups to add drama or life to an image.
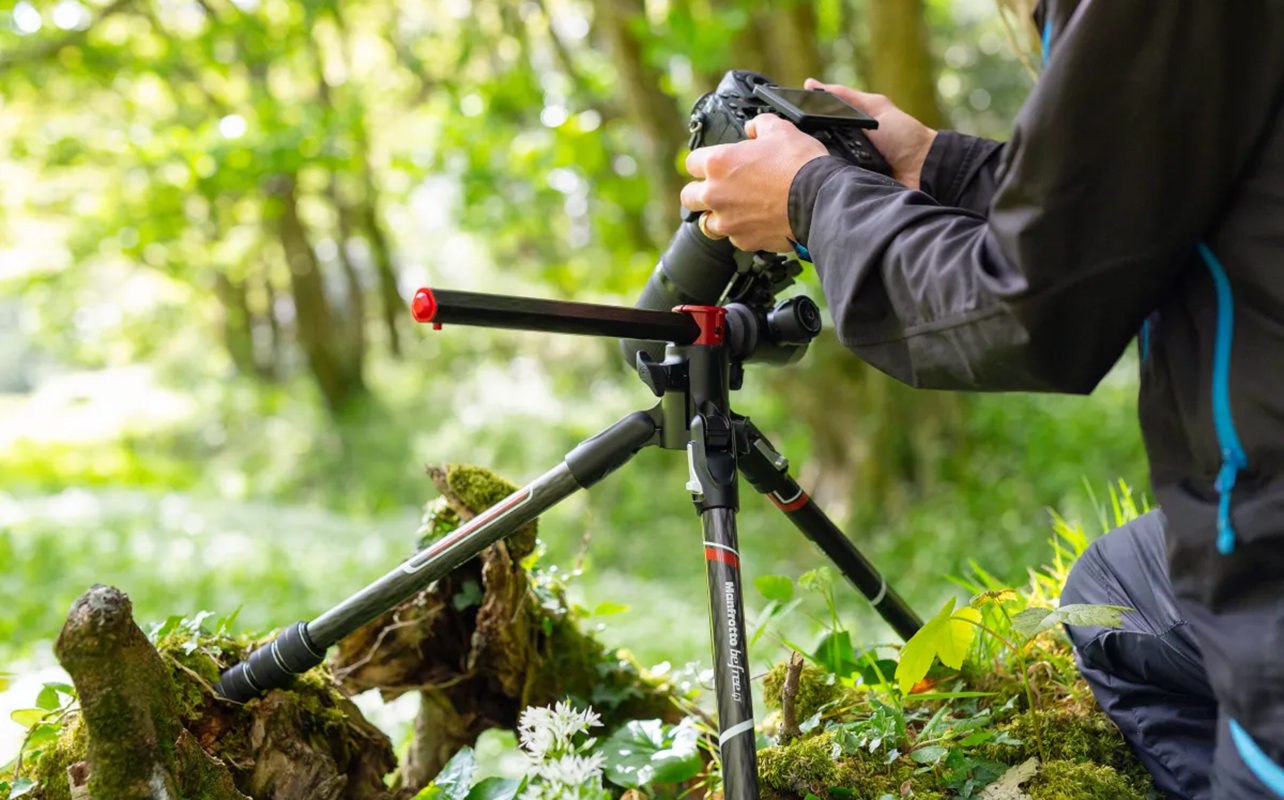
Tripods
A steady setup is essential when working at close distances, as even the slightest movement can throw off focus. Tripods are especially helpful in low-light conditions where slower shutter speeds are needed, or when using narrow apertures to increase depth of field. But those aren’t the only reasons to use one. Macro photography and tripods very much go together. Those with flexible arms or macro rails can give you precise control over positioning, which is great when photographing a multitude of stationary subjects, including beverage or food arrangements.
Tips for shooting macro photography
Shooting macro is a little different than snapping regular pics. Here are a few pro tips to help you get stunning results:
1. Use manual focus
Autofocus systems often struggle with the tiny and precise focus points needed in macro photography in spite of the fact the latest models have such advanced systems. Switching to manual focus gives you more control over exactly what part of the subject is sharp. If available, many macro photographers will use focus peaking to assist with nailing the sharpest detail.
2. Experiment with aperture
Aperture controls how much of your image is in focus, which is especially important in macro shots where the depth of field is razor-thin. A wider aperture (like f/2.8) will give you that dreamy, blurred background (bokeh), while a narrower aperture (like f/8 or f/11) will help keep more of your subject sharp. Just keep in mind that smaller apertures may require more light or a slower shutter speed. A slower shutter speed is fine when it’s a static subject that won’t move, but will pose a problem if it’s for an animal or insect because it blurs movement.
3. Use a tripod and remote shutter
Because you’re often working with slow shutter speeds and narrow apertures, camera shake can be a big issue. Using a tripod ensures your camera stays rock steady. Add a remote shutter or use your camera’s self-timer to avoid any movement caused by pressing the shutter button—especially useful for studio setups or when stacking focus layers. If it’s a moving subject, you can try shooting in burst to freeze the action—so long as you have really good lighting and a fast shutter speed.
4. Pay attention to light and shadows
Lighting can make or break a macro photo. Use diffused natural light when possible for soft, even illumination, or bring in additional light sources like ring flashes or LEDs to fill in shadows. Experiment with side lighting or backlighting to create more dramatic depth and bring out textures in your subject. Remember: the closer you are to your subject, the more impact your light placement has.
Learn more about camera lenses. Check out our complete guide to different types of lenses in photography.
Is a macro lens right for you?
A macro camera lens allows you to get extremely close to your subject, revealing details that are usually invisible to the naked eye. It’s perfect for anyone curious about the miniature world—whether you’re photographing insects, food, textures, or anything in between. If you’re a content creator, hobbyist, or budding professional, a macroscopic lens can add a powerful new dimension to your photography. It does take practice, but the rewards are worth it.
So go ahead—explore your backyard, your spice rack, or your favourite plant with new eyes. And when you’re ready to dive in, check out the latest macro lens options at Best Buy Canada. Your next obsession might be hiding in plain sight.

This article was drafted using AI technology and then reviewed, fact-checked, and revised by a member of our editorial team.


Great article! I really enjoyed learning about how macro lenses capture incredible close-up details. These lenses are truly essential for product photographers and nature enthusiasts alike. For anyone who works with product or eCommerce photos, having clean and distraction-free backgrounds is just as important as the right lens choice. You can check out Photo Background Remove (PBR) — we specialize in professional photo background editing and retouching to make your macro shots look even more stunning.
Comments are closed.