
I am not the kind of person who can just sit on the grass. I’ve tried to be, and I can manage it for a little bit of time if pressed, but I’m just… not. I need a chair, or a blanket with rolled-up edges, or something like the Breeze Bag to get me through the afternoon if I’m going to be doing any amount of sitting down outside.
The ground is uncomfortable, and full of bugs, and it’s a bit of a drag to sit down on freshly-mowed grass and stand up a little bit greener than before. But this guy? This guy is handy: a veritable outdoors problem-solver, for both outdoorsy and non-outdoorsy folks alike.
What is a Breeze Bag?
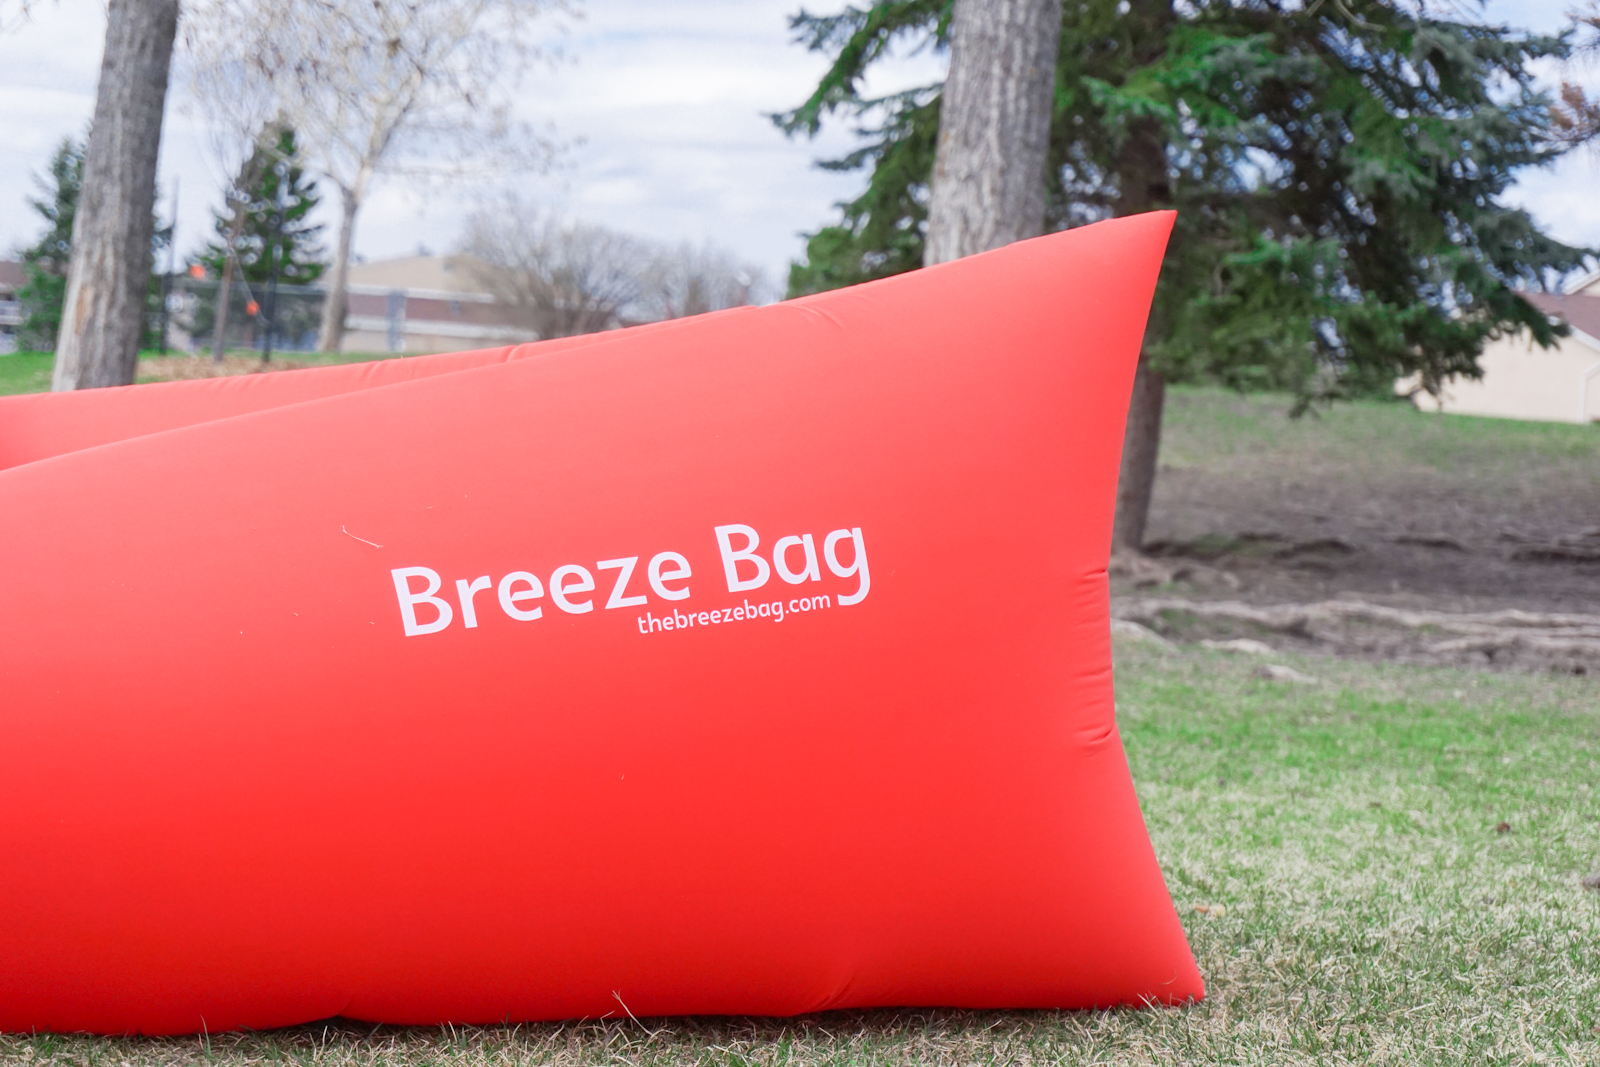
The Breeze Bag is a nylon/polyester bag. It’s that simple. It’s a wind-inflated bag that you’ve probably seen on the internet already, in a Facebook ad or a forwarded email. It’s marketed as a premium “all-terrain lounger,” holding up to 200 kg for up to five hours before it needs to be re-inflated.

It’s a product that’s birthed many knockoffs, but this is the original thing – the real deal. It comes with a lifetime warranty for its stitching, seams, and buckle, and it’s machine-washable (as long as you don’t have a agitator post in your machine) and easy to transport. Like any other polyester/nylon blend, it can be washed with warm, soapy water; just don’t use anything harsh on it, like a scrub brush or bleach.
The Breeze Bag is heat-resistant and waterproof, and fits into an 20 cm by 33 cm bag with a carrying strap. When inflated, it’s quite a bit larger: 2 metres long, and almost as wide at 86 cm. It comes in seven colours, all available at Best Buy. This one is red, and it’s very noticeable outdoors; I think the blue is lovely for something waterfront, or even something a little less fluorescent, like the black.
How to use the Breeze Bag
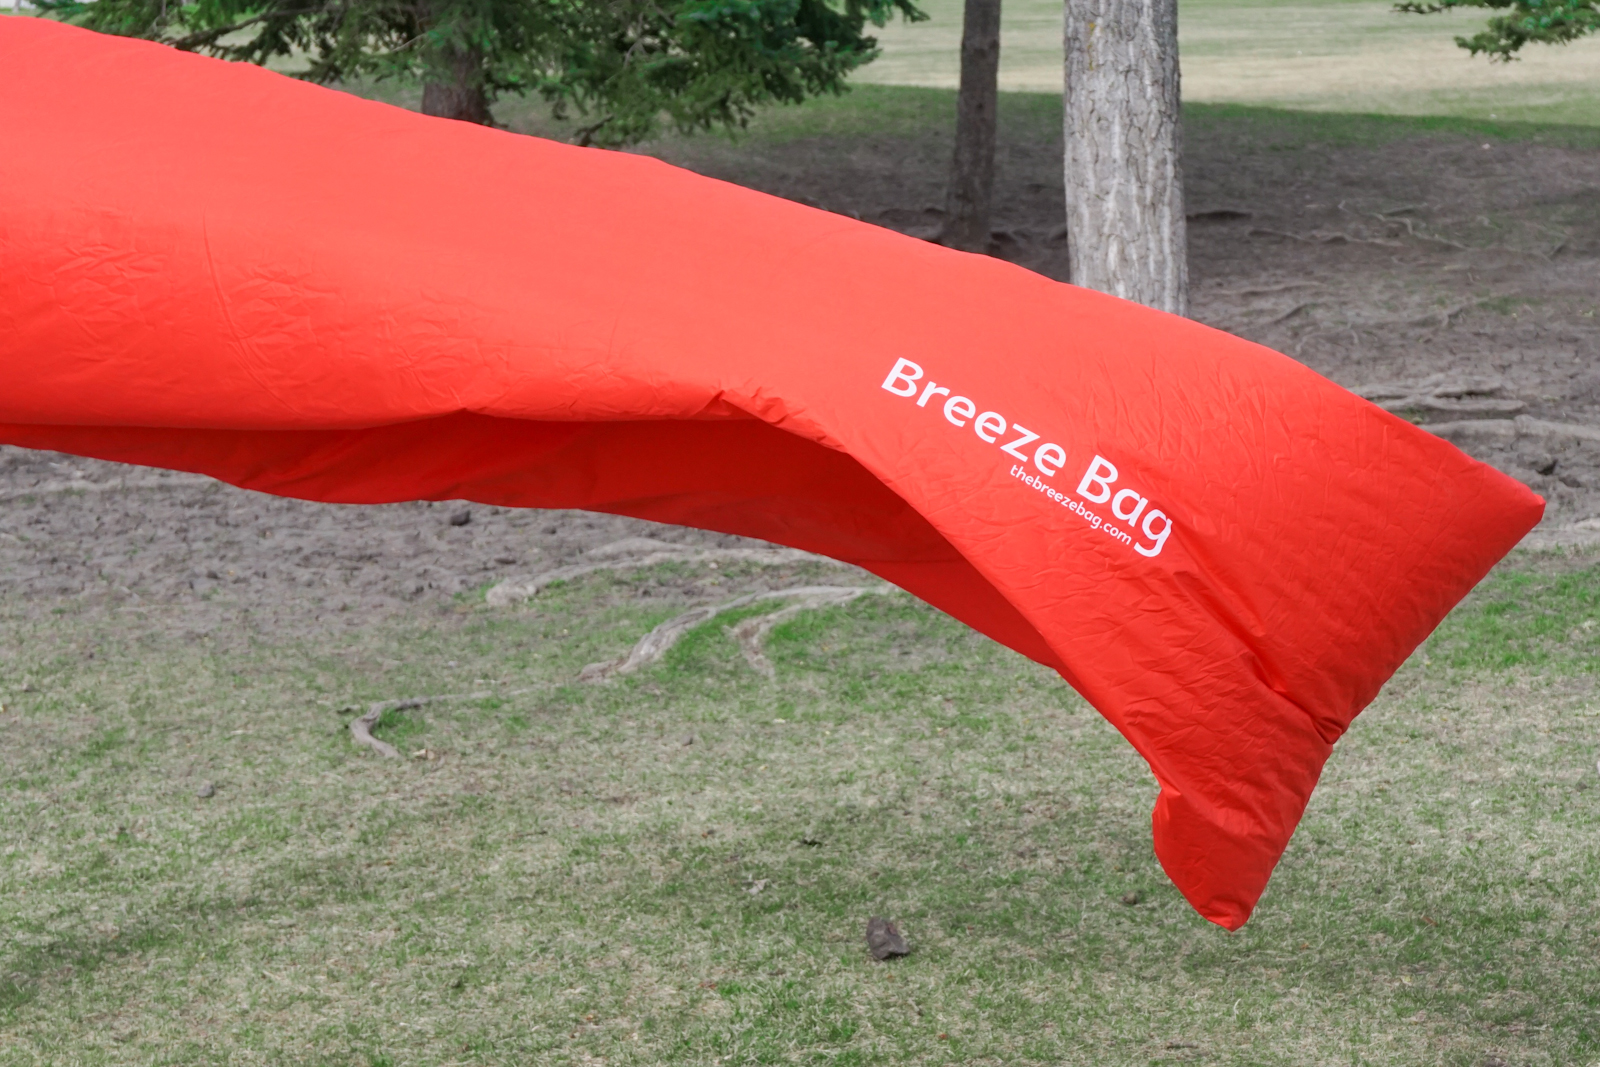
The Breeze Bag is really, really easy to use. I tested it out on a remarkably windy Albertan day, which gave me awful hair in this video – but also meant that I could blow up the Breeze Bag almost without moving at all.
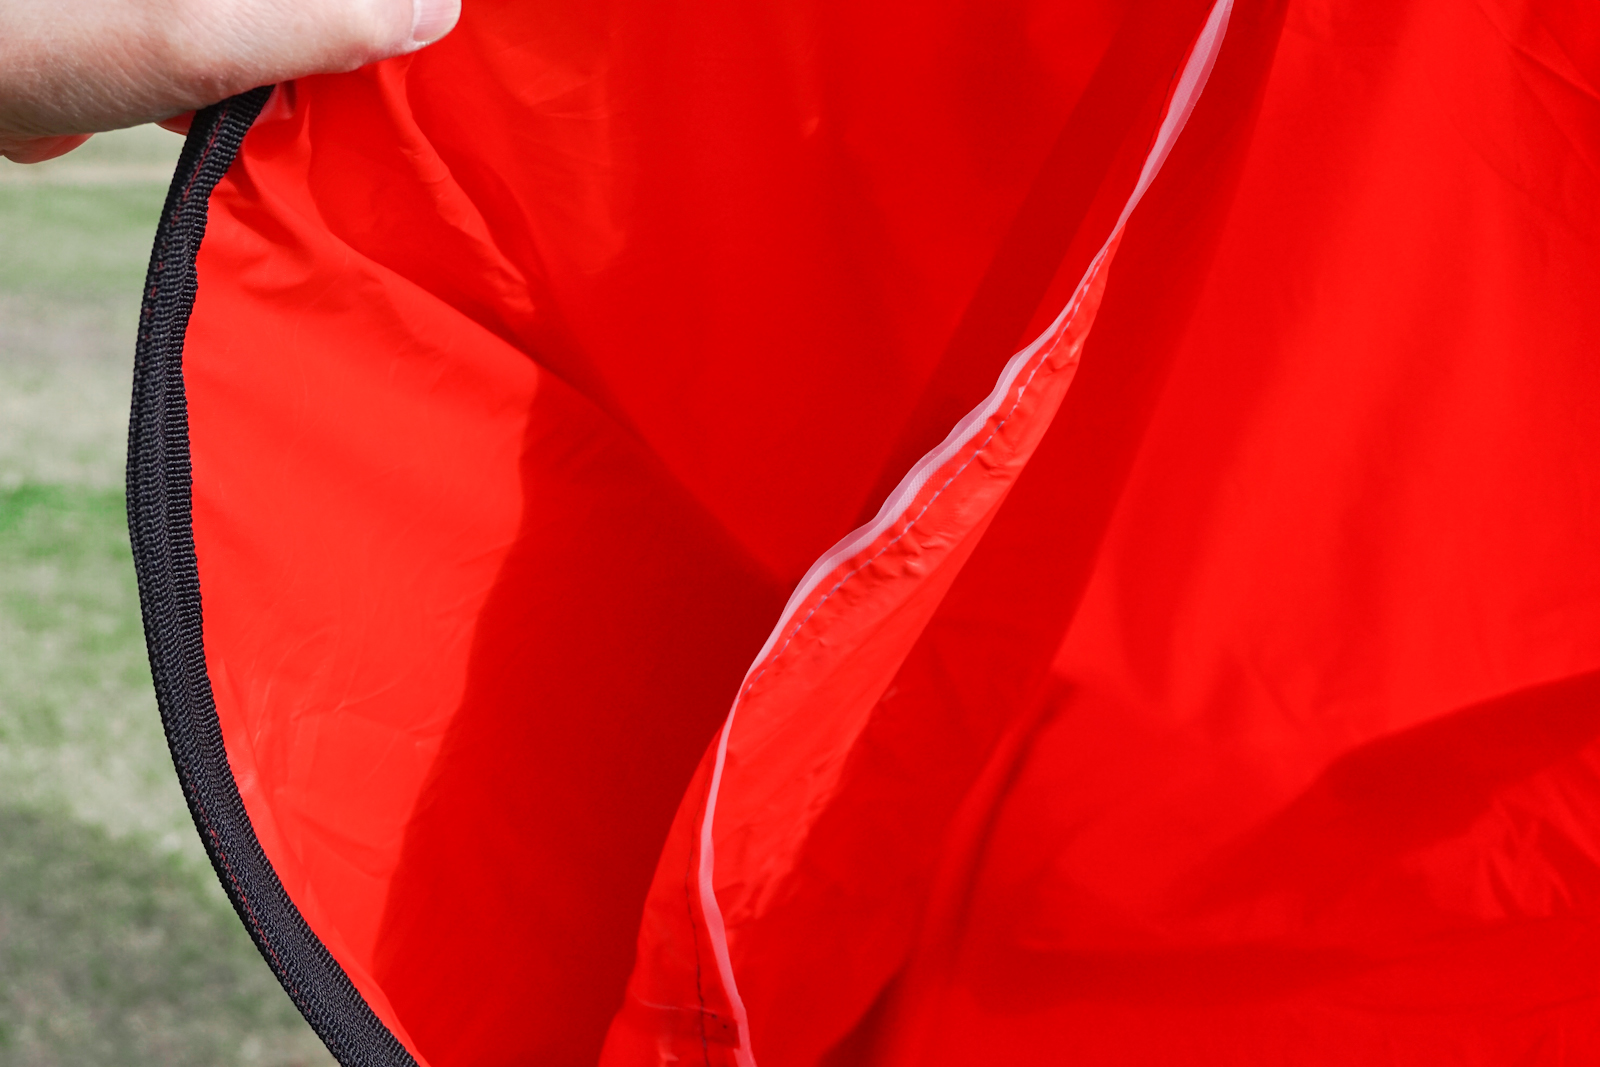
Blowing up the Breeze Bag is easy. All you need to do is remove it from its carrying sack (which has a drawstring closure with a toggle), shake it out flat, and pull its opening apart. The opening is made from flat, flexible plastic bands, and comes clasped. (I’m bad at fitting things back into the bag, and was never able to get the clasps re-clasped when finished. It didn’t matter; the lounger fits back into the bag regardless.)
If the lounger itself looks like giant, elongated red lips, then its opening looks like a big, open mouth. Its sides push in to make it circular, and the two halves are divided by what looks like a separator, but is actually the line of demarcation between the two sides of the product.

To fill the bag with air, you flex the opening, then simply run towards the wind, if there’s wind. With it, you’ll only need to take a few brisk steps; when there’s a lull, you can get it done in a few metres.
Once relatively full, the lounger’s opening closes by pulling the opposite ends apart, flattening the plastic openings to each other. Crimp and roll the ends in to increase the tension in the bag and inflate the sides, then clip the buckle to itself to secure in a little ring.
If you’ve ever used a collapsible photo lightbox, the closure of the Breeze Bag reminded me a lot of that: flexible plastic that gives you one shape for use, and one for transport.
Transporting the Breeze Bag
As mentioned at the head of this post, the Breeze Bag can stay inflated for about five hours–if you really need it to.
To collapse and pack up the Breeze Bag before then, just disassemble and go. It’s easy to do: first, you unclasp the belted plastic holding the lounger shut. Then, unroll the folds keeping the air in. Let the air naturally flow out, and you’ll be left with a mostly-limp nylon sack on the floor – rather like a sleeping bag without its filling.
The lounger folds up similarly to a sleeping bag as well. I found that the quickest way to do it was to fold up the bag from its closed end, opposite the opening, while using my knees to press any excess air out of each fold. Then, once you’ve got it down to the approximate size of its carrying bag, just re-clip the plastic buckle and slide it back into the bag.
Because the Breeze Bag is made of nylon, it’s super-transportable at only 2 pounds. The bag can be tossed over your shoulder with its strap, or simply carried inside of a sports bag or backpack. I do recommend keeping the carrying case, however: it’ll prevent the bag from coming open in your luggage and wrapping everything up in its long, slippery knots.
Where to take your Breeze Bag
I am not an outdoorsy person – but I still go outdoors, especially in the summer. The Breeze Bag is a great alternative for folding chairs when you don’t want to lug your chairs around, and it’s way easier to fit into a car or on public transport.
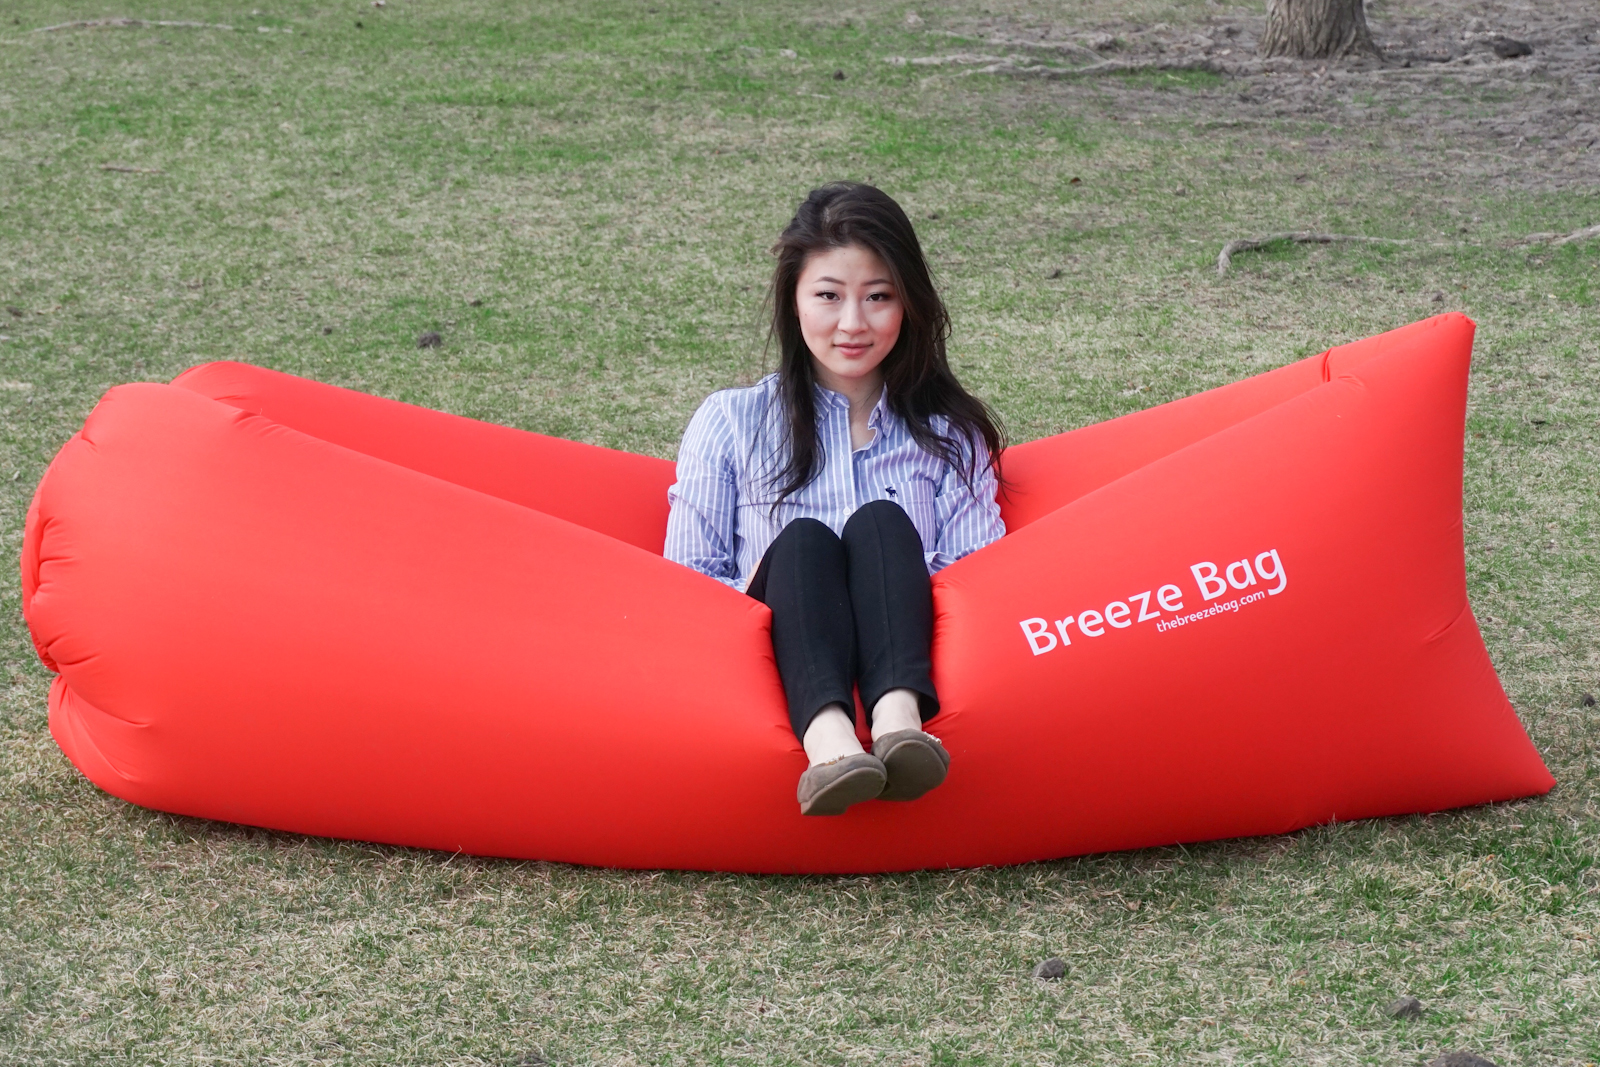
I can see the Breeze Bag being handy to use at a campfire with friends (my mom and I both fit comfortably on the lounger, and we definitely could have fit sister onto it, too), or shoreside at the beach. It’s a great option for taking a nap in the sun where you don’t have a hammock at hand, or where the terrain might be a little rocky and uncomfortable to nap on a picnic blanket on. You can even use it as a pool float if pressed, although its narrow design means that it’s even more prone to capsizing as an awkward kayak.
When it comes down to it, what makes the Breeze Bag so handy is its portability. It’s awkward and it takes up a lot of space when inflated, but it’s so much easier to transport than a folding chair. It’s lighter and small enough to put in your backpack, and unlike a hammock, you can use it anywhere – not just places with trees.
Shop the Breeze Bag in seven colours, online now at the Best Buy Marketplace.


