
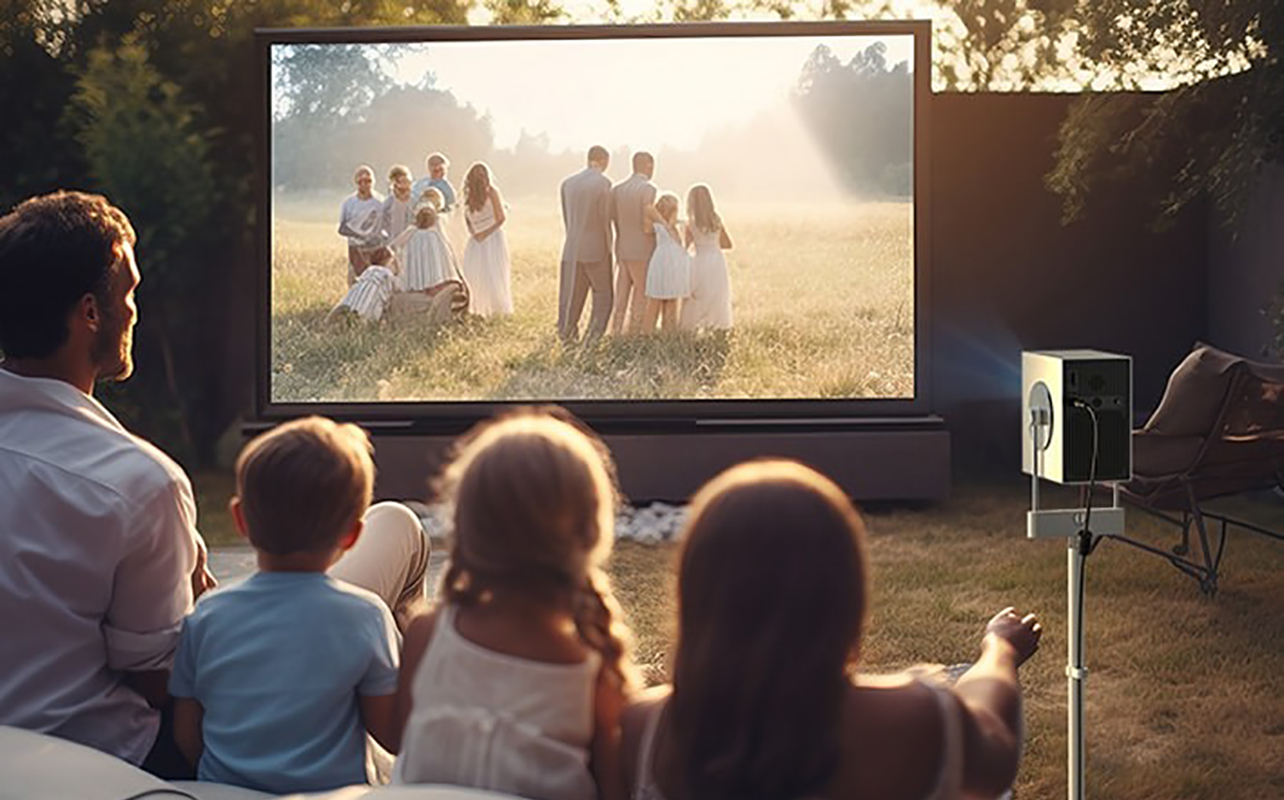
There is a growing trend towards setting up a projector versus a TV as a main source of home entertainment. With the right projector, you can use it to watch TV during the day and stream movies at night. With a portable model, you can even pick it up and take it outside for movie night. To get the most out of your home theatre or portable projector you’ll need to set up a projector properly. Here’s a quick look at the steps you can follow to set up your home theatre or portable projector.

1. Choose the right projector for your home

There are quite a few different types of projectors. You can check out the projector buying guide for a full rundown of the types and features from LED projectors to laser projectors, 4K UHD HDR projectors and mini projectors or pocket projectors.
Projector brightness matters. Depending on where you’re using the projector, like a living room with plenty of ambient light and windows versus a dark basement, the brightness will be critical. Make sure your projector has the right lumen level to give you best experience. Read the projector brightness guide to help you find the right lumen level depending on your specific set-up. You’ll need especially high brightness for a well-lit room or even outdoor set-up.
2. Unbox your projector
A projector is ready to use right out of the box. But it’s a good idea to take a few minutes to familiarize yourself with everything that’s included with your projector. You’ll want to check and see if your projector has a layer of protective clear tape covering the lens or casing. You should remove that layer since leaving it on will affect your projector’s picture quality.
Do a quick check, updates, and run through settings. Inspect it all over and verify that all parts and pieces are in the box. It’s a good idea to flip through the instruction manual (or download it online if it comes with a QR code or link) to familiarize yourself with how to set up a projector before you get started. Plug it in and start it up as it might have to run a firmware update. There will probably be an initial set-up process that walks you through settings and configurations step-by-step.
3. Connect your projector
Every projector is packaged with a power cord, but not all include an HDMI cable to connect it to other devices. Make a note of what cables are included with your projector so you can easily hook up gaming consoles or Blu-ray players if you’d like. If you don’t have an HDMI cable, you’ll want to pick one or two up so you can make good use of the HDMI ports and connect the projector to a proper source. HDMI is compatible with laptops, streaming sticks, gaming consoles, Blu-ray player, and other devices.
Other connectivity options
Some projectors, especially portable models, come with built-in microSD and/or flash drive USB slots so you can load content and play it directly from that media. Others also have built-in Bluetooth, Wi-Fi, and even smart TV interfaces. Once you connect to Wi-Fi, provided the projector has built-in speakers as well, you can access your favourite streaming services without needing to connect any other equipment.
Go ahead and test out the connectivity options by plugging in a device using the right input source. A streaming stick if it has HDMI is a good place to start. Use the included remote or on-board menu to figure out the controls. See our guide to learn how to connect a projector to a laptop.
4. Mount your projector screen
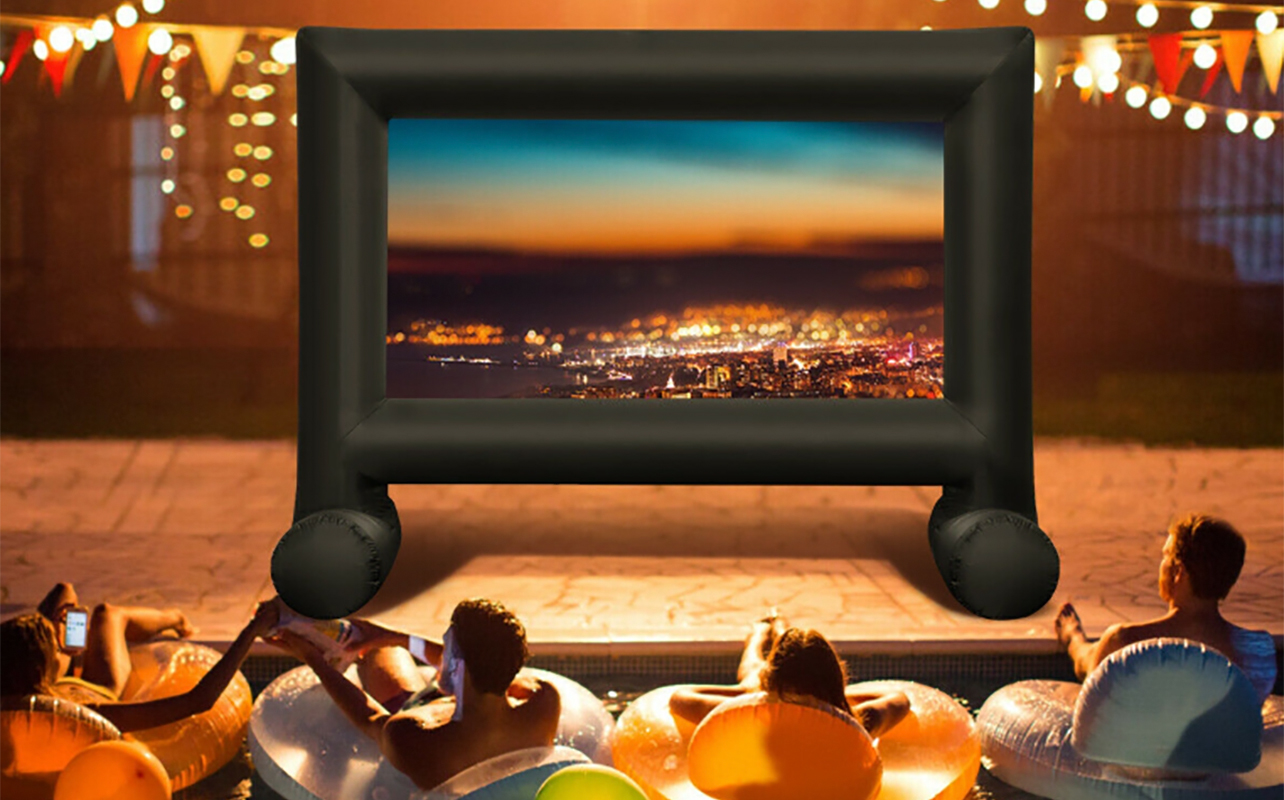
If you use a screen that mounts on your ceiling or wall, be sure to place it in a spot that won’t be in direct sunlight. You may want to have the screen set up before or alongside handling step 3, setting up the projector itself. At the very least, you’ll need to know where the screen will go and how big it is before setting up the projector. If you’re using a portable projector outside, you might want to look into an inflatable or roll-out outdoor projector screen. Or, you might be able to make do with a white sheet. Just make sure it’s properly mounting to eliminate blowing in the wind and creasing.
Do you really need a projector screen?
A projector can technically project onto a wall. But for the best possible image quality and to reduce distractions like nail holes or wall marks, you’ll want to get a projector screen. Using a plain, white wall is fine for casual viewing, quick set-ups, and productivity tasks, like mirroring your laptop screen. But using a dedicated projector screen will result in a noticeable difference in image sharpness, brightness, and contrast. Projector screens are specially designed to reflect light more evenly than a painted surface. If ambient light is a concern, or you’ve invested in a high-end projector, it’s worth it to get one.
White screen vs black screen vs grey screen
There are a lot of white projector screens that are available as mounted options or on screen stands. White is a great option for a projector screen if you’re using a portable projector or want to use your projector outside. There are also black projector screens that have their advantages, particularly for rooms with more ambient light. They help absorb stray light so images don’t look washed out.
The best projector screen colour for 4K projectors and 8K projectors is grey. A grey screen will improve contrast in brighter rooms. Grey will also absorb any ambient light in the room. You’ll find colours are vivid and bright and blacks are deep and dark when displayed on a grey screen.
5. Decide on the best spot for your projector
When you’re ready to plug your projector in, the first thing you’ll need to decide is where to place it. Depending on which type of projector you’ve brought home, you’ll have a few options for placement. If you plan on using a projector mount on your ceiling or wall you’ll want to choose the perfect position for your projector before you begin drilling holes in the wall. You can also choose a projector stand so you can move the projector around the room as needed.
If you are unsure how or where to place the projector, a good tip is to find the centre of the screen and make sure it matches up to the centre of the projector lens. If you’re using a portable projector, make sure you have your projector seated in a spot where the vents aren’t blocked. You want it to be able to vent out hot air while running, so don’t block the vents by placing it in a tight corner.
As you find the best spot for your projectors, here’s a few things to keep in mind:
Ensuring sharp image quality
Once you know where you’ll place the projector, you can use the focus to sharpen the image quality. A great feature to look for in 4K projectors, 8K projectors, or portable projectors is autofocus. Autofocus will sharpen the image on the projector automatically. Manual focus, by contrast, requires you to adjust a dial to improve image quality.
Throw distance and placement calculations
Some laser projectors and LED projectors can throw an image of up to 100-inches at a distance up to 10 feet. Throw distance is the space between the projector and the screen, and this is the calculation that determines how large the image will be. Learn more about the difference between short throw and long throw projectors and what this means in your real-world situation so you know which is best for your set-up.
Throw ratio, which is distance divided by the screen width, varies by projector type. But generally, short throw projectors can project from 3 to 8 feet away, and ultra-short throw projectors can project directly under the screen or up to 4 feet away. Before you set up a projector, use a throw distance calculator, provided in our aforementioned guide, to help you determine the ideal distance for your screen size.
Keystone correction vs lens shift
There is a keystone correction on most projectors, but you’ll get the best picture quality if you rely on physical placement instead of keystone. Keystone correction is a method of adjusting the image digitally so it’s perfectly square versus off-centre or warped in a prism. You get a correctly oriented image but there can be some loss in quality and image clarity.
Lens shift, on the other hand, adjusts the image optically, which results in no loss of quality. Physically move the projector to the best place possible so you don’t have to use either. If this isn’t possible, you can resort to lens shift and keystone correction as needed.
Image calibration and test patterns
To get the best possible picture, you can run a test pattern or built-in calibration screen as soon as the projector is in place. Running this pattern helps with focus, alignment, colour balance, and geometry. Many projectors come with built-in calibration tools, accessed through the setting menu. You can also use free downloadable test patterns. If you’ve purchased a high-end home theatre projector and you’re willing to invest in the best possible picture, you can also consider hiring a calibration expert.
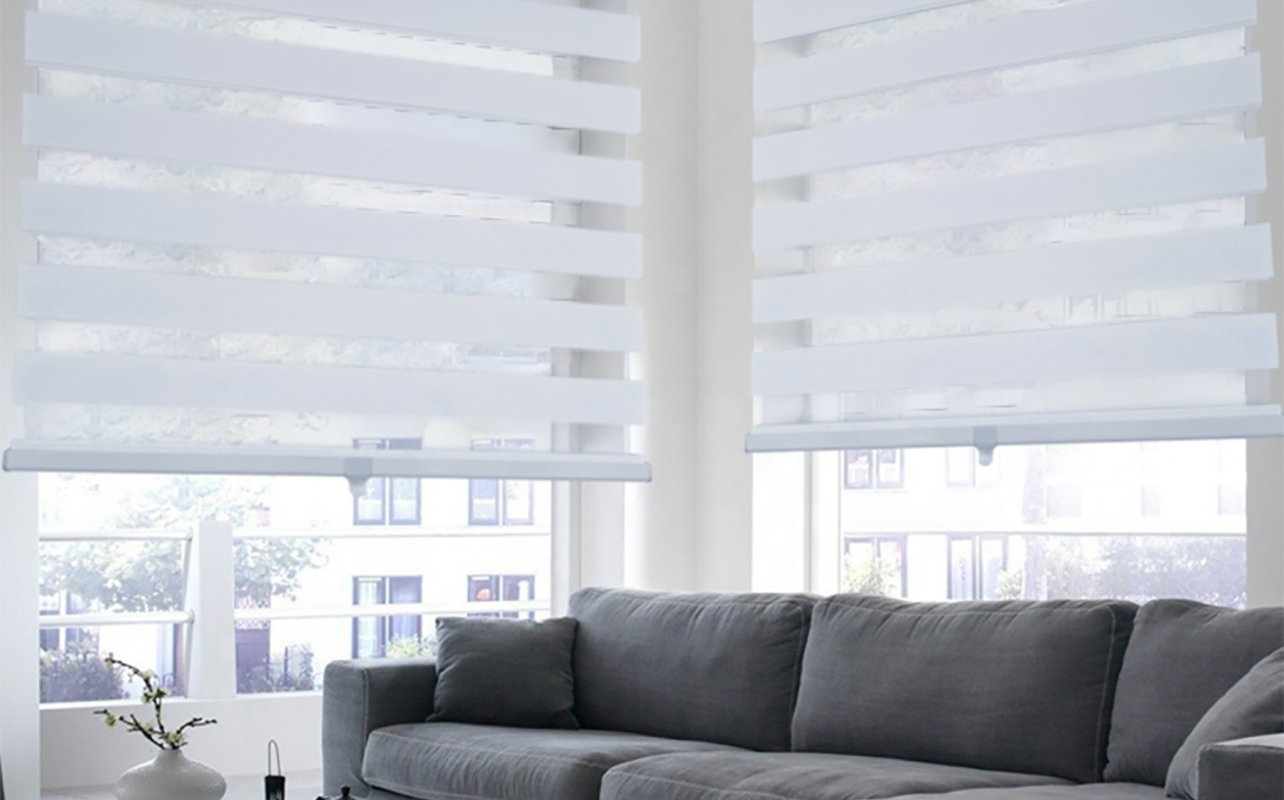
6. Add blinds or room darkening curtains
Some projectors are bright enough for daylight viewing on their own. Others will provide better picture quality at night or in a darkened room. If you’d like to watch videos during the day without darkening your room, you’ll need to choose a projector with enough lumens to provide a bright picture in direct or indirect sunlight. The recommended lumens for a daylight projector are approximately 2,000 ANSI lumens. The best option for daytime viewing is short throw and ultra short throw projectors because their close proximity to the screen reduces the potential of shadow or glare.
Even if your projector is designed for a bright room, you might still want to control the amount of light coming in so you can enjoy the best picture quality possible. Window coverings like blinds and room darkening or blackout curtains are an easy way to eliminate ambient light and darken a room.
7. Customize your projector with your favourite apps
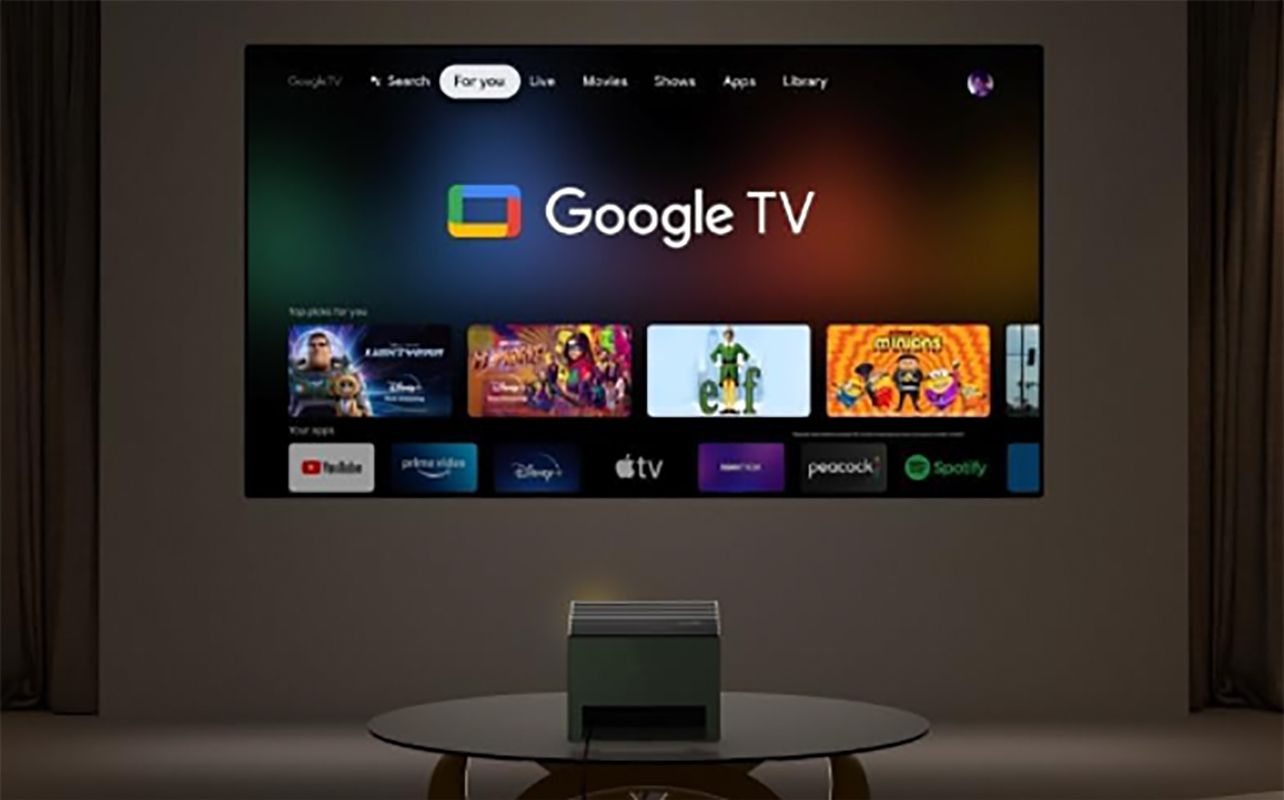
Just like TVs have smart operating systems, your new projector may also have smart features. Some Bluetooth projectors have Wi-Fi built-in and will connect to your home’s network so you can access your favourite streaming apps all on one screen. Some have a smart TV OS built right in.
Once it’s set up, take some time to download and login to all your favourite video streaming apps like Netflix, Disney+, and YouTube. You may be able to add Spotify to stream your favourite playlists from a Bluetooth projector.
8. Consider adding external speakers for your projector
Projectors have speakers so you’ll be able to hear everything you’re watching without connecting to an external speaker. Some projectors have speakers that are 3 watts to 5 watts, other higher-end projectors offer 10-watt speakers.
If you’d like to boost the sound quality after you set up a projector, you can connect it to a Bluetooth speaker or plug it into a soundbar via an HDMI cord. Even if you have a 4K projector or portable projector, it’s nice to be able to have an extra speaker so you can turn the volume up as loud as you’d like or enjoy a more immersive listening experience.
Make the switch to a projector for your home theatre
Projectors have certain requirements in terms of placement and mounting, and may require more gear. Whether it’s for your primary main viewing room, the basement, or a dedicated home theatre, you’ll need to consider the steps involved.
Find plenty of home theatre and portable projectors for your home at Best Buy Canada.


