 At last, spring is upon us. Soon we’ll be able to go outside again without fear of losing toes to frostbite, or losing an umbrella to a sudden gale. On top of that, the clocks went forward last weekend (‘spring forward, fall back’) so now we have all these long glorious evenings ahead of us.
What better time to get outside and practice some photography, so today I’m going to walk you through some of the manual settings on your camera that will help you shoot with purpose, rather than just leaving it all to the camera and hoping for the best.
Manufacturers know that for the most part, users of their cameras are going to stick with automatic mode because they figure ‘What’s the point in learning all the technical stuff if the camera can do everything for me?’. And so the latest models come equipped with enhanced auto options like ‘scene recognition’ mode, which assesses the scene and chooses the best settings, and “face recognition technology”, which, as the name suggests, recognises when a face is in the picture and makes sure the face is in focus.
These options are really interesting and potentially useful if all you ever plan to do is take snapshots. But if you are intent on really pursuing photography, even as an occasional hobby, it is absolutely vital to get a handle on those manual settings that will allow you to really take control of the camera. At the end of day it’s only you, the photographer, who really knows what your intention is when you press the shutter release button.
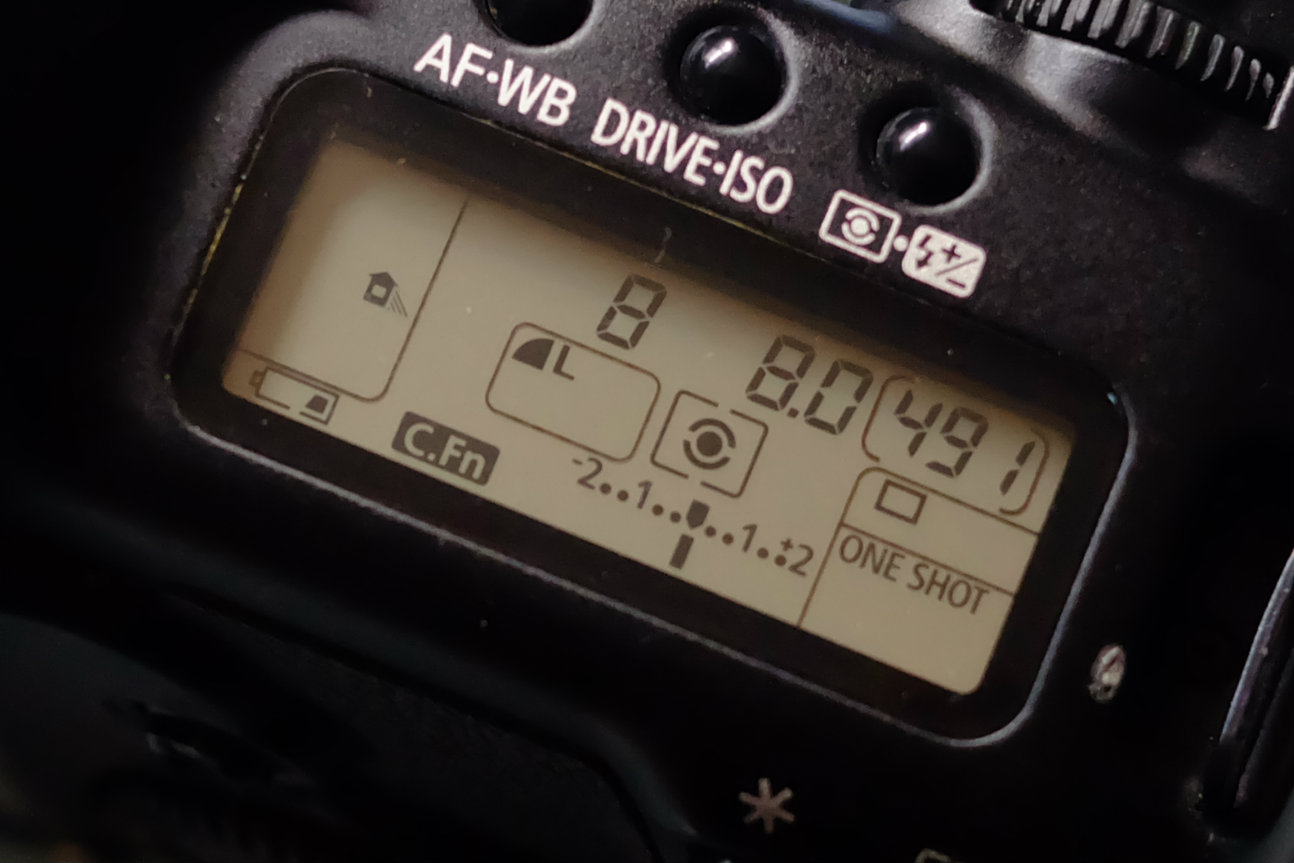 In the most basic terms, photography is the controlled exposure to light of a light sensitive material. Our two primary means of control are shutter speed and aperture. Getting exposure right is kind of a trade-off between shutter speed and aperture. Every modern camera has an exposure meter which lets you know whether you’re underexposed (to the left), overexposed (to the right) or bang on (in the middle). It’s not infallible, but that’s a discussion for another day.
Shutter Speed
The first setting we’re going to look at, and the easiest to understand, is shutter speed. The shutter speed is simply the amount of time for which the shutter is open, measured in seconds. You’ll generally see shutter speed on your camera expressed as a number and, unless you’re doing a long exposure, this number will refer to a fraction of the second. For example, if you see 50 that means 1/50th of a second, 4000 refers to 1/4000th of a second, and so on. If the shutter speed is one second or more, expect to see something like inverted commas following the number, like 5″.
The general rule of the thumb is that the shutter speed should be a least double the focal length of the lens in order to avoid blur caused by camera shake. So if you’re using a 50mm fixed lens, then the magic number is 100, as in 1/100th of a second. If you’re shooting with a 35mm lens, you need to be faster than 70, as in 1/70th of a second. If you’re using a zoom lens, then you’ll have to read the focal length from the barrel of the lens. You could just play it safe and take the longest focal length available on the lens, double it, and make this the lowest allowable shutter speed.
Aperture Number
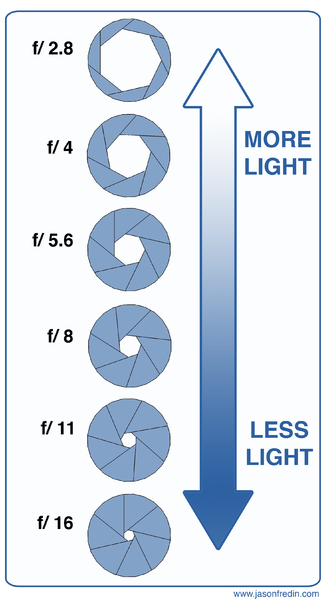 The next setting we’re going to look at is the aperture number. It’s not quite as straight forward as shutter speed, but once you grasp the concept, you’ll see it’s not rocket surgery. Camera lenses have a mechanism which is able to limit the amount of light entering the camera, because sometimes you’ll have an abundance of light and sometimes you’ll have a scarcity. And so this mechanism creates a hole, or aperture, through which the light passes. The bigger this aperture, the more light that can pass through. Conversely, the smaller the aperture, the less light.
There’s a standard set of aperture numbers that you’ll see over and over again. Every lens is capable of achieving some subset of these apertures. The important thing to remember with apertures is that as the numbers get bigger, the aperture itself gets smaller. So f/8 is a smaller aperture than f/5.6.
Now, let’s imagine you’re out on the streets of New York City doing some street photography with your 50mm prime lens. It’s been a brilliant day, and even though you’re feet are aching, and the light is fading, you want to keep on shooting. Let’s say you were able to shoot in manual mode at f/8 and 1/125th of a second for most of the day. With the light diminishing you’ve dropped you shutter speed to 1/100th of a second, which is the magic number below which you don’t want to go. Your next option for letting in more light is widening the aperture by lowering the aperture number.
So what happens when you get to your widest aperture? Well we have one more option – change the ISO.
ISO
The ISO is a measure of the sensitivity of the light sensitive material to incoming light. When you shoot with film, the film that you load into the camera is rated with a certain ISO. The only way to change the ISO is to change the film. With our new-fandangled digital machines, changing the ISO is just a button push away. ISO is pretty intuitive in that when you increase the ISO number you increase the sensitivity. The rule of thumb is that we try to keep the ISO as low as possible, because as you increase ISO you start to see digital noise.
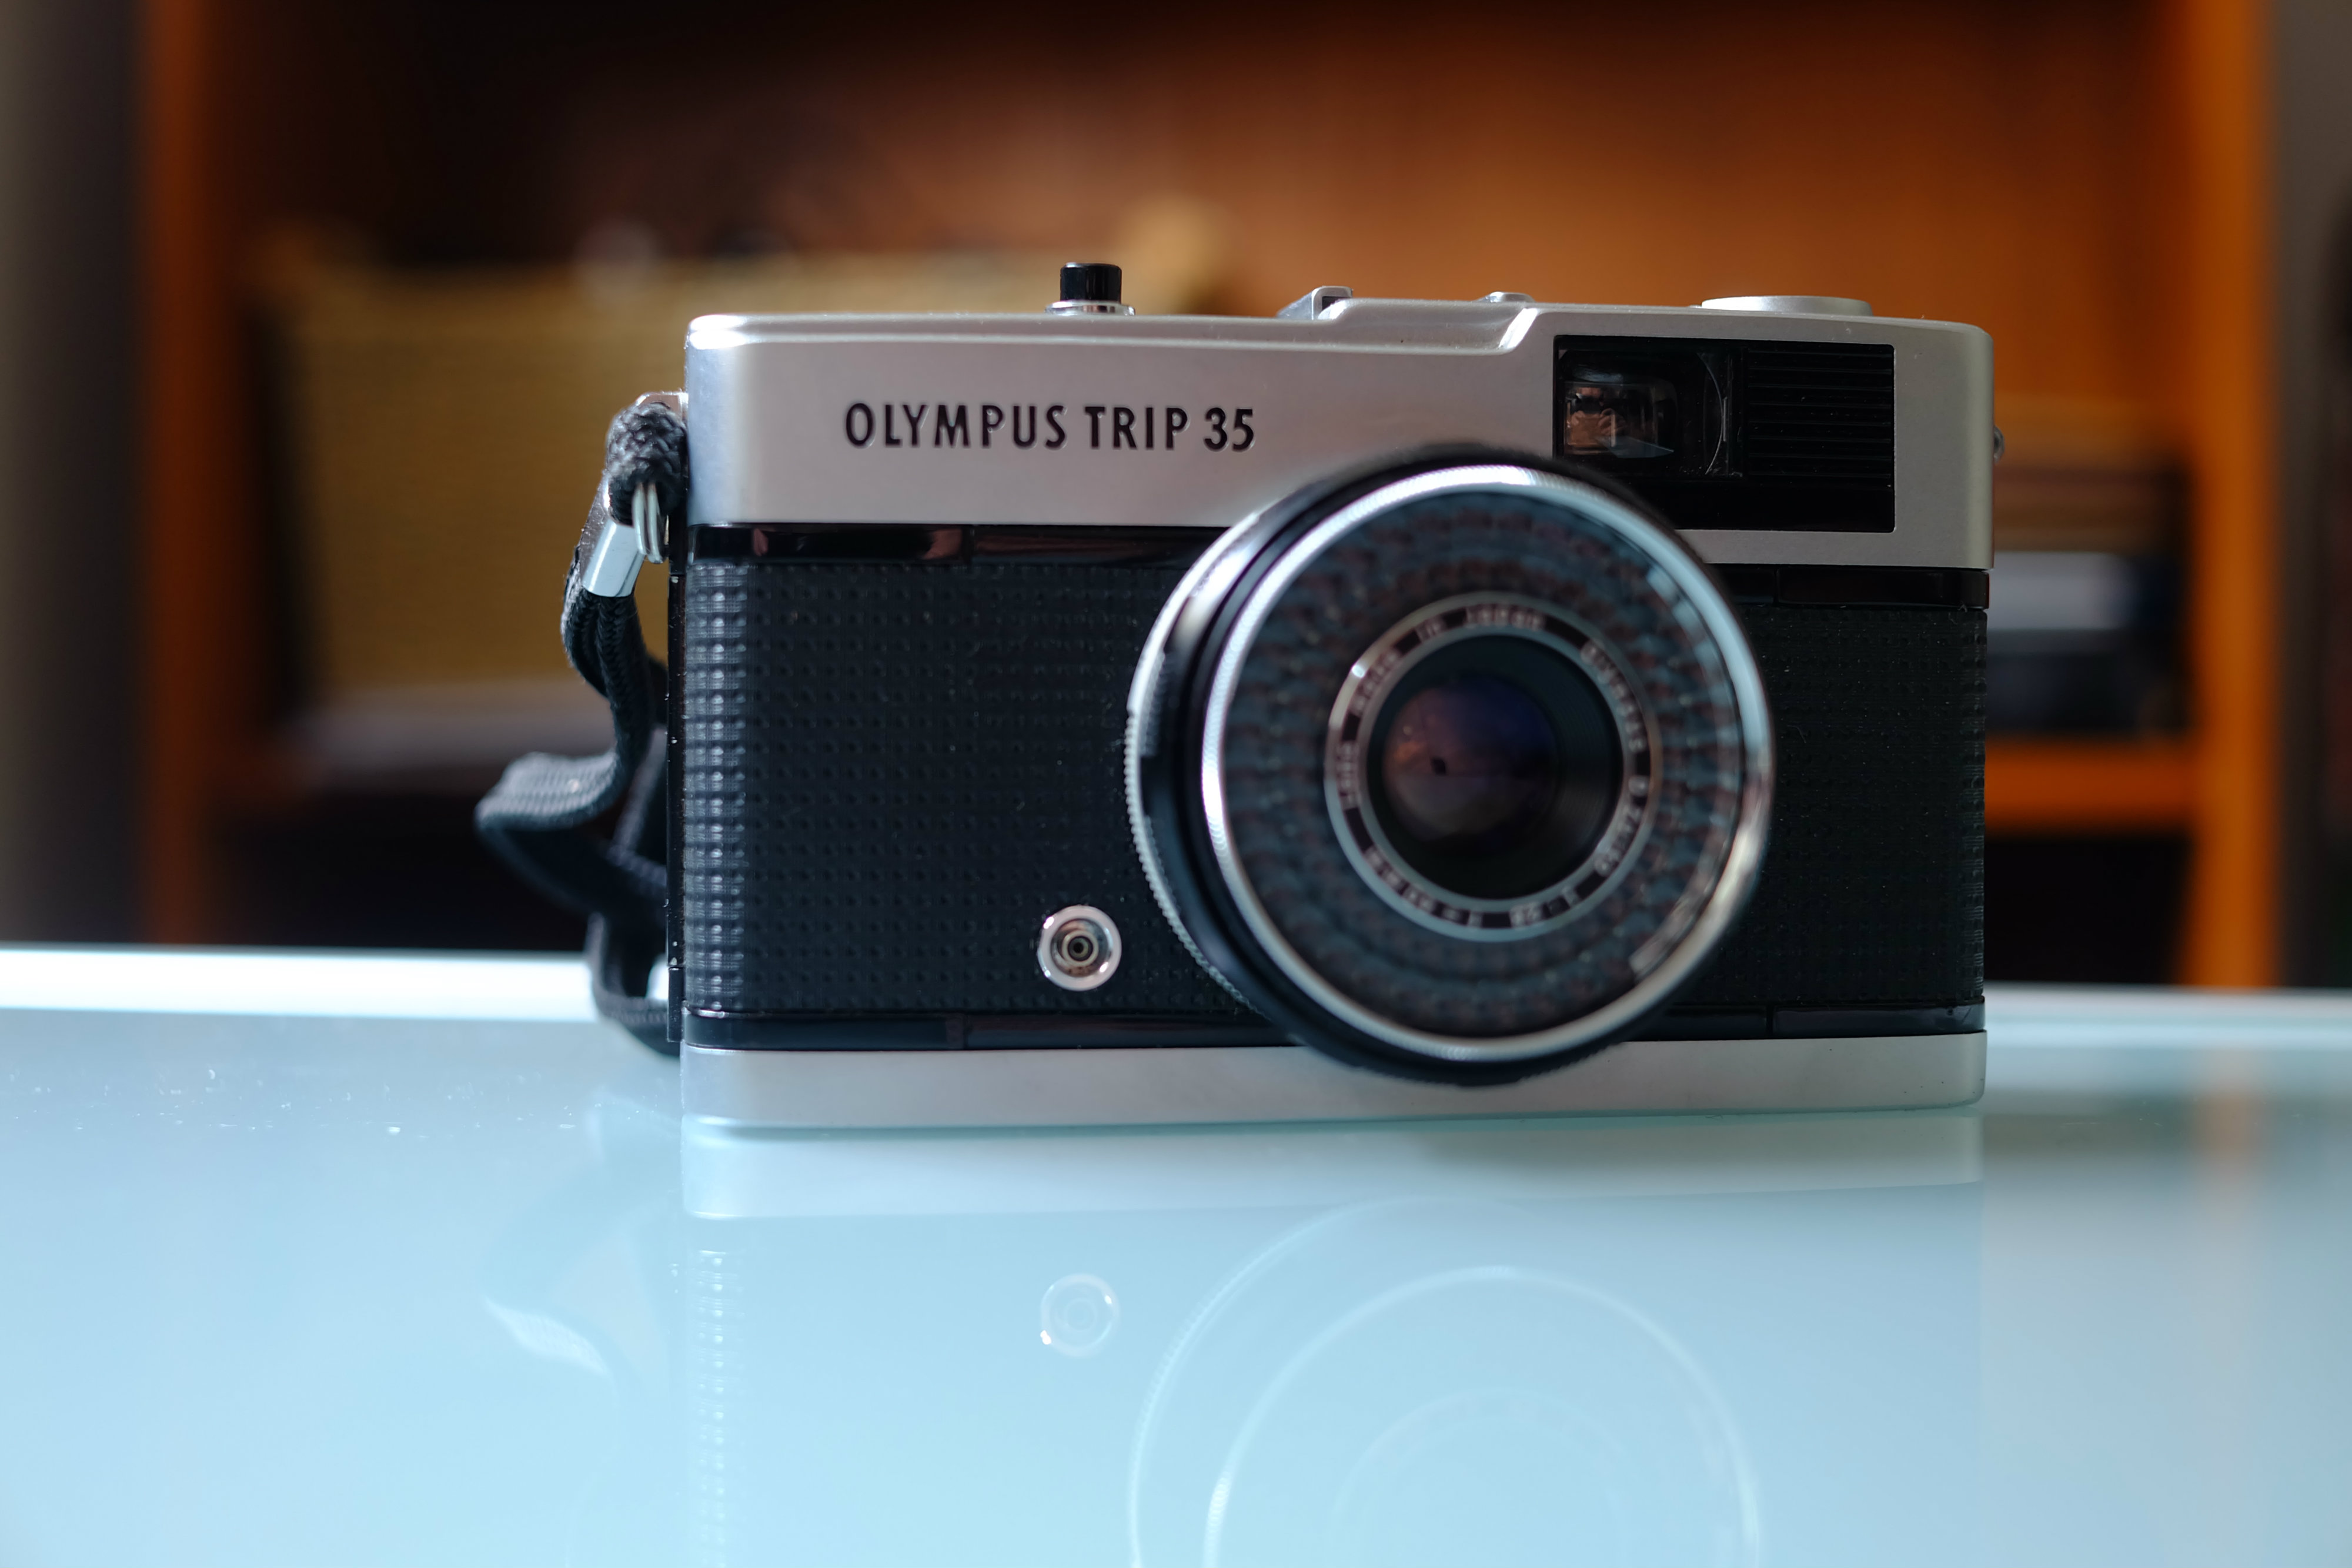
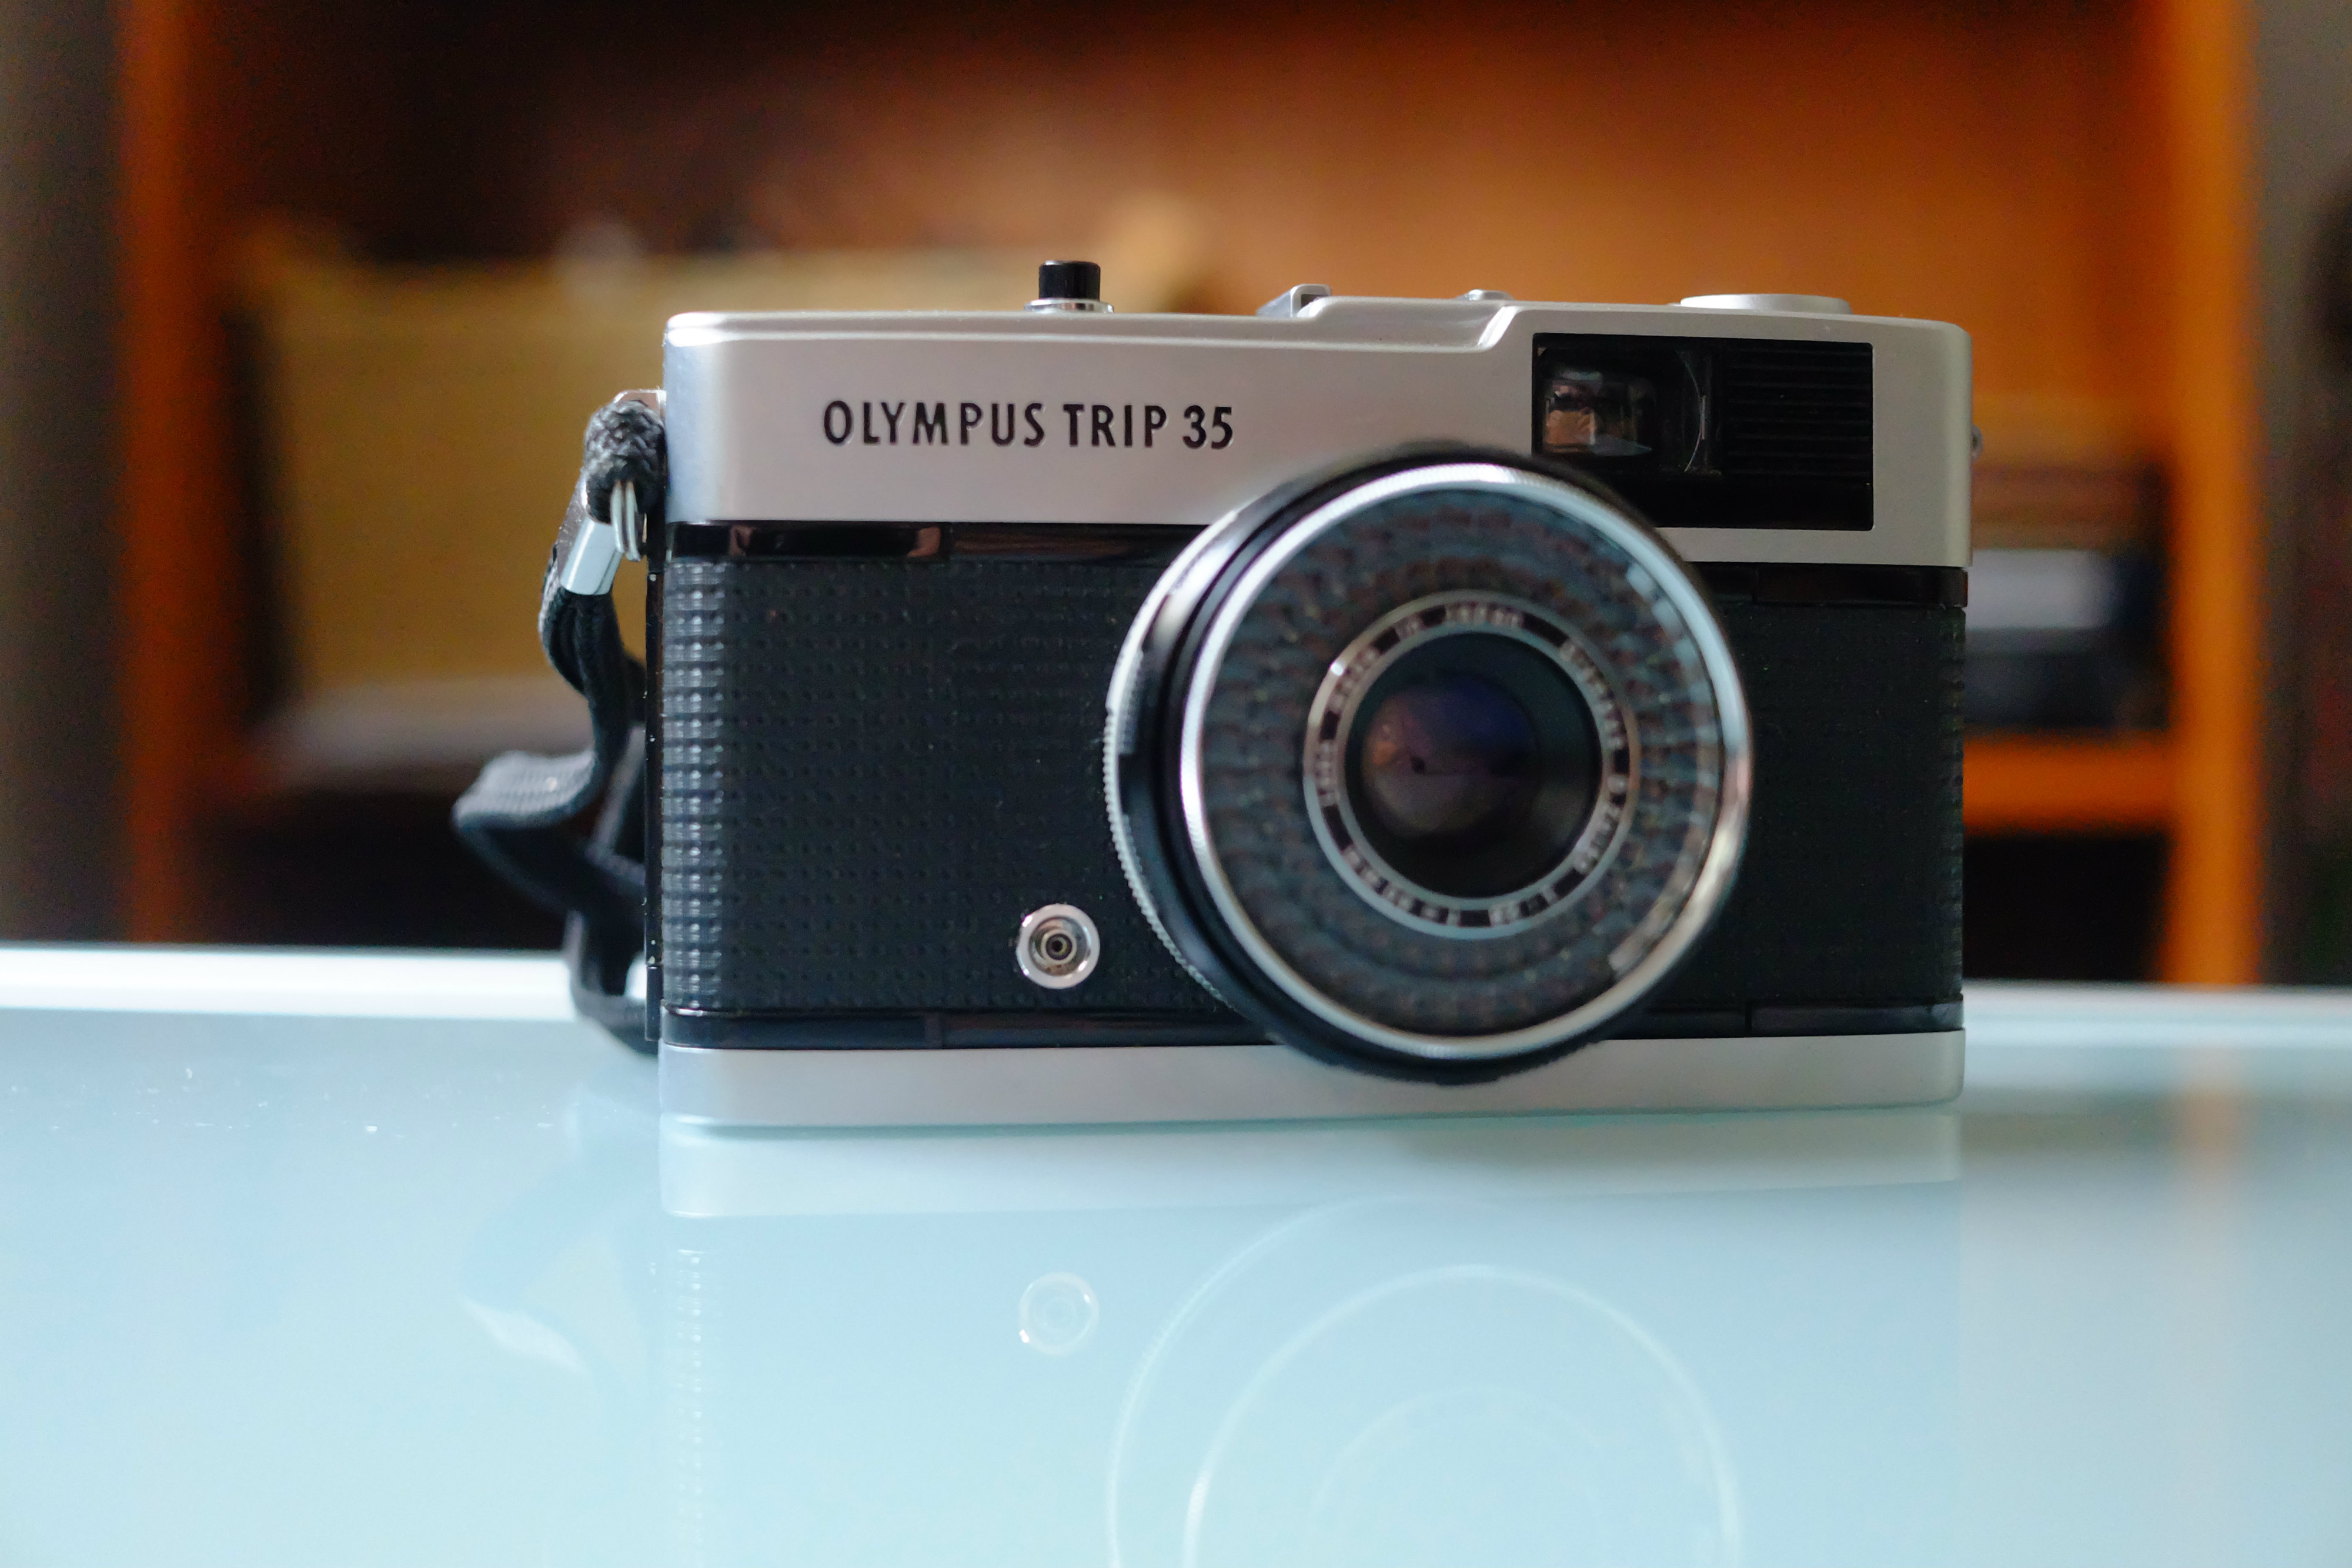
To illustrate the point here are two images taken with the Fujifilm X-A1, the first at ISO 200 and the second at ISO 6400:
When we take a closer look the noise factor in the second image becomes obvious:

So there you have it, a primer on the three most important settings on your camera. Hopefully that helps to demistify things a little bit. I promise you once you start practicing a little bit in manual mode you’ll soon realise – it ain’t that complicated!
If you still have questions, ask in the comment section below.
Happy shooting.
Aperture diagram © Jason Fredin, Creative Commons license.

