
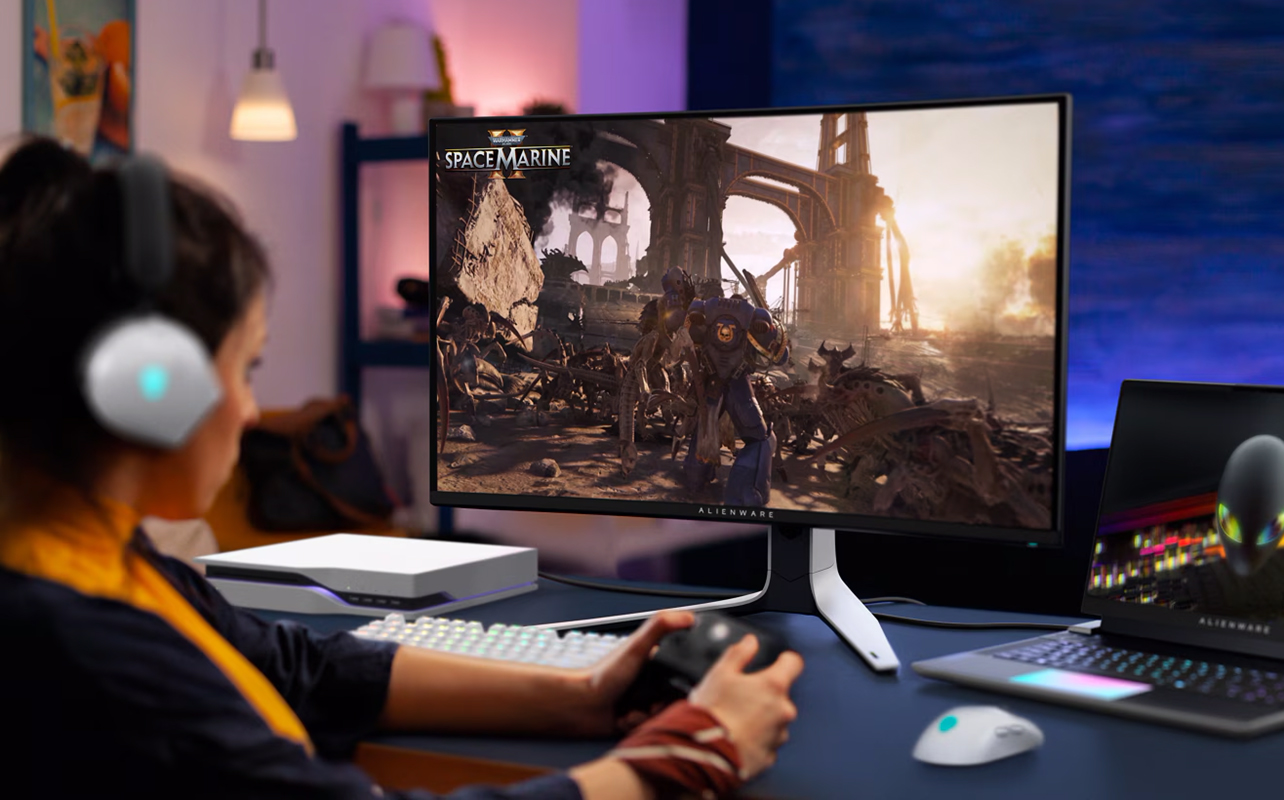
Gaming monitors are more than just about a larger screen to look at. They’re also generally designed for speed through higher refresh rates and lower input lag. Since the viewing distance between your eyes and the monitor is so much closer compared to a TV, sharper details stand out even more. Competitive gamers rely on a sharper image and milliseconds of responsiveness to make all the difference. Plus, a sleek monitor takes up far less room than a TV, which is ideal for anyone short on space.
The good news is you can connect your console to a monitor easily. It’s a similar process across consoles, save for a few quirks depending on whether you’re doing a PlayStation monitor setup, an Xbox HDMI connection, or a Nintendo Switch-to-monitor connection.
This setup guide will walk you through all the steps—from video and audio connections to optimizing resolution and refresh rate—so you can start gaming right away.

What you’ll need
Before diving into cables and settings, make sure you have the right gear. At minimum, you’ll want:
- Your console: PlayStation 5, Xbox Series X|S, or Nintendo Switch
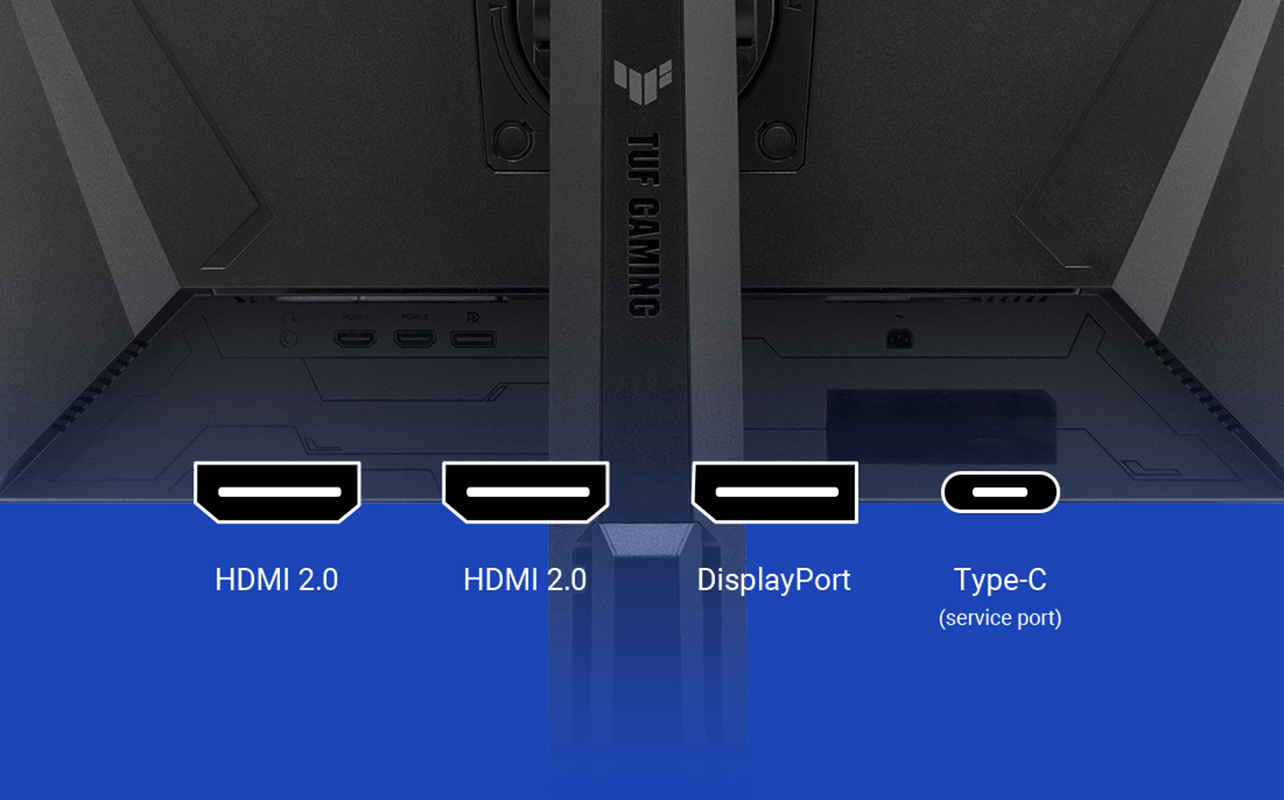
- Monitor with an HDMI port: Almost all monitors right now have at least one, but check before you start
- HDMI cable: HDMI 2.0 works for most setups, while HDMI 2.1 is needed if you want to play at 4K 120Hz
- Power for both devices: Seems obvious, but don’t forget outlets or power strips
- Optional: speakers or headphones: If your monitor doesn’t have built-in speakers (and many don’t), you’ll need another way to hear audio
How to connect your console to the monitor
The process is straightforward, but doing it in the right order helps avoid blank screens or handshake issues:
Step 1: Power down both devices
Turn off your console and your monitor before making any connections. This prevents electrical surges and ensures the devices can detect each other properly when you power them back on. You don’t necessarily have to change a software setting or anything like that before you take this step, so it’s pretty straightforward.
Step 2: Connect the HDMI cable
Plug one end of the HDMI cable into your console’s HDMI output, and the other into the HDMI input on your monitor. Some monitors have multiple ports with different performance ratings, so make sure you’re plugging into the correct HDMI port. If you’re not sure, look it up in the manual or find the information online.
Step 3: Power on the monitor, then the console
Always turn on the monitor first so it’s ready to receive the signal from your console. If you power up the console first, you may encounter a “no signal” error that forces you to restart the process.
Step 4: Check your display settings
Go into your console’s video output menu to confirm that the resolution and refresh rate match your monitor’s capabilities. This step ensures you’re not stuck at a lower setting than your monitor supports, which could limit your gaming experience.
Not sure whether a gaming monitor or TV is the better fit for your console? Check out our gaming monitor vs TV comparison to see which setup delivers the edge you need.
Here are some setup tips by console
Different consoles handle monitor connections slightly differently, and here’s what you need to know for each one:
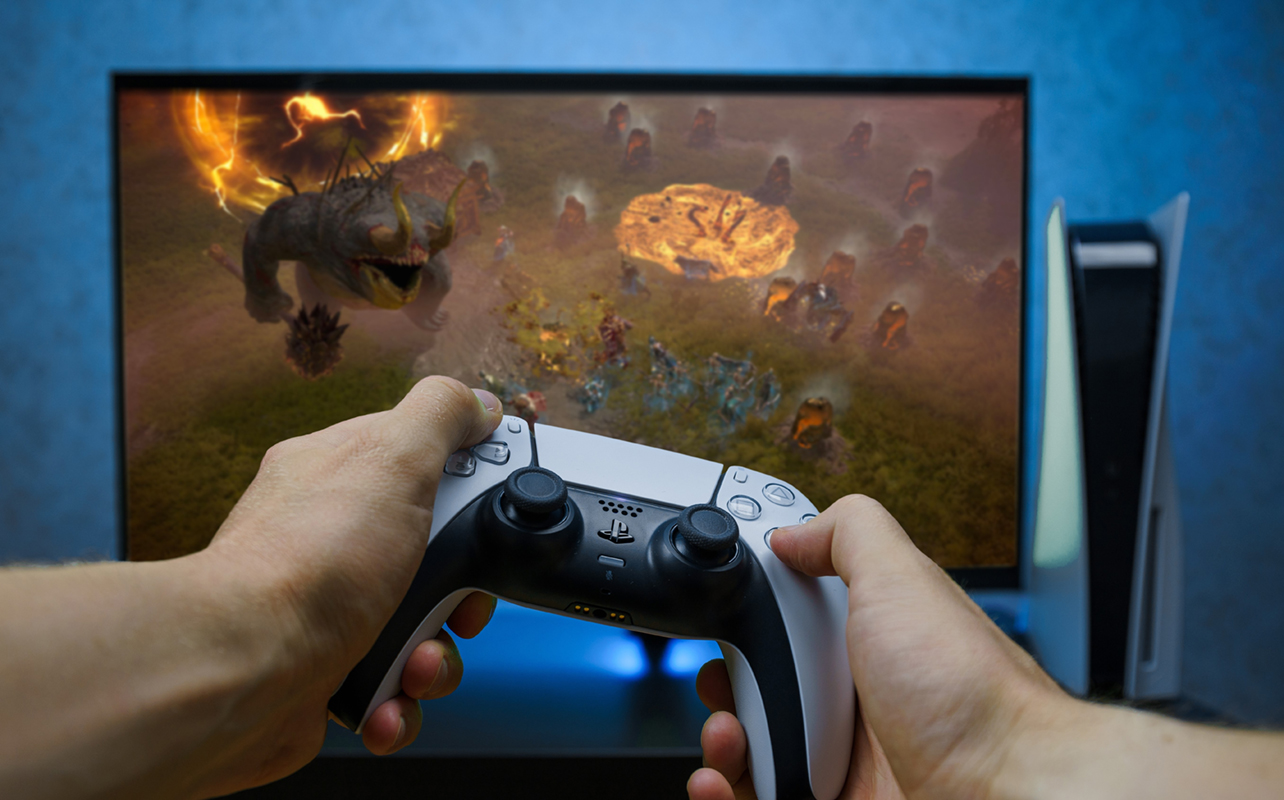
PlayStation 5
For a PlayStation monitor setup, the most important factor is ensuring your HDMI cable and monitor support 4K at 120Hz, since the PS5 requires HDMI 2.1 for that level of performance. Don’t worry if your monitor only supports 1440p or 1080p because the console automatically scales the image to fit your display, so you’re not out of the game.
When it comes to sound, the PS5 can deliver audio through HDMI if your monitor has speakers, or through the DualSense controller’s 3.5mm headphone jack if you prefer using a headset. It’s also worth checking whether your monitor supports variable refresh rate (VRR), as some models may need a firmware update to sync properly with the PS5.
Xbox Series X|S
The Xbox Series X|S takes a pretty straightforward console-to-monitor approach through its excellent compatibility. Both consoles support 1080p, 1440p, and 4K resolutions at up to 120Hz, so your monitor’s specs will determine the maximum quality you can achieve. Xbox systems also detect monitor capabilities automatically using EDID (Extended Display Identification Data) to save you time when adjusting settings.
If your monitor has speakers, you can use HDMI for audio, plug headphones into the controller jack. Xbox consoles also pair very well with FreeSync-enabled monitors, which means VRR support is usually seamless.
Nintendo Switch
Nintendo Switch connects to a monitor through its dock, outputting up to 1080p resolution, which is more than enough for most players. If you prefer handheld mode but still want to connect directly to a monitor, you’ll need a USB-C-to-HDMI adapter. Just make sure it’s either official or a high-quality third-party option to avoid unreliable models. Because the Nintendo Switch caps at 60Hz, you won’t see the same ultra-high refresh rates available on PS5 or Xbox, though gameplay still remains smooth and stable.
For audio, the docked console sends sound through HDMI, while in handheld mode you can simply use the built-in headphone jack.
No sound? Here’s how to fix it
You see video but no audio. That’s a common hiccup when using a gaming monitor with consoles because many monitors don’t include speakers. If you run into this snag, you’ve got several options:
- Check for a headphone jack on the monitor: If it has one, plug in external speakers or headphones.
- Use your controller’s audio port: Both PS5 and Xbox controllers have 3.5mm jacks.
- Add an HDMI audio extractor: This small device splits the video and audio signals, letting you connect speakers separately.
- Go wireless: Use Bluetooth headphones (natively supported on PS5 and Xbox), or a USB/Bluetooth transmitter if your headset requires one. Not all Bluetooth headphones are the same for gaming, where low latency is a must, so look out for pairs that offer such a feature or are optimized for consoles.
Optimize display settings
Once your console and monitor are connected, tweaking settings ensures you’re getting the best performance.
Enable 120Hz mode
On PS5 and Xbox consoles, go into the video settings menu and enable 120Hz mode if your monitor supports it. Gameplay is smoother because of it, especially in competitive titles where every frame counts.
Use your monitor’s gaming features
Many monitors include features like gaming mode, low-latency mode, or variable refresh rate settings. Turning these on can reduce lag and stutter, giving you a much more responsive experience.
Check for overscan issues
If the picture looks cut off or doesn’t fill the entire screen, you may be dealing with overscan. Fix this by adjusting scaling or aspect ratio in either your console settings or the monitor’s menu.
Adjust HDR carefully
Some monitors don’t handle HDR as well as TVs, making colours look washed out or too dark. If that happens, try adjusting brightness and contrast, or simply disable HDR in your console settings for a more consistent look. Your eyes will tell you whether the difference is optimal or not.
Bonus: dual setup with PC and console
Plenty of gamers want to use the same monitor for both their PC and their console. Thankfully, it’s easy:
- Choose a monitor with multiple HDMI ports so you can connect both systems at once.
- Alternatively, use an HDMI switcher—it’s handy if your monitor only has one HDMI input.
- Some monitors with USB-C input can also act as a display for consoles using compatible adapters.
The right setup means you can swap between work and play without constantly unplugging cables.
What makes a great PC gaming monitor?
Our gaming monitor buying guide breaks down everything from panel types to refresh rates so you can shop with confidence. It’s the perfect next step for anyone who wants the best screen for both console and PC play.
Recommended accessories
While you don’t need much to get started, a few extras can make your console monitor setup smoother and more enjoyable:
HDMI 2.1 cables
You will need one of these if you’re gaming on a PS5 or Xbox Series X and want to take full advantage of 4K at 120Hz. Simply swap out older cables for a certified HDMI 2.1 version to unlock the higher refresh rates and resolutions. There’s an added advantage here in that HDMI 2.1 is also backward compatible, so you can stream and watch content through your console as well, regardless of what HDMI version is supported.
External speakers or sound bars
Most monitors don’t include built-in speakers, so external speakers or a sound bar are a great addition to produce a totally different audible experience. Connect them to your monitor’s headphone jack or directly to your console for fuller, more immersive audio.
HDMI audio extractor
If you’re using an older monitor without audio outputs, an HDMI audio extractor can be a lifesaver. It splits the signal so video goes to your monitor while sound is routed to speakers or headphones.
Monitor stands or arms
Gaming for long sessions can be tiring if your screen isn’t at the right height. Over time, the height imbalance can also be bad for your long-term health, so best not to take it lightly. A monitor stand or arm lets you adjust the display for better ergonomics while also freeing up valuable desk space.
USB-C hub with HDMI
For Nintendo Switch users, a USB-C hub with HDMI provides an alternative to docking when you want to connect to a monitor. It’s a compact solution that lets you game on a bigger screen while still keeping your console portable.
Ready to level up your console gaming experience?
Visit Best Buy Canada to explore the latest gaming monitors, HDMI accessories, and computer speakers designed to make your console monitor setup as seamless as possible.

This article was drafted using AI technology and then reviewed, fact-checked, and revised by a member of our editorial team.


