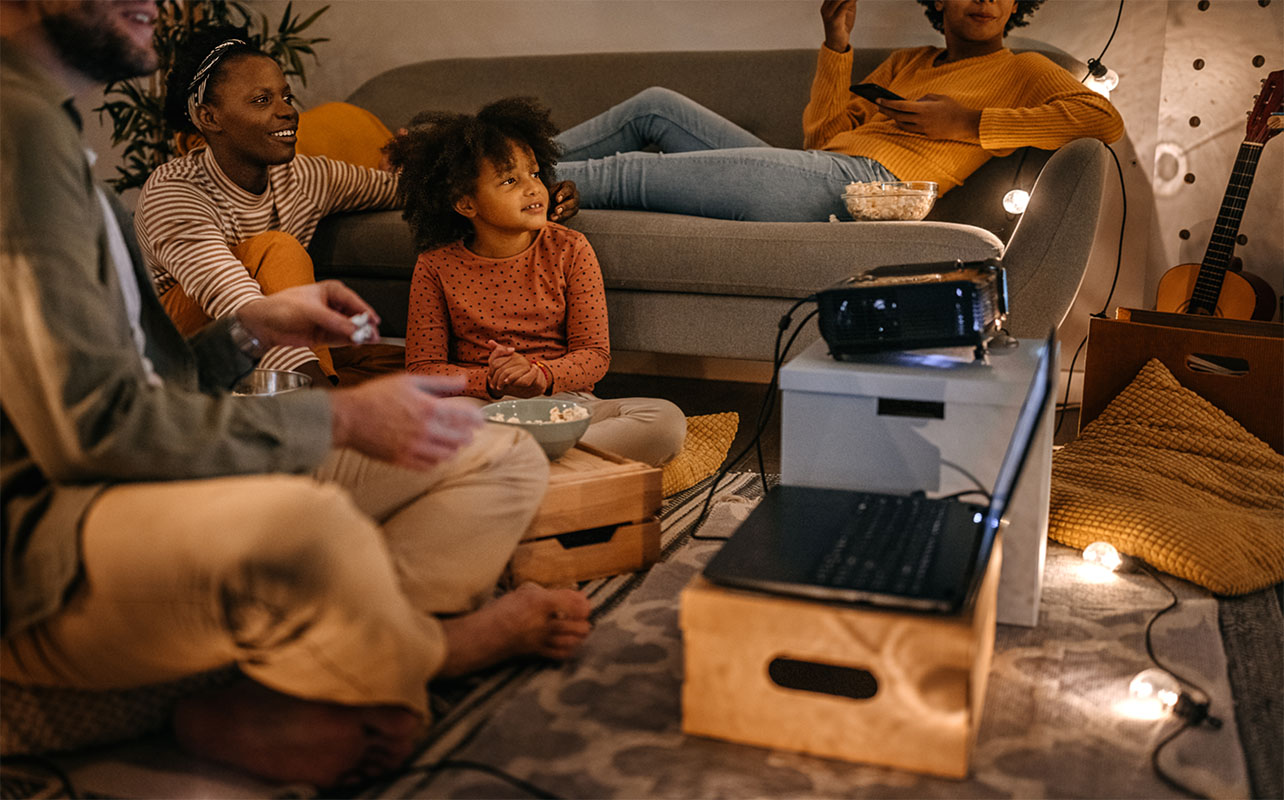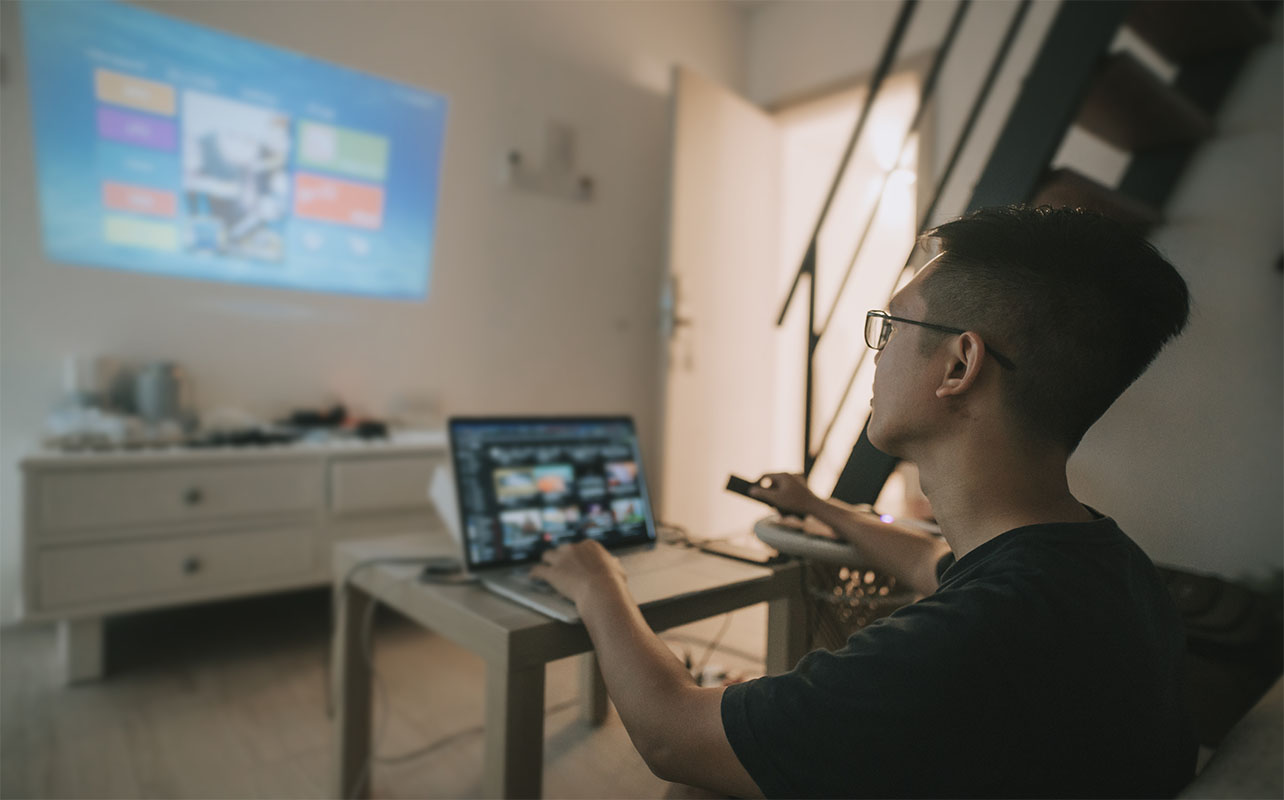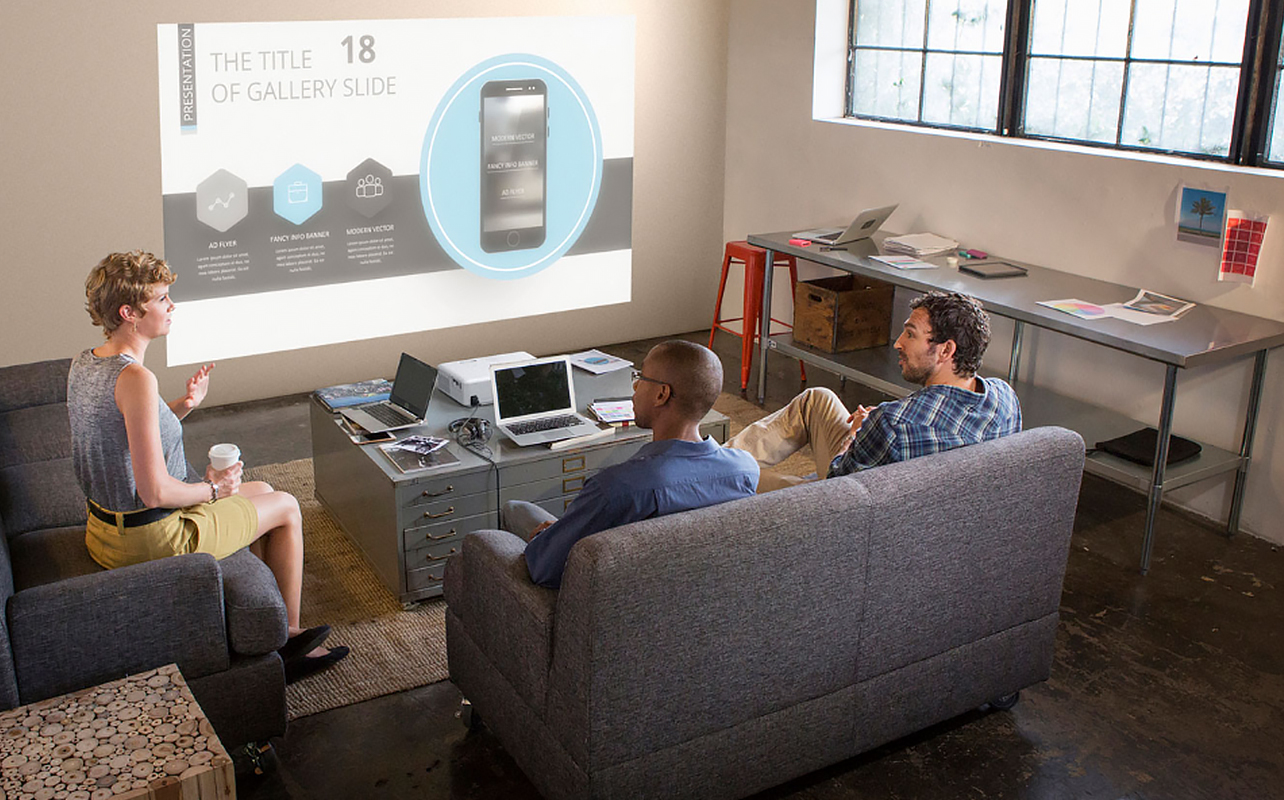
Whether you’re gearing up for a big presentation or setting up an epic movie night at home, home theatre and office projectors are a solid way to get your visuals up on the big screen—literally. “How do I connect projector to laptop?” you may ask. Well, you’re in the right place!
In this guide, we’ll walk you through how to connect a projector to your laptop using both cables and wireless methods. It’s simpler than it sounds—especially when you have the right gear and a few handy tricks. Plus, we’ll cover how to hook up a projector to a laptop on both Windows and macOS, as well as how to troubleshoot if things go sideways.
How to connect a projector to your laptop using cables
Wired connections are the most reliable way to connect your laptop to a projector. They’re ideal for boardrooms, classrooms, or anywhere you don’t want to rely on Wi-Fi.
Step 1: Identify your laptop’s video output port
First things first: figure out what kind of video output your laptop has. Most modern laptops will have one of these ports:
- HDMI: Most common, looks like a wide USB port with angled corners.
- USB-C: Found on newer laptops like MacBooks and ultrabooks.
- Mini DisplayPort: Used in older MacBooks and some Windows devices.
- VGA: Old-school and less common now but still hanging around in some offices.
To identify your port, check the sides or back of your laptop. If you’re unsure, consult your laptop’s manual or the manufacturer’s website for specifications.
Step 2: Determine your projector’s input port
Next, examine your projector to identify its input ports. Most projectors now feature HDMI ports, which are standard for high-definition video and audio transmission. Some older models might have VGA ports, recognizable by their 15-pin configuration, primarily used for video. Other projectors include USB ports; however, these are typically for media playback or firmware updates rather than direct video input. Some newer projectors, especially smart projectors, support video over USB-C (specifically USB-C DisplayPort Alt Mode), but traditional USB-A ports won’t transmit video from laptops.
If your projector supports HDMI, you’re in luck—it makes life easier. If it only supports VGA, you’ll likely need an adapter, especially if your laptop doesn’t have a VGA port.
Step 3: Select the appropriate cable or adapter
Here’s where you match your laptop’s output to the projector’s input.
Direct HDMI to HDMI match?
If both your laptop and projector have HDMI ports, use a standard HDMI cable. This setup supports high-definition video and audio with a single cable, making it the most straightforward option.
Different ports?
- USB-C to HDMI adapter: For laptops with USB-C ports (common in newer models like MacBooks), use a USB-C to HDMI adapter to connect to the projector’s HDMI port. This adapter converts the USB-C output to HDMI, facilitating video and audio transmission.
- Mini DisplayPort to HDMI cable: Older MacBooks and some Windows laptops feature Mini DisplayPort outputs. A Mini DisplayPort to HDMI cable will bridge the connection to the projector’s HDMI input, ensuring compatibility.
- VGA to HDMI converter: If your laptop has a VGA output and your projector only has an HDMI input, a VGA to HDMI converter is necessary. This device converts the analog VGA signal to a digital HDMI signal, allowing for proper display on the projector.
You can find a variety of projector cables at Best Buy Canada.
Step 4: Connect your laptop to the projector
Before making any connections, power off both your laptop and projector to prevent any electrical issues. Connect the appropriate cable or adapter between the laptop’s output port and the projector’s input port. Once connected, power on the projector first, followed by your laptop. This sequence allows the projector to initialize and be recognized by the laptop during startup. Wait a moment—the display might automatically mirror your screen. If not, keep reading.
Step 5: Configure display settings
Configure your laptop’s display settings to ensure the projector displays the desired content. The process varies between Windows and macOS systems.
On Windows
Press the Windows + P keys together and choose the display option that suits your setup:
- Duplicate: Mirrors your laptop screen onto the projector. Ideal for presentations where you want the same content on both screens.
- Extend: Expands your desktop across both screens, allowing you to use the projector as a second monitor. Useful for multitasking.
- Second screen only: Displays content solely on the projector, turning off the laptop’s screen. Suitable for movie viewing or when using the projector as the primary display.
On macOS:
- Click the Apple menu > System Settings > Displays.
- Go to the Arrangement tab.
- To mirror displays, check the Mirror Displays box. To extend the display, leave it unchecked.
Step 6: Adjust projector settings
Fine-tuning the projector ensures optimal image quality. You might need to tweak the image a bit:
- Focus ring: Rotate the ring located around the projector lens to sharpen the image.
- Keystone correction: On your projector, adjust the shape of the image when it’s not perfectly aligned with the screen—like when the projector is placed too low or angled upwards—causing the image to look like a trapezoid instead of a nice, even rectangle.
Pro tip: While keystone correction is helpful, physically aligning the projector with the screen (flat and centred) gives you the best picture quality. Keystone correction can slightly reduce image sharpness since it digitally alters the signal. - Resolution: If the projected image appears blurry or cut off, adjust your laptop’s display resolution to match the projector’s native resolution. This setting is found in the display settings on both Windows and macOS systems.
Troubleshooting common issues

Let’s face it—tech can act up sometimes. Here’s how to fix common projector problems:
No signal detected?
If your projector displays a “No Signal” message, the most likely cause is a loose or incorrect cable connection. First, make sure the cable is firmly plugged into both the laptop and the projector. If you’re using an adapter, ensure it’s compatible and seated properly. Next, check the input source on the projector itself. Most projectors have multiple inputs (HDMI1, HDMI2, VGA, etc.) and if it’s set to the wrong one, it won’t show your laptop’s screen. Use the projector remote or on-device buttons to cycle through the inputs until your laptop screen appears.
Display issues?
If the projector is displaying the image but something looks off—maybe the screen is cut off, the colours are strange, or the resolution is blurry—you might need to adjust your laptop’s display settings. On Windows, right-click your desktop and go to “Display Settings” to tweak the resolution or orientation.
On macOS, head to System Settings > Displays. Also, check for outdated or buggy graphics drivers—these can cause flickering or failed detection. Updating your drivers via Windows Update or the manufacturer’s website can often solve these issues. Finally, if all else fails, test a different cable or adapter. Sometimes the problem isn’t software—it’s a faulty wire.
How to connect a projector to your laptop wirelessly
No cables? No problem. Wireless connections are awesome for clean setups and portable projectors.
Step 1: Ensure your projector supports wireless connections
There are two ways to go wireless. First, check your projector for built-in Wi-Fi. Many smart projectors come with Wi-Fi and built-in streaming apps. Review your projector’s manual or manufacturer website to confirm Wi-Fi capability. Second, use external adapters or streaming devices like Chromecast, Apple TV, or Miracast dongle. These plug into your projector’s HDMI port and let you cast wirelessly.
Step 2: Connect both devices to the same Wi-Fi network
For a successful wireless connection, both your laptop and projector (or wireless adapter) must be connected to the same Wi-Fi network. Access the network settings on both devices to ensure they’re on the same network.
- Go to the settings menu.
- Choose your home or office Wi-Fi.
- Enter the password and wait for it to connect.
Same goes for your laptop—make sure it’s using the same network.
Step 3: Set up wireless display on your laptop
The process for setting up a wireless display differs between Windows and macOS:
On Windows:
- Open Settings > System > Display.
- Scroll to Multiple displays and click Connect to a wireless display.
- Select your projector from the list of available devices.
If your projector doesn’t appear, ensure it supports Miracast or is connected via a compatible adapter like Chromecast.
On macOS:
- Use AirPlay if the projector supports it or if you’re using Apple TV.
- Click the AirPlay icon in the menu bar (it looks like a screen with an arrow).
- Select your projector or Apple TV from the list.
If you don’t see the icon, go to System Settings > Displays and check “Show mirroring options in the menu bar when available”.
Step 4: Adjust display and projector settings
Once connected wirelessly, you can choose to mirror or extend your display:
- Mirroring: Displays the same content on both your laptop and projector. Ideal for presentations.
- Extending: Expands your desktop across both screens, allowing for multitasking.
Use the projector’s focus ring and keystone correction to fine-tune the image quality, just as you would with a wired connection (see step 6 from the previous section).

Troubleshooting wireless issues
Wireless not working? Here are quick fixes:
Not detecting the projector?
Ensure both your laptop and projector are connected to the same Wi-Fi network. Discrepancies in network connections can prevent devices from recognizing each other.
Still not working?
Restart both the projector (or wireless adapter) and your laptop. This can resolve temporary glitches and re-establish the connection.
Laggy or no video?
Check for firmware or software updates for your projector or wireless adapter. Manufacturers often release updates to improve performance and compatibility.
Try using cables
If wireless connection continues to give you grief—maybe your projector isn’t showing up, the signal keeps dropping, or there’s lag during playback—it might be time to go old-school. A wired connection using an HDMI or USB-C cable is typically more stable and delivers consistent quality with less hassle.
Simplify your setup with the right gear
So, how do you connect projector to laptop? It’s really just a matter of having the right cable, adapter, or wireless gear. Whether you’re hosting a work presentation, running a classroom lesson, or kicking back for a movie night, you can get your laptop and projector in sync with a few simple steps.
For the most stable and high-quality connection, HDMI and USB-C cables are your best bet. These wired options are plug-and-play, support high-definition video and are less prone to interference. If your ports don’t match, a reliable adapter can bridge the gap without much fuss. Prefer a cleaner setup? Wireless methods like Chromecast, Miracast, or Apple AirPlay offer flexibility and fewer cables on the floor. Just be sure your projector supports wireless display or can connect via an external streaming device—and always keep both devices on the same Wi-Fi network.
Whatever route you choose, remember to check compatibility between your laptop’s output and your projector’s input. Once you’ve got the right connection and settings, you’ll be projecting like a pro in no time. Get the right cable for your setup and check out our selection of projector cables.
This article was drafted using AI technology and then reviewed, fact-checked, and revised by a member of our editorial team.


id=”firstHeading” class=”firstHeading mw-first-heading”>Search results
Help
English
Tools
Tools
move to sidebar hide
Actions
General