

Recently I got the chance to test the still relatively new Yuneec Breeze 4K Quadcopter, and in today’s review I’m going to give you all the pertinent details. If high quality photography drones are an area of interest to you, keep on reading for all the details. I’ll cover everything from the Breeze’s major features and specs, to my own experience of operating and testing this very affordable flying camera.
Introduction to the Yuneec Breeze 4K
The Yuneec Breeze is a feature rich flying camera that virtually anyone (within reason) can easily operate. Weighing just 390 grams and being small and compact enough to carry with you in any bag or backpack, the Yuneec Breeze is the latest development in high end flying cameras. Although I think that virtually anyone can successfully fly and film with the Breeze, the recommended age range for its use is 16 and up, so do take that under advisement.
Yuneec Breeze Features and Specs
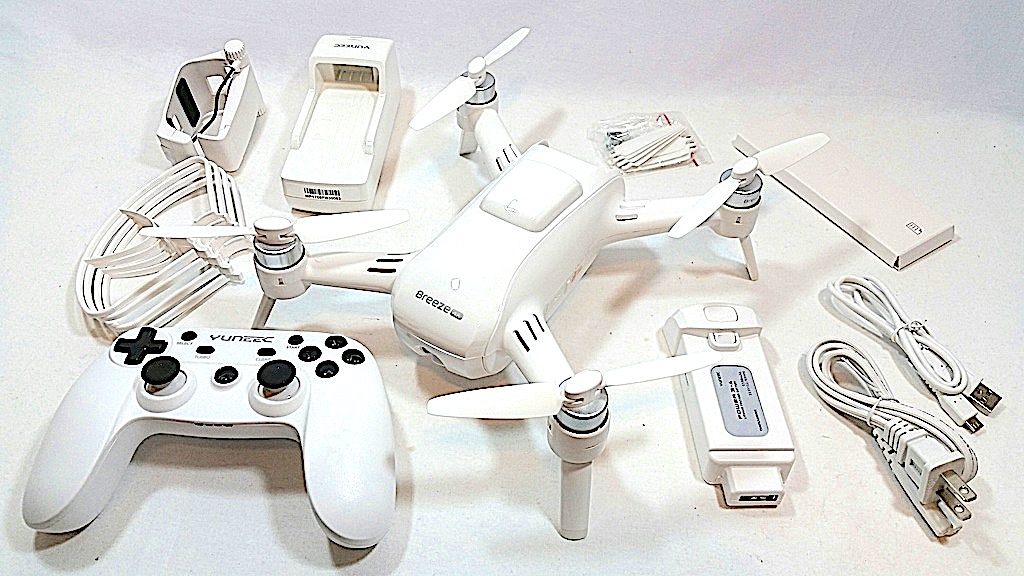
The Yuneec Breeze is chock full of useful features and specs. Included among them are 5 automated flight modes (Pilot, Selfie, Follow Me, Orbit, and Journey), auto take-off and landing, app based control via the Bluetooth connected Breeze Cam App (see photo immediately below for an app screen shot), a top flight speed of up to 35 Km/h with an operating range of 1000m (radius), a built-in camera that can record 30fps of video footage in beautiful 4K quality or shoot amazing 13MP still photos, and a very useful return to home feature in case of an emergency. The Breeze also features optical flow and infrared positioning sensors that allow it to steadily hold its position for an extended period of time, making it safe for both indoor and outdoor flight.

When you’re done flying and shooting images and footage, the Breeze allows you to easily share them with friends on social media. Its maximum elevation is only 80m, but I actually like this because anything higher than that and it becomes difficult to see anyway. It should also be noted that the Yuneec Breeze offers a live streaming feature to users running iOS based devices, and its 4K UHD camera (featuring a high-class Ambarella chipset) is vertically pivotable, making for some really cool bird’s eye view shots and footage. There’s also a FPV and Controller Kit separately available for the Breeze, but I can’t really comment on those at this point as I haven’t gotten my hands on them myself. Also, while the preceding features certainly constitute some of the Breeze’s best characteristics, I’ve come nowhere near giving you an exhaustive list. I’ll try to somewhat rectify that by sprinkling various others throughout the remainder of the review.

But first, to further explain the Breeze’s 5 different flight modes, the Pilot Mode allows you to fully fly the drone yourself. In other words, Pilot Mode is the full autonomy mode. It’s also one that is not necessarily the most recommended for beginners or those without much drone experience. For this group of fliers, Selfie Mode is the most highly recommended. In Selfie Mode you can’t really make a mistake. Simply engage a special slider bar icon within the Breeze Cam App to adjust the drone’s height and distance away from you and shoot away. In Orbit Mode, the Breeze will do just that—orbit around you or an object you’ve chosen to film and take footage of it as it goes. This too is an easy to use mode. In Journey Mode, the Breeze will initially fly away from you (slowly) and then return along the same path as it films you on its way. Finally, in Follow Me Mode, the Breeze will do exactly as you’d expect—follow you around and film you the entire time. Simply fly the Breeze to the starting point you wish it to follow you from, engage the Follow Me Mode, and then start moving around. The Breeze will follow and film you until you disengage the mode.
Flying the Breeze
My experience flying the breeze was easier and more fun than I expected. Whenever you have a drone with so many different features going on, there’s always a slight concern that things could get confusing and lead to crashes or other incidents. But the Breeze was a lot less confusing, and a lot more straightforward, than I expected it to be.
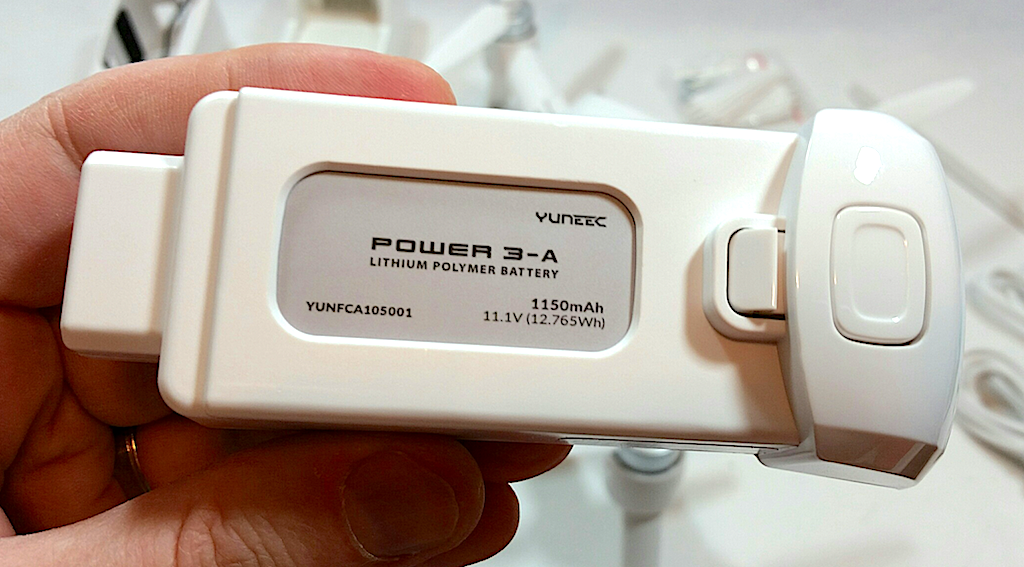
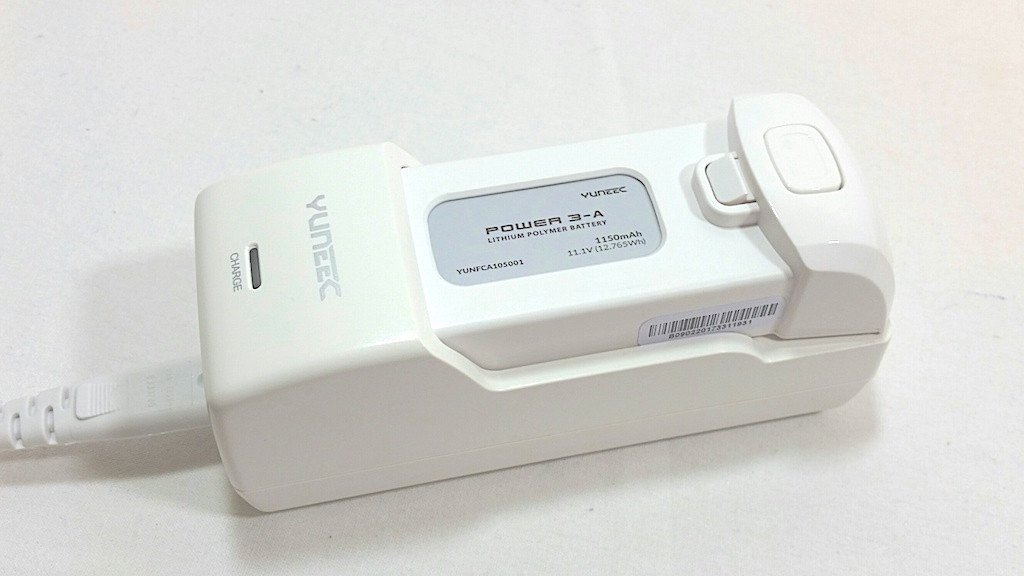
The first step, of course, is to charge your drone’s battery, which is an 1150 mAh LiPo. This process takes a mere 45 minutes or so to complete, and it should give you approximately 12 minutes of total flying time on a full charge. Both of these assertions seemed to hold true in my testing of the Breeze, meaning it didn’t take me long to get outside and begin flying once I got a nice enough day for it. Immediately above you can see a photo of the battery itself, and immediately below you can see the battery in its included charging cradle.
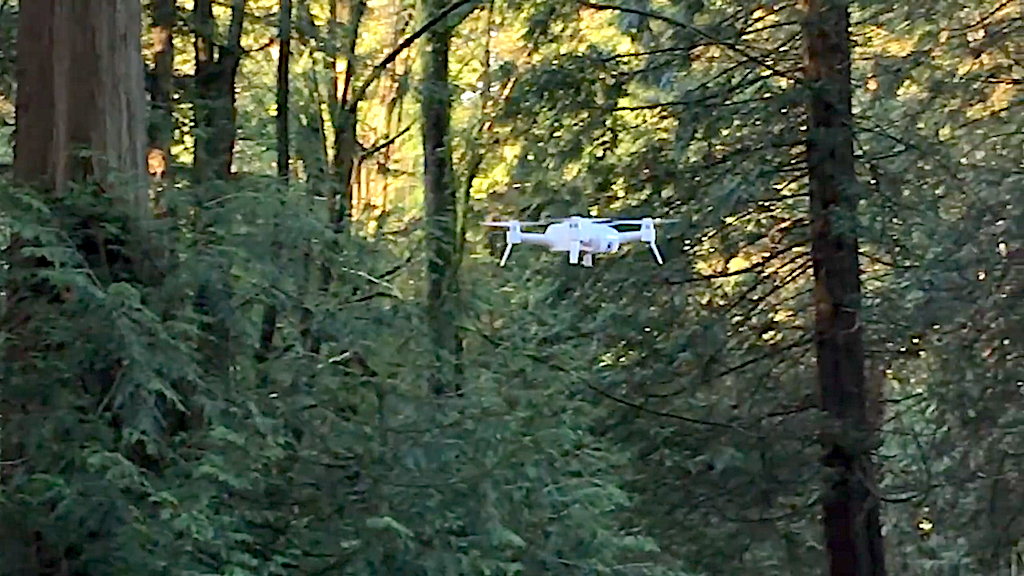
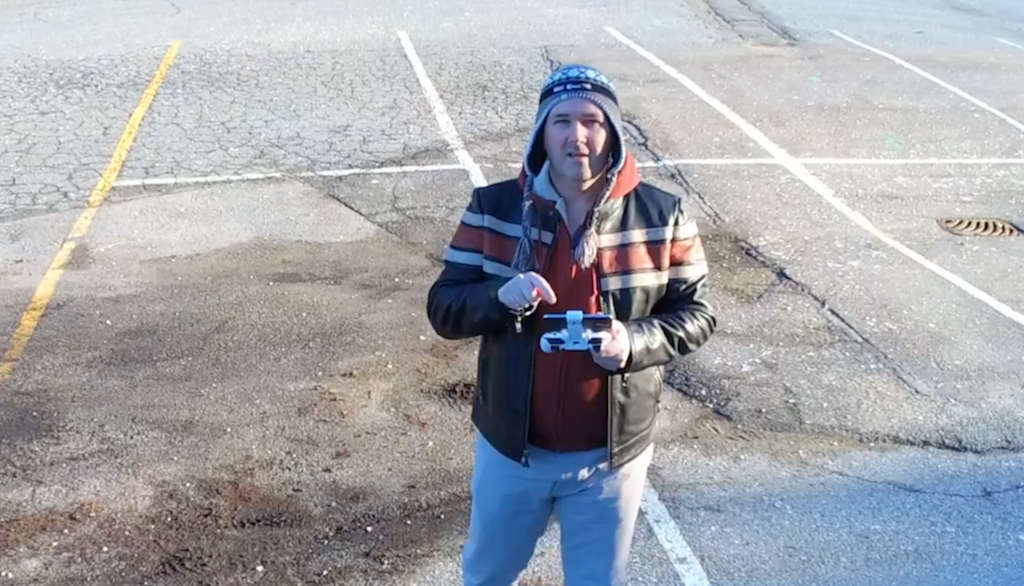
Once I actually arrived at my flight testing site, the real fun began. I have to admit, I was a little bit nervous, as the last couple of times I had high end photography drones, I had minor incidents with them, including, in one case, having to climb a massive tree to recover the drone after a flyaway. To my great relief, however, such was not to be the case on this day. Largely thanks to its auto takeoff and auto landing features, the Breeze was incredibly easy to fly. It took a bit of practice to make it do some of the things I wanted it to, such as taking photos or shooting video, but the actual piloting of the drone simply could not have been easier. This is not to say that I became a Breeze expert right away. I still could use a few more outings than what I actually got, but I was trying to do my testing quickly so I could send the drone along to our French blogger for his tests.
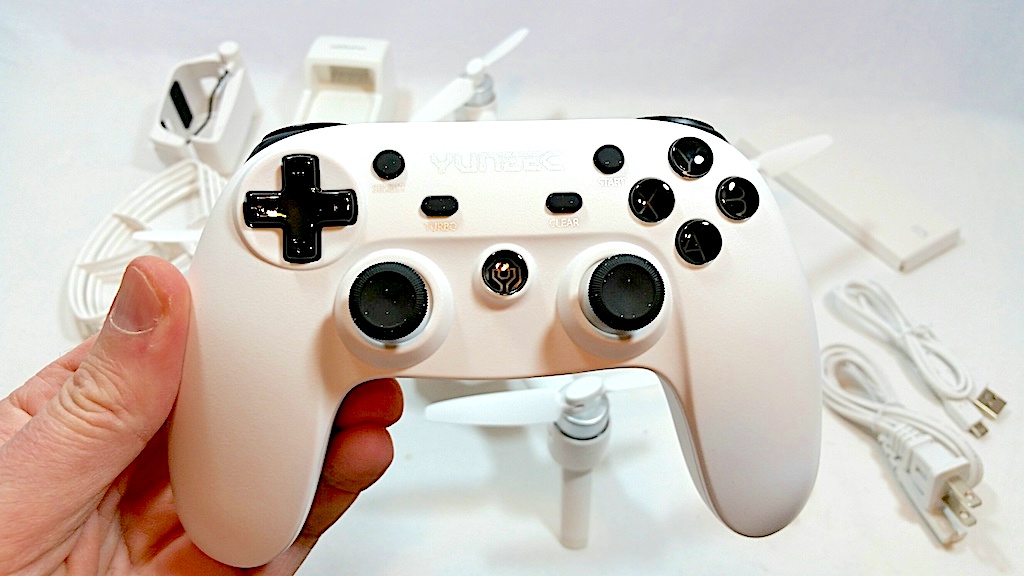
You can fly the Breeze using touch based controls directly on your smart phone’s screen. You’ll need to download and install the Breeze Cam App, but once you do that, you simply attach your phone to the controller (there’s an included holder that physically links them together) and then connect them wirelessly to get started. I mostly flew the Breeze in Pilot Mode and used my phone to make the drone do what I wanted it to do. The auto takeoff and auto landing modes both came in handy, and to increase or decrease the altitude, I simply used the round control icon on the left hand side of my phone’s screen (see the photo below). The icon on the right hand side of the phone allows you to turn your drone either left or right and to fly it forward or backwards. In other words, the icons on the screen work exactly like the joysticks on the physical controller itself. It’s a convenient and easy to use system that worked perfectly throughout my testing. My only real gripe is that my phone’s screen is rather small, thus making some of the details on the screen a bit difficult to see. This is one of those occasions when owning a tablet (with a much larger screen) would really have been nice. Unfortunately, all I have is my smart phone.

Nevertheless, getting some footage and photos was relatively easy. In fact, it was an absolute breeze (no pun intended). Once I became convinced that the drone wasn’t going to fly away on me under its own accord, I began to shoot some video by pressing a red button on my smart phone’s screen. That button is not visible in the image above, but it’s not hard to find once you begin flying. You simply hit the green “TAKE OFF” button when ready, and the Breeze starts its motors and raises to an elevation of approximately 1 m. From there it simply hovers and awaits your next input command. It really is that easy. And when you’re finished flying and filming, you’ll easily find all of your videos in the gallery section of the Breeze Cam App. Do take note, however, that if you disconnect the drone from the app, you won’t be able to see your media files anymore (at least that’s what happened to me), so simply connect everything up again when you’re ready to download them and they’ll appear in the app’s gallery section just like in the image below.

The entire process is both quick and easy, and in the video below you’ll get to see some of the footage that I got.
Examining the Video Evidence
Please take a few minutes to check out my brief video overview of the Yuneec Breeze 4K Quadcopter Drone. In this video I’ll give you a close-up look at the drone, I’ll show the Breeze in flight (as well as the footage it took while flying), and I’ll give you a quick summary of some of the key features and specs of the drone. Simply click the red play button to watch:
Final Thoughts
In the final analysis, I have to say that the Yuneec Breeze both impressed and relieved me. It relieved me because I didn’t have to chase it up any trees or endure it doing anything crazy or scary, and it impressed me with its ease of use and the quality of its video and images. If I were personally on the hunt for a lightweight, compact, and portable flying camera with the ability to take high quality photos and video footage, the Yuneec Breeze would be at or near the top of my list. In fact, I like it better than similarly purposed drones that I have tested in the past, and I can definitely recommend it to anyone looking for a high quality flying camera that comes at a budget price. The Yuneec Breeze packs a whole lot of punch for its weight (i.e., price point), and I suspect that the vast majority of photography drone enthusiasts are going to have a seriously great time flying and filming with theirs.
To further explore Best Buy’s extensive selection of Drones, simply follow the preceding link and enjoy!


I purchased the yunece breeze but when it’s time download the breeze cam all I get is (product not found) what’s the reason of having this drone if u can’t get the camera . Should I send it back for a refund or is this a short term problem .
Comments are closed.