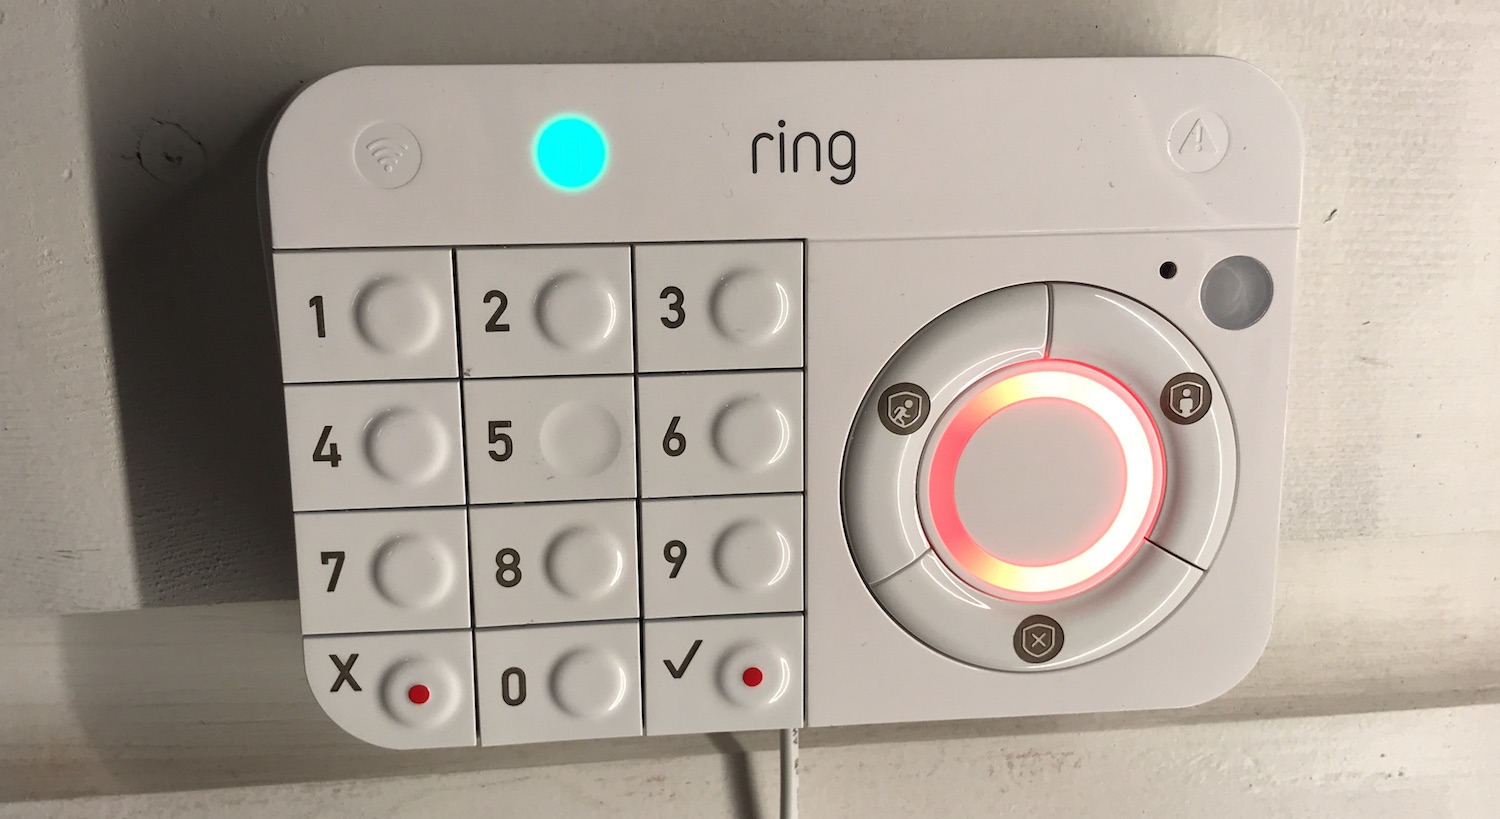
 I can’t imagine living in my house without a home security system. It gives me peace of mind, but that same peace of mind comes with a price tag. I have a smart home alarm, except that my system is three years old. Because it was so new to the market at the time, setting it up wasn’t inexpensive. It’s also not as smart or user-friendly as I’d like right now, and that’s why I was so interested in testing out Ring Alarm.
When the Ring Alarm Starter Wireless Home Security Kit landed on my door step, I was ready, willing, and able to make a home security change for the better. Now that I’ve installed it and been using it, I can say that the best part of this system is how simple and effective it is.
Other home security systems require professional installation; with Ring Alarm, you can do everything yourself. Most monitored home security systems cost around $30 per month, and that’s being stuck in a contract. With Ring Alarm, you can get Ring Protect Plus, and it’s $15 per month for 24/7 professional monitoring. This includes cellular backup and unlimited video recording storage for all your other Ring devices. No contract required.
There aren’t a lot of bells and whistles with Ring Alarm, but that’s the appeal. It’s easy, effective, and smart. Here’s my take on how to install the Ring Alarm Starter Wireless Home Security Kit and how it works.
Features on Ring Alarm
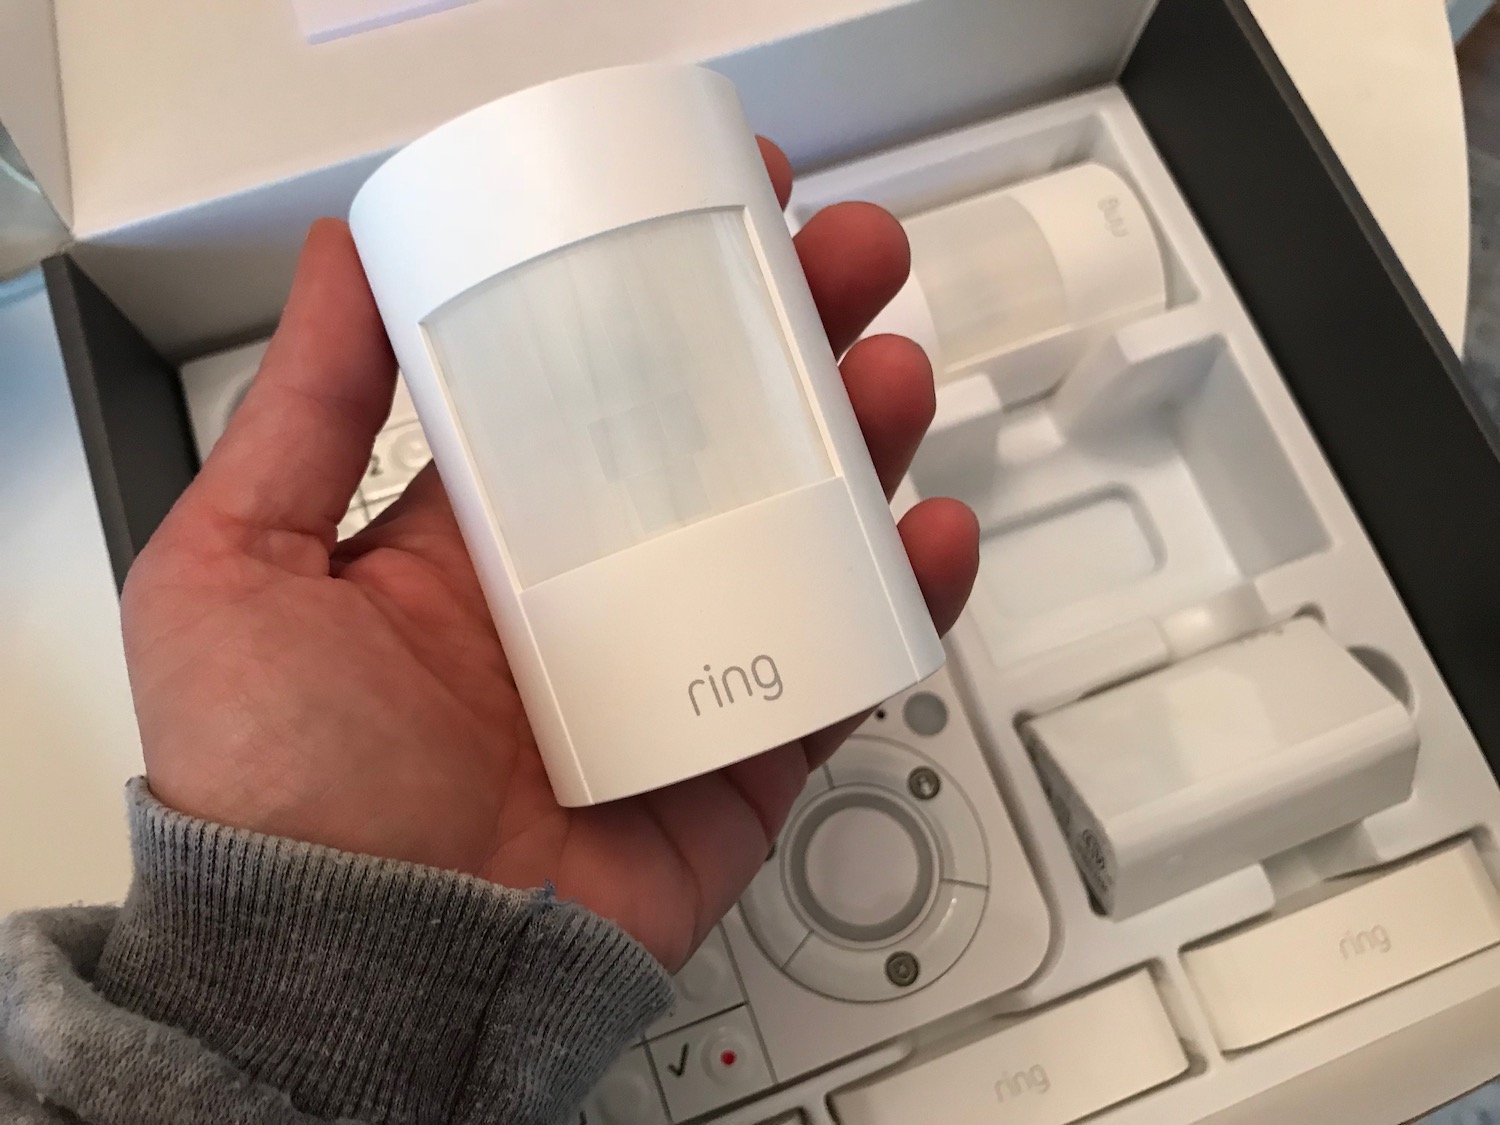
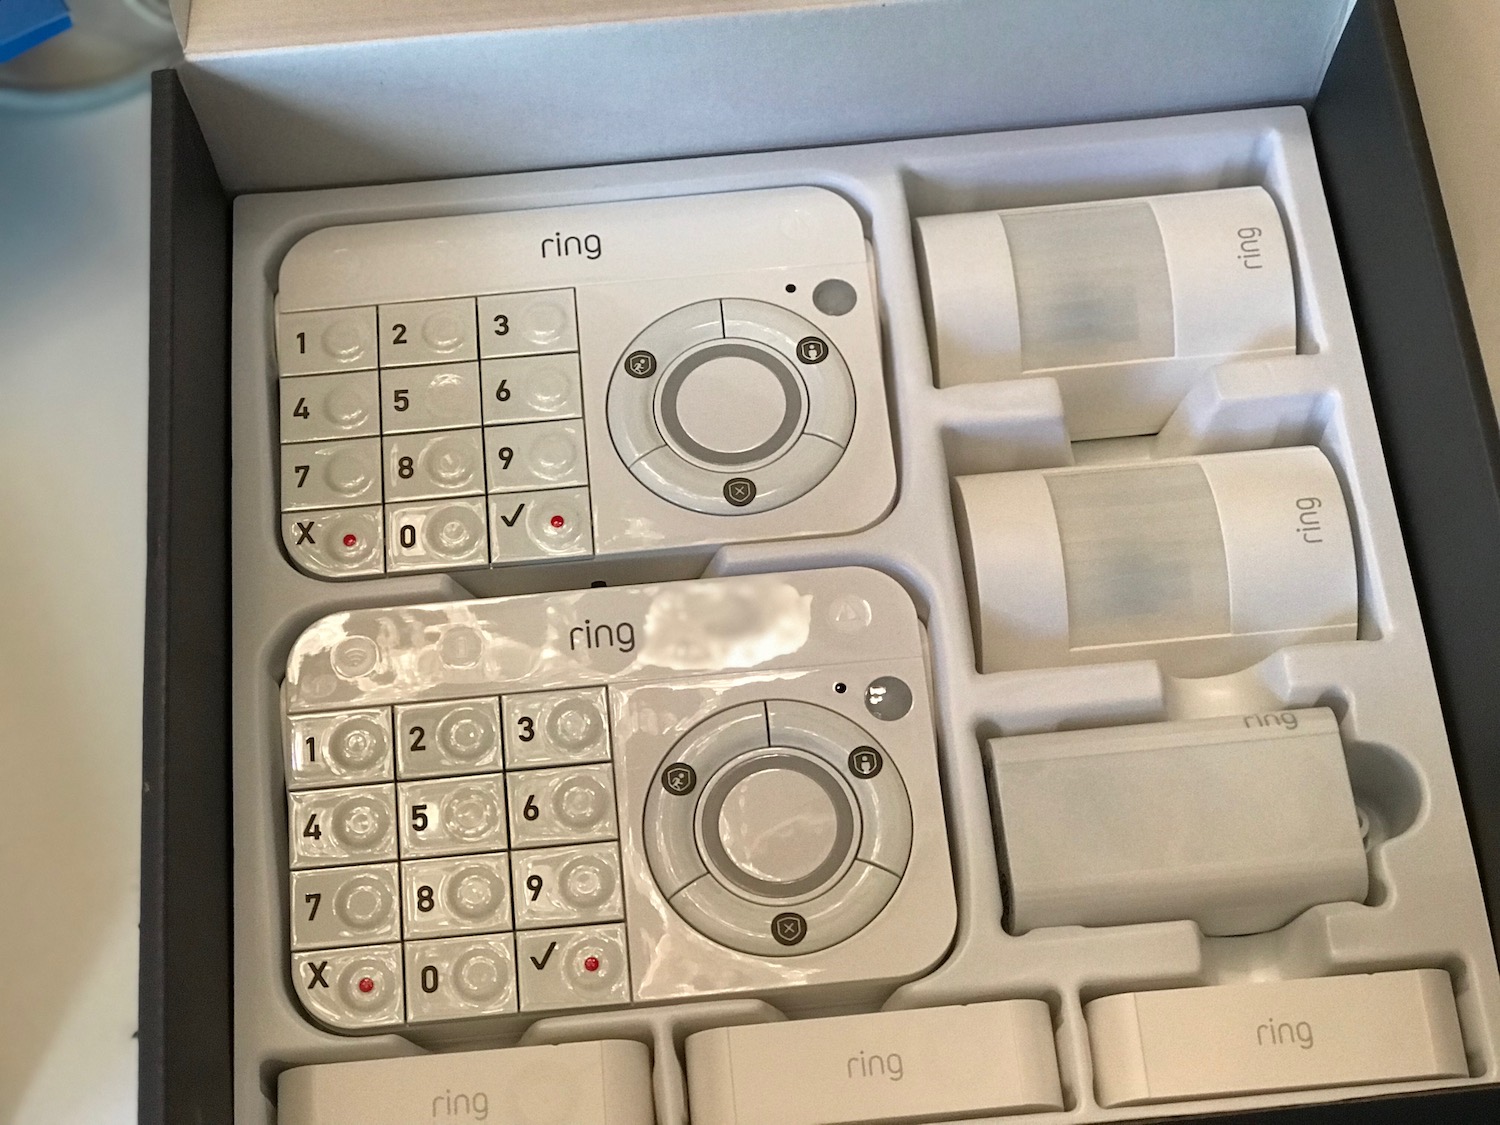
Ring Alarm is a one-box home security system. It comes with a base station that connects to your Wi-Fi or plugs into your router via Ethernet. The kit comes with two keypad controls, 3 door/window sensors, and 2 motion detectors. You also get a range extender. Here are more features:
- Ring Alarm lets you monitor and protect your property from your phone, tablet, or keypad
- You get instant notifications when someone opens your home’s doors or windows, or if motion is detected
- Easy to install yourself; no tools other than a screwdriver or drill required
- You can expand your system by purchasing additional door and window sensors, or an additional keypad
- The system uses Z-Wave connectivity with a range of 250m
- 24-hour battery backup means that the alarm keeps working if your power goes out
- If you have other Ring devices, you can control your entire alarm system and cameras from one app
- You have the option of having inexpensive 24/7 home monitoring through Ring Protect Plus
Installing Ring Alarm
When I installed my smart home security system three years ago, there were alarms available that you could install yourself. I didn’t get one for the simple reason that I wanted home monitoring through an actual company. I wanted to know that, if my alarm went off, there was someone out there who would know we needed help.
With Ring Alarm, you get that home monitoring in a do-it-yourself package. It was one of the easiest smart home installs I’ve ever done. You don’t need to have any other Ring devices to use the alarm, but it does run cameras like Ring Doorbell or Ring Floodlight within the same app.
Inside the Ring Alarm box is everything you will need to install the alarm. On the top layer of the box are all the system components, including the base station, keypads, sensors, and motion detectors. The batteries are already installed in each, so you just have to pick up each piece and decide where they will go.
Installing Ring Alarm base station
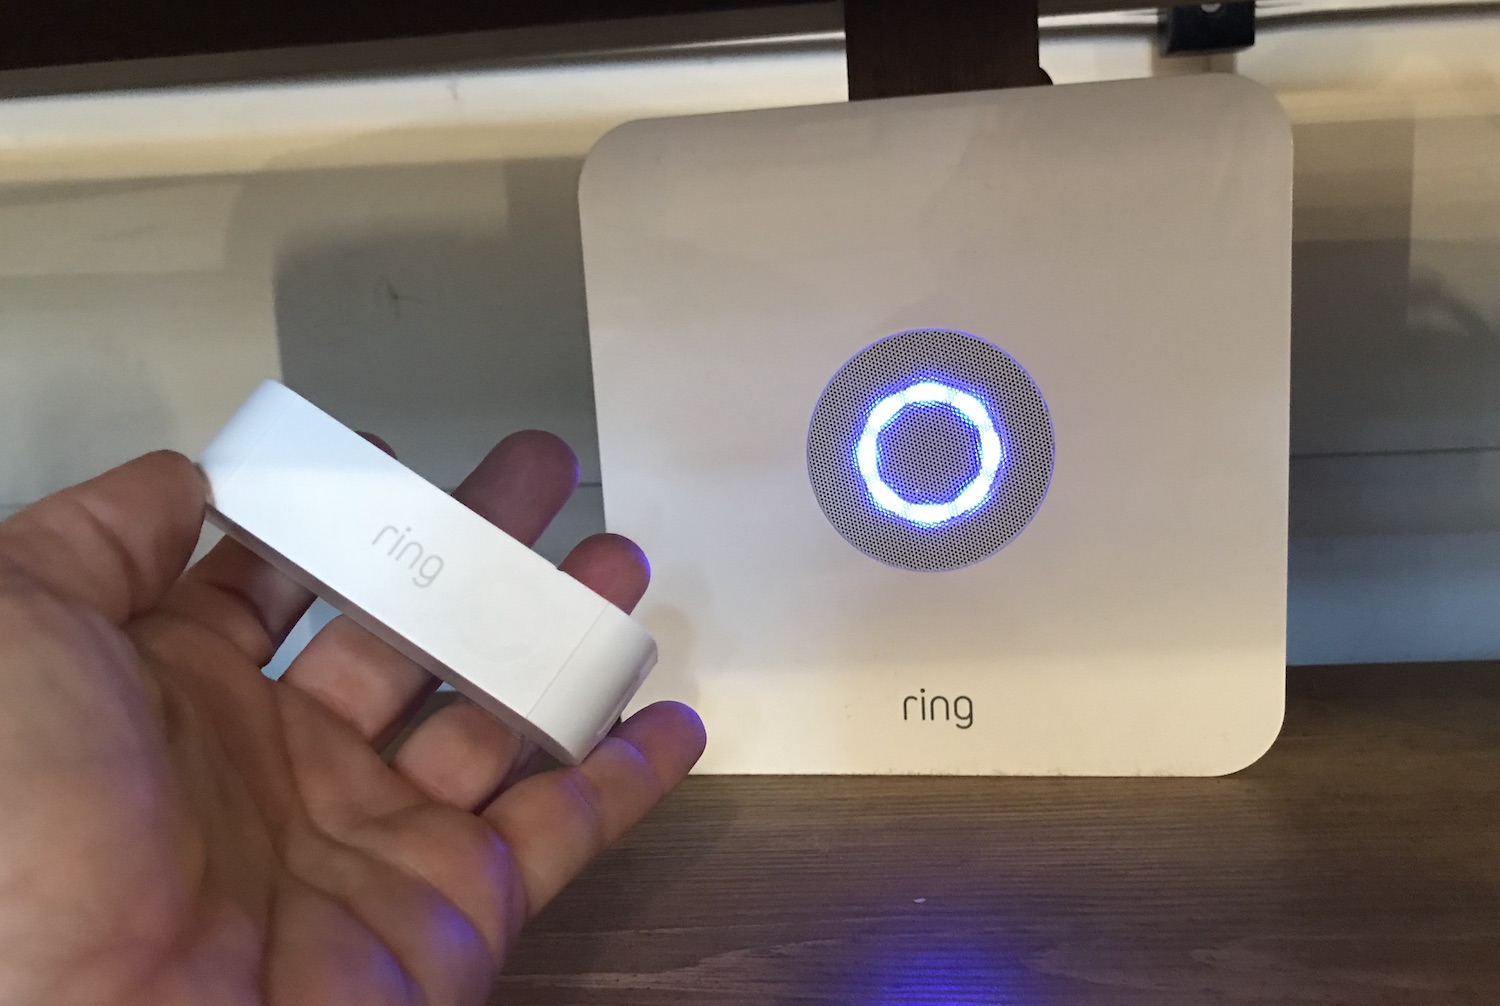
To begin installing Ring Alarm, you need to install the base station and download the Ring App first. It plugs into a standard outlet, and you can choose to connect to your home’s Wi-Fi, or plug it right into your router. I’ve got a lot running on my Wi-Fi, and I wanted a constant connection, so I plugged in the base station to my router, and I keep it tucked away on my TV stand in my living room.
Installing the keypads
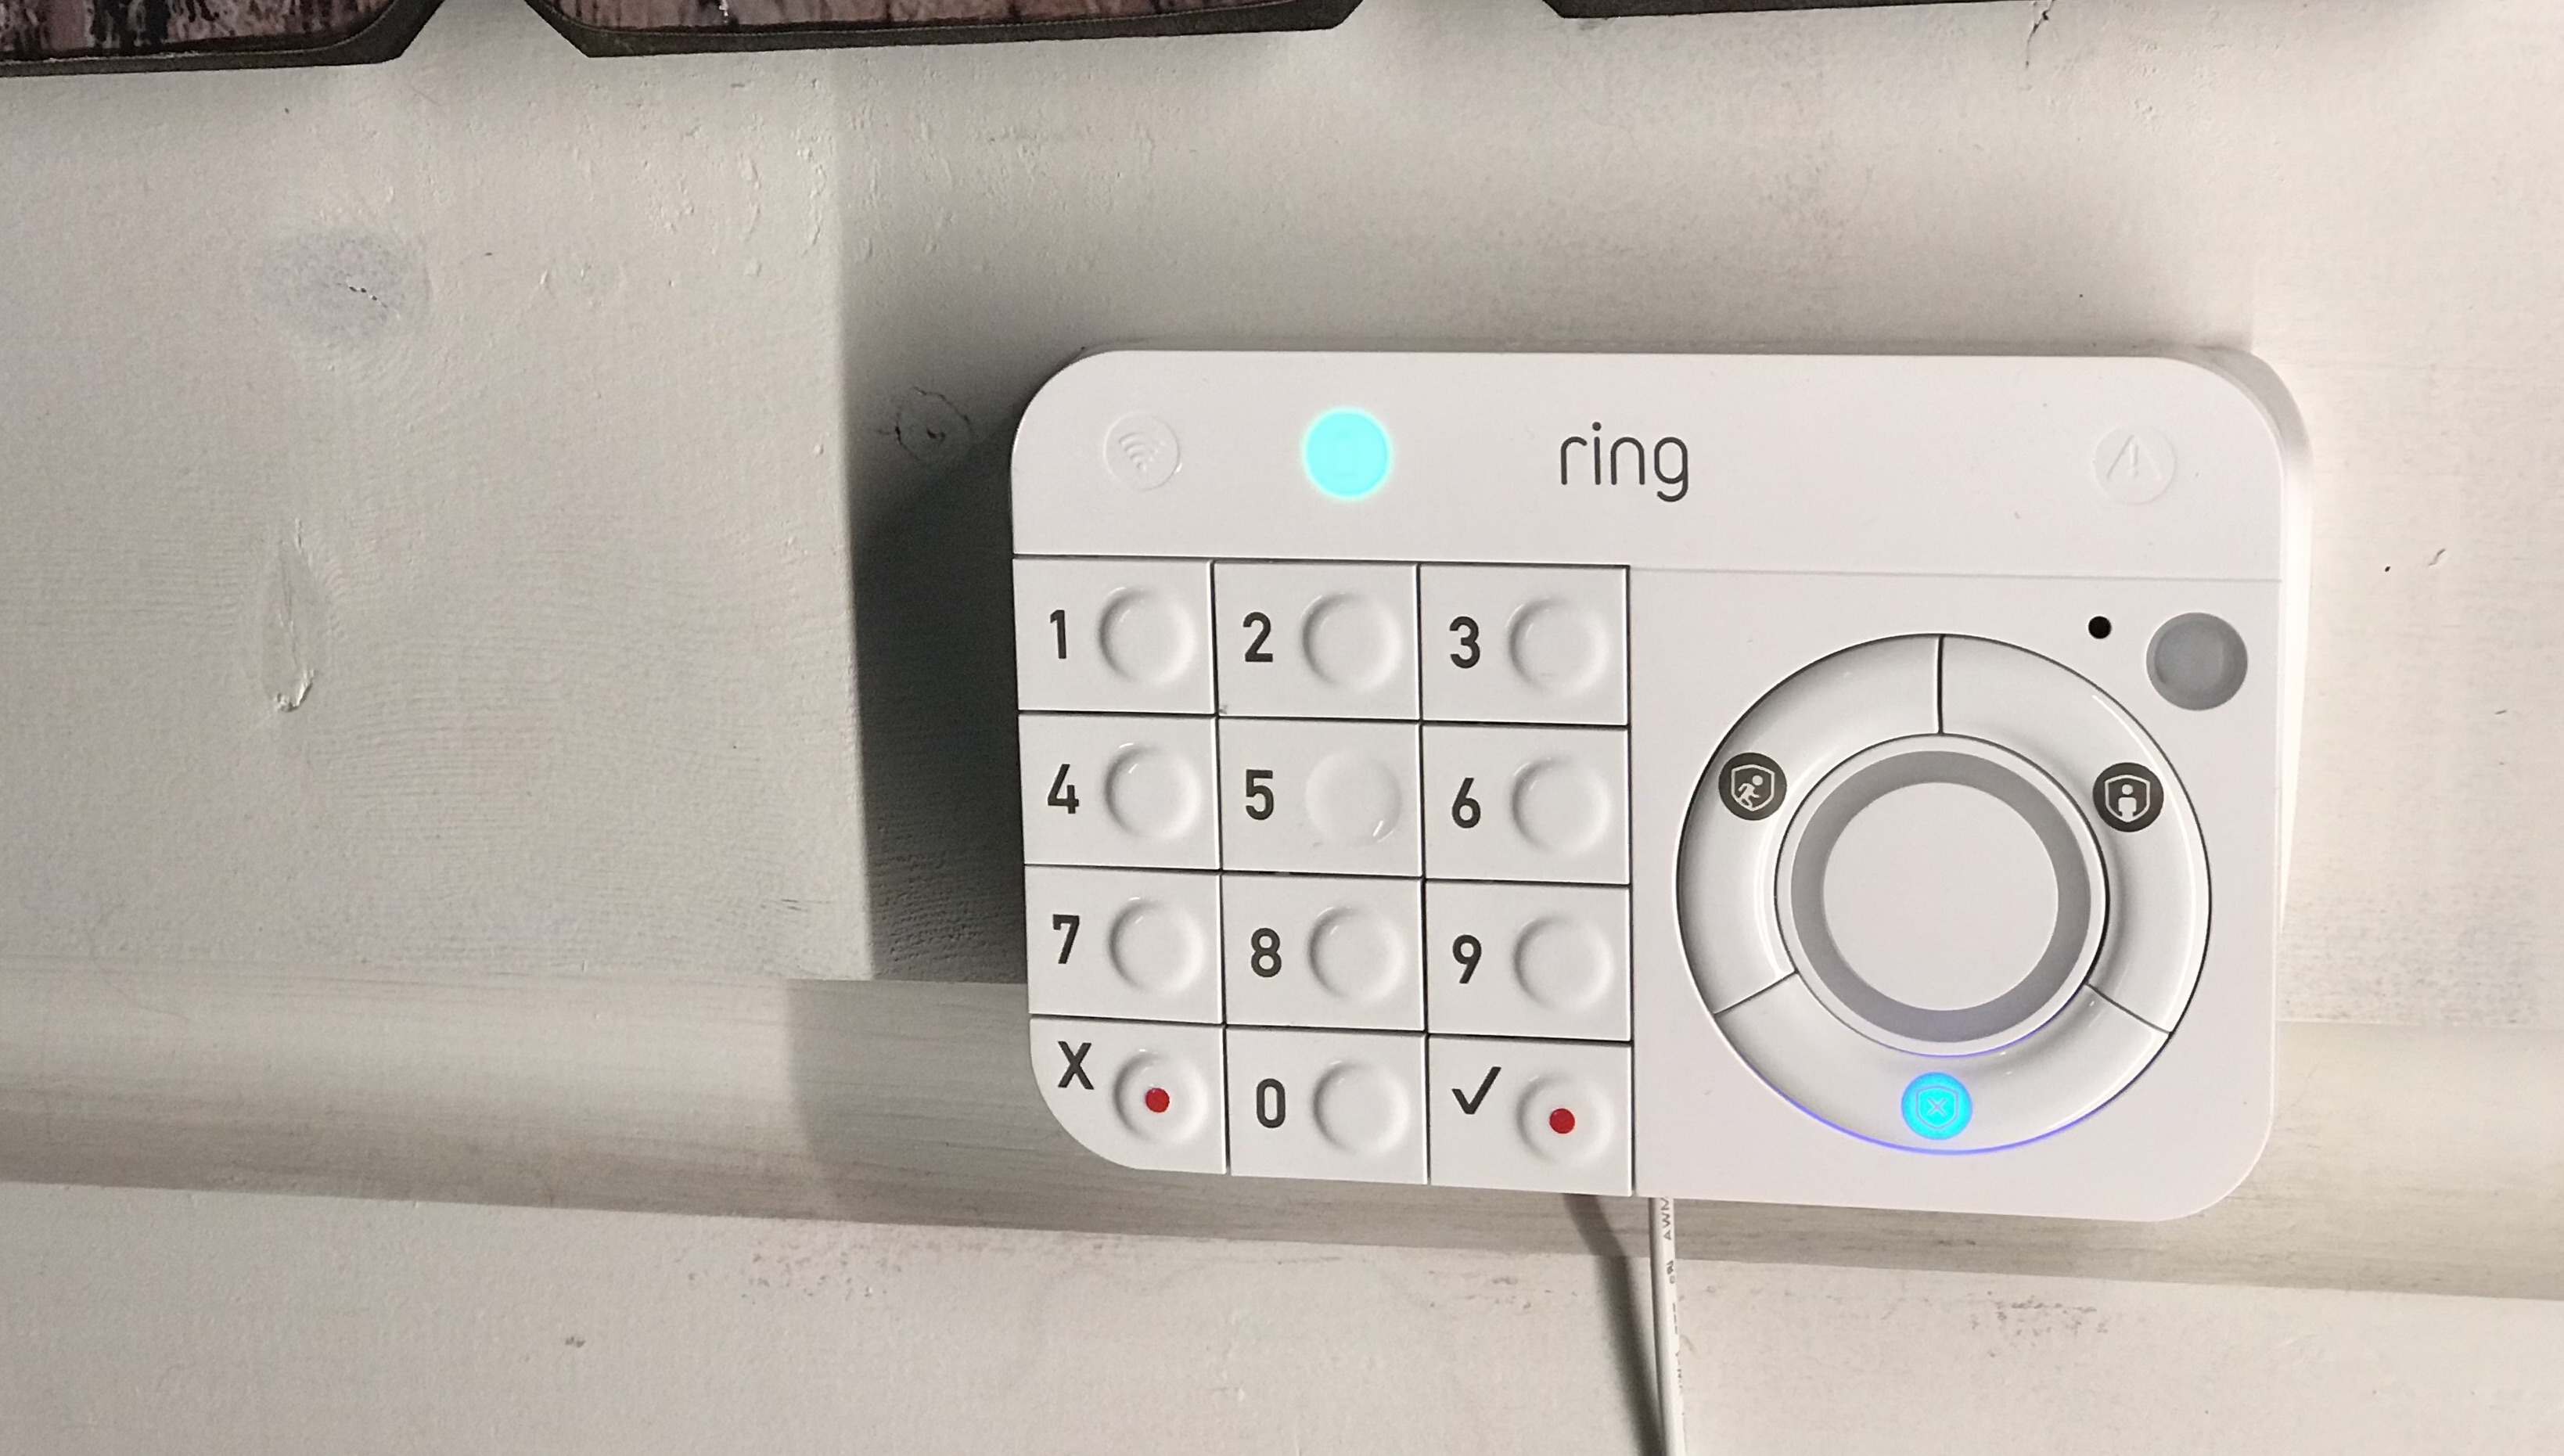
The keypads are ready to go right out of the box. Just plug in the pad to any standard outlet, attach the base plate to the wall, and slide the keypad on it. Once it is plugged in, you can add it to the app and you’re ready to arm or disarm the system.
The keypads plug into the wall, but they will also run on battery power. The first time I used them the keypad battery didn’t last out the week, but since I’ve recharged them they’ve been on for 3 months.
Installing contact and motion sensors
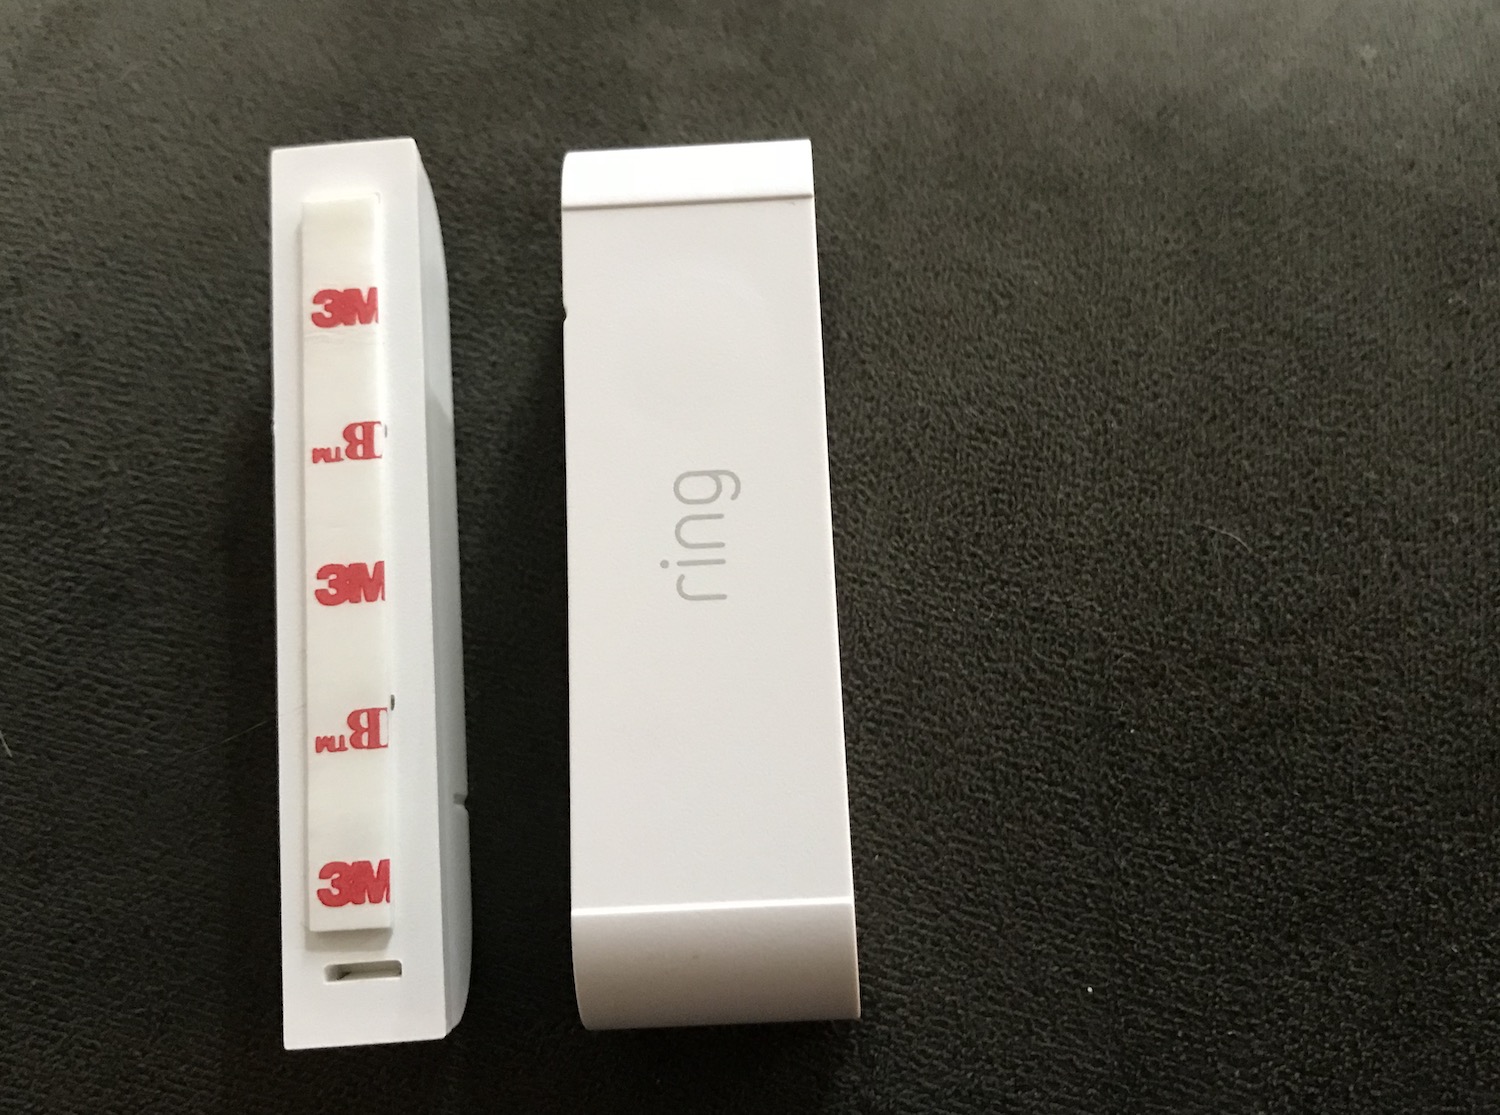
Once you’ve removed all the door and window sensors from the Ring Alarm box, you can pull up the second layer and find the boxes holding everything needed for installation. They are all labeled very clearly. So, for example, you’ll know to open up the ‘Contact Sensors’ box for everything you’ll need to install the contact sensors.
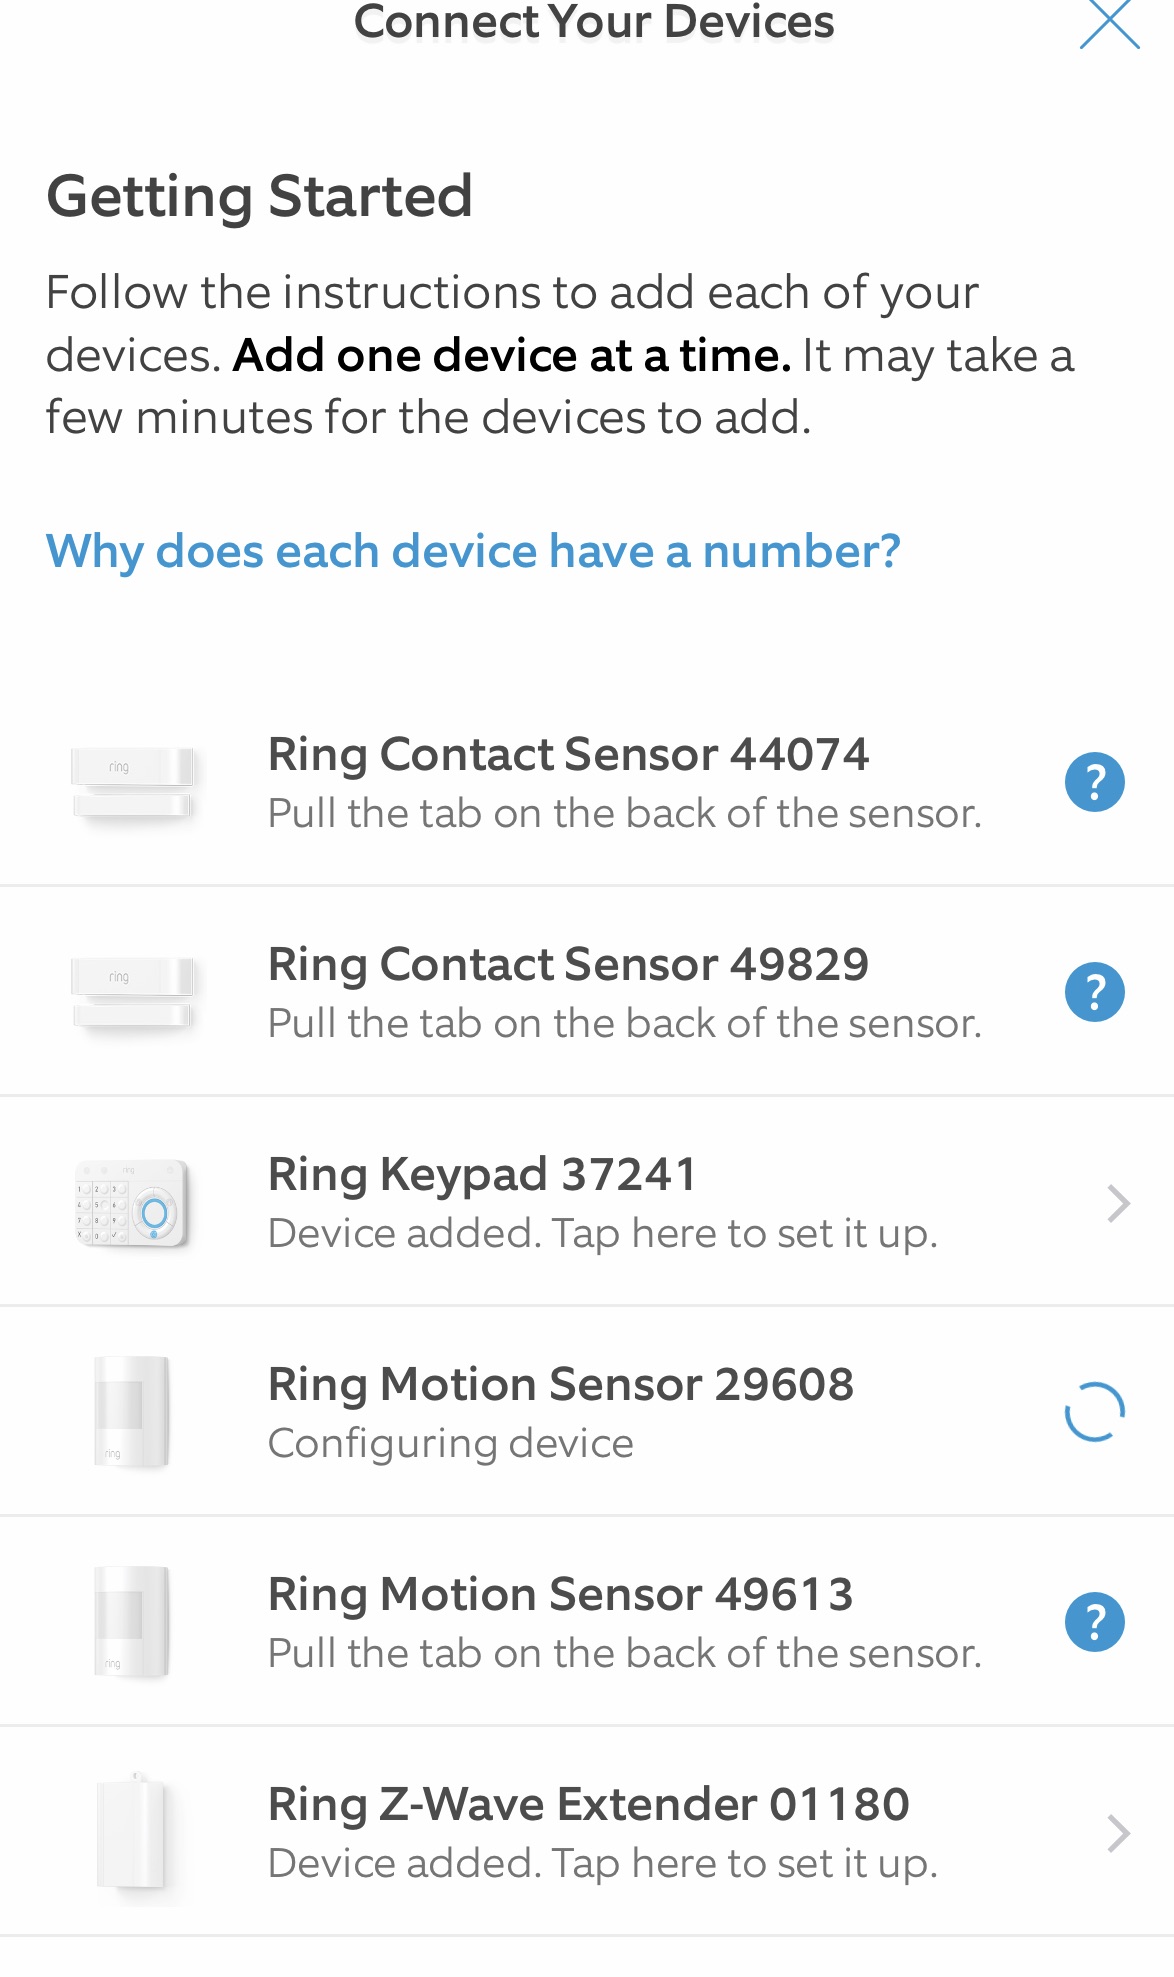
To pair the door sensor to the app, you will need to pull the tag off the back, scan the QR code, and it should automatically add your sensor to the app. You can rename the sensor so you know where it is in your home; it will also ask you to test it so you know it is working.
The best piece of advice I have for installing these sensors is to follow the instructions and install one at a time. If you attempt to pull the tag off of all of the sensors at once, your system will overload. Slow and steady wins the race with Ring Alarm.
I started by installing a contact sensor over my patio door. You can choose to use the included sticky tape, or you can use the included screws and drill it right into your door. I used the sticky tape, and it’s definitely sticky enough to keep it up.
My house was built in 1926, and although we renovated, the door frames are still off-center. That made connecting the door sensors a bit challenging, but the app will show you different positions of where you can try to connect the sensors. I did find one that worked great for my doors in the end.
The motion sensors also come with the option of sticky tape or screws, and I used sticky tape for those as well. So far they’ve stuck up there without falling.
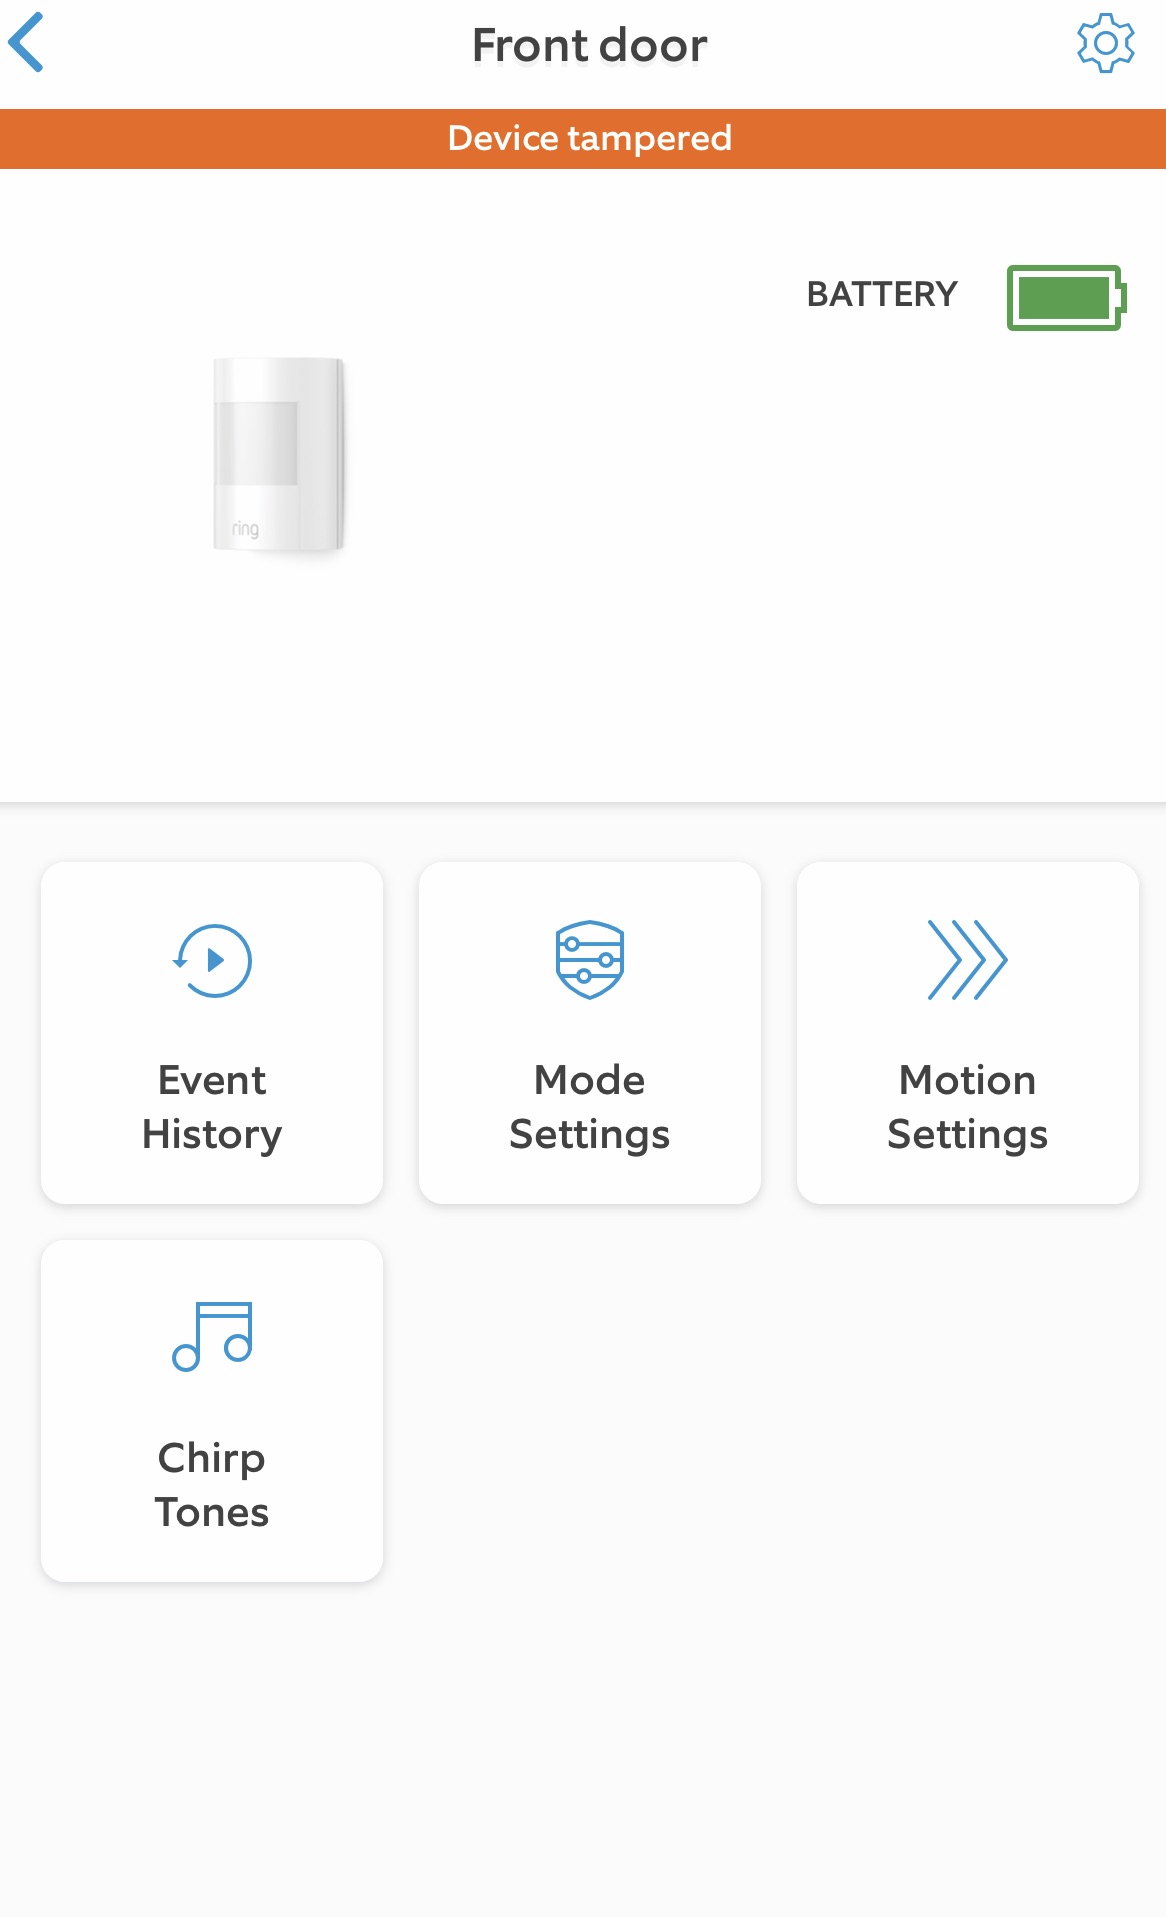
Once your sensors are installed, you can choose them from the device screen on the app. You can bypass a sensor or add a sound to the sensors. I’ve added chimes to all my doors and windows, and a harp sound to my motion sensors. This feature lets me know what is triggered instead of having to look in the app. You can add different sounds to different sensors, so each would have its own easy-to-identify sound.
Troubleshooting your contact sensors
My only issue installing Ring Alarm was that two of my sensors lost the connection to the base station. I’m still not sure why, but it’s an easy fix when they do. Just open the sensor cover, remove the battery, wait a few seconds, and put it back in. The sensor should flash blue, and you can tap within the app to re-establish the connection.
If it still won’t connect, you can remove the sensor from your alarm and start the installation for that sensor all over again. I had to do that once, and it worked perfectly once I re-installed.
Using the range extender
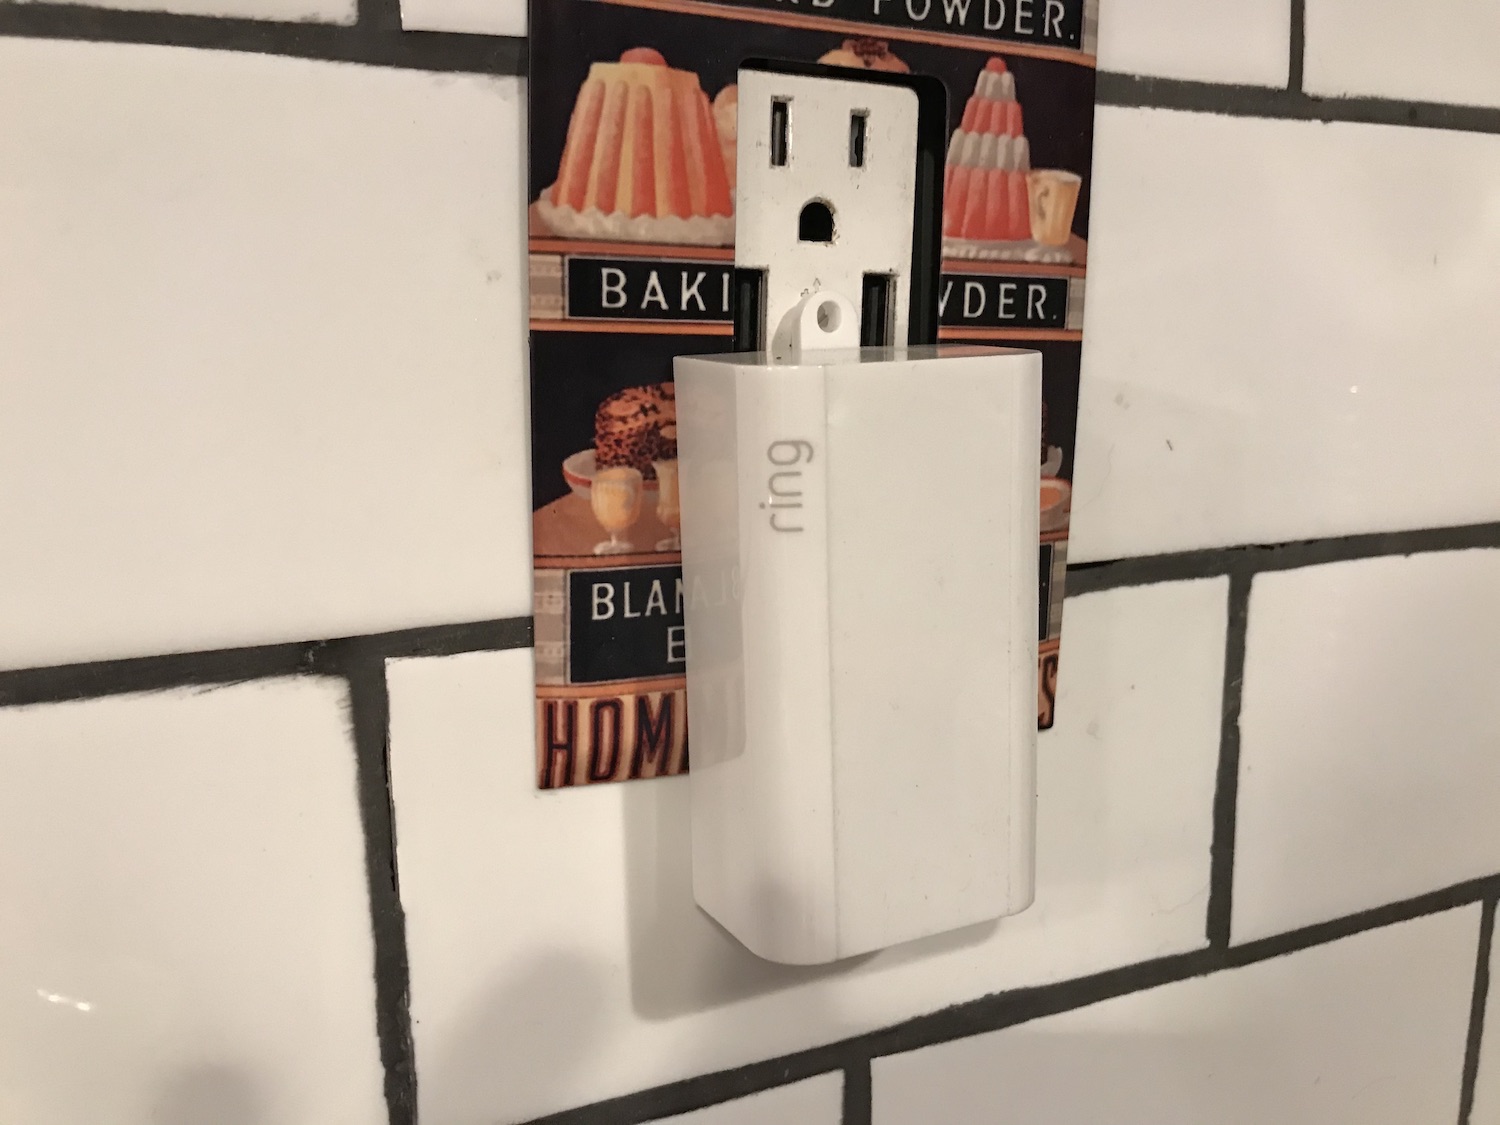
There is a range extender included with Ring Alarm, and that helps your home security system connect to the base station wherever it is in your house. I installed it in my kitchen as that was central to my front door and back door keypad. If your Ring Alarm has a yellow light that indicates a low Wi-Fi signal, take a look at where you’re placing the Range Extender. Chances are, if you move it, that yellow light will disappear.
How Ring Alarm works
 |
 |
 |
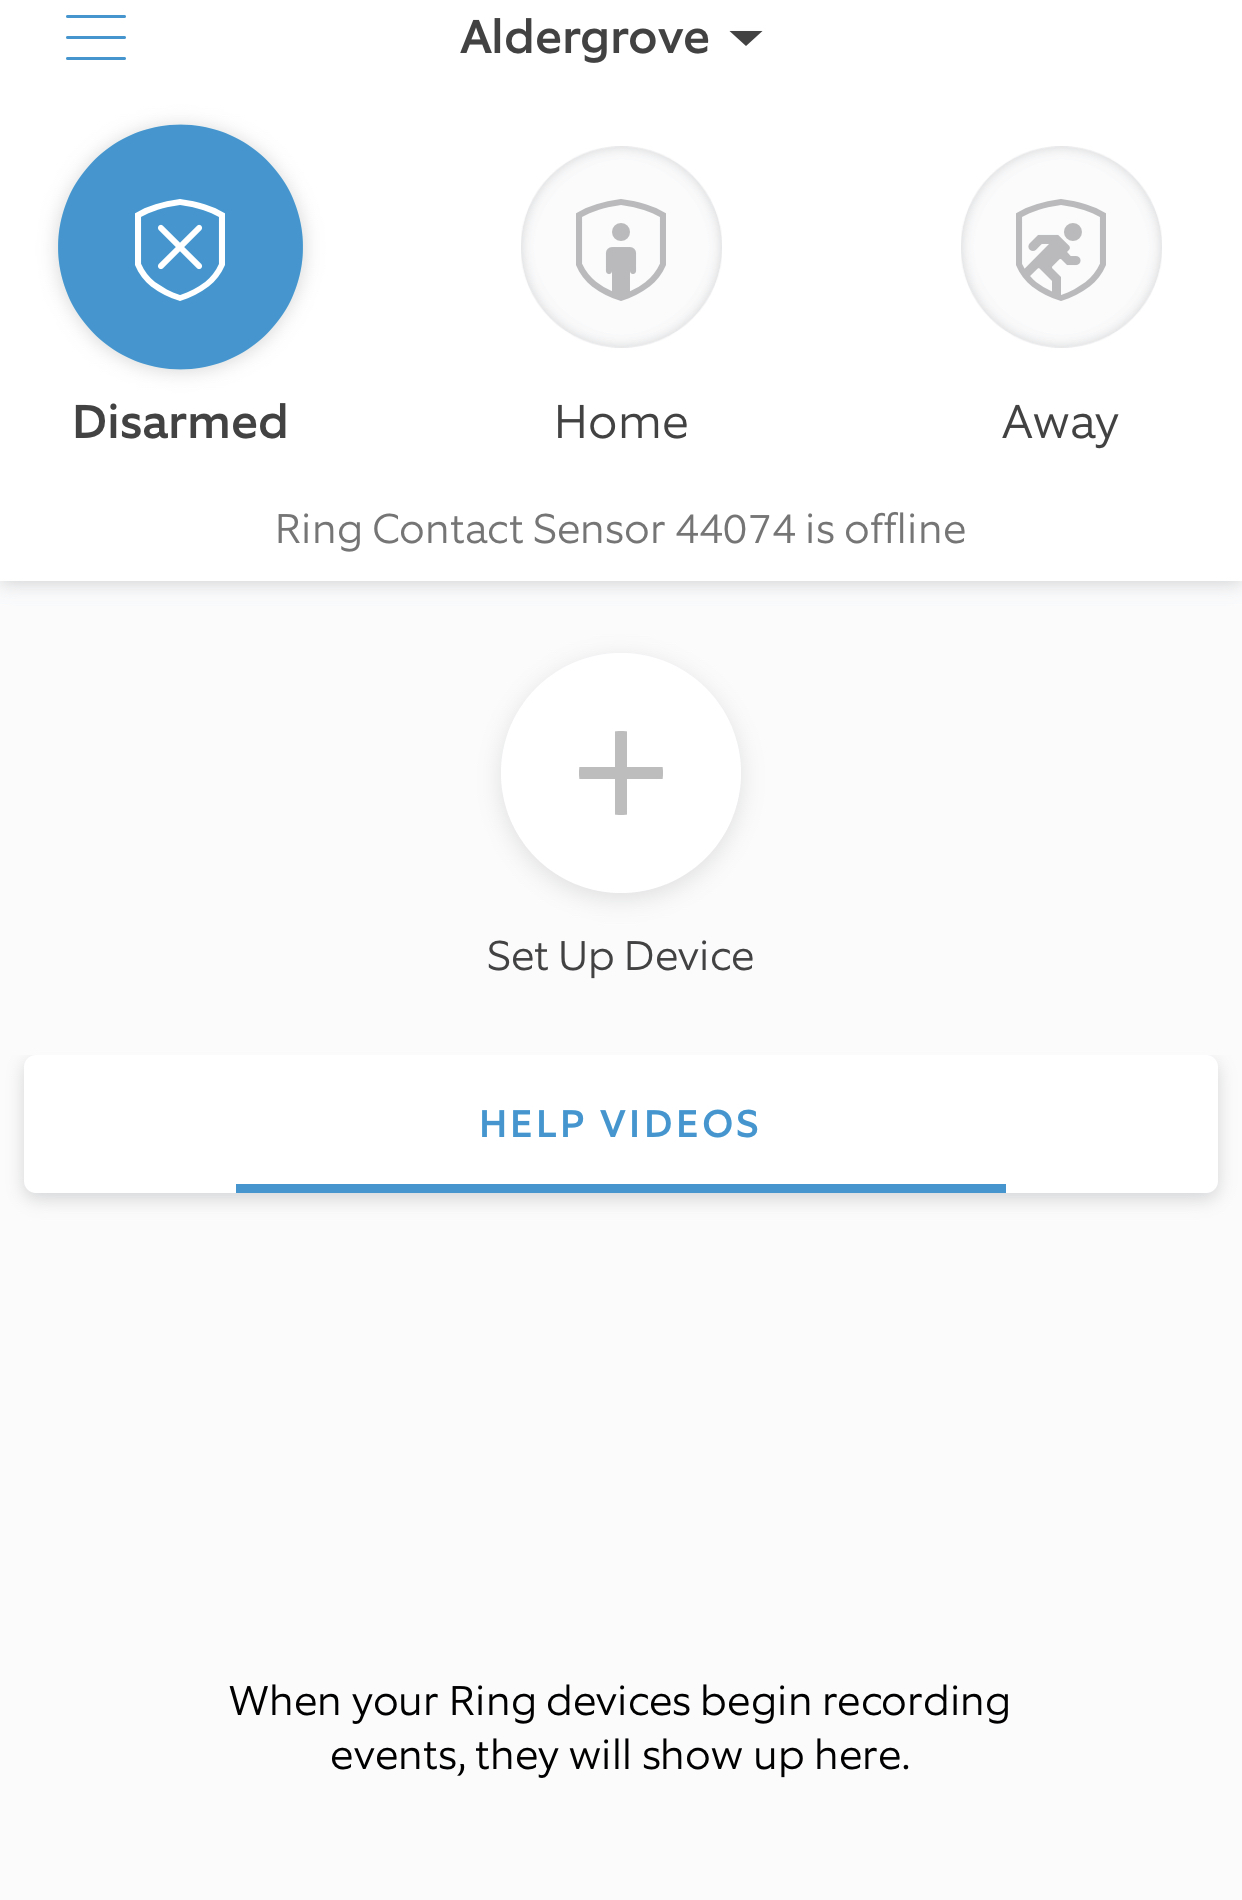
Ring Alarm is designed to be simple to use, but it’s also smart. You have the option of turning Ring Alarm on or off using the app or the keypads.
You can arm the system for ‘Home’ or ‘Away.’ When you arm it for ‘Home,’ you can move about your home and the motion sensors won’t trip your alarm. If you open a door or window, you’ll have a timer counting down to when the alarm will go off. If you arm it for ‘Away,’ any motion inside the house will trip your sensors and cause your alarm to go off immediately.
The motion sensors are extremely sensitive. I have one over my front door right by my master bedroom. The harp would play whenever I walked around in my room, and I couldn’t even see the sensor from where I was standing. I’m impressed, but I also turned the harp sound off after a few days. It was literally announcing my presence whenever I’d enter the room.
I armed the system several times and never had an issue. I tend to use home security systems mostly at night, so it was nice to wake up, grab my phone, and turn the alarm off without even getting out of bed. It was also nice to know I wouldn’t forget about it and trigger the alarm by opening a door without disarming. If I did, the keypad is right there by the door to disarm it.
If you do trigger an alarm, you’ll receive a notification on your phone. If you have Ring Protect Plus, you’ll also receive a phone call from the monitoring station.
Using Ring Protect Plus

By far, the most appealing part of this alarm is the inexpensive home monitoring through Ring Protect Plus. It’s $15 per month or $150 CA per year. Considering that any home security system I’ve ever used is a minimum of $30 per month, I’d say this is quite a deal.
The best part is that if you also use other Ring devices, purchasing Ring Protect Plus gives you storage for all of your video clips too. There are no contracts with Ring either. You can cancel at any time.
What Ring Alarm won’t do
If you already use Ring Doorbell or Ring Floodlight, you know you can’t use voice commands with your favourite home assistant. Ring Alarm doesn’t give you the option to use voice commands, so you can’t arm or disarm your alarm with your Google Assistant or Alexa.
I was sort of surprised that it didn’t have voice command, but after thinking about it, I don’t think that’s a bad thing. I don’t know if I would want to be yelling at it to turn it off, or if I would be able to yell louder than the alarm when it is sounding from the base station. It’s really loud!
It’s also not hard to pick up my phone and turn it on or off. If I don’t have my phone with me, there are always the keypads.
Ring also doesn’t work with other smart home devices or platforms like IFTTT yet. I’m not surprised about that either. For me, home security is a serious thing. I don’t think I’d want my lights flashing if my alarm went off.
Overall thoughts on Ring Alarm
Ring Alarm is a simple device that protects your home. It’s meant to be easy to install and simple to use, and I’m so impressed with how effortless it was to set up and use. Once I started to use it on a daily basis, I canceled my other home alarm. There’s no reason to pay $30 per month when you get smart home security for $15.
You can find your own Ring Alarm at Best Buy right now.


My friend told me to get this alarm system for my house, so I just went with his advice. It was one of the best decision as now I feel so much more relaxed when I am not at home.
Checking the internet, the keypad charge lasts anywhere from two to twelve months depending on whether or not set to power safe mode. This means they can be mounted without the charging cord, which looks much tidier. Simply remove from bracket to recharge when renquired.
Comments are closed.