In my youth, back-to-school shopping was all about pencils, pens, and binders. In today’s connected world, it’s now about WiFi, mobile devices, and webcams. Things have changed. The needs of students today rely on Internet connectivity. It’s now the bedrock of today’s education. With that in mind, let’s look at what students need to stay connected.
Choosing a wireless router
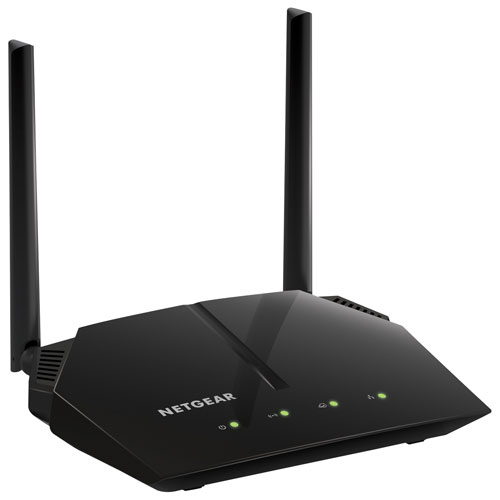
Many students will be moving away to attend college and university this fall. This could be on campus in dorms, or off-campus in student housing. Wherever you end up, setting up a secure, private WiFi network is key. Choosing the right networking equipment depends on your personal needs. For example, a wireless router is perfect for dorm rooms and small apartments. If you’ll spend several years away studying, it might be a good idea to invest in a router that supports the new WiFi 6 standard. This ensures you’ll get the fastest connection to all your current and future devices. If you are on a budget, now’s a great time to pick up a WiFi 5 router too. Most cost under $100, and some under $50.
Determining the location of your router
The location of the modem is usually where the Internet line comes into the home. Often this is not in an ideal location for the router. Remember, your router location in your home has a profound effect on WiFi performance. If possible, use a longer Ethernet cord to place your router in an open area, free of other electronic items and too many walls. Also, be sure to keep it away from the ground. That ensures a strong, secure WiFi signal for all your mobile devices.

Staying connected on a private WiFi network
By default, each router comes with its own unique network name and password. This is usually found on a sticker underneath the router. A custom WiFi network name and password add personality and security to your network. Remember, others around you will see your WiFi network name, so make it good.
Keeping your WiFi network password protected is also important. Choose a password that you’re comfortable sharing with others. Don’t use your default go-to password that you use for banking and other important personal accounts. It also doesn’t have to be complicated. Its main purpose is to prevent people near you from accessing your network.
Prevent channel interference
Most routers today install via a dedicated app. It does all the work in getting your WiFi network up and running. However, there are additional things you can do to optimize your network. First, check to see what channel your router is on. Many routers automatically select the channel during the setup. If other networks around you are on the same channel, this can cause wireless interference. For the 2.4 GHz band, choose channels 1, 6, or 11. They are the only non-overlapping channels. It’s a good trick if you’re experiencing slow WiFi speeds.
Staying connected with surge protectors
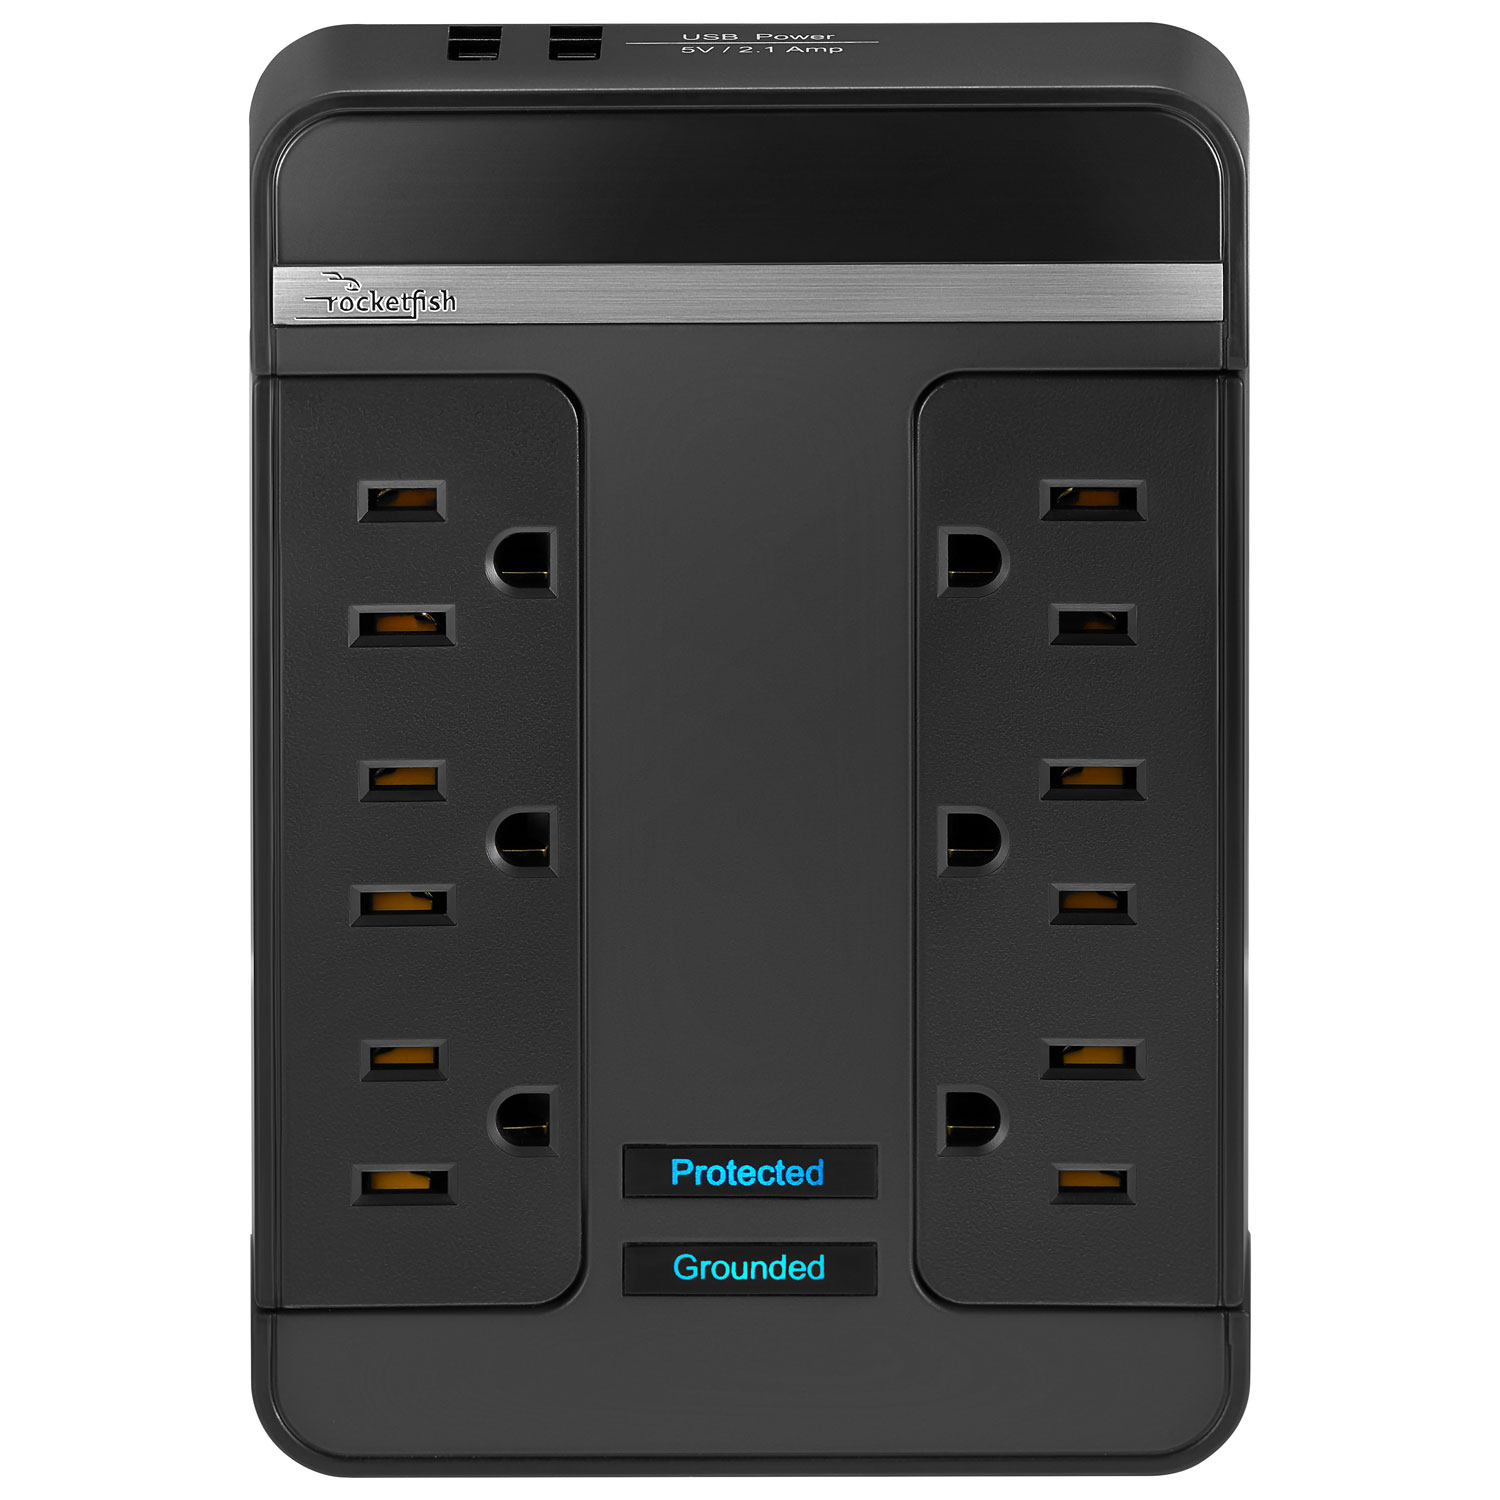
Power outages can happen often and students have many digital devices that require power and charging. Whether you are short on electrical outlets or not, adding surge protection ensures your networking equipment stays protected. If keeping online is absolutely critical, a UPS Power Supply will keep devices powered during outages. While they look like a large power bar, they have internal backup batteries and surge protection to keep equipment safe from power spikes.
Wireless connectivity to a printer
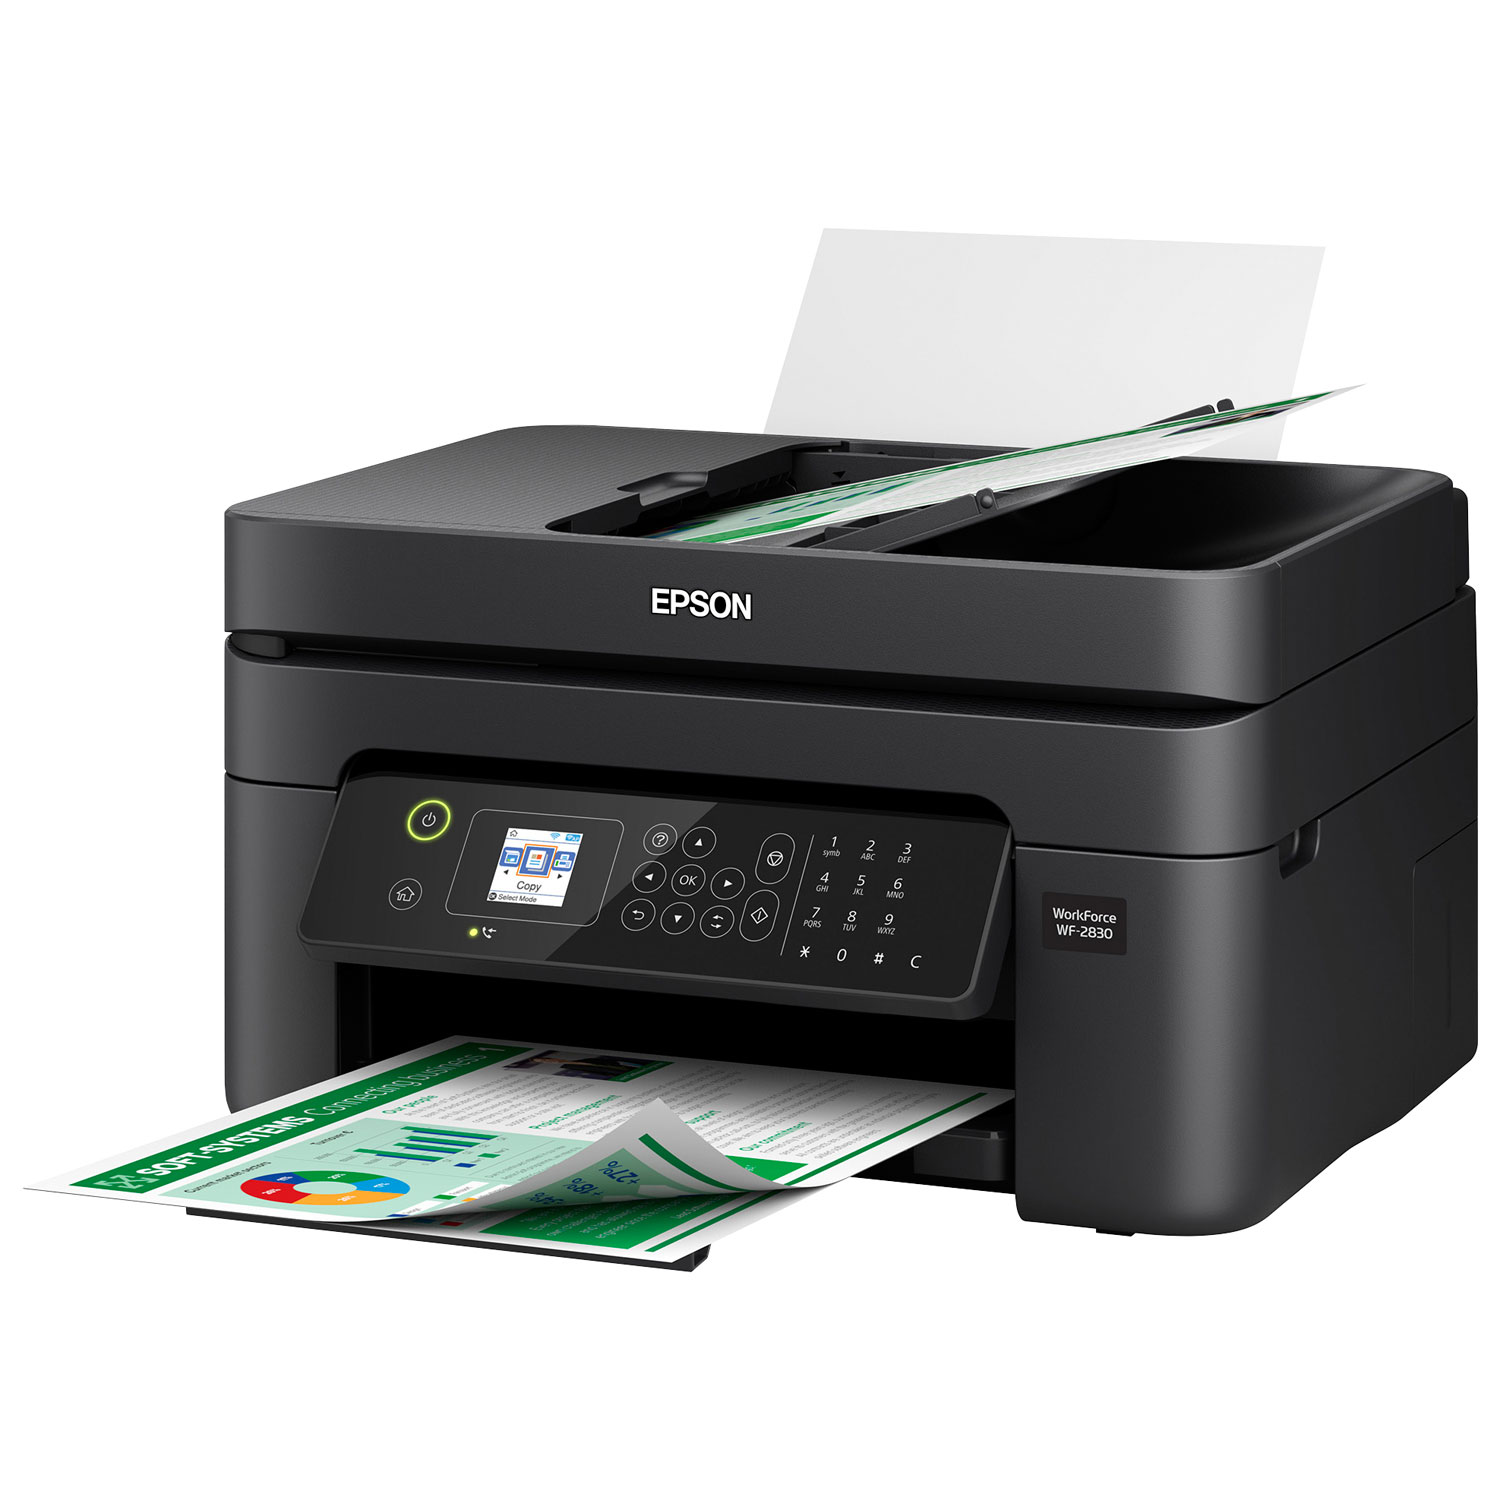
Let’s face it, every student needs a reliable printer. Last-minute essays don’t print themselves. Back to school is the perfect time to not only buy a new printer but connect it to your home network. There are many different types of printers to choose from Inkjet, Laser, Supertank, and All-in-One. Ensure that you choose a wireless printer. This allows you to print directly off your smartphone, tablet, or laptop. As long as you’re connected to your home WiFi network, you can print. Apple users should also look for printers that support AirPrint.
Connected peripherals in your network
There’s a reason why you’ll find additional Ethernet and USB ports on the back of routers. Adding additional devices to your network further enhances your connectivity options. For example, connect a printer via the USB to your network. Any device on your network will be able to access the printer. Another option is connecting external hard drives to your router. It allows you to move files from your computer to a hard drive over your home network.
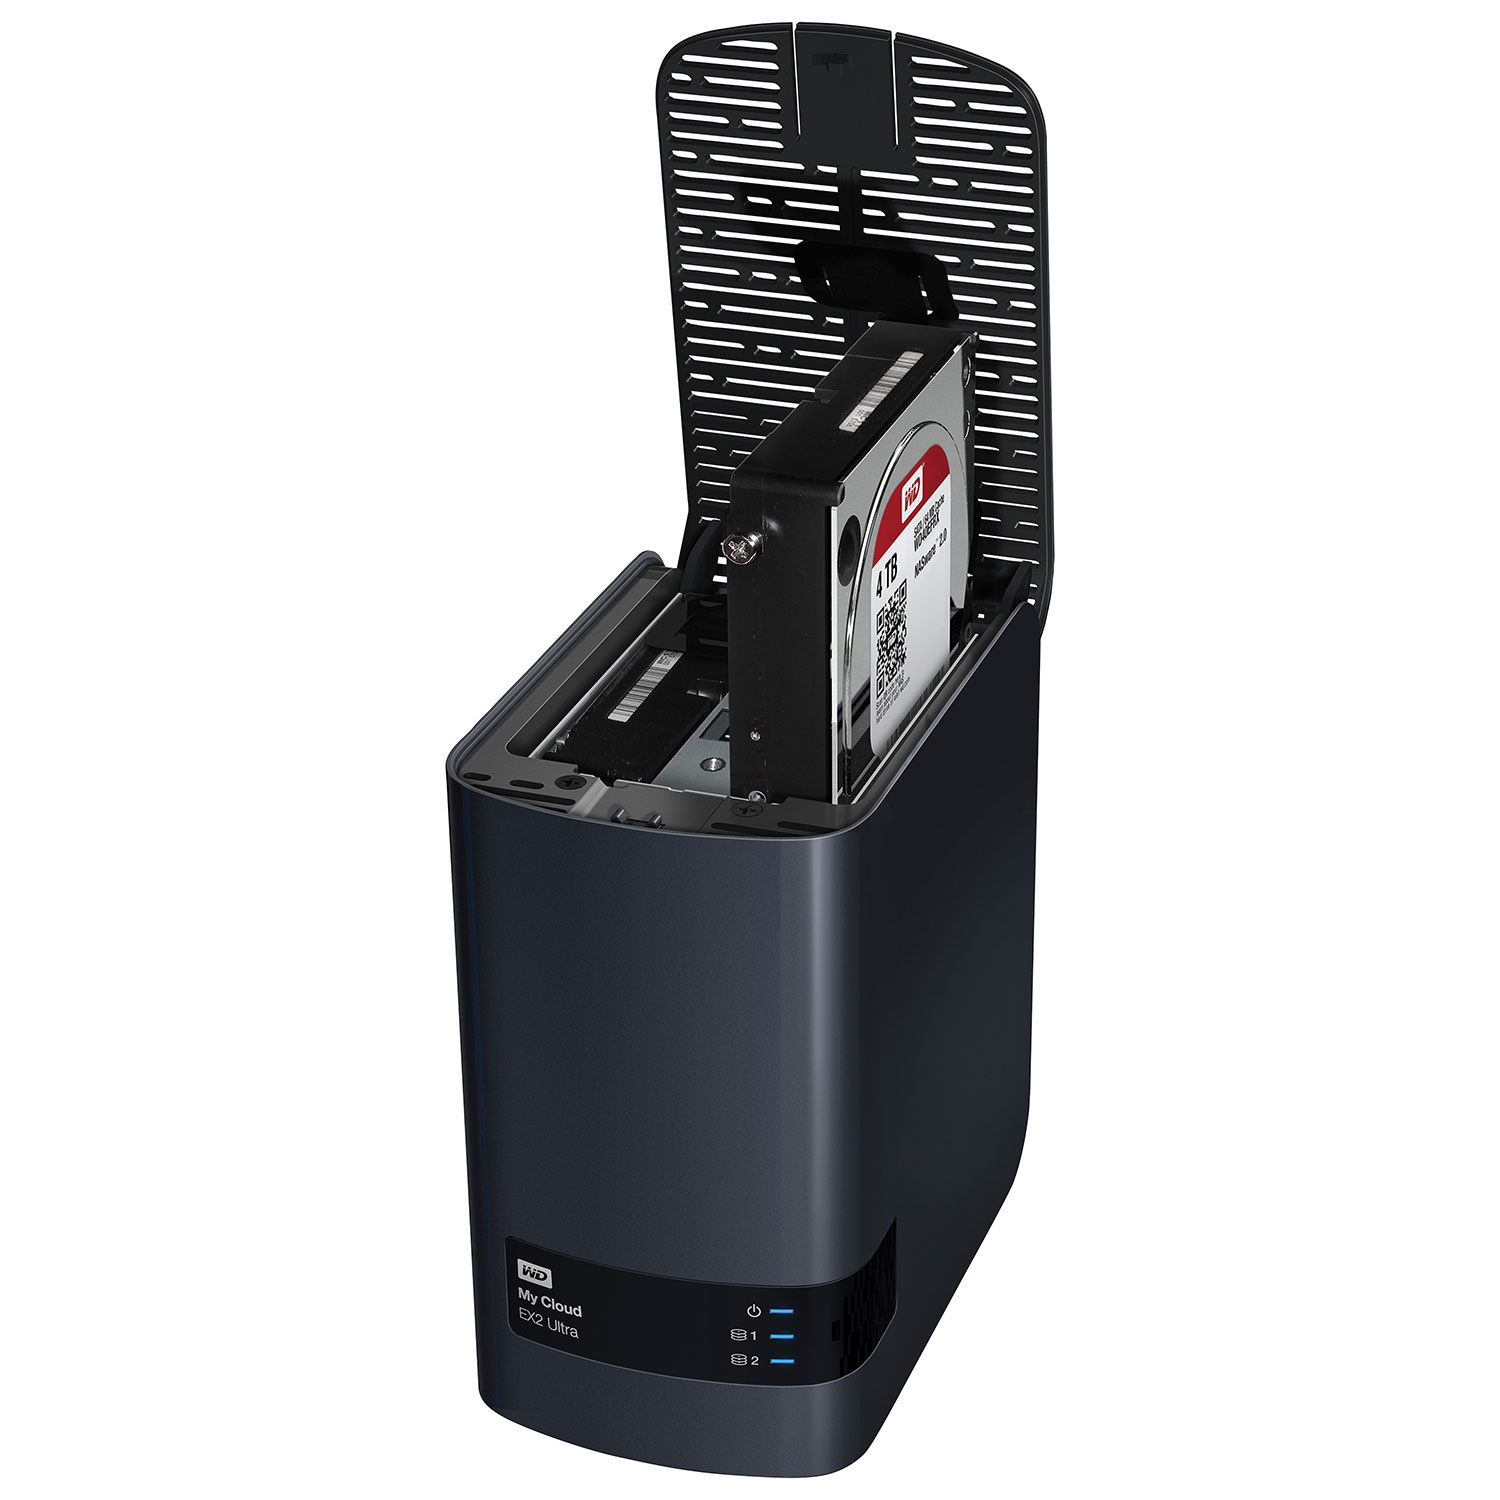
If you want to take it to the next level, add a Network-Attached Storage (NAS) device. This is a data storage device that connects via Ethernet to your router. From there, access is based on permissions for users on an internet network. A lot of NAS devices allow password-protected access via the Internet. Think of it as your own private cloud, except the server is actually your NAS. It’s a good solution to move and backup files off your laptop.
Building and maintaining a wireless network
You don’t have to be an IT expert to build a wireless network. With the right information, anyone can do it. First, take the time to familiarize yourself with all the WiFi and networking equipment available. Most people will do fine with a wireless router, while large spaces might want to consider a whole home mesh WiFi system.
From there, create a custom WiFi network name and password. If your router allows guest networks, create one. Share that WiFi password with others, and keep your private Wi-Fi network secure. If you’re experiencing slow WiFi speeds, check your channel number. A lot of free WiFi signal strength apps display nearby networks and the channel number. If everyone is on the same channel, change it to something else to reduce wireless interference.
Finally, add additional devices like printers, external hard drives, and other storage devices. This will give you easy, secure access to your printers and files in your own private wireless network. This also prevents your dorm buddies from getting access to your printer.
Staying connected and secure is easier than ever. If you’re ready to create the ultimate wireless network, Best Buy has everything you need to get started.


