

Ninja Creami has quickly become a kitchen favourite for making everything from indulgent ice cream to dairy-free treats and smoothie bowls. It’s a great appliance for making healthy choices while you indulge in a little dessert. But once the dessert’s done, there’s one question every Creami owner eventually asks, “How do I clean this thing properly?” If you’re unsure which parts can go in the dishwasher, how to handle the lid or shaft area, or just want to keep your machine fresh and clean, this guide has you covered.

Why regular cleaning is essential for Ninja Creami
Keeping your ice cream maker clean isn’t just about appearances—it’s key to preserving the quality of your frozen creations and ensuring your machine lasts. Like with any kitchen appliance, it’s important to clean your Creami (not just rinse it out) to prevent mold and bacteria growth.
- Cleaning keeps flavours fresh
Residual flavours from previous batches can easily transfer if components aren’t cleaned properly. Regular cleaning avoids unwanted flavour mixing from intense ingredients. - Prevents residue, mould, and odours
Dairy, sugar, and fruit particles left behind can spoil quickly and lead to unpleasant smells, sticky parts, or even mould buildup. The fats from ingredients like milk, cream, and coconut milk need soap and warm water to be washed off. If not, they become the perfect breeding ground for sugar and food particles to rot and mould. - Ensures smooth operation
A perfectly-clean machine runs more efficiently. Neglecting maintenance can affect the motor performance or even jam the Creami’s spinning blade.
Supplies you’ll need
Before diving into the cleaning steps, make sure you have these on hand:
- Mild dish soap
- Soft sponge or cloth
- Small brush or old toothbrush
- Clean towel or drying rack
- White vinegar or baking soda for deep cleaning (optional)
Dishwasher-safe parts
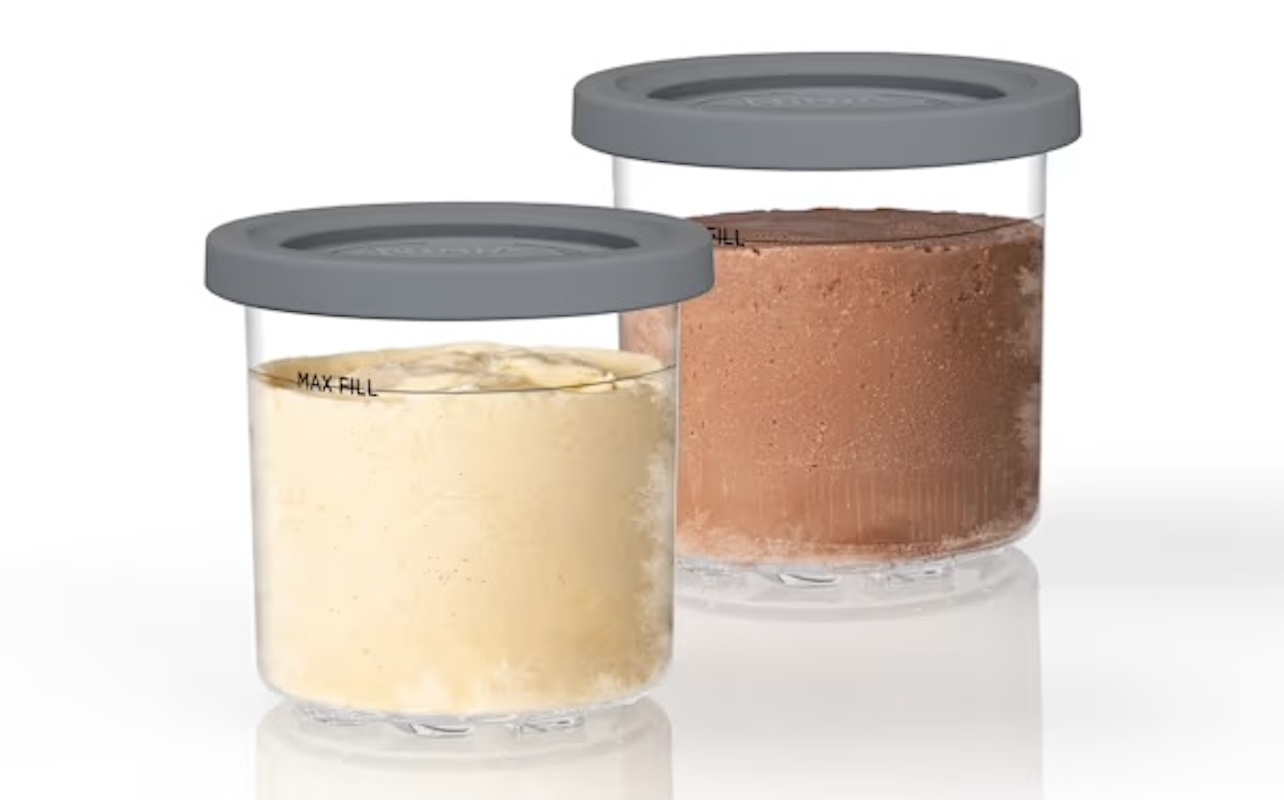
- Pint container
- Lid (top rack only)
- Paddle (blade)
These can be safely cleaned in the dishwasher, but always refer to the official Ninja Creami care instructions for confirmation.
Step-by-step: How to clean Ninja Creami
Cleaning Ninja Creami properly helps extend the product’s life. A clean Creami container ensures your next batch of ice cream is just as good as the last.
Step 1: Unplug and fully disassemble
Always unplug your small appliances before cleaning. Remove this ice cream maker’s pint container, paddle, and lid. Set these parts aside for handwashing or putting in the dishwasher.
Step 2: Detach lid, paddle, container, and shaft area components
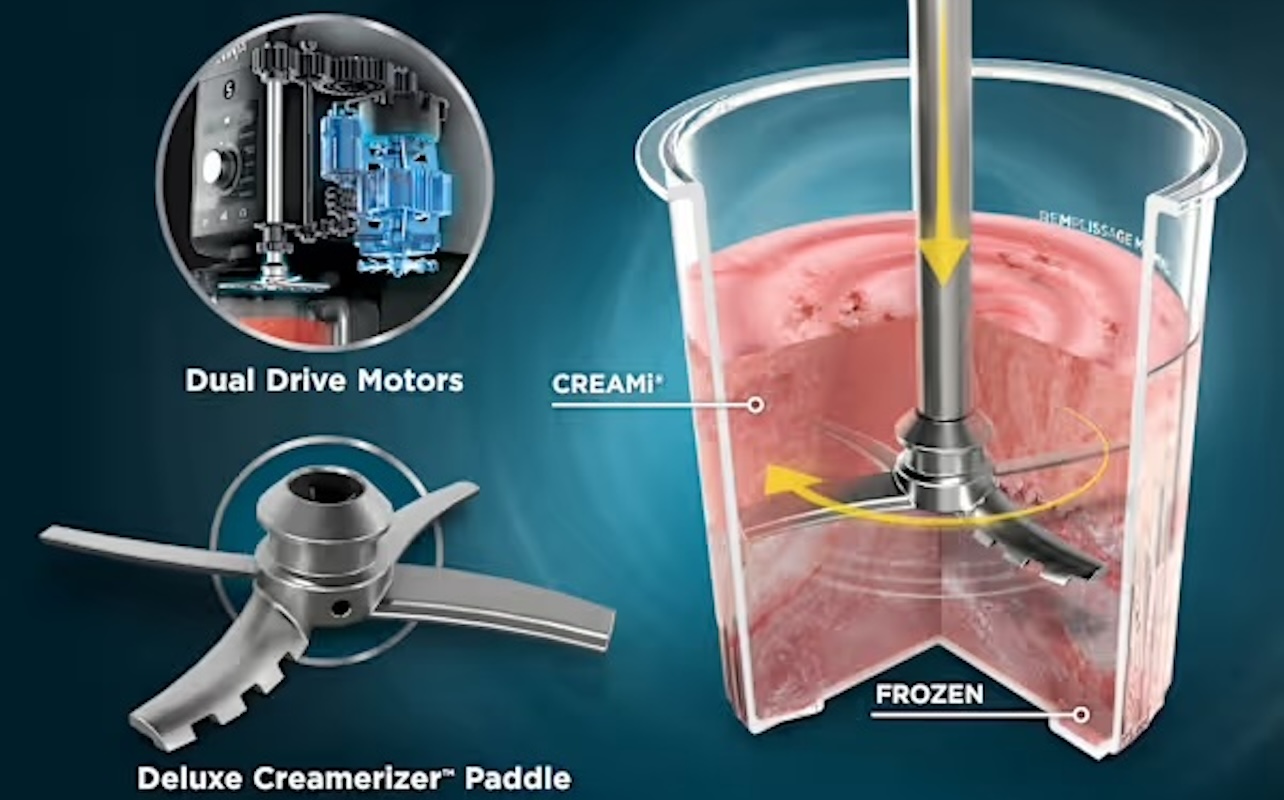
Remove the paddle (also called the blade) from the lid. On Creami, there’s a button for easy blade release.
Lift the pint container off of the machine’s base if you haven’t already. You’ll now have access to the rotating shaft area, which may require occasional spot cleaning if you’ve spilled or dripped any ice cream onto it.
Step 3: Clean the components individually
Each part of the Ninja Creami has a specific cleaning process. They’re easy to clean, but just need to be taken apart to be cleaned separately (unlike something like a blender, which often cleans best by running an assembled cleaning cycle.)
Let’s break down the process.
How to clean the lid
Start by removing the paddle from the lid. Wash the lid with warm, soapy water using a soft sponge or place it on the top rack of the dishwasher. If your dishwasher has an upper utensil rack, you can also place the Creami’s lid there.
For areas around the seals or any moving parts, use a small brush or toothpick to clean thoroughly when deep cleaning. This prevents residue buildup that can lead to odours or clogs. Make sure the lid is completely dry before storing or reassembling, as trapped moisture can cause mould or mildew.
How to clean the shaft area
The shaft area—the rotating metal piece inside the motor base—is not removable and must be cleaned with care when it gets dirty.
Use a damp cloth to gently wipe the area around the shaft with the machine unplugged. If there’s dried food or sticky residue, take a soft brush or toothbrush to gently scrub it away. Never pour water or cleaning liquid directly onto the machine. The motorized base contains electrical components and should never be submerged or splashed, even when unplugged.
Let the area dry fully before using the machine again. You can leave the lid open for ventilation, which helps prevent moisture buildup.
Cleaning the paddle and container
The paddle (or blade) of the Creami is dishwasher-safe. It can also be cleaned by hand using warm, soapy water. Just be careful when handling it—though not sharp like a knife, the blade still has a firm edge and can cause nicks if handled too aggressively.
The pint container should be cleaned after every use. It’s also dishwasher-safe, but if washing by hand, use a soft sponge to avoid scratching the plastic (Scratching the plastic will cause it to look cloudy over time.) After cleaning, let the pint container air dry fully. as moisture left inside can create unpleasant odours or affect the texture of your next batch. If you use your Creami on a daily basis or a more-than-daily basis, consider buying an extra set of pint containers to rotate into use while your others dry.
Tips for deeper cleaning (odours or buildup)
Even with regular cleaning, you might notice lingering smells or a sticky film on your parts. Here’s how to deal with it.
| Problem | Deep Cleaning Solution |
|---|---|
| Lingering odours | Soak the container or lid in a 1:1 vinegar-water mix for 30 minutes |
| Sticky residue or stains | Use a paste of baking soda and water, gently scrub with a brush |
| Dull finish on plastic | Buff gently with baking soda paste, then rinse thoroughly |
| Hard-to-reach spots | Use a toothpick or straw brush for tight corners |
Make sure everything is completely dry before reassembling. Reassembling while damp can lead to mildew, especially around hidden crevices.
How often to clean Ninja Creami
Cleaning frequency depends on how often you use your ninja ice cream maker, but here’s a general guide:
- After every use: Clean the lid, paddle, and pint container
- Weekly: Wipe down the shaft area and the machine’s exterior
- Between flavours: Rinse parts with warm water to avoid flavour transfer
- Monthly (or as needed): Deep clean parts with vinegar or baking soda if odours or buildup appear
Staying consistent with cleaning helps your machine perform well and keeps your frozen treats fresh-tasting.
Common cleaning mistakes to avoid
Even with the best intentions, it’s easy to make a few missteps when cleaning. Here’s what to avoid:
- Never submerge the base or pour water into it. The motor housing contains electrical components and must be kept dry at all times, even when unplugged.
- Don’t use abrasive scrubbers. These can scratch or cloud the plastic parts, especially the lid and pint container.
- Avoid storing damp components. Moisture can lead to odours, bacteria, and a slimy feel over time. Always dry parts fully before storing or reassembling.
Final thoughts
Learning how to clean Ninja Creami properly not only keeps your ice cream maker in top shape but also ensures every frozen creation tastes its best. Whether you’re using it daily or just a few times a month, consistent care is the key to a hassle-free, hygienic dessert-making experience. Shop now at Best Buy for your perfect model, or for additional accessories and replacement parts.
Clean machine, clean flavours—now that’s a sweet deal.

This article was drafted using AI technology and then reviewed, fact-checked, and revised by a member of our editorial team.


