 Every year we hit the road in July or August. Our destination is always the same, sunny Southern California, but the way we do our road trip differs every time. When the kids were little we would leave late at night and drive until we couldn’t drive anymore. As they grew older we began to enjoy the road trip just as much as the destination, so we’d leave in the morning and stop a lot on the way.
I’ve learnt a lot about how to travel with kids over the years, but the number one thing on my road trip checklist is always road trip snacks. Packing your own snacks saves you time and money while you drive, and because you aren’t always stopping for fast food, you can eat healthier too.
Here are a few things we pack when we head out on a road trip:
- A small cutting board
- A paring knife
- Eating utensils, cups, bowls, and plates
- Zip lock bags
- A travel sized cooler
As for snack foods, we take along these basics:
- A small carton of milk
- Ice
- Soda and water
- Peanut butter
- Crackers and cookies
But if you take along just the basics, you aren’t going to really enjoy your road trip snacks. Here are some great road trip snack recipes that store and taste great.
Banana-Chocolate Granola-Mix
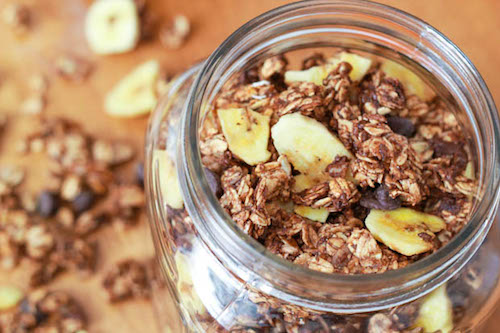
A favourite with kids, this is not too sweet (no extra sugar) and stores well in sandwich baggies if you’re packing each kid their own snack pack.
|
Ingredients: 2 cups granola cereal – preferably from somewhere that sells in bulk and has high turnover (not old) |
Directions
Put granola cereal in a bowl and break up any large chunks with a spoon. Nothing should be larger than bite-size.
Add banana slices, walnuts, chocolate chips and salt. Mix together thoroughly. Put in sandwich baggies for single servings.
Cheddar-Gruyere Straws
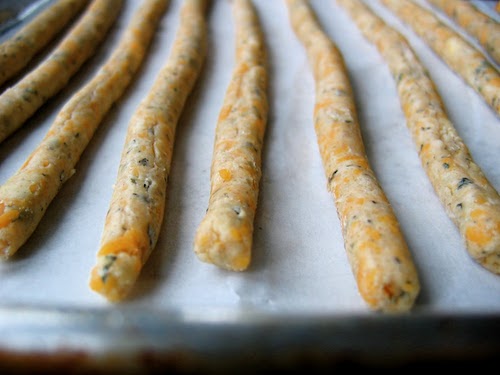
I love cheese, but I’m not a fan of commerical cheese strings. These have a little bit of kick to them, so they are one of my favourites with crackers.
|
Ingredients: 1 ½ cups butter, softened |
Directions
Preheat oven to 350 degrees. Shred Cheddar and Gruyere cheeses. Beat butter, cheeses, salt, pepper and paprika in a mixer at medium speed until combined. Lower speed of mixer and add flour gradually until combined.
Gently roll handfuls of the mixture on countertop into long ropes that are 3/4 inch thick. Cut ropes into 2-inch pieces and place on cookie sheets, spacing about 1” apart.
Bake for 12 minutes and cool on racks. These last up to a week in an airtight container.
Turkey Jerky
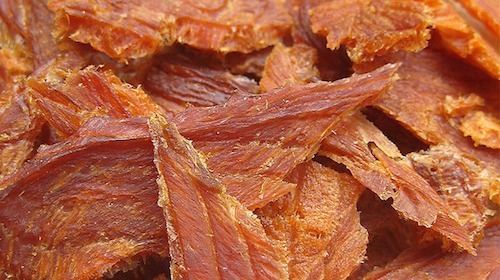
Who doesn’t love jerky? Turkey jerky is a better option if you’re watching your diet, and it still tastes just as delicious as beef jerky.
|
Ingredients: 2 pounds boneless skinless turkey breast 3/4 cup soy sauce 3 tablespoons honey 2 tablespoons chile-garlic paste 2 teaspoons dried red chile flakes |
Directions
Arrange turkey breast flat on a plate or baking sheet, cover with plastic wrap, and freeze until firm, about 2 hours.
When turkey is ready, place on a cutting board, trim any visible fat and membranes, and slice along the grain into 1/4-inch-thick strips. (You want the strips to be as uniform as possible to ensure even drying.)
Place all remaining ingredients in a large baking dish or resealable plastic bag, and mix until evenly combined. Place turkey strips in marinade and toss thoroughly to coat. Cover and place in the refrigerator for 12 hours, turning occasionally.
Remove turkey from the refrigerator, place in a colander to drain off excess marinade, and let come to room temperature, about 30 minutes. Meanwhile, remove the racks from the oven, completely line the bottom of the oven with foil, and heat to 165°F.
Spray the oven racks with nonstick cooking spray, blot any excess marinade from the turkey with paper towels, and arrange strips horizontally across the racks, leaving at least 1/2 inch of space between strips.
Place the racks back in the oven and dehydrate jerky until dry, darker in color, and, when bent, it gives way before breaking but doesn’t snap, about 2 hours. For chewier jerky, dry an additional 1/2 hour.
Blot any oil or moisture from the jerky with paper towels and cool completely on the racks before storing.
Homemade Fruit Rollups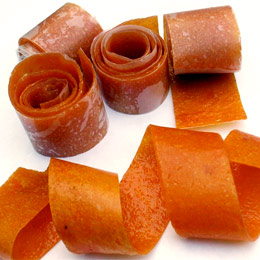
My kids love fruit rollups, but the type you buy in the store is loaded with sugar and processed ingredients. You can make your own fruit rollups with any fruit you puree in your blender.
|
Ingredients: 8 oz strawberries sliced 1 tbsp lemon juice 3 tbsp sugar |
Directions
Place strawberries in a blender or food processor and puree. Place the strawberry puree in a saucepan and add the lemon juice and sugar. Turn the heat to medium and cook for 10 minutes until the mixture thickens.
Preheat the oven to 170 degrees F.
Spread the strawberry jam into a rectangle shape onto a baking pan lined with parchment paper.
Cook in the oven for 3-4 hours, until the fruit mixture no longer feels sticky. Remove from the oven and let it cool completely. Transfer to a cutting board lined with wax paper, and use a pizza cutter to cut long strips.
Roll into fruit rollups.
I’m looking forward to our next family road trip almost as much as I’m looking forward to eating my favourite road trip snacks again. If you have any road trip snack recipes, be sure to share.
Best Buy has some great small kitchen appliances, so check them out before you make your own road trip snacks.
Here are a few of my favourite kitchen gadgets I use to create snacks:
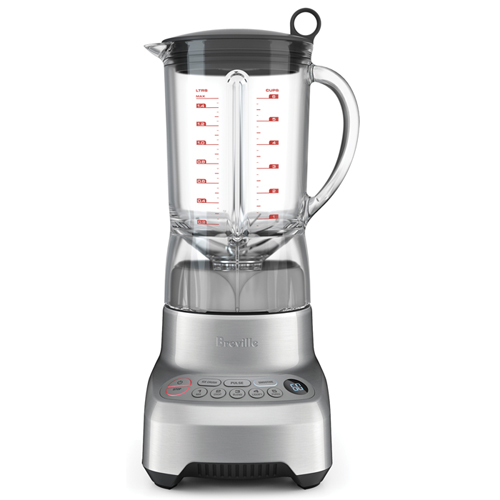 Puree any fruit with the Breville 5-speed blender |
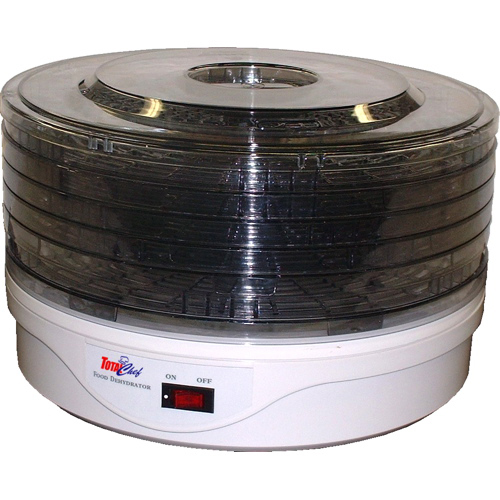 The Total Chef Food Dehydrator will quickly make turkey jerky |
 Make cookies, bars, granola, and other sweet treats on the Wilton Cookie Sheet. |


