External hard drive support comes to PS4
I love my PS4 game console, but one aspect that has frustrated me since launch is its lack of external hard drive support. Sure, the internal 500GB hard drive is easy enough to swap out, however you’re limited to just one drive. Plus, not everyone wants to grab their screwdriver and physically open up their PS4 machines. Meanwhile, its rival Xbox One has let you connect up to two external hard drives for nearly three years now.
With PS4’s latest 4.50 system update, codenamed Sasuke, the console now supports external hard drives. Yes! While many other features were added with this update, what’s got people talking the most is the HDD support. You’re now able to connect portable or full-sized desktop drives, up to 8TBs in size, to your PS4. This is amazing news as it means you can expand PS4’s default space (500GB) by up to 16x the capacity. That’s huge.
Read on to see how easy it is to install an external drive to your PS4.
Choosing a hard drive for your PS4
When considering what hard drive to get for your PS4, you’ll want to consider your capacity needs, and budget. If you download a lot of games and apps you’ll likely want a higher capacity drive, but always remember that larger drives generally mean higher price.
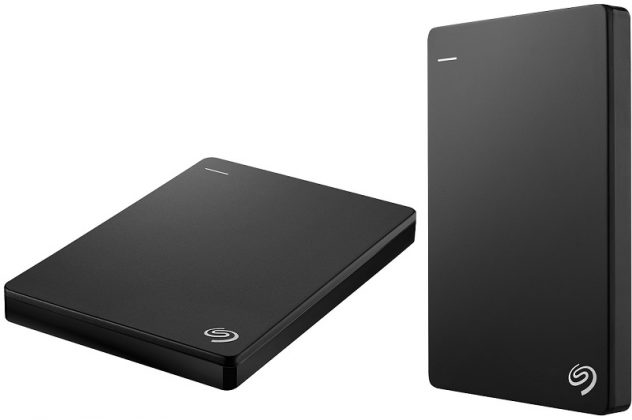
Keep in mind, too, that PS4 now supports portable hard drives (which are light and easy to carry), as well as full-sized external desktop drives (which offer larger storage.) If you want an excellent balance of size, portability, and cost, going with a portable drive is a good choice. Seagate offers a great 2TB external drive that I recommend in this case.
One other thing to note: your external hard drive has to meet specific conditions to connect to your PS4. These are:
- Connection: USB 3.0
- Storage capacity: between 250GB and 8TB
- Speed: 40 MB/s
Most new external hard drives meet these conditions. However, if you’re using an older HDD, check to make sure it meets those three conditions. Particularly the USB type, as many legacy drives use the slower USB 2.0 format.
How to connect an external hard drive to your PS4
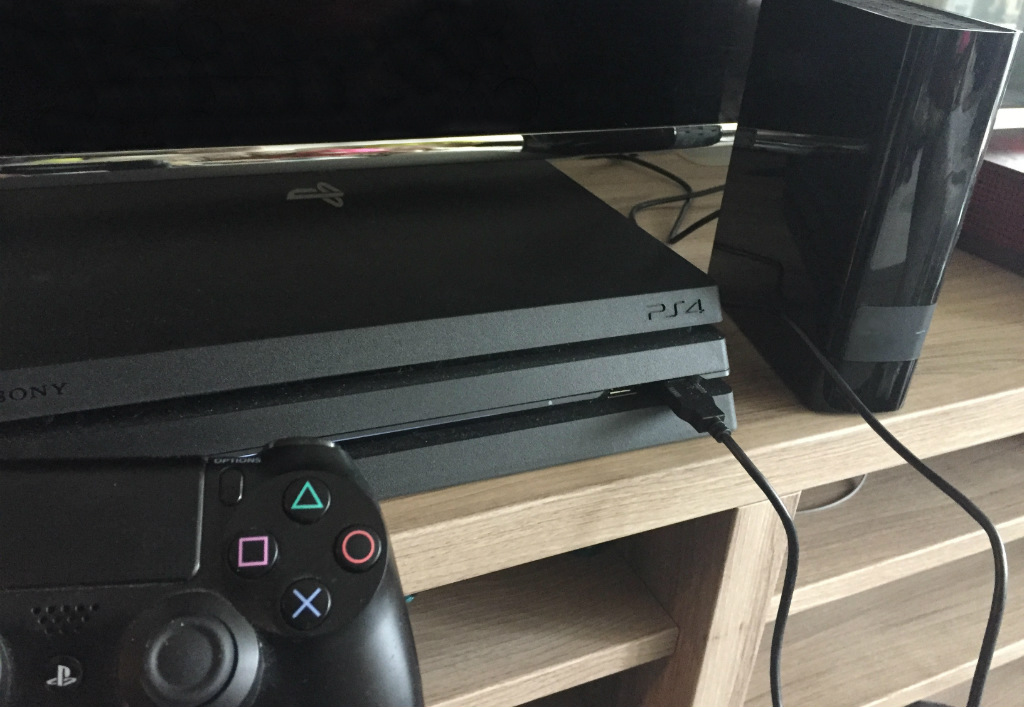
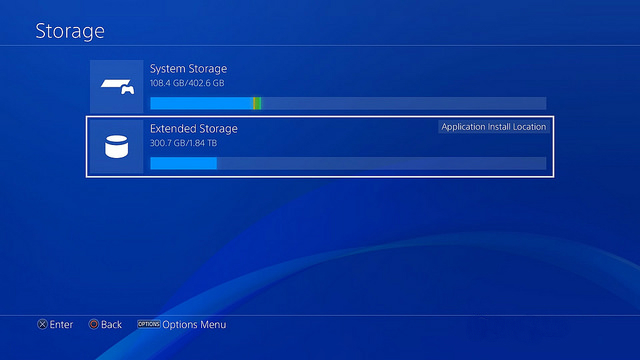
Connecting an external drive to your PS4 couldn’t be easier. To get started, simply plug-in your HDD into one of your PS4’s free USB slots, then on your PS4 home screen navigate to Settings > Devices > USB Storage Device. From there, select your hard drive and click on “Format as Extended Storage.” Click through the next two instruction screens and you’re all finished. It’s that simple.

*Note: When connecting an external drive to PS4, the console will format the drive. This erases all data on it. Make sure to backup any data on the drive before you begin this process.
Once the connection process is complete, you’ll be able to download and install content directly to your external drive. Managing the content is easily done through the PS4 menu, and you can even transfer games and applications already on your PS4 over to your external drive. All downloaded content on your hard drive will appear on your PS4’s home screen for easy access.
Keep in mind that only games and apps can be saved to your external hard drive. Save data, captured photos, and recorded videos are all still kept on your PS4’s internal drive.
That’s all there is to it! It’s amazing how simple this process it, and how easy it is to manage the content once complete.
Curious to know what other hard drive you can choose from? Click here to see the full list of external hard drives available on BestBuy.ca.


