

Today I have not one, but two telescopes to show you. One is the National Geographic STAR APP70 70 MM Refractor Telescope with Astronomy App (coming soon) and the other is the National Geographic NG114MM 114 MM Newtonian Telescope with Equatorial Mount (coming soon). There’s a lot to get into with these telescopes, so let’s just jump right in.
Be sure to take a look at my short video overview of these two telescopes. In it I show both telescopes up close and provide a brief look at the Moon as filmed with my phone through the Newtonian model.
National Geographic STAR APP70 refractor telescope review
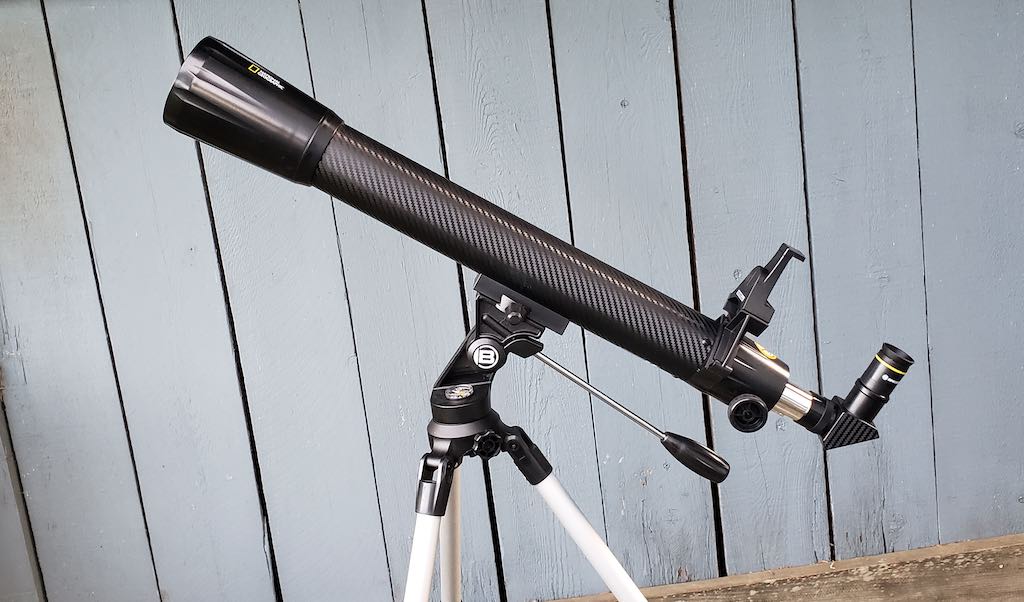
The first telescope I have today, the STAR APP70, comes with a variety of special bits and pieces. These parts include the 70 mm refractor telescope itself (with mounting bracket), a tripod with accessory tray and leg locking knobs, a panhandle Alt-Azimuth Mount with horizontal tension knob, a focus wheel/focuser, 1.25″ eyepieces (9.7 mm and 26 mm), eyepiece locking screws, and 2x Barrow lens. It also has a smart phone adapter and mount with built-in Bluetooth for communicating with your smart phone and the Explore Scientific App.
 With a telescope of this size and strength, there are many objects in the cosmos that you can look at and enjoy. Among the possibilities are the Moon, the Orion Nebula, the Pleiades Star Cluster, the Andromeda Galaxy, and the Dumbbell Nebula. I quite enjoyed looking at a beautiful half-Moon with this model myself, but first I had to get it set up.
Although this was my first time setting up a telescope, I found the process quick, easy, and largely intuitive—at least for this model. It took me roughly 10 minutes to complete the job as there were a number of parts to unbox, figure out, and attach. I suspect that anyone with more telescope experience could have done it in just about 5 minutes or so. In any case, there’s certainly nothing difficult about the process.
Once it was all set up, I headed outside to give it a try on a nice, clear evening. There’s a fair bit of light pollution in my area, but with a lovely half-Moon clearly visible from my own back yard on this occasion, I decided to just take a good look at that rather than going out to the country for my first test. This test went just fine, and I could clearly see the numerous pocks and craters that the Moon has after getting the telescope all lined up.
Luckily the Moon is very easy to find, but lining up smaller, more distant objects is a bit more challenging. This is why there are tools like a targeting/crosshairs apparatus for eyeballing things naturally and the special Explore Science App (shown below) that works with this particular telescope.

For me—a relative newcomer to the wonderful world of telescopes, this particular model seemed to have almost everything. The only concern I had about it was that the materials it’s made from do seem a bit too light for my liking. While this helps the telescope with things like portability, it does concern me in the area of strength and durability. I just don’t have a whole lot of confidence that this tool could handle any sort of rigorous use. Then again, it’s not exactly intended to be treated like a football.
National Geographic NG114MM Newtonian telescope review
The second telescope I tried was quite a bit different from the first. It was the National Geographic NG114MM 114 MM Newtonian Telescope with Equatorial Mount, and as a Newtonian model, it uses a curved mirror to collect and reflect light toward the eyepiece rather than curved glass lenses. It’s also a good bit more powerful than the previous model with its 144 mm lens.
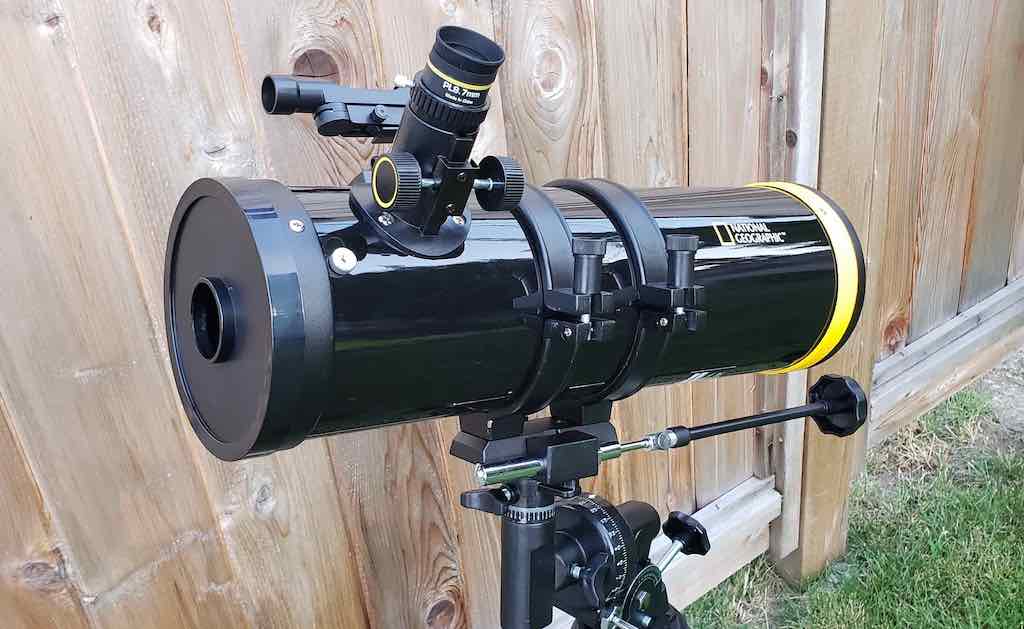
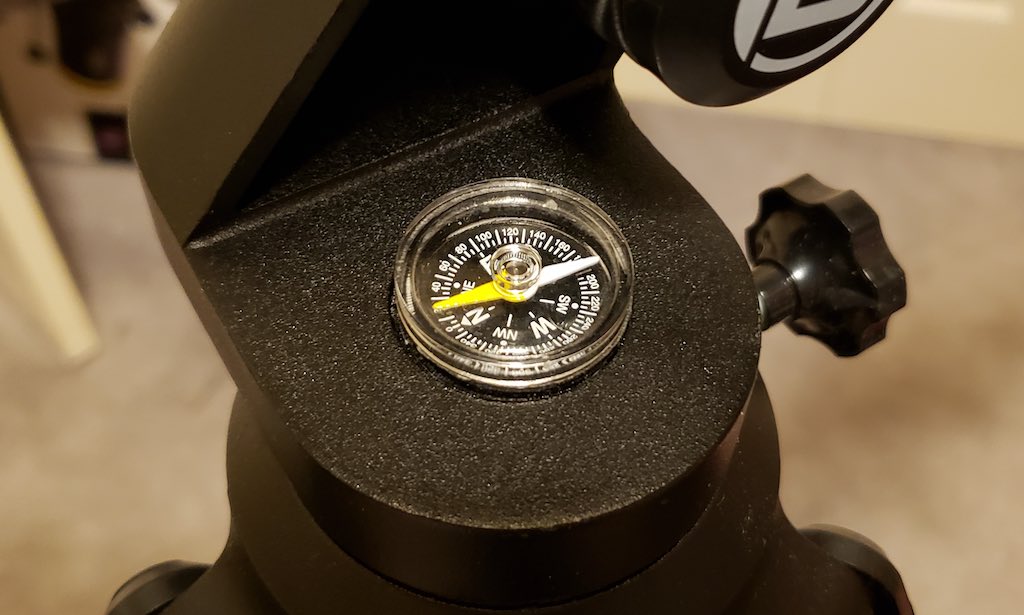
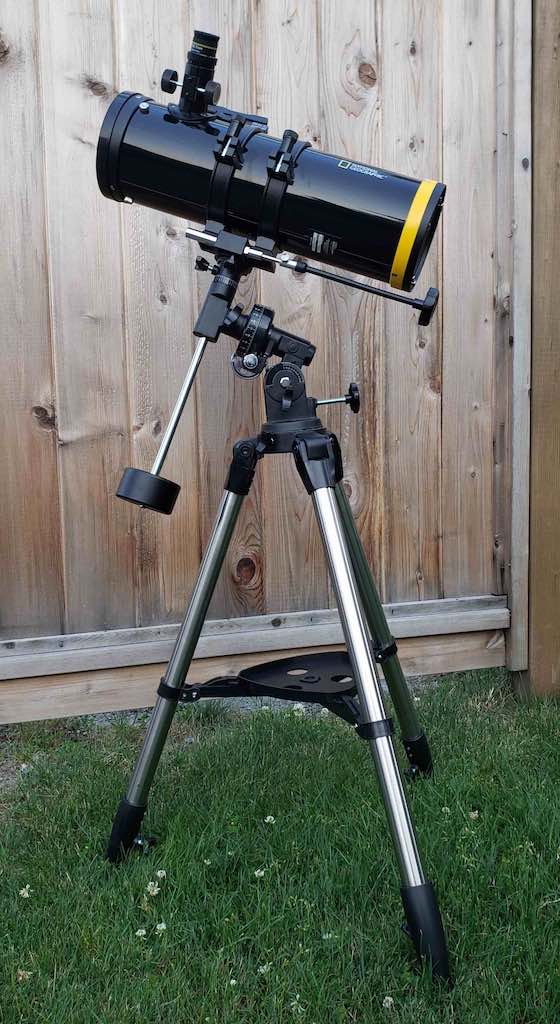 Included with this telescope are an adjustable tripod with attachable accessory tray, a large objective lens, flexible shafts for both right ascension adjustment and declination adjustment, the main telescope itself, a red dot viewfinder (which comes in very handy), a focuser, a counterweight, and a pair of Plossl eyepieces (in both 9.7 & 26 mm). As you can see in the photo at right, this is a very sturdy looking model. And it doesn’t just look sturdy—it is sturdy. I found it to be much more solid than the refractor model discussed above, even if it is also a bit more complex.
Assembling all of these pieces takes a bit more time than the STAR APP70 model took. In fact, this one probably took me about a half hour to fully put together as the instructions were very small and difficult for me to see clearly. I had to use my phone to take a picture and blow it up to see all the details. Even so, once I had it all put together, I had an even more powerful telescope to play with.
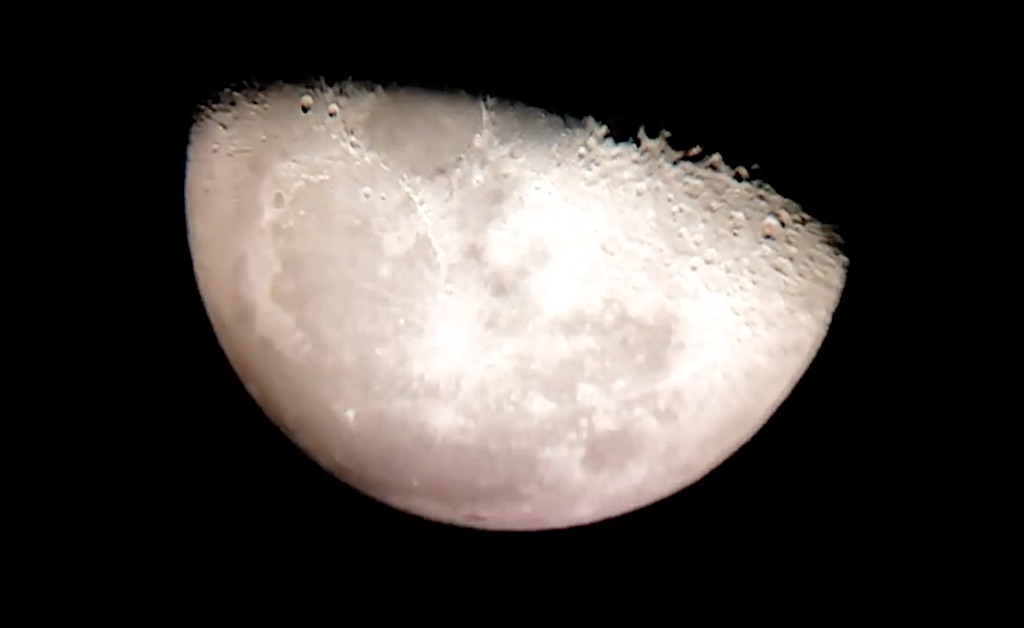
For this one, I once again decided to test it out first on the Moon (no, I don’t mean I went to the Moon, but rather by looking at the Moon) as I could then see if I was getting a better image than with the reflector. And sure enough I was—at least somewhat. It wasn’t enormously better, but it was definitely an improvement.
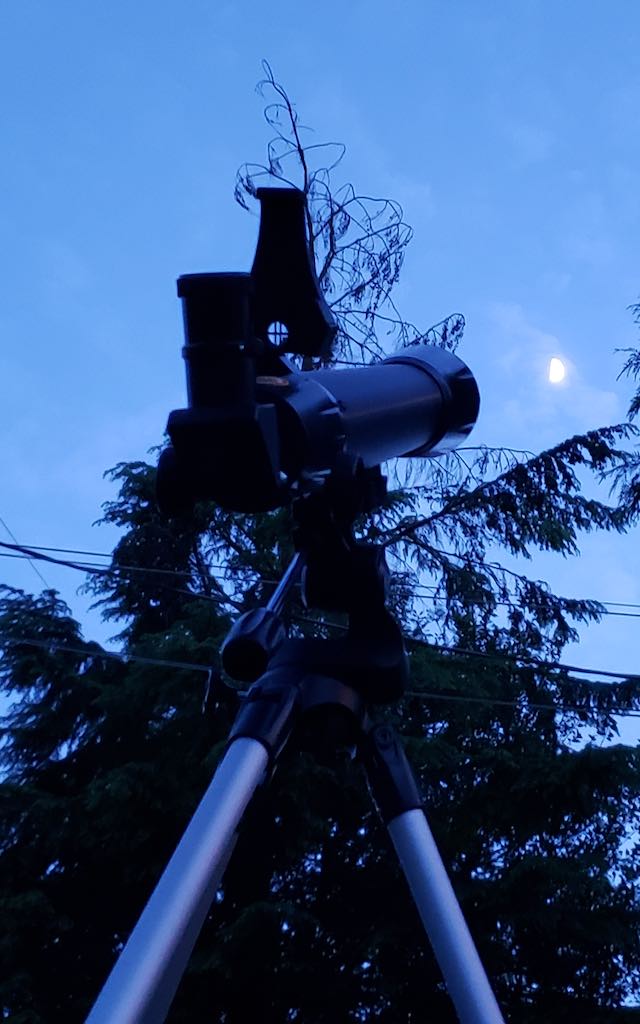
Below is a photo that I got by placing my smart phone’s camera up to the lens and shooting (not an easy task!). For one thing, it’s difficult to hold the phone steady, and secondly, it’s super difficult to get everything lined up in the first place. This makes it difficult to get anything at all on film, and what you do get is liable to be at least somewhat blurry as the camera never quite has a chance to fully focus. Still, I was really happy with this image, and it does give a pretty good idea of the amount of detail you can see with one of these telescopes.
Something I couldn’t take a photo of, however, was Jupiter, which I saw just brilliantly through this telescope. In fact, not only could I see the gas giant itself, but I also distinctly saw 3 of its 4 primary moons. What probably impressed me most about these images—especially the planet, was their perfectly spherical nature. There was no distortion whatsoever to make them look irregularly shaped once the focus was adjusted. And it wasn’t all that difficult to line the telescope up either once I had gotten a little bit of practice doing that.
Final thoughts
I had an absolute blast messing around with these telescopes. It was fun to try and use them, and they proved to be extremely powerful. I will admit that it takes a bit of getting used to them and their various parts and features when you’re first getting started, and there is a decent learning curve, but it’s so worth it to take the time to try and figure them out.
I suspect that more time would be necessary to really get good at finding and filming anything more impressive than the Moon, but with a little bit of practice on the right kinds of nights and from a good dark location, I believe that just about anything could be possible. Of course, I would probably need to find a camera that attaches directly to the telescope’s eyepiece to take quality photos. As is, all I had to work with was my smart phone’s camera and a pair of shaky hands.
But even so, I can easily recommend either one of these telescopes (coming soon) for anyone that might be interested in taking up astronomy as a hobby. For that matter, these models are probably even good enough for an aspiring future scientist to work with. They’re really quite impressive!


